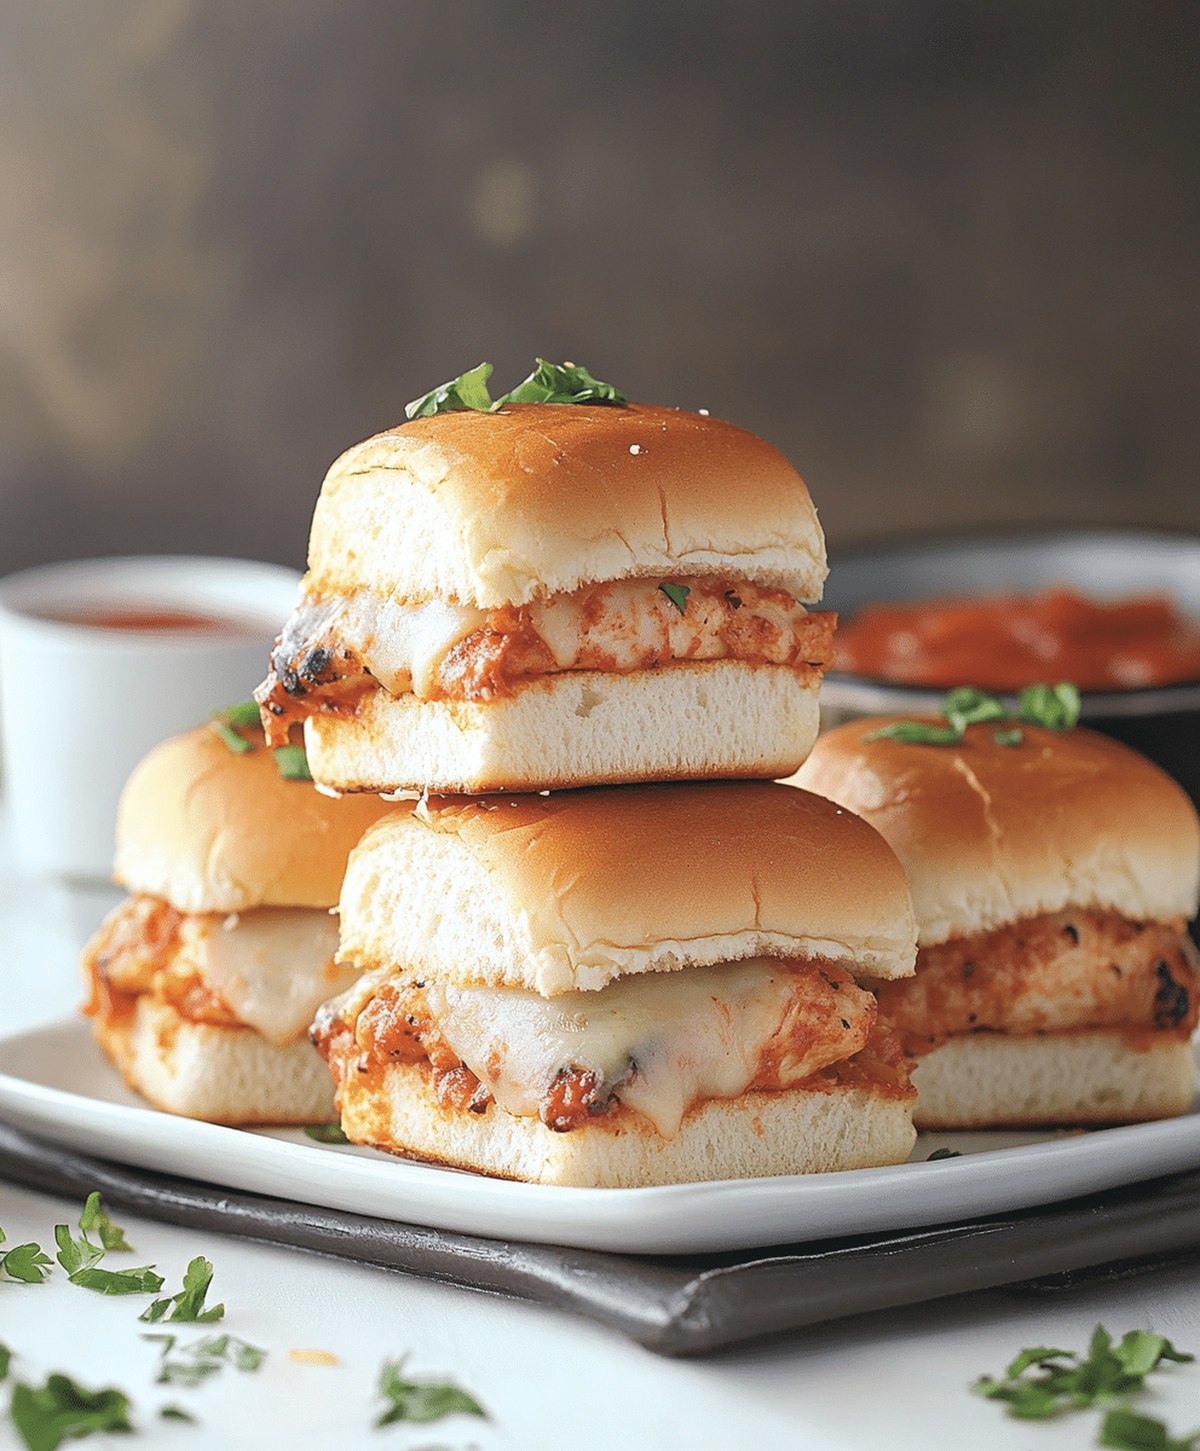
Quick & Juicy Chicken Parmesan Sliders Recipe for Game Day
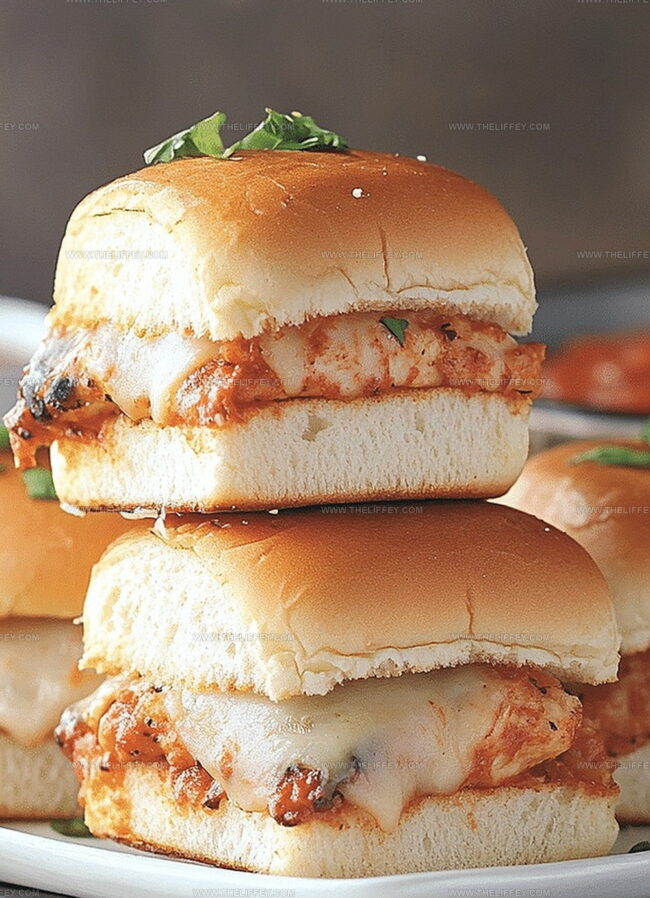
Mouthwatering chicken parmesan sliders have become my latest culinary obsession.
Small sandwiches pack massive flavor in every single bite.
Crispy chicken cutlets nestled between soft rolls create an irresistible combination.
Melted cheese and zesty marinara sauce make these mini-sandwiches impossible to resist.
Italian-inspired ingredients dance together in perfect harmony.
Crisp textures and rich flavors guarantee everyone at the table will ask for seconds.
You’ll want to bookmark this crowd-pleasing recipe right now.
Chicken Parmesan Sliders Full Of Flavor
Ingredients For Chicken Parmesan Sliders
Main Protein:Breading Components:Breading Seasonings:Slider Components:Topping and Sauce:Finishing Touch:How To Make Chicken Parmesan Sliders
Step 1: Prep the Oven and Baking Dish
Fire up your oven to 375F (190C). Grab a 9×13-inch baking dish and give it a quick spray or butter coating to prevent sticking.
Step 2: Create a Breading Workshop
Set up your breading station with three key components:Step 3: Coat the Chicken Perfectly
Transform each chicken piece by:Place the coated pieces on a baking sheet.
Step 4: Bake the Breaded Chicken
Slide the chicken into the oven and bake for 15-20 minutes.
Look for a golden-brown exterior and ensure the chicken is completely cooked through.
Step 5: Prepare the Slider Base
Slice the slider buns horizontally.
Arrange the bottom halves in the prepared baking dish.
Step 6: Build the Flavor Layers
Top each bun bottom with:Step 7: Complete the Slider Sandwich
Crown each slider with its top bun.
Brush the bun tops with melted butter for a gorgeous golden finish.
Step 8: Final Bake and Melt
Return the sliders to the oven for 10-12 minutes.
Wait until the cheese turns gooey and the buns transform to a beautiful golden color.
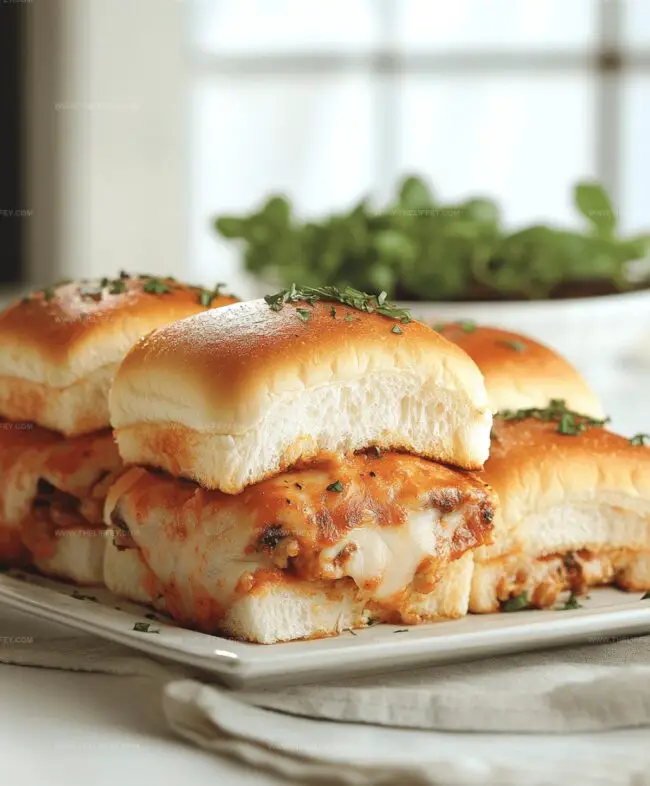
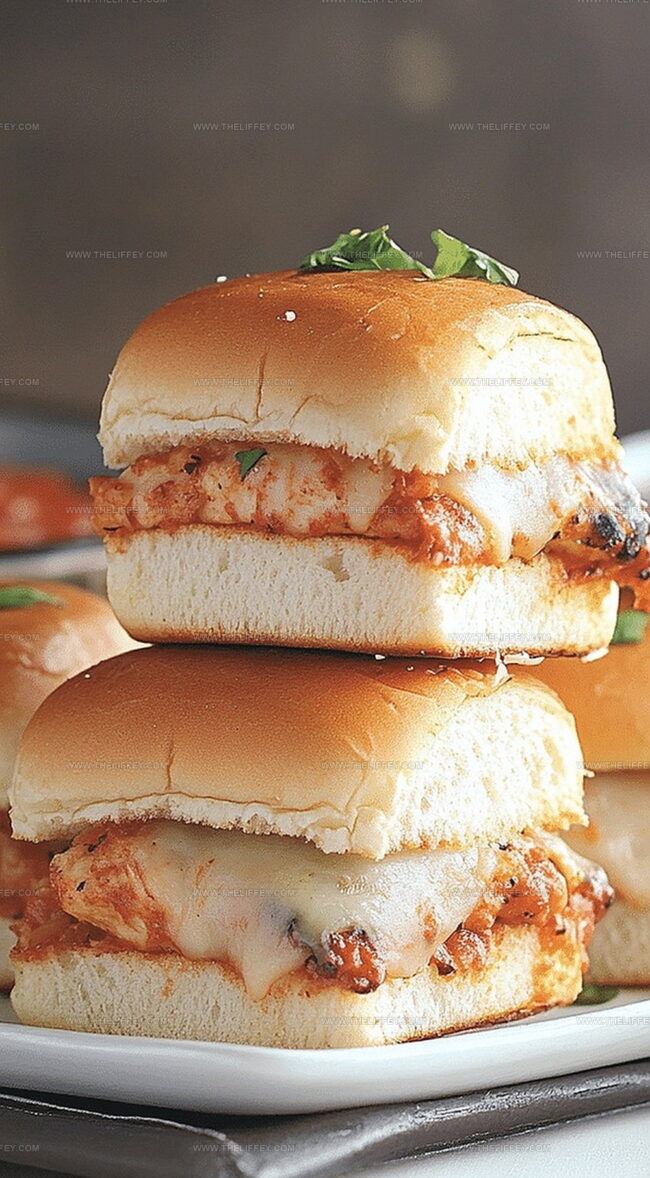
Step 9: Garnish and Serve
Sprinkle fresh basil leaves over the sliders for a burst of color and fresh flavor.
Serve immediately and watch everyone’s eyes light up!
Tips To Get Crispy Chicken Parmesan Sliders
New Twists For Chicken Parmesan Sliders
Serving Suggestions For Chicken Parmesan Sliders
Best Ways To Store Chicken Parmesan Sliders
FAQs
Boneless, skinless chicken breasts or chicken tenders are ideal because they’re tender, cook evenly, and easily fit on slider buns.
Yes, baking the breaded chicken creates a crispy exterior while keeping the meat moist and reducing oil content. The key is to use a hot oven and a well-seasoned breadcrumb coating.
Ensure you follow the breading station steps exactly: first coat in flour, then dip in egg, and finally cover with breadcrumbs. Press the breadcrumbs gently to help them adhere to the chicken.
Print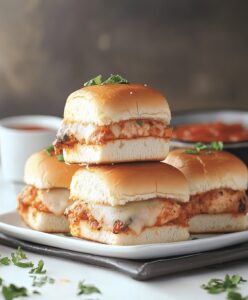
Quick Chicken Parmesan Sliders Recipe
- Total Time: 55 minutes
- Yield: 12 1x
Description
Scrumptious chicken parmesan sliders combine classic Italian-American flavors in miniature sandwich form. Crispy chicken, marinara sauce, and melted mozzarella create an irresistible handheld meal you’ll crave at game day gatherings or casual dinner parties.
Ingredients
Main Ingredients:
- 2 boneless, skinless chicken breasts
- 12 slider buns
- 1 1/2 cups marinara sauce
- 1 1/2 cups shredded mozzarella cheese
- 1/2 cup grated Parmesan cheese
Coating Ingredients:
- 1 cup all-purpose flour
- 2 large eggs
- 1 1/2 cups breadcrumbs
Seasoning and Finishing Ingredients:
- 1 teaspoon garlic powder
- 1 teaspoon onion powder
- 1/2 teaspoon dried oregano
- Salt and pepper, to taste
- 2 tablespoons melted butter
- 1 tablespoon chopped fresh basil
Instructions
- Prepare the oven at 375F (190C) and lightly grease a 9×13-inch baking dish to ensure smooth cooking and prevent sticking.
- Create a three-stage coating setup with flour, beaten eggs, and a seasoned breadcrumb mixture combining garlic powder, onion powder, dried oregano, salt, and pepper.
- Carefully dredge each chicken piece first in flour, ensuring complete coverage, then dip thoroughly in egg wash, and finally coat generously with the seasoned breadcrumb mixture.
- Arrange the breaded chicken on a baking sheet and cook for 15-20 minutes until the exterior turns a rich golden brown and the internal temperature reaches safe cooking point.
- Slice slider buns horizontally, creating distinct top and bottom halves, and arrange the bottom sections evenly in the prepared baking dish.
- Position the crispy baked chicken pieces onto each bun base, then generously ladle marinara sauce over the chicken, creating a flavorful layer.
- Sprinkle a combination of mozzarella and Parmesan cheeses over the sauced chicken, ensuring even distribution for maximum melting potential.
- Cap each slider with the corresponding bun top, then delicately brush the exterior with melted butter for enhanced golden coloration.
- Return the assembled sliders to the oven, baking for 10-12 minutes until the cheese melts completely and the bun tops acquire a beautiful golden hue.
- Remove from oven, garnish with fresh basil leaves, and serve immediately while warm and aromatic.
Notes
- Customize breading by using gluten-free breadcrumbs or almond flour for a low-carb alternative, ensuring everyone can enjoy this delicious slider.
- Prep chicken pieces uniformly for even cooking, preventing dry or undercooked sections that might compromise taste and texture.
- Make ahead by assembling sliders and refrigerating before baking, which intensifies flavors and saves time during meal preparation.
- Experiment with different cheese combinations like provolone or fontina to add unique flavor profiles and keep the dish exciting for repeat meals.
- Prep Time: 25 minutes
- Cook Time: 30 minutes
- Category: Lunch, Dinner, Appetizer, Snacks
- Method: Baking
- Cuisine: Italian-American
Nutrition
- Serving Size: 12
- Calories: 230 kcal
- Sugar: 3 g
- Sodium: 420 mg
- Fat: 8 g
- Saturated Fat: 4 g
- Unsaturated Fat: 3 g
- Trans Fat: 0.1 g
- Carbohydrates: 22 g
- Fiber: 1.5 g
- Protein: 18 g
- Cholesterol: 60 mg
John Conley
Founder & Culinary Storyteller
Expertise
Recipe Development, Culinary Writing, Home Cooking Techniques, Seasonal Ingredient Utilization
Education
Lane Community College, Eugene, OR
Certificate in Culinary Arts
Focused on foundational cooking techniques, kitchen safety, and menu planning.
Gotham Writers Workshop, New York, NY
Course in Food Writing
Explored the art of crafting engaging culinary narratives and recipe development.
John grew up where food meant connection: big bowls, warm kitchens, and meals that told a story. After earning his Certificate in Culinary Arts from Lane Community College and diving deep into food writing at Gotham Writers Workshop, he found his calling: turning everyday recipes into something worth savoring.
At The Liffey, John’s focus is all about crafting dishes that feel easy, honest, and full of heart.