The Happiest Funfetti Layer Cake Recipe for Sweet Celebrations
Sweet memories sparkle through this delightful funfetti layer cake that brings childhood joy to every slice.
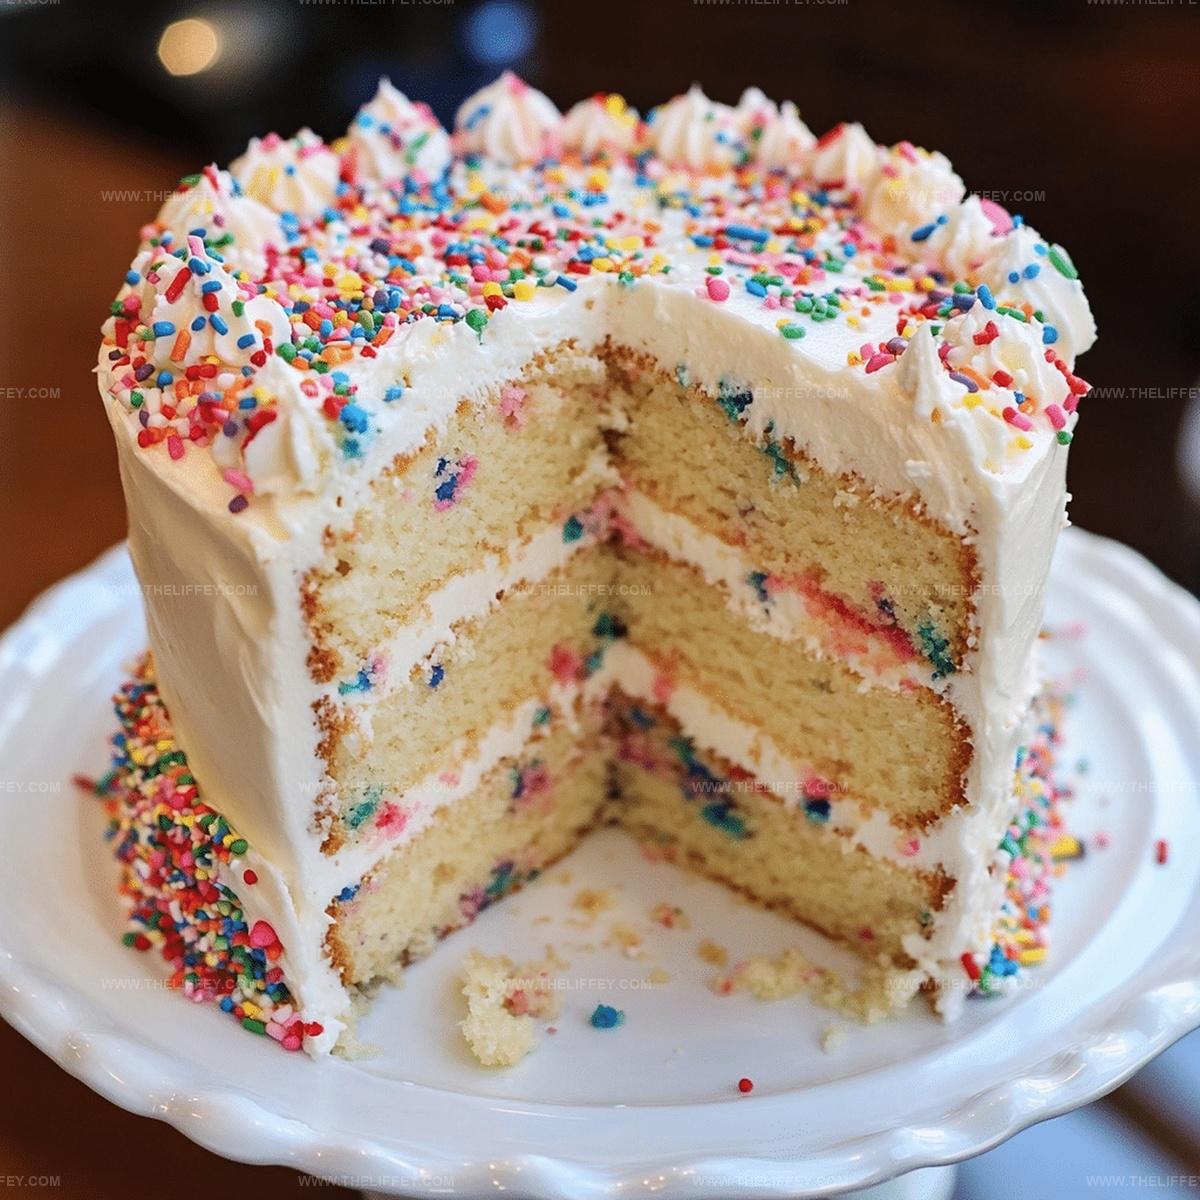
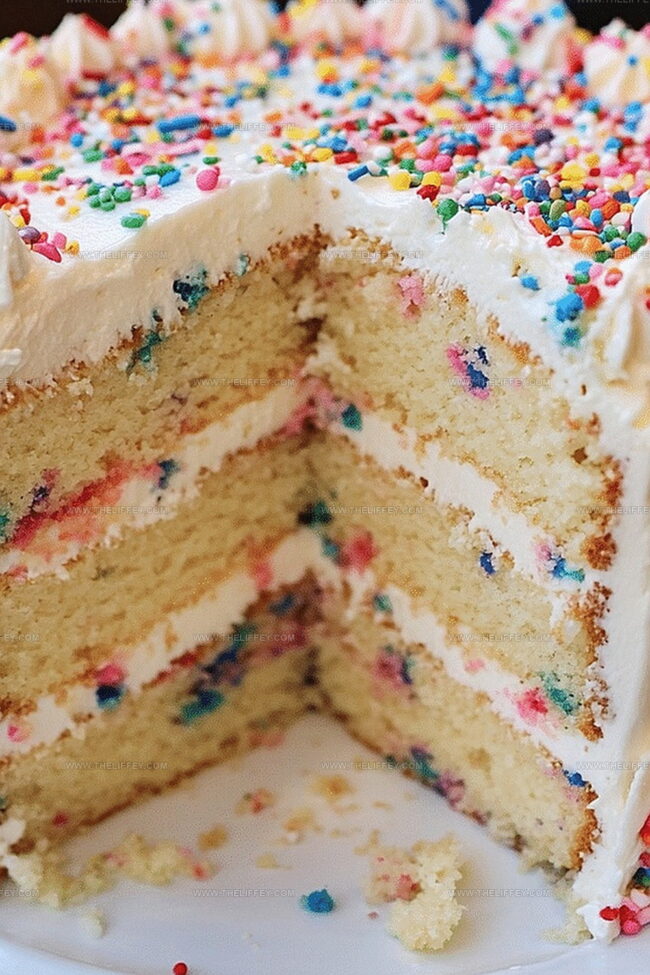
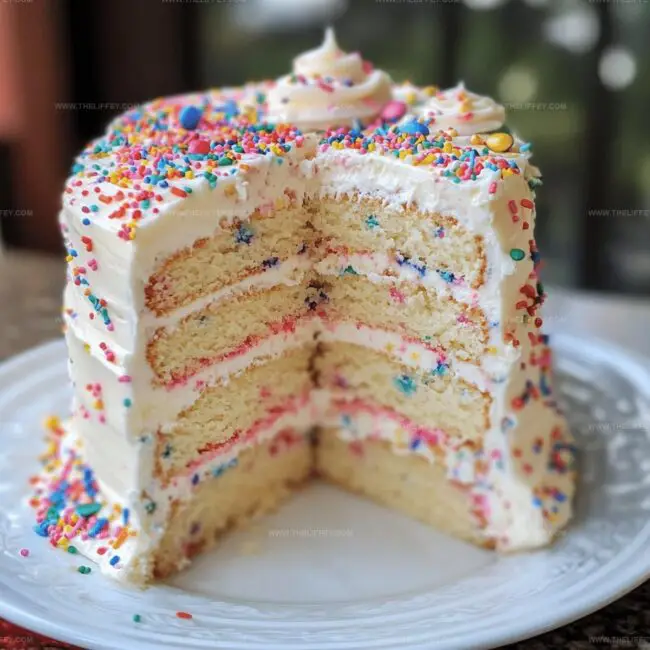
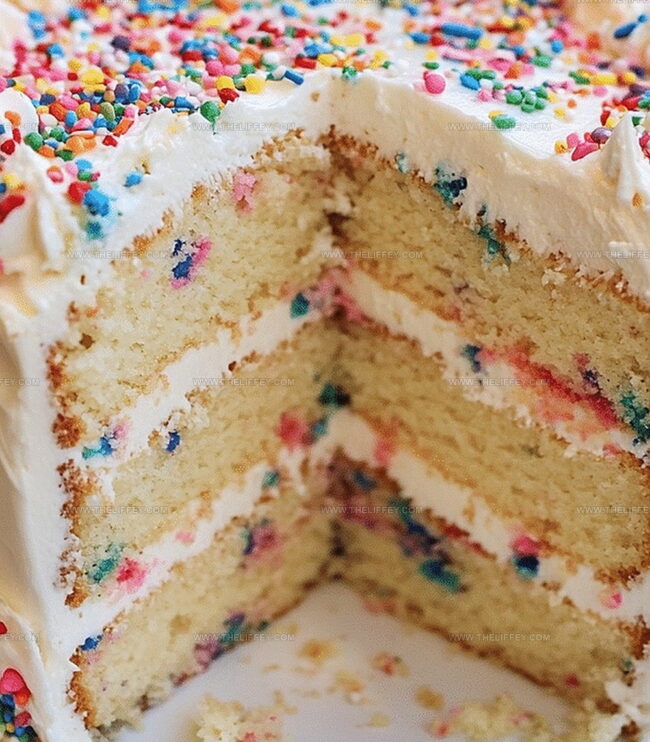
Colorful sprinkles dance between soft, tender layers of vanilla-kissed goodness.
Birthdays and celebrations become instantly magical with each crumb.
Light and airy textures promise pure happiness in every bite.
Decorative frosting creates a canvas of whimsy and delight.
Baking this cake means crafting moments of pure, sugary bliss.
You’ll fall in love with how simple yet spectacular this dessert becomes.
Gather your mixing bowls and let the sprinkle adventure begin!
What Makes Funfetti Layer Cake So Festive
Ingredients for Funfetti Layer Cake
Cake Base:Leavening and Seasoning:Liquid and Flavor Enhancers:Decorative Elements:Frosting Components:Decoration:How to Bake Funfetti Layer Cake
Step 1: Fire Up the Oven and Prep Cake Pans
Get your oven roaring hot and coat your cake pans with a generous layer of butter or cooking spray. This ensures your cake won’t stick and comes out perfectly.
Step 2: Mix Dry Ingredients
Grab a mixing bowl and whisk together flour, baking powder, and salt until they’re fully combined and free of lumps. This creates the perfect base for your fluffy cake.
Step 3: Cream Butter and Sugar
In a separate large bowl, beat butter and sugar until they transform into a light, airy mixture that looks like soft clouds. Add eggs one at a time, then pour in vanilla extract, mixing until everything is smooth and creamy.
Step 4: Create Cake Batter
Slowly add your dry ingredient mixture to the butter mixture, alternating with milk. Pour in small amounts at a time, gently stirring to keep the batter silky and prevent overmixing.
Step 5: Add Colorful Sprinkles
Carefully fold rainbow sprinkles into the batter, distributing them evenly so every slice will have a burst of color and fun.
Step 6: Bake the Cake
Divide the batter equally between your prepared cake pans.
Slide them into the preheated oven and bake until the cakes turn golden and a toothpick comes out clean when inserted.
Step 7: Cool and Decorate
Allow the cakes to cool completely on a wire rack.
Once cooled, spread vanilla buttercream between layers and on the outside. Finish by sprinkling extra colorful sprinkles all over for a festive touch.
Tips for Fluffy Funfetti Layer Cake
Flavor Variations for Funfetti Layer Cake
Serving Suggestions for Funfetti Layer Cake
How to Store Funfetti Layer Cake
FAQs
Yes, you can skip the sprinkles, but they add a fun, colorful touch to the cake’s texture and appearance.
No, you can use any type of sprinkles like classic jimmies, nonpareils, or confetti sprinkles to create your desired look.
Toss the sprinkles in a little flour before folding them into the batter to help them stay evenly distributed during baking.
Absolutely! Simply adjust the baking time to 15-18 minutes and use cupcake liners in a muffin tin.
Print
Best Funfetti Layer Cake Recipe
- Total Time: 50 minutes
- Yield: 12 1x
Description
Funfetti layer cake celebrates classic birthday nostalgia with colorful sprinkle-studded layers of moist vanilla cake. Homemade frosting and festive decorations make this dessert a delightful centerpiece you’ll savor with pure joy.
Ingredients
Main Ingredients:
- 2 1/2 cups (310 g) all-purpose flour
- 2 teaspoons (10 g) baking powder
- 1/2 teaspoon (3 g) salt
- 1 cup (227 g) unsalted butter
- 2 cups (400 g) granulated sugar
- 4 large eggs
Flavor Enhancers:
- 2 teaspoons (10 ml) vanilla extract
- 1 cup (240 ml) whole milk
- 1/2 cup (80 g) rainbow sprinkles
Frosting:
- 1 batch vanilla buttercream frosting
Instructions
- Prepare baking equipment by warming the oven to 350°F and coating two 9-inch cake pans with cooking spray or butter.
- Sift together dry ingredients in a medium mixing bowl, ensuring no lumps remain.
- Using an electric mixer, blend butter and sugar until light and airy, approximately 3-4 minutes.
- Incorporate eggs one at a time, mixing thoroughly after each addition, then blend in pure vanilla extract.
- Gradually introduce dry ingredients and milk into the butter mixture, alternating between the two, mixing until just combined.
- Delicately fold colorful rainbow sprinkles into the cake batter, distributing evenly without overmixing.
- Pour batter equally into prepared cake pans, smoothing the surfaces with a spatula.
- Bake in preheated oven for 25-30 minutes, or until a toothpick inserted in the center comes out clean.
- Remove cakes from oven and allow to cool in pans for 10 minutes, then transfer to wire racks.
- Once completely cooled, apply smooth layers of vanilla buttercream frosting between cake layers and on exterior.
- Embellish cake top and sides with additional rainbow sprinkles for festive presentation.
Notes
- Prevent sprinkles from sinking by tossing them in a light coating of flour before adding to the batter, ensuring even distribution throughout the cake.
- Create a gluten-free version by substituting all-purpose flour with a 1:1 gluten-free baking blend, maintaining the cake’s soft texture and festive appearance.
- Enhance flavor complexity by using clear vanilla extract to keep the cake’s bright white color while adding a subtle depth to the sweetness.
- Store leftover cake in an airtight container at room temperature for up to 3 days, or refrigerate for extended freshness, bringing to room temperature before serving to restore optimal texture.
- Prep Time: 20 minutes
- Cook Time: 30 minutes
- Category: Desserts
- Method: Baking
- Cuisine: American
Nutrition
- Serving Size: 12
- Calories: 350 kcal
- Sugar: 28 g
- Sodium: 150 mg
- Fat: 15 g
- Saturated Fat: 9 g
- Unsaturated Fat: 5 g
- Trans Fat: 0.2 g
- Carbohydrates: 45 g
- Fiber: 1 g
- Protein: 4 g
- Cholesterol: 55 mg
John Conley
Founder & Culinary Storyteller
Expertise
Recipe Development, Culinary Writing, Home Cooking Techniques, Seasonal Ingredient Utilization
Education
Lane Community College, Eugene, OR
Certificate in Culinary Arts
Focused on foundational cooking techniques, kitchen safety, and menu planning.
Gotham Writers Workshop, New York, NY
Course in Food Writing
Explored the art of crafting engaging culinary narratives and recipe development.
John grew up where food meant connection: big bowls, warm kitchens, and meals that told a story. After earning his Certificate in Culinary Arts from Lane Community College and diving deep into food writing at Gotham Writers Workshop, he found his calling: turning everyday recipes into something worth savoring.
At The Liffey, John’s focus is all about crafting dishes that feel easy, honest, and full of heart.