Cozy Gingerbread Cookie Bars Recipe: Sweet Holiday Magic
Sweet memories of childhood winters dance through this gingerbread cookie bars adventure, bringing warmth to your kitchen.
Cozy aromas will swirl around your home, promising delightful comfort.
Fragrant spices blend seamlessly into a rich, soft base that melts in your mouth.
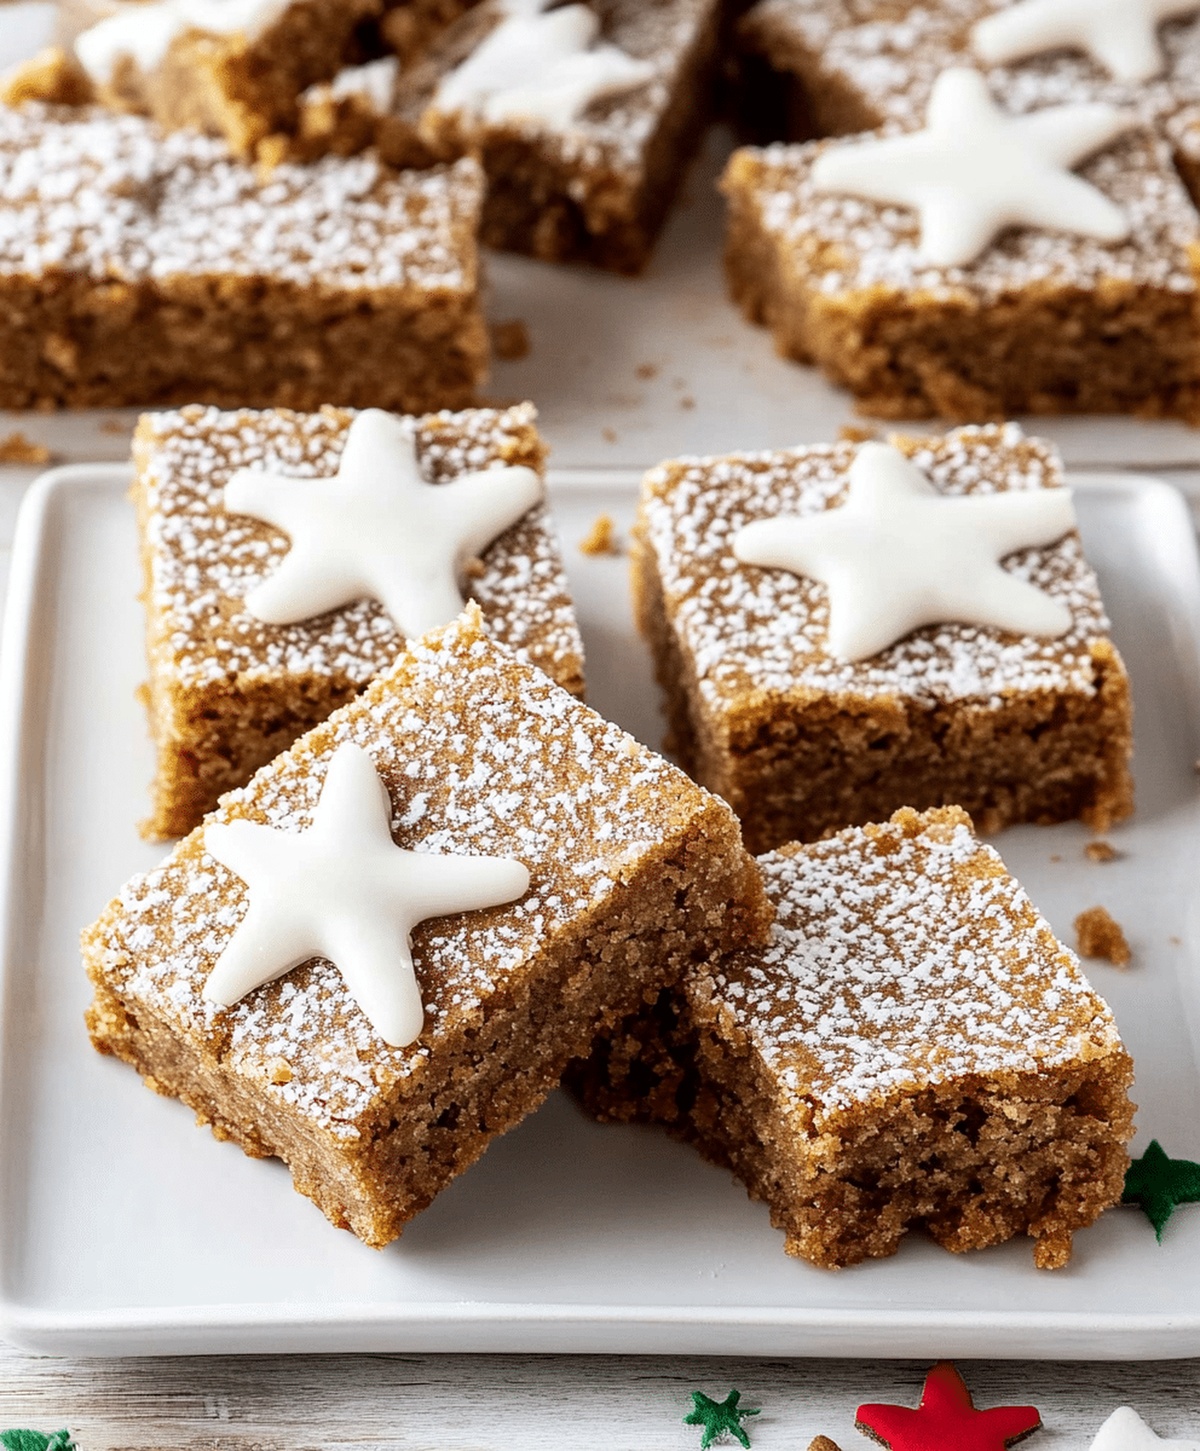
Each square captures classic holiday magic with a modern twist.
Layers of molasses and cinnamon create an irresistible texture that beckons everyone closer.
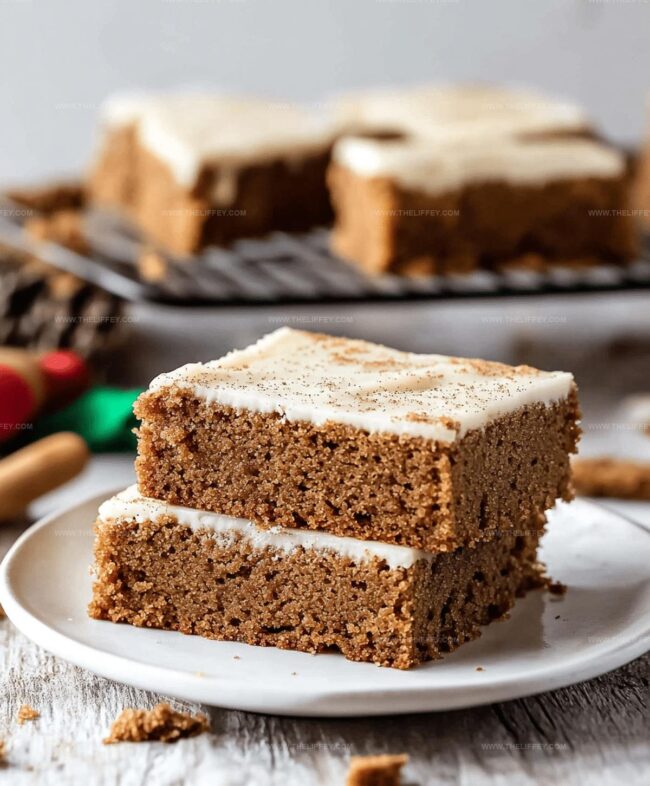
Soft, chewy edges promise pure indulgence with every delectable bite.
Make these bars and watch smiles spread across eager faces.
Gingerbread Cookie Bars That Delight
Ingredients for Gingerbread Cookie Bars
Dry Ingredients:Wet Ingredients:Icing Ingredients:How to Make Gingerbread Cookie Bars
Step 1: Warm Up the Oven
Crank the oven to a toasty 350°F (175°C). Grab a baking dish and line it with parchment paper, making sure the paper covers the bottom and sides completely.
Step 2: Mix Dry Ingredients
Grab a mixing bowl and toss in:Whisk these ingredients together until they’re well combined and look like a fragrant, speckled mixture.
Step 3: Cream Butter and Sugar
In a separate large bowl, beat the butter and brown sugar together until the mixture becomes light, fluffy, and looks like a cloud.
Add in the eggs, vanilla extract, and molasses. Mix everything until it’s completely blended and looks smooth and glossy.
Step 4: Combine Wet and Dry Ingredients
Slowly pour the dry ingredient mixture into the wet ingredients. Stir gently until everything is perfectly combined.
Don’t overmix – you want the batter to be just incorporated.
Step 5: Bake the Bars
Spread the dough evenly into the prepared baking dish.
Make sure it’s smooth and reaches all the corners. Pop it into the preheated oven and bake for 20-25 minutes.
The bars are done when they’re golden brown and a toothpick comes out clean.
Step 6: Cool Down
Remove the baking dish from the oven and let the bars cool completely.
This is super important for getting clean cuts and the perfect texture.
Step 7: Create Drizzling Icing
In a small bowl, whisk together powdered sugar and milk until you have a smooth, silky icing that drizzles beautifully.
Step 8: Finish and Serve
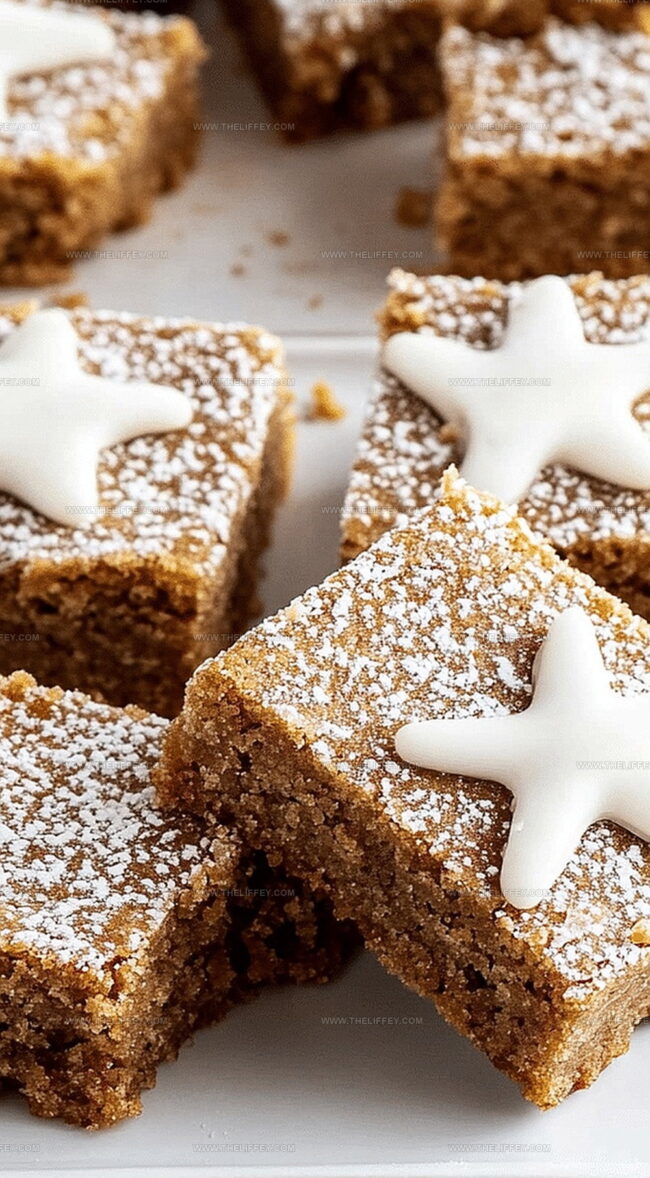
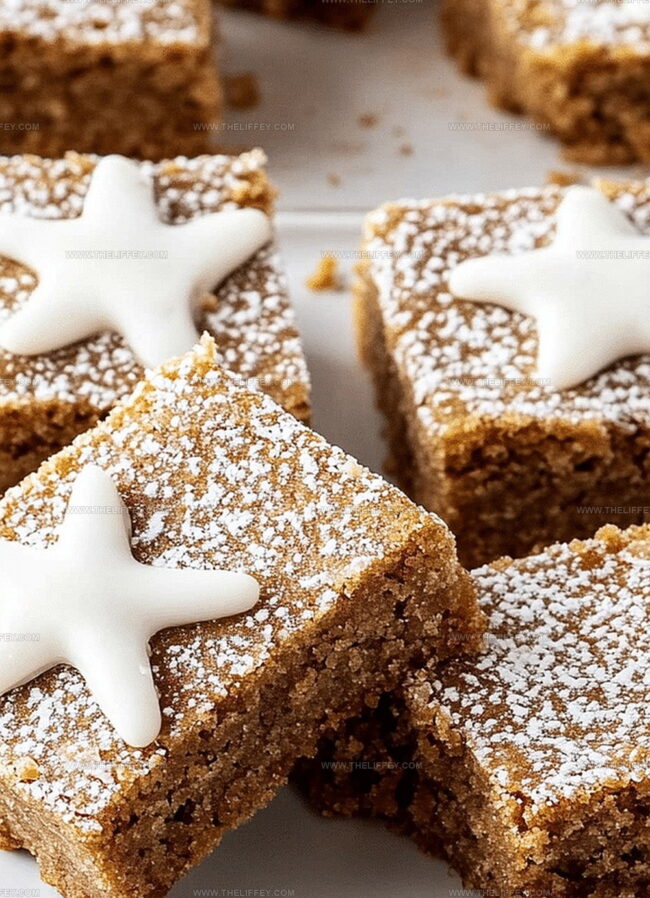
Once the bars are completely cool, drizzle the icing over the top. Let it set for a few minutes, then slice into squares.
Serve and watch everyone’s eyes light up with delight!
Pro Tips for Gingerbread Cookie Bars
Creative Spins on Gingerbread Cookie Bars
Serving Ideas for Gingerbread Cookie Bars
Storage Advice for Gingerbread Cookie Bars
FAQs
Yes, you can substitute eggs with mashed banana, applesauce, or a commercial egg replacer to create a vegan-friendly version of these bars.
Insert a toothpick into the center of the bars – if it comes out with just a few moist crumbs, the bars are done. Avoid overbaking to keep them soft and chewy.
Absolutely! Replace the all-purpose flour with a gluten-free flour blend designed for baking, and ensure all other ingredients are gluten-free.
Print
Quick Gingerbread Cookie Bars Recipe
- Total Time: 45 minutes
- Yield: 16 1x
Description
Festive gingerbread cookie bars deliver classic holiday warmth with rich molasses and warming spices. Perfectly balanced between chewy and crisp, these treats connect home bakers to cherished seasonal traditions you’ll savor with each delightful bite.
Ingredients
Dry Ingredients:
- 2 1/4 cups (280 grams) all-purpose flour
- 2 teaspoons ground ginger
- 1 1/2 teaspoons ground cinnamon
- 1/4 teaspoon ground cloves
- 1 teaspoon baking soda
- 1/4 teaspoon salt
Wet Ingredients:
- 3/4 cup (170 grams) unsalted butter
- 3/4 cup (165 grams) brown sugar
- 1/4 cup (85 grams) molasses
- 1 large egg
- 1 teaspoon vanilla extract
Icing Ingredients:
- 1 cup (120 grams) powdered sugar
- 2 tablespoons milk
Instructions
- Prepare the baking environment by heating the oven to 350F (175C) and lining a baking dish with parchment paper for easy removal.
- Create a spice blend by whisking together dry ingredients, combining flour with warm spices like ginger, cinnamon, and cloves, and incorporating baking soda and salt.
- In a separate mixing bowl, transform butter and brown sugar into a light, fluffy mixture by creaming thoroughly.
- Enhance the wet mixture by incorporating eggs, vanilla extract, and rich molasses, blending until ingredients are completely integrated.
- Gently fold dry ingredients into the wet mixture, mixing until a uniform dough forms without overmixing.
- Distribute the dough evenly across the prepared baking dish, ensuring a smooth, consistent surface.
- Bake in the preheated oven for 20-25 minutes, watching for golden edges and a set center.
- Allow bars to cool completely at room temperature, providing ample time for texture stabilization.
- Craft a silky icing by whisking powdered sugar with milk until achieving a smooth, pourable consistency.
- Drizzle the glossy icing over the cooled bars, creating an elegant finish.
- Slice into square portions and serve, revealing the soft, spiced interior.
Notes
- Enhance flavor by toasting ground spices briefly before mixing to release deeper, more complex aromatics.
- Swap traditional molasses with honey or maple syrup for alternative dietary preferences or lighter sweetness profile.
- Ensure butter is room temperature for smoother, more even blending when creaming with brown sugar.
- Adjust baking time by 2-3 minutes if using different pan sizes to prevent over or underbaking, checking with toothpick for moist crumbs.
- Prep Time: 20 minutes
- Cook Time: 25 minutes
- Category: Desserts, Snacks
- Method: Baking
- Cuisine: American
Nutrition
- Serving Size: 16
- Calories: 150 kcal
- Sugar: 12 g
- Sodium: 110 mg
- Fat: 6 g
- Saturated Fat: 3.5 g
- Unsaturated Fat: 2.5 g
- Trans Fat: 0.1 g
- Carbohydrates: 22 g
- Fiber: 1 g
- Protein: 2 g
- Cholesterol: 25 mg
John Conley
Founder & Culinary Storyteller
Expertise
Recipe Development, Culinary Writing, Home Cooking Techniques, Seasonal Ingredient Utilization
Education
Lane Community College, Eugene, OR
Certificate in Culinary Arts
Focused on foundational cooking techniques, kitchen safety, and menu planning.
Gotham Writers Workshop, New York, NY
Course in Food Writing
Explored the art of crafting engaging culinary narratives and recipe development.
John grew up where food meant connection: big bowls, warm kitchens, and meals that told a story. After earning his Certificate in Culinary Arts from Lane Community College and diving deep into food writing at Gotham Writers Workshop, he found his calling: turning everyday recipes into something worth savoring.
At The Liffey, John’s focus is all about crafting dishes that feel easy, honest, and full of heart.