
Spooky Halloween Graveyard Chocolate Poke Cake Recipe
Dark chocolate dreams meet spooky vibes in this Halloween graveyard chocolate poke cake that’s hauntingly delicious.
Creepy decorations and rich cocoa layers combine for a spine-chilling dessert.
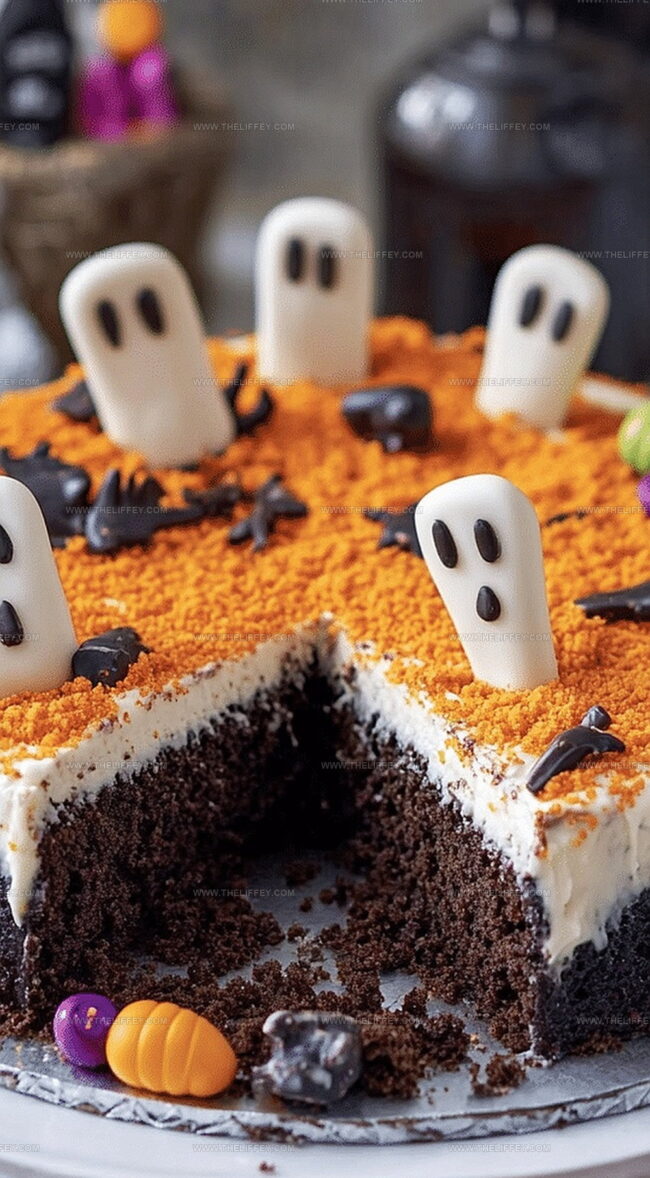
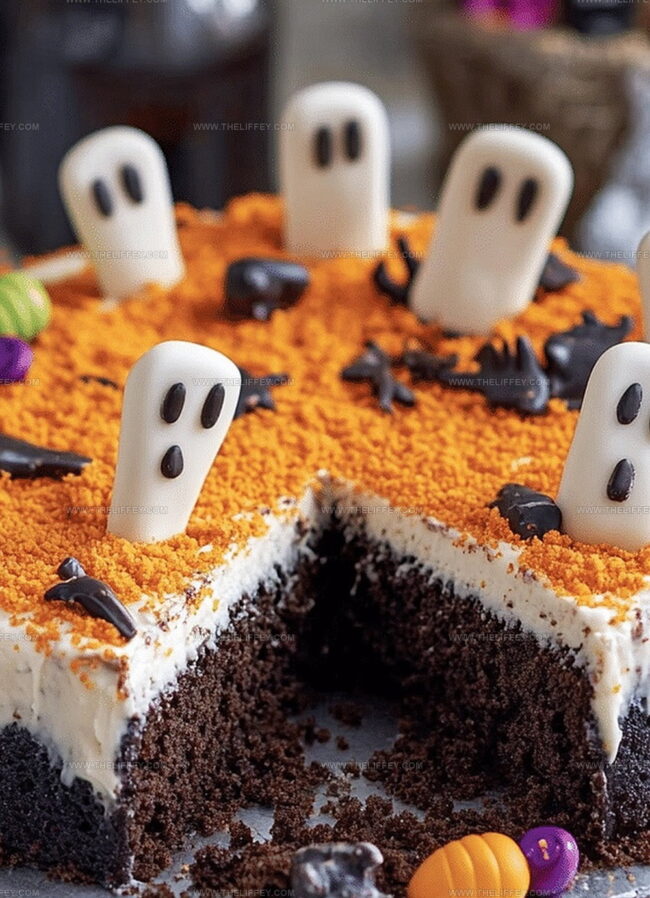
Marshmallow ghosts peek through chocolate pudding pools across the surface.
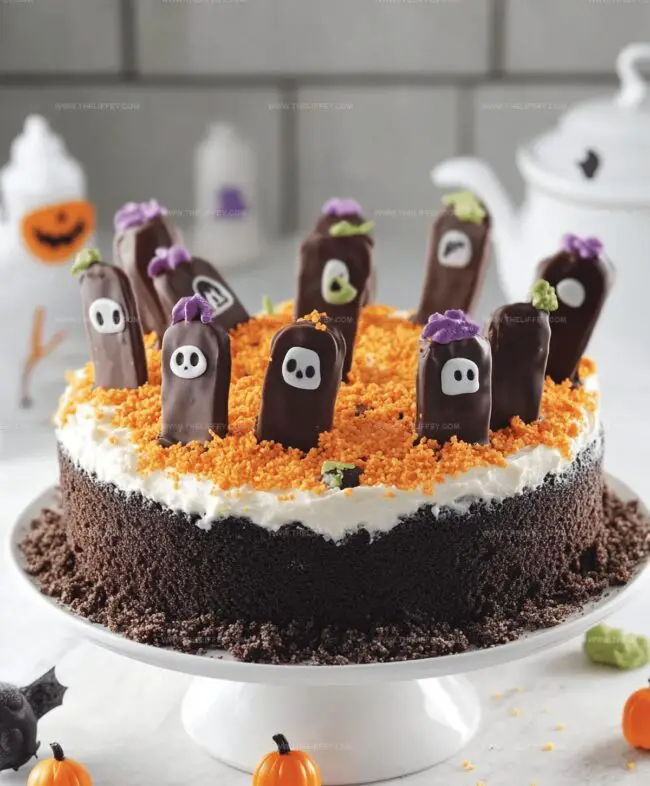
Crumbled cookie tombstones create an eerie landscape atop each slice.
Unexpected textures and deep chocolate flavors make this treat irresistible.
Guests will marvel at the creative design and incredible taste.
Prepare to unleash a delectable monster of a dessert that screams Halloween fun.
Halloween Graveyard Chocolate Poke Cake: Spooky Delight
What You Need for Graveyard Poke Cake
Cake Base:Pudding Layer:Decorative Toppings:How to Turn a Cake into a Spooky Graveyard
Step 1: Create Chocolate Cake Base
Whip up a delectable chocolate cake using your favorite box mix. Bake it in a spacious rectangular pan and let it cool down until it’s just warm to the touch.
Step 2: Craft Mysterious Holes
Grab a wooden spoon handle and playfully poke holes all across the cake’s surface. This will create secret pathways for the upcoming creepy filling.
Step 3: Prepare Spooky Pudding Mixture
In a mixing bowl, combine chocolate pudding mix with milk. Whisk enthusiastically until the mixture transforms into a thick, luxurious liquid that looks like midnight chocolate.
Step 4: Flood Cake With Chocolate Goodness
Gently pour the pudding over the cake, ensuring every hole gets filled with the rich, dark mixture. Use a spatula to spread it evenly across the surface.
Step 5: Craft Graveyard Ground
Crush chocolate sandwich cookies into fine crumbs that resemble dark, crumbly earth. Sprinkle these “dirt” crumbs generously over the pudding layer.
Step 6: Design Haunting Decoration
Transform your cake into a spooky graveyard scene by strategically placing:Step 7: Chill and Reveal
Refrigerate the ghoulish creation for at least one hour. This allows all flavors to meld and the decoration to set perfectly.
When ready, slice and serve your haunting masterpiece.
Pro Tip for Perfectly “Poked” Cake
Creative Decorations for Creepy Graveyards
Display Ideas for Halloween Dessert Tables
Storing Poke Cake to Preserve Moisture
FAQs
Use the back of a spoon or spatula to gently spread the pudding, ensuring it seeps into every hole for maximum flavor and moisture.
Yes, homemade chocolate pudding works great. Just ensure it’s slightly cooler than hot so it doesn’t melt the cake when pouring.
Chocolate sandwich cookies like Oreos are perfect. Crush them finely to create a realistic dirt-like texture for the graveyard theme.
Prepare the cake up to a day ahead, but add cookie tombstones and gummy worms just before serving to keep them crisp and prevent them from getting soggy.
Print
Perfect Halloween Graveyard Chocolate Poke Cake Recipe
- Total Time: 55 minutes
- Yield: 12 1x
Description
Spooky halloween graveyard chocolate poke cake combines dark chocolate layers with ghostly decorations and creamy pudding filling. Graveyard-themed dessert delights party guests with playful cookie tombstones and eerie marshmallow spirits.
Ingredients
Cake Base:
- 1 box chocolate cake mix
- Ingredients required on cake mix box (typically eggs, water, oil)
Pudding and Liquid:
- 1 package (3.9 ounces / 110 grams) instant chocolate pudding mix
- 2 cups milk
Decorative Toppings:
- 10 chocolate sandwich cookies (crushed for dirt effect)
- Tombstone-shaped cookies or graham crackers
- Candy pumpkins
- Gummy worms
- Whipped cream or frosting (optional)
Instructions
- Prepare chocolate cake following package directions in a 9×13-inch pan, allowing it to cool to room temperature for about 15-20 minutes.
- Using a wooden spoon handle, create systematic holes across the entire cake surface, ensuring even distribution.
- Whisk chocolate pudding mix with milk until smooth and slightly thickened, approximately 2 minutes.
- Carefully pour pudding over cake, gently spreading to ensure complete coverage of the holes.
- Crush chocolate sandwich cookies into fine, uneven crumbs to mimic realistic soil texture.
- Generously sprinkle cookie crumbs across the entire cake surface, completely covering the pudding layer.
- Strategically place tombstone-shaped cookies at varying angles to create a spooky graveyard landscape.
- Scatter candy pumpkins and gummy worms randomly across the cake to enhance the Halloween-themed design.
- Refrigerate the decorated cake for minimum 60 minutes to allow pudding to set and flavors to meld together.
Notes
- Ensure cake is slightly warm when poking holes for maximum pudding absorption.
- Crush chocolate cookies finely to create realistic “dirt” texture on cake surface.
- Use different shaped cookies for tombstones to add variety and depth to graveyard design.
- Refrigerate cake for at least 2 hours for best flavor and firmer pudding consistency.
- Prep Time: 20 minutes
- Cook Time: 35 minutes
- Category: Desserts
- Method: Baking
- Cuisine: American
Nutrition
- Serving Size: 12
- Calories: 304 kcal
- Sugar: 30 g
- Sodium: 295 mg
- Fat: 11 g
- Saturated Fat: 5 g
- Unsaturated Fat: 4 g
- Trans Fat: 0.2 g
- Carbohydrates: 45 g
- Fiber: 2 g
- Protein: 4 g
- Cholesterol: 30 mg
John Conley
Founder & Culinary Storyteller
Expertise
Recipe Development, Culinary Writing, Home Cooking Techniques, Seasonal Ingredient Utilization
Education
Lane Community College, Eugene, OR
Certificate in Culinary Arts
Focused on foundational cooking techniques, kitchen safety, and menu planning.
Gotham Writers Workshop, New York, NY
Course in Food Writing
Explored the art of crafting engaging culinary narratives and recipe development.
John grew up where food meant connection: big bowls, warm kitchens, and meals that told a story. After earning his Certificate in Culinary Arts from Lane Community College and diving deep into food writing at Gotham Writers Workshop, he found his calling: turning everyday recipes into something worth savoring.
At The Liffey, John’s focus is all about crafting dishes that feel easy, honest, and full of heart.