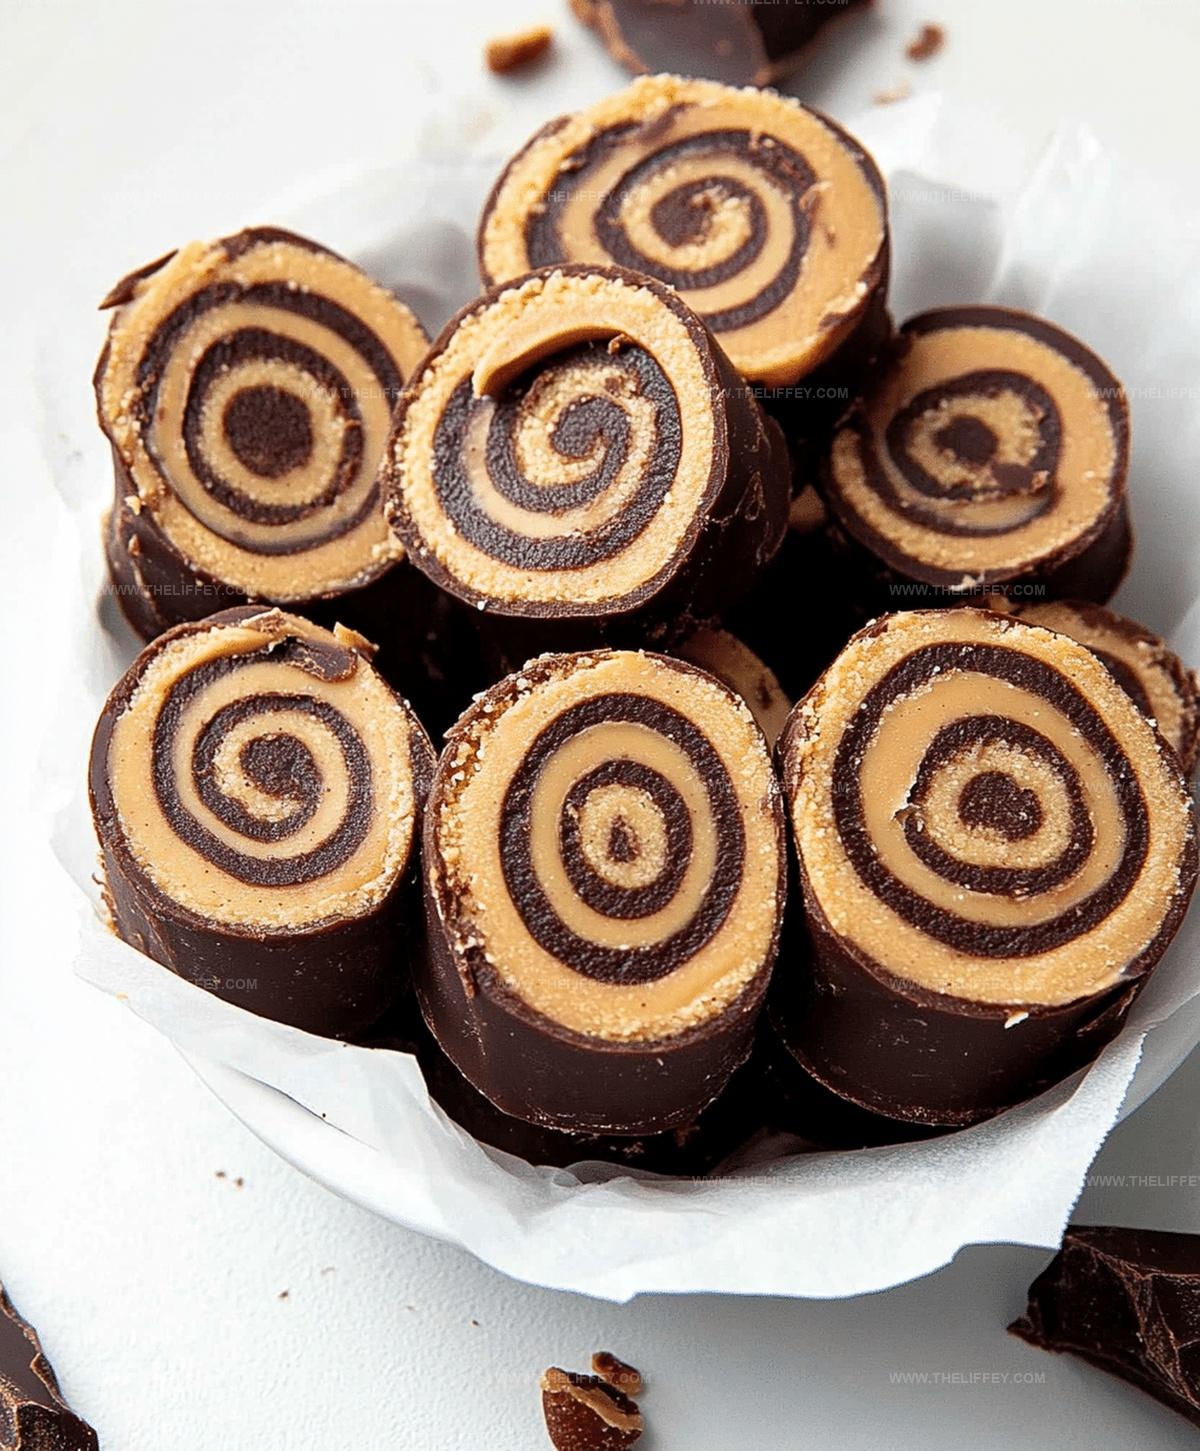
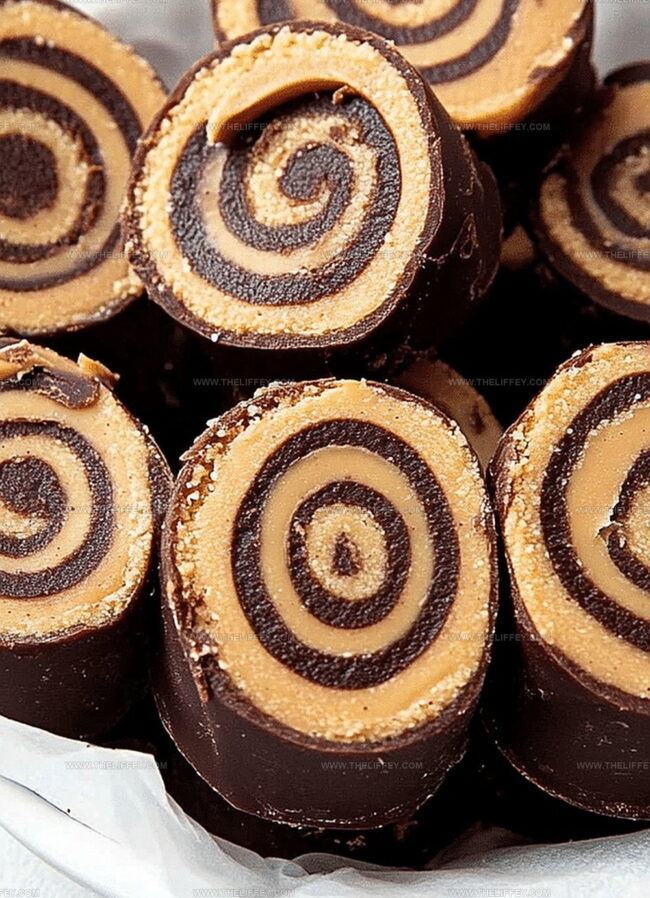
The Best No Bake Chocolate Peanut Butter Pinwheels Recipe Ever
Swirling chocolate and peanut butter into delightful no bake chocolate peanut butter pinwheels creates a dreamy dessert that melts hearts instantly.
Rich layers of creamy goodness promise pure indulgence without turning on an oven.
Sweet chocolate and nutty peanut butter dance together in perfect harmony.
Minimal ingredients mean maximum satisfaction for anyone craving something decadent.
Cool and simple techniques make this treat accessible to kitchen newbies and seasoned bakers alike.
Each bite promises a smooth, velvety experience that feels like a culinary hug.
You deserve this effortless slice of deliciousness – so let’s make magic happen!
Highlights of Chocolate Peanut Butter Pinwheels
Ingredients for No Bake Pinwheels
Base Ingredients:Binding Ingredients:Filling and Finishing Ingredient:How to Assemble Chocolate Peanut Butter Pinwheels
Step 1: Blend Dry Ingredients
In a spacious mixing bowl, whisk together powdered sugar and rich cocoa powder until they create a smooth, uniform mixture.
Ensure no lumps remain to achieve a perfect texture.
Step 2: Create Dough Base
Pour milk and vanilla extract into the dry ingredients.
Stir thoroughly until a soft, pliable dough develops.
The mixture should feel slightly sticky but manageable.
Step 3: Prepare Rolling Surface
Lay out a sheet of wax paper on a clean, flat countertop.
This will help you easily roll and shape the dough without sticking.
Step 4: Flatten Dough
Using a rolling pin, gently roll the dough into a thin, rectangular shape on the wax paper.
Aim for an even thickness across the entire surface, approximately 1/4 inch thick.
Step 5: Apply Peanut Butter Layer
Spread a generous, even layer of creamy peanut butter across the entire surface of the rolled-out dough.
Use a spatula or the back of a spoon to ensure complete coverage.
Step 6: Roll into Log
Carefully use the wax paper to help you roll the dough into a tight, cylindrical log.
Start from one of the longer edges and roll slowly, keeping the log compact and consistent.
Step 7: Chill and Set
Place the rolled log in the refrigerator for 1-2 hours.
This will help the pinwheels firm up and make slicing easier.
Step 8: Slice and Serve
Remove the chilled log from the refrigerator.
Using a sharp knife, slice into 1/2-inch thick pinwheels.
Arrange on a serving plate and enjoy these delightful no-bake treats.
Tips for Perfect No Bake Pinwheels
Creative Twists on Peanut Butter Pinwheels
Serving Suggestions for Pinwheels
Storing No Bake Pinwheels Properly
FAQs
You’ll need powdered sugar, cocoa powder, milk, vanilla extract, and peanut butter. These simple pantry staples make it easy to whip up a delicious treat.
Absolutely! Kids will love helping roll the dough and can easily assist with mixing ingredients. No baking means it’s a safe and fun cooking activity for children.
The dough should be soft and pliable, not too dry or crumbly. If it feels too stiff, add a little more milk. If it’s too wet, sprinkle in some extra powdered sugar.
Print
No Bake Chocolate Peanut Butter Pinwheels Recipe
- Total Time: 2 hours 20 minutes
- Yield: 12 1x
Description
Chocolate peanut butter pinwheels showcase a delightful no-bake dessert from American kitchens. Quick assembly and rich flavors make this treat perfect for casual gatherings and sweet cravings you’ll want to share with friends.
Ingredients
Main Ingredients:
- 1/2 cup creamy peanut butter
- 1/2 cup unsweetened cocoa powder
- 2 cups powdered sugar
Liquid and Flavoring Ingredients:
- 1/4 cup milk
- 1 teaspoon vanilla extract
Instructions
- Sift powdered sugar and cocoa powder together in a large mixing bowl, ensuring no lumps remain.
- Pour in milk and vanilla extract, gently stirring until a smooth, pliable dough develops.
- Place a sheet of wax paper on a flat surface and transfer the dough onto it, using a rolling pin to create an even, thin rectangular sheet.
- Carefully spread a uniform layer of peanut butter across the entire surface of the dough, leaving a small margin around the edges.
- Using the wax paper as a guide, slowly and tightly roll the dough into a compact cylindrical log, pressing gently to seal the edges.
- Wrap the log securely in the wax paper and refrigerate for 1-2 hours until firm and completely set.
- Remove from refrigerator, unwrap, and slice into 1/2-inch thick pinwheel rounds using a sharp knife.
Notes
- Ensure powdered sugar is sifted to prevent lumps and create a smoother, more uniform dough texture.
- Use room temperature milk for easier mixing and better dough consistency.
- Experiment with almond or sunflower butter as alternative spread for nut-free or different flavor variations.
- Slice pinwheels thinly for delicate, bite-sized treats perfect for parties or dessert platters.
- Prep Time: 20 minutes
- Cook Time: 2 hours
- Category: Snacks, Desserts
- Method: Rolling
- Cuisine: American
Nutrition
- Serving Size: 12
- Calories: 283
- Sugar: 28 g
- Sodium: 45 mg
- Fat: 16 g
- Saturated Fat: 3 g
- Unsaturated Fat: 13 g
- Trans Fat: 0 g
- Carbohydrates: 31 g
- Fiber: 4 g
- Protein: 6 g
- Cholesterol: 5 mg
Amanda Bennett
Recipe Curator & Culinary Educator
Expertise
Baking and Pastry Arts, Recipe Testing and Development, Culinary Instruction, Food Styling and Photography
Education
Asheville-Buncombe Technical Community College, Asheville, NC
Diploma in Culinary Arts
Emphasized practical cooking skills, nutrition, and kitchen management.
Cambridge School of Culinary Arts, Cambridge, MA
Certificate in Professional Pastry Arts
Specialized in baking techniques, dessert presentation, and flavor profiling
Amanda’s roots run deep in the Southern hills, where every meal started fresh from the garden and every dessert came with a story. She trained at Asheville-Buncombe Technical Community College and sharpened her pastry skills at the Cambridge School of Culinary Arts, blending classic technique with everyday charm.
At The Liffey, Amanda’s passion is making baking and home cooking feel natural and joyful. She’s all about single recipes that are simple enough for a busy afternoon, but special enough to make someone’s day a little sweeter.