
Juicy Cheeseburger Sliders With Hawaiian Rolls Recipe
Crafting delectable cheeseburger sliders with Hawaiian rolls brings pure comfort right to your plate.
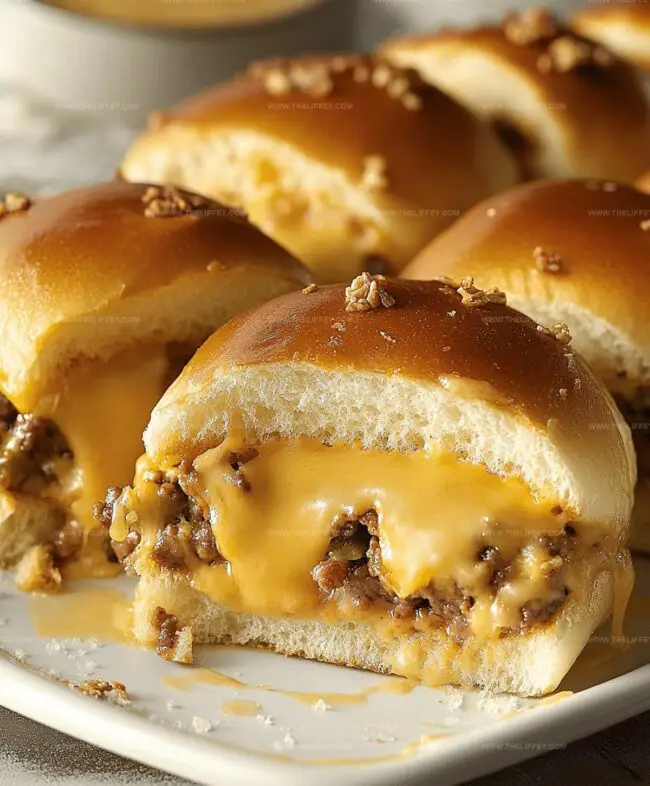
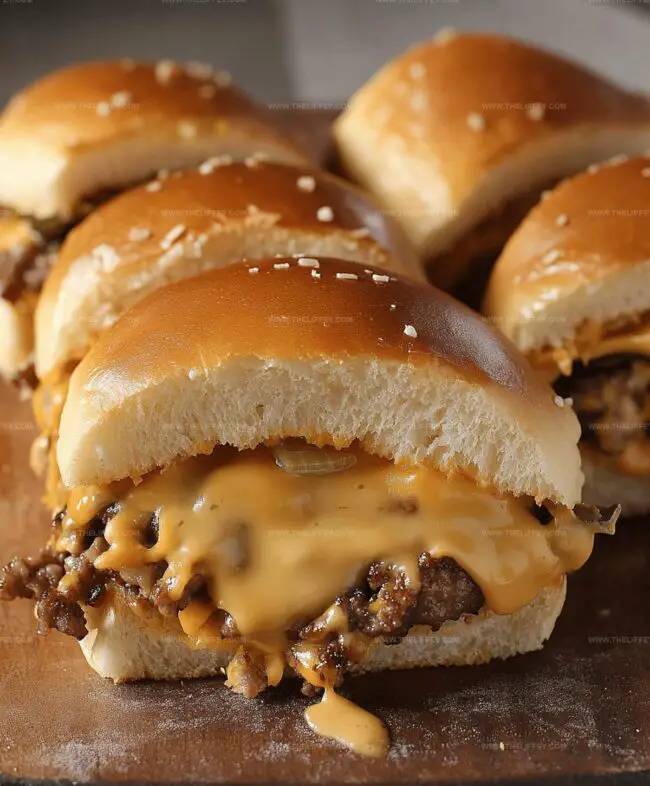
Soft, pillowy rolls cradle perfectly seasoned mini burgers that promise maximum flavor in every bite.
Small yet mighty, these little sandwiches pack serious culinary punch with minimal effort.
Mini burgers nestled between sweet Hawaiian rolls create an irresistible combination that sparks instant cravings.
Crowd-pleasing and simple, this recipe transforms ordinary ingredients into something extraordinary.
Compact and delicious, these sliders will become your new go-to party favorite that everyone will request again and again.
You’ll want to make double the batch because these miniature masterpieces disappear faster than you can serve them.
Cheeseburger Sliders With Hawaiian Rolls That Impress
Ingredients For Hawaiian Roll Cheeseburger Sliders
Main Protein:Seasoning Group:Bread and Topping Group:Additional Serving Suggestions:Making Cheeseburger Sliders With Hawaiian Rolls
Step 1: Warm Up the Cooking Space
Crank up your oven to a cozy 350°F (175°C) so it’s ready for your slider magic.
Step 2: Sizzle the Meat
In a skillet over medium heat, toss in ground beef with:Cook until the beef turns brown and loses its pink color.
Drain away any extra fat and set the meat aside.
Step 3: Build the Base
Arrange the bottom halves of Hawaiian rolls on a baking sheet.
Spread the perfectly cooked beef evenly across the rolls.
Step 4: Cheese It Up
Layer cheddar cheese slices over the beef.
Top with the remaining roll halves.
Step 5: Butter Brilliance
Brush the roll tops with melted butter.
Sprinkle sesame seeds for extra crunch if you’re feeling fancy.
Step 6: Bake to Perfection
Slide the sliders into the oven.
Bake for 10-15 minutes until the cheese turns gooey and the roll tops transform into a beautiful golden brown.
Step 7: Serve and Celebrate
Pull out the sliders, slice them into individual portions, and serve hot.
Accompany with pickles, ketchup, and mustard for a flavor explosion.
Tips For Juicy Cheeseburger Sliders
Creative Ideas For Cheeseburger Sliders
Serving Suggestions For Cheeseburger Sliders
Storing Cheeseburger Sliders Properly
FAQs
Yes, you can swap cheddar for American, Swiss, or pepper jack cheese for variety. Each cheese will bring a unique flavor to the sliders.
Add jalapeños, hot sauce, or sprinkle red pepper flakes on the beef while cooking to increase the heat level. Adjust according to your spice preference.
Absolutely! Ground turkey works well and provides a leaner protein option. Just ensure it’s fully cooked and seasoned similarly to keep the flavor profile.
You can assemble the sliders up to a day in advance, cover them, and refrigerate. When ready to serve, bake them straight from the refrigerator, adding a few extra minutes to the cooking time.
Print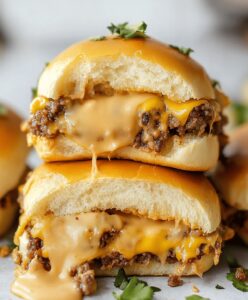
Irresistible Cheeseburger Sliders With Hawaiian Rolls Recipe
- Total Time: 30 minutes
- Yield: 12 1x
Description
Cheeseburger sliders with Hawaiian rolls combine classic American burger flavors on miniature sweet rolls. Juicy beef patties and melted cheese create a party-friendly appetizer that guests will eagerly devour.
Ingredients
Meat:
- 1.5 pounds (680 grams) ground beef
Seasonings:
- 1 teaspoon garlic powder
- 1 teaspoon onion powder
- 1 teaspoon salt
- 0.5 teaspoon black pepper
Sliders and Toppings:
- 12 Hawaiian rolls, sliced in half
- 12 slices cheddar cheese
- 2 tablespoons melted butter
- 1 tablespoon sesame seeds (optional)
- Pickles (for serving)
- Ketchup (for serving)
- Mustard (for serving)
Instructions
- Prepare your kitchen workspace and preheat the oven to 350°F (175°C) for optimal cooking conditions.
- In a skillet over medium heat, combine ground beef with garlic powder, onion powder, salt, and pepper. Sauté until the meat browns completely and loses its pink color, ensuring thorough cooking.
- Drain excess fat from the beef mixture to prevent greasy sliders and set the meat aside momentarily.
- Arrange the bottom halves of Hawaiian rolls on a clean baking sheet, creating a uniform base for the sliders.
- Distribute the seasoned beef evenly across the roll bottoms, creating a consistent meat layer.
- Layer cheddar cheese slices over the beef, ensuring complete coverage for maximum melting potential.
- Carefully place the top halves of the Hawaiian rolls over the cheese layer, creating compact mini sandwiches.
- Generously brush the roll tops with melted butter, which will enhance golden browning and add rich flavor.
- Optional: Sprinkle sesame seeds over the buttered rolls for additional texture and visual appeal.
- Slide the prepared sliders into the preheated oven and bake for 10-15 minutes until cheese melts completely and roll tops turn golden brown.
- Remove from oven, let cool briefly, then slice into individual sliders.
- Serve immediately accompanied by classic condiments like pickles, ketchup, and mustard for a complete slider experience.
Notes
- Swap ground beef with ground turkey or plant-based crumbles for a leaner or vegetarian version that keeps the slider’s delicious flavor profile.
- Experiment with different cheese varieties like pepper jack or Swiss to create unique taste combinations and add personal flair to the classic recipe.
- Allow the beef to cool slightly before assembling sliders to prevent soggy rolls and ensure a crispy, golden-brown top when baking.
- Prep sliders ahead of time and refrigerate before baking, which helps ingredients meld together and makes entertaining easier with minimal last-minute cooking.
- Prep Time: 15 minutes
- Cook Time: 15 minutes
- Category: Lunch, Dinner, Snacks
- Method: Baking
- Cuisine: American
Nutrition
- Serving Size: 12
- Calories: 286 kcal
- Sugar: 3 g
- Sodium: 490 mg
- Fat: 18 g
- Saturated Fat: 8 g
- Unsaturated Fat: 9 g
- Trans Fat: 0.5 g
- Carbohydrates: 17 g
- Fiber: 1 g
- Protein: 15 g
- Cholesterol: 55 mg
John Conley
Founder & Culinary Storyteller
Expertise
Recipe Development, Culinary Writing, Home Cooking Techniques, Seasonal Ingredient Utilization
Education
Lane Community College, Eugene, OR
Certificate in Culinary Arts
Focused on foundational cooking techniques, kitchen safety, and menu planning.
Gotham Writers Workshop, New York, NY
Course in Food Writing
Explored the art of crafting engaging culinary narratives and recipe development.
John grew up where food meant connection: big bowls, warm kitchens, and meals that told a story. After earning his Certificate in Culinary Arts from Lane Community College and diving deep into food writing at Gotham Writers Workshop, he found his calling: turning everyday recipes into something worth savoring.
At The Liffey, John’s focus is all about crafting dishes that feel easy, honest, and full of heart.