Dreamy Ice Cream Cake With Cookie Crunch Recipe for Sweet Bliss
Crafting a delectable ice cream cake with cookie crunch promises pure dessert magic that’ll make taste buds dance.
Sweet layers of creamy goodness combine with crumbly texture for an irresistible treat.
Childhood memories flood back with each delightful bite of this cool confection.
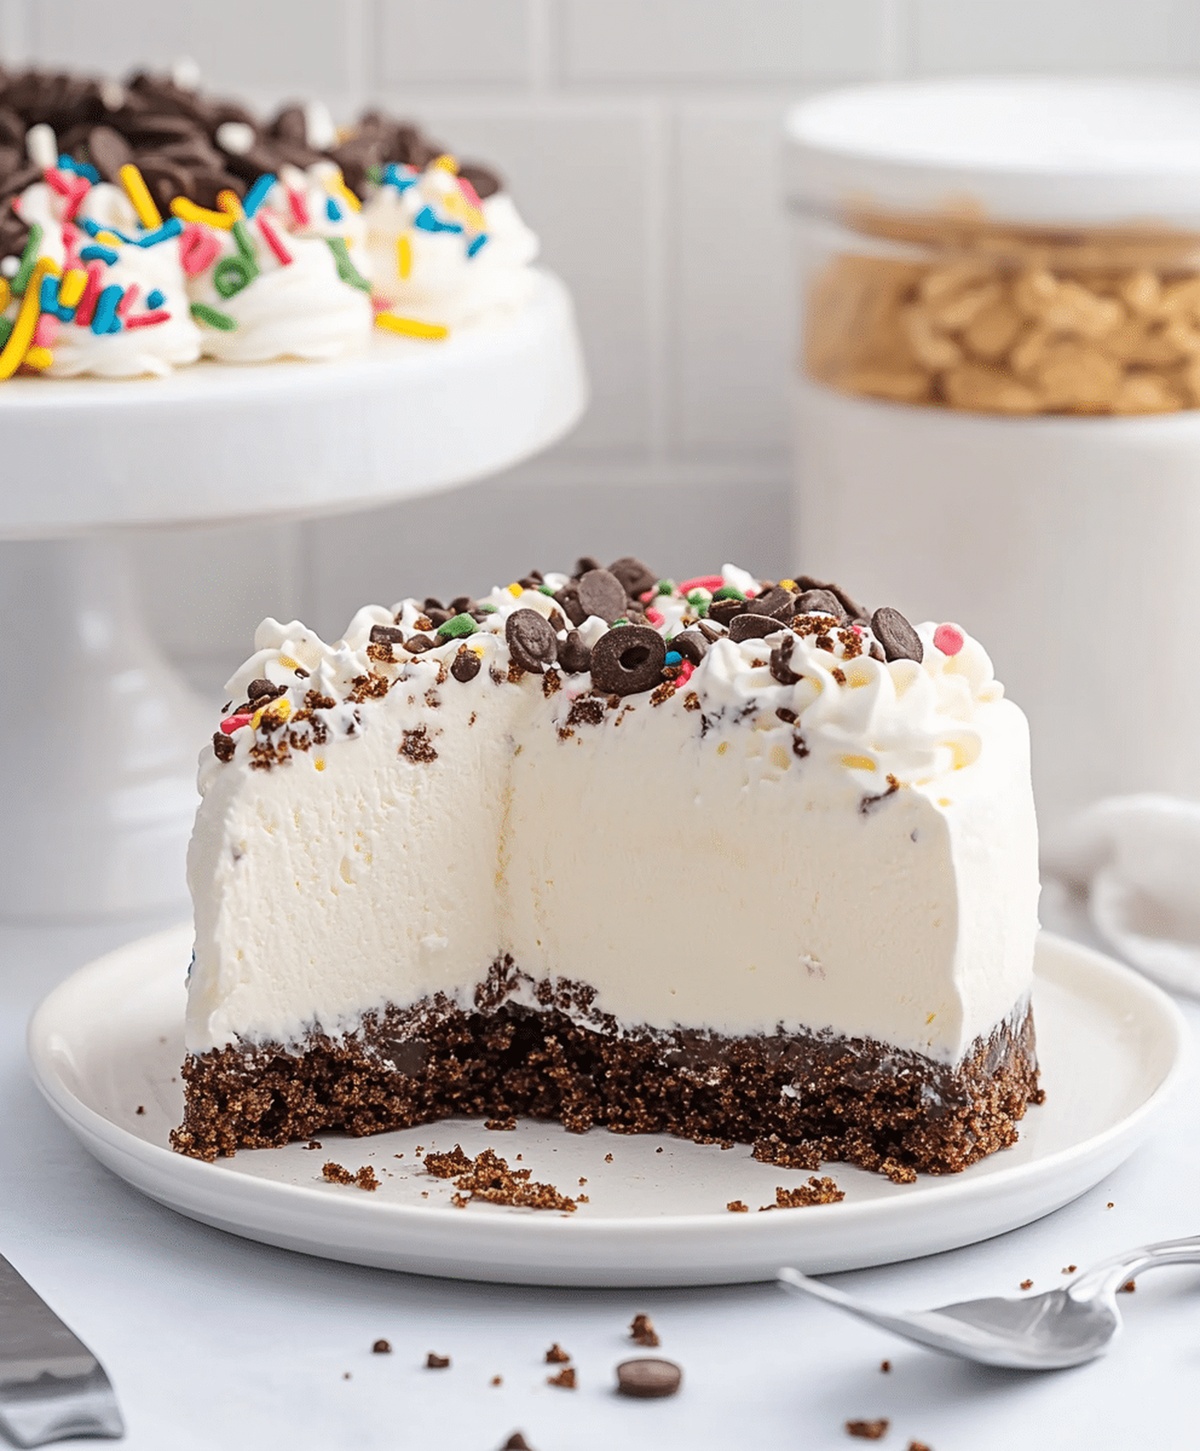
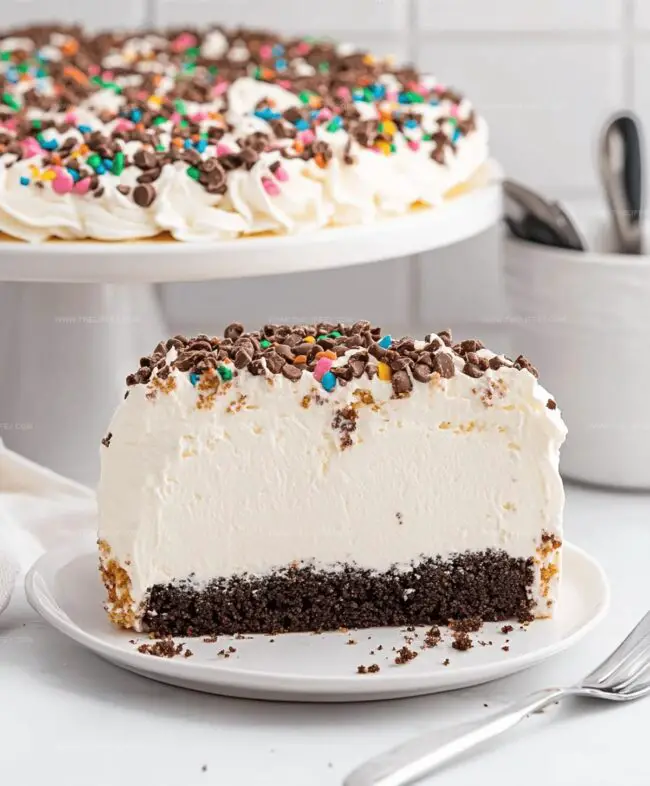
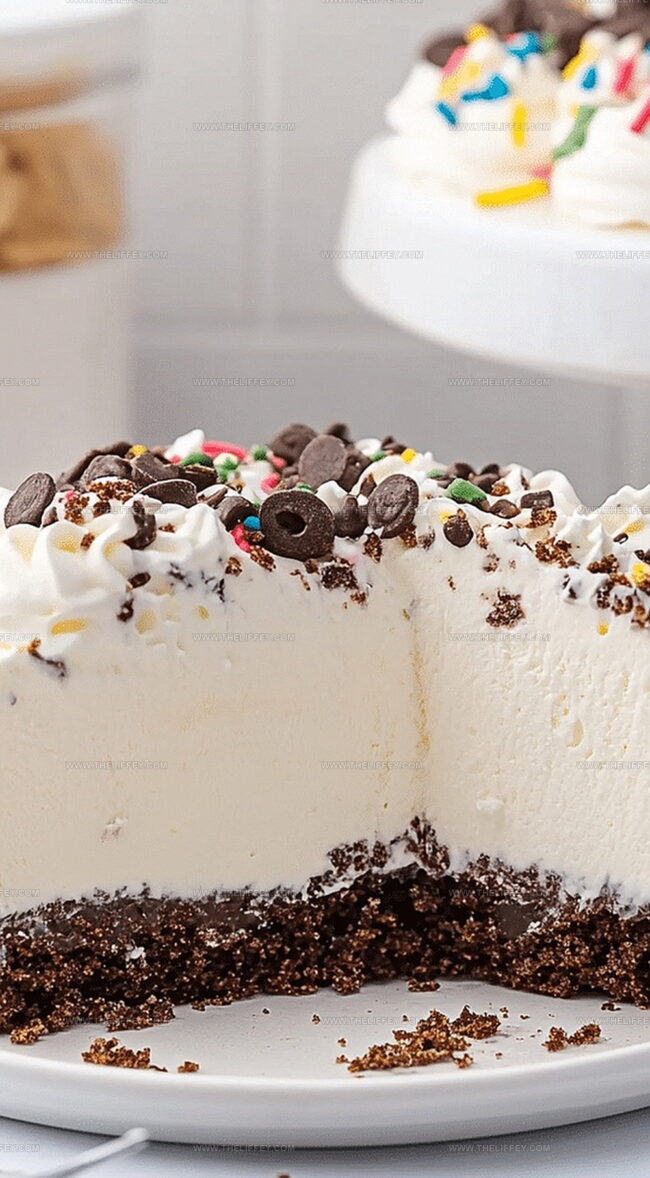
Chocolate cookies provide unexpected crackle against smooth frozen surfaces, creating sensational contrast.
Guests will marvel at your culinary skills when presenting this stunning dessert centerpiece.
Minimal effort yields maximum deliciousness, turning an ordinary gathering into a celebration of sweet indulgence.
Jump right in and experience the ultimate summer dessert that everyone will absolutely adore.
What’s Fun About This Ice Cream Cake

What Goes into Ice Cream Cake with Crunch
Crust Base:Ice Cream Layers:Topping and Sauce:How to Build Ice Cream Cake Layers
Step 1: Prepare Baking Dish
Line the springform pan with parchment paper, ensuring complete coverage of the bottom and sides for easy removal later.
Step 2: Create Crunchy Cookie Base
Crush chocolate sandwich cookies into fine crumbs and mix thoroughly with melted butter.
Press the mixture firmly and evenly into the bottom of the pan.
Place the pan in the freezer to set the base for 10 minutes.
Step 3: Add Chocolate Ice Cream Layer
Remove the pan from the freezer and spread softened chocolate ice cream smoothly over the cookie crust.
Use a spatula to create an even layer.
Return the pan to the freezer for 20 minutes to solidify.
Step 4: Drizzle Decadent Fudge
Take the pan out and generously drizzle hot fudge sauce over the chocolate ice cream layer.
Ensure an even distribution of the rich fudge sauce.
Freeze for another 10 minutes to allow the fudge to set slightly.
Step 5: Top with Vanilla Ice Cream
Spread softened vanilla ice cream over the fudge layer, creating a smooth and even surface.
Use a clean spatula to achieve a professional finish.
Place the pan back in the freezer for 2 hours to completely set the layers.
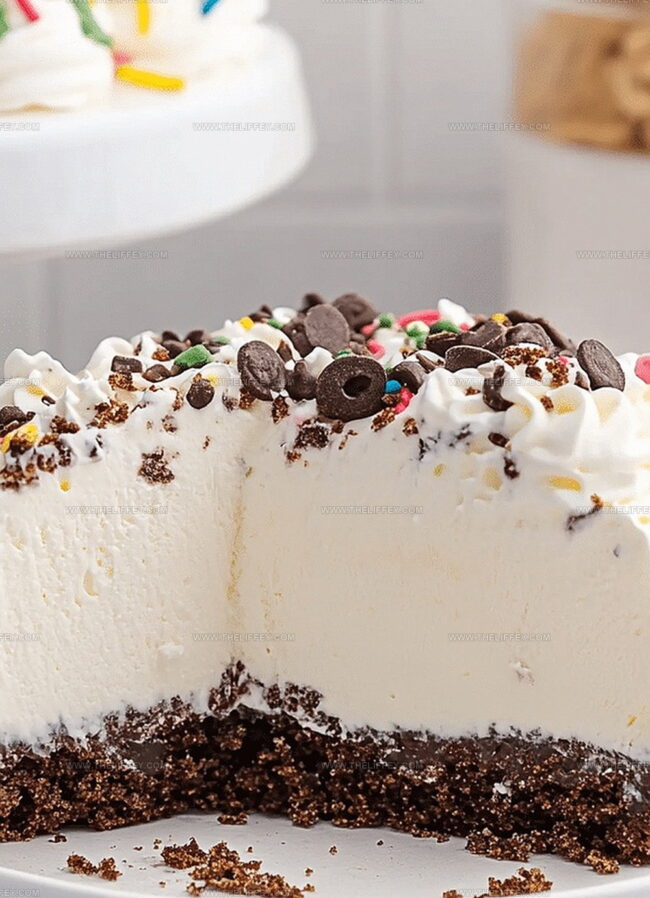
Step 6: Decorate and Finish
Remove the cake from the springform pan carefully.
Cover the entire cake with whipped topping, creating decorative swirls or patterns as desired.
You can add sprinkles, chocolate shavings, or additional cookie crumbs for extra texture.
Step 7: Final Freeze and Serve
Return the decorated cake to the freezer for one final hour to ensure perfect slicing.
When ready to serve, let the cake sit at room temperature for 5-10 minutes to soften slightly for easier cutting.
Notes to Nail the Cookie Crunch Texture
Custom Styles for Ice Cream Cake
What to Serve with Cookie Crunch Cake
Ice Cream Cake Storage Tips
FAQs
Yes, you can substitute graham crackers, Oreos, or any other cookie you prefer to create a unique base for your ice cream cake.
The cake can be stored in the freezer for up to 1 week if tightly wrapped in plastic wrap or kept in an airtight container.
You’ll need a springform pan, parchment paper, and a mixer or whisk to prepare the ingredients easily.
Absolutely! You can prepare the cake a few days in advance and keep it frozen until you’re ready to serve, making it perfect for planning ahead.
Print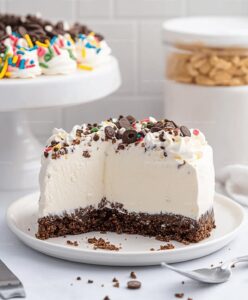
Ice Cream Cake With Cookie Crunch Recipe
- Total Time: 4 hours
- Yield: 12 1x
Description
Creamy ice cream cake with cookie crunch delivers a delightful dessert experience. Sweet layers and crunchy textures combine to create a memorable treat for special occasions.
Ingredients
Main Ingredients:
- 1.5 quarts vanilla ice cream (softened)
- 1.5 quarts chocolate ice cream (softened)
- 1 package chocolate sandwich cookies (crushed)
Cookie Base:
- 1/4 cup melted butter
Topping:
- 1 cup hot fudge sauce
- 1 cup whipped topping
Instructions
- Prepare a springform pan by lining the bottom and sides with parchment paper for easy removal.
- Crush cookies into fine crumbs, blend with melted butter, and firmly press the mixture into the pan’s base to create a solid foundation. Chill in the freezer for 10 minutes to set.
- Allow chocolate ice cream to soften slightly, then carefully spread an even layer over the chilled cookie crust. Return to the freezer for 20 minutes to firm up.
- Gently drizzle warm hot fudge sauce across the chocolate ice cream layer, creating an artistic pattern. Freeze for an additional 10 minutes to stabilize.
- Soften vanilla ice cream, then smoothly spread it over the fudge layer, ensuring a uniform surface. Place in the freezer for 2 hours to completely solidify.
- Carefully remove the cake from the springform pan by releasing the sides and transferring to a serving plate.
- Cover the entire cake with fluffy whipped topping, using smooth, graceful strokes to create an elegant finish. Add decorative elements like chocolate shavings or sprinkles if desired.
- Return the decorated cake to the freezer for one final hour to ensure perfect slicing and serving consistency.
Notes
- Chill all ingredients and tools beforehand to prevent melting and ensure smooth layering during cake assembly.
- Use room temperature ice cream for easier spreading and creating clean, even layers without tearing the base.
- Select high-quality cookies with robust flavor like chocolate sandwich cookies or graham crackers for maximum crunch and taste enhancement.
- Wipe pan edges with warm cloth between layers to create pristine, professional-looking cake presentation.
- Prep Time: 20 minutes
- Cook Time: 3 hours 40 minutes
- Category: Desserts
- Method: Freezing
- Cuisine: American
Nutrition
- Serving Size: 12
- Calories: 427
- Sugar: 38 g
- Sodium: 152 mg
- Fat: 24 g
- Saturated Fat: 15 g
- Unsaturated Fat: 7 g
- Trans Fat: 0.5 g
- Carbohydrates: 49 g
- Fiber: 1.5 g
- Protein: 4 g
- Cholesterol: 55 mg
Amanda Bennett
Recipe Curator & Culinary Educator
Expertise
Baking and Pastry Arts, Recipe Testing and Development, Culinary Instruction, Food Styling and Photography
Education
Asheville-Buncombe Technical Community College, Asheville, NC
Diploma in Culinary Arts
Emphasized practical cooking skills, nutrition, and kitchen management.
Cambridge School of Culinary Arts, Cambridge, MA
Certificate in Professional Pastry Arts
Specialized in baking techniques, dessert presentation, and flavor profiling
Amanda’s roots run deep in the Southern hills, where every meal started fresh from the garden and every dessert came with a story. She trained at Asheville-Buncombe Technical Community College and sharpened her pastry skills at the Cambridge School of Culinary Arts, blending classic technique with everyday charm.
At The Liffey, Amanda’s passion is making baking and home cooking feel natural and joyful. She’s all about single recipes that are simple enough for a busy afternoon, but special enough to make someone’s day a little sweeter.