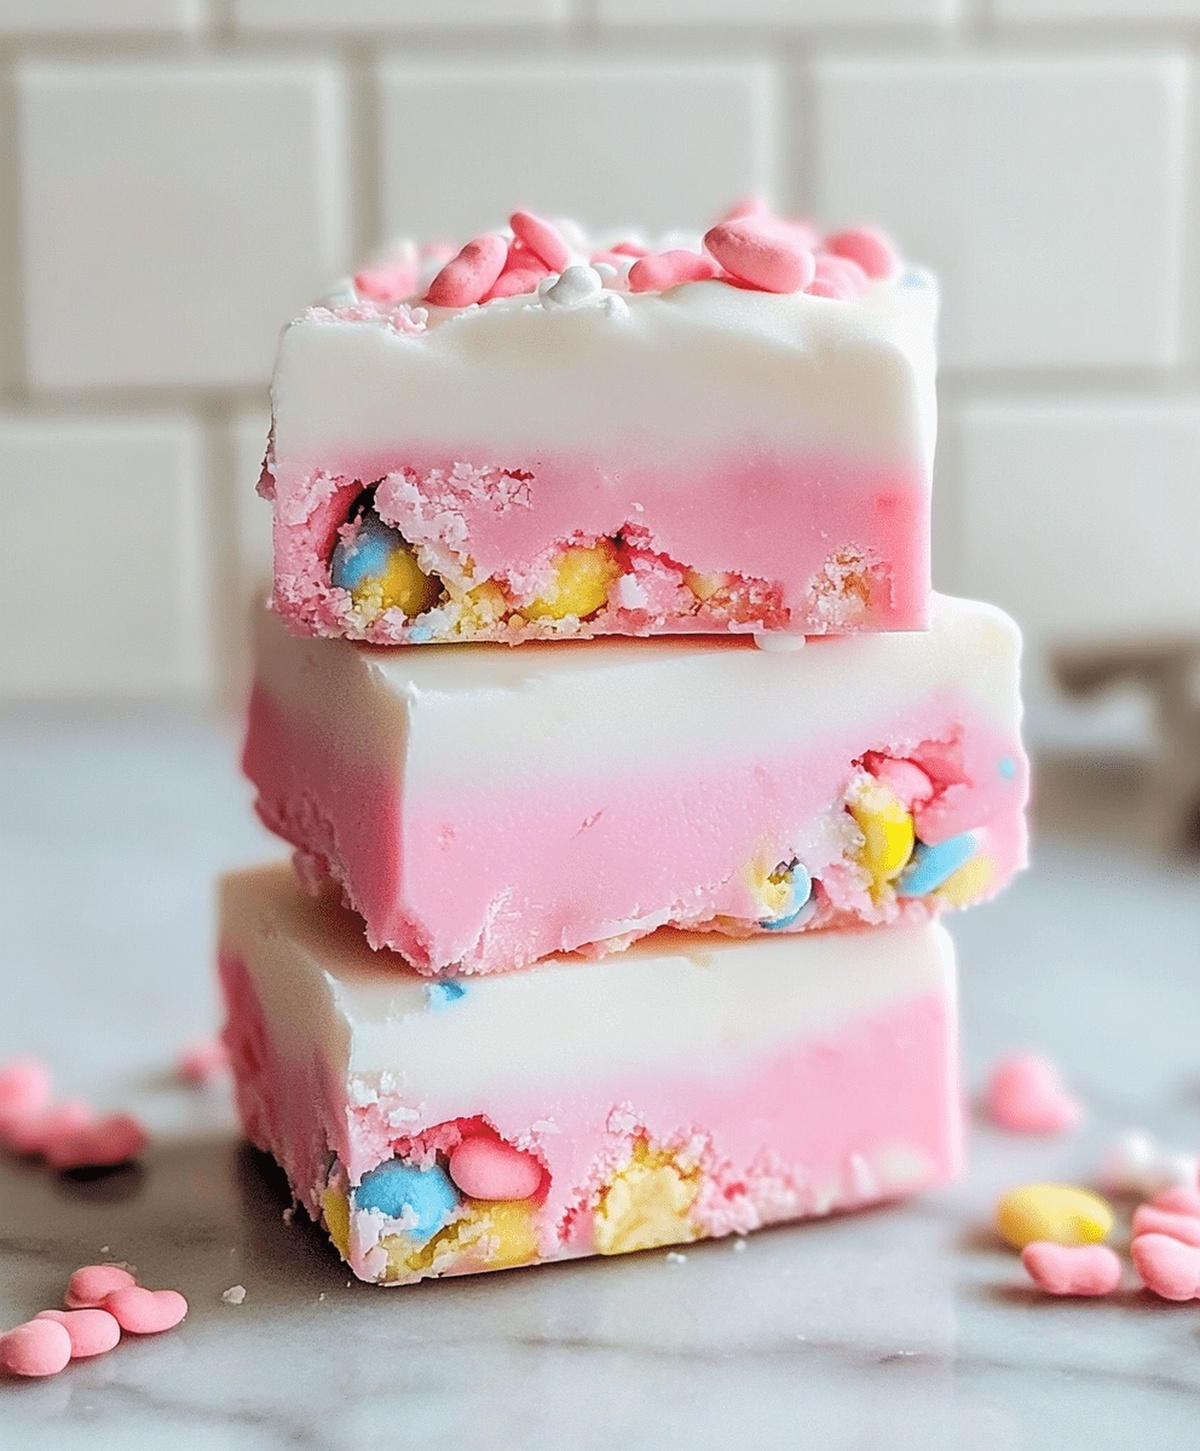
The Dreamiest Homemade Bubblegum Cloud Fudge Recipe Ever
Crafting delectable homemade bubblegum cloud fudge demands creativity and a dash of whimsy.
Sweet memories dance through childhood kitchens with this playful treat.
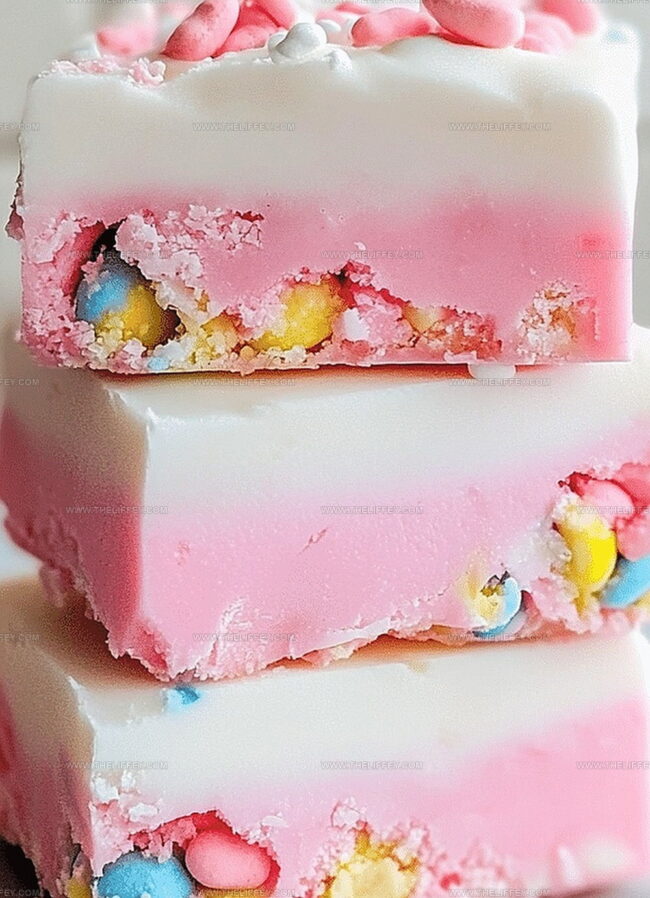
Soft pastel colors promise a magical dessert experience that sparks joy.
Nostalgic flavors mingle with creamy textures, creating an unexpected delight.
Surprisingly simple ingredients transform into a dreamy confection that surprises everyone.
Pastel swirls and sugary whispers invite you to create something extraordinary.
Kids and adults alike will fall in love with this enchanting confection.
One bite promises to transport you to a world of pure sugary bliss.
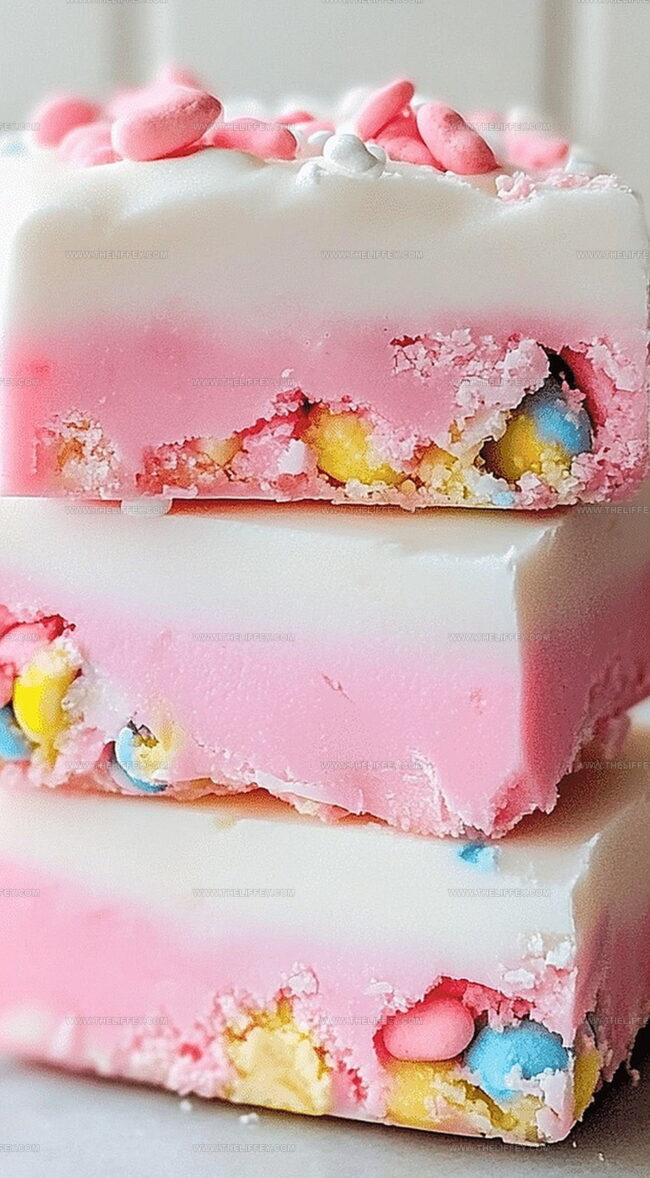
Homemade Bubblegum Cloud Fudge Bursting with Sweetness
Ingredients for Homemade Bubblegum Cloud Fudge
Main Ingredients:Flavor Enhancers:Finishing Touches:How to Make Homemade Bubblegum Cloud Fudge
Step 1: Prepare Baking Vessel
Cover the inside of a square baking pan with parchment paper, ensuring the paper hangs slightly over the edges for easy removal.
Press the paper smoothly against the pan’s sides and bottom.
Step 2: Create Creamy Chocolate Base
Grab a saucepan and combine white chocolate chips, sweetened condensed milk, and butter.
Melt these ingredients over low heat, stirring continuously with a wooden spoon or silicone spatula.
Keep the heat gentle to prevent burning and maintain a silky smooth texture.
Step 3: Enhance Flavor and Color
Remove the pan from heat once the mixture becomes completely smooth and glossy.
Fold in marshmallow fluff, bubblegum extract, and a few drops of pink or blue food coloring.
Stir until the color is evenly distributed and the mixture looks dreamy and inviting.
Step 4: Pour and Spread
Transfer the vibrant mixture into the parchment-lined baking pan.
Use a spatula to spread the fudge evenly, creating a beautiful, flat surface.
Tap the pan gently on the counter to release any air bubbles.
Step 5: Chill and Set
Place the pan in the refrigerator for 2-3 hours.
The fudge needs to become firm and completely set before cutting.
Avoid touching or disturbing the fudge during this time.
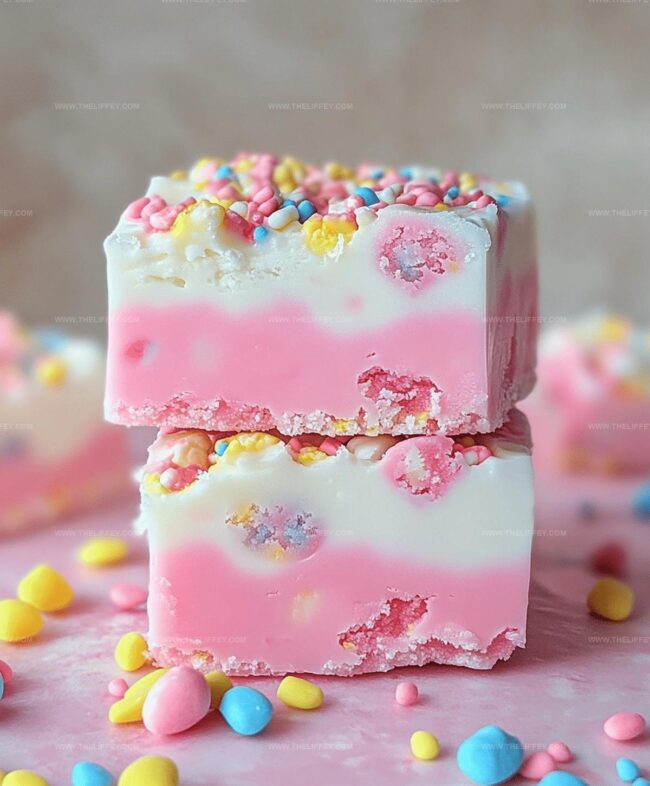
Step 6: Slice and Garnish
Remove the fudge from the refrigerator and lift it out using the parchment paper edges.
Place on a cutting board and slice into neat squares.
Optional: Dust the top with a light sprinkle of powdered sugar for an extra touch of sweetness.
Tips to Perfect Homemade Bubblegum Cloud Fudge
Variations for Homemade Bubblegum Cloud Fudge
Serving Suggestions for Homemade Bubblegum Cloud Fudge
Storage Advice for Homemade Bubblegum Cloud Fudge
FAQs
Bubblegum extract is a concentrated flavoring that gives a sweet, nostalgic bubblegum taste to desserts, created from artificial or natural flavor compounds typically used in baking and confectionery.
If you can’t find bubblegum extract, you can use vanilla extract or bubble gum flavored syrup, though the flavor intensity might be slightly different from the original recipe.
The fudge is ready when it’s firm to the touch and doesn’t wobble when you gently shake the dish, which usually takes 2-3 hours in the refrigerator.
Print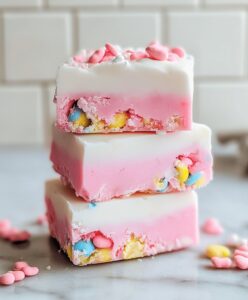
Homemade Bubblegum Cloud Fudge Recipe
- Total Time: 2 hours 20 minutes
- Yield: 12 1x
Description
Whimsical homemade bubblegum cloud fudge recipe delights sweet enthusiasts with its playful pink swirls and cotton candy nostalgia. Creamy confection promises pure childhood joy in each delectable square that melts effortlessly on your palate.
Ingredients
Main Ingredients:
- 12 ounces (340 grams) white chocolate chips
- 1 can (14 ounces / 400 grams) sweetened condensed milk
- 1/2 cup (120 grams) marshmallow fluff
Flavor and Color Enhancers:
- 2 tablespoons butter
- 1 teaspoon bubblegum extract
- 2–3 drops pink food coloring
Finishing Ingredient:
- 1/4 cup (30 grams) powdered sugar
Instructions
- Prepare an 8-inch square baking pan by lining it with parchment paper, ensuring complete coverage and smooth edges for easy removal.
- Create a gentle double boiler setup using a saucepan, melting white chocolate chips, sweetened condensed milk, and butter over low heat, continuously stirring to prevent scorching and achieve a silky smooth consistency.
- Remove the melted mixture from heat, then gently fold in marshmallow fluff, incorporating bubblegum extract and vibrant pink food coloring until the texture becomes uniform and color is evenly distributed.
- Transfer the luminous pink mixture into the prepared pan, using a spatula to spread it evenly and eliminate any air pockets, creating a perfectly level surface.
- Chill the fudge in the refrigerator for approximately 2-3 hours, or until it becomes completely firm and set, which allows the flavors to meld and the texture to solidify.
- Once fully chilled, lift the fudge from the pan using parchment paper edges, then slice into precise square pieces using a sharp knife.
- Optional: Dust the fudge squares with a light sprinkle of powdered sugar for an elegant finishing touch and additional sweetness.
Notes
- Prevent scorching by using low, gentle heat when melting chocolate to maintain smooth texture.
- Swap bubblegum extract for vanilla or almond extract for different flavor variations.
- Ensure parchment paper overhangs pan edges for easy fudge removal without breaking.
- Use gel food coloring for more vibrant color without altering mixture consistency.
- Prep Time: 20 minutes
- Cook Time: 2 hours (or 3 hours)
- Category: Desserts, Snacks
- Method: Simmering
- Cuisine: American
Nutrition
- Serving Size: 12
- Calories: 210
- Sugar: 25 g
- Sodium: 40 mg
- Fat: 10 g
- Saturated Fat: 6 g
- Unsaturated Fat: 3 g
- Trans Fat: 0.2 g
- Carbohydrates: 28 g
- Fiber: 0.5 g
- Protein: 2 g
- Cholesterol: 15 mg
Amanda Bennett
Recipe Curator & Culinary Educator
Expertise
Baking and Pastry Arts, Recipe Testing and Development, Culinary Instruction, Food Styling and Photography
Education
Asheville-Buncombe Technical Community College, Asheville, NC
Diploma in Culinary Arts
Emphasized practical cooking skills, nutrition, and kitchen management.
Cambridge School of Culinary Arts, Cambridge, MA
Certificate in Professional Pastry Arts
Specialized in baking techniques, dessert presentation, and flavor profiling
Amanda’s roots run deep in the Southern hills, where every meal started fresh from the garden and every dessert came with a story. She trained at Asheville-Buncombe Technical Community College and sharpened her pastry skills at the Cambridge School of Culinary Arts, blending classic technique with everyday charm.
At The Liffey, Amanda’s passion is making baking and home cooking feel natural and joyful. She’s all about single recipes that are simple enough for a busy afternoon, but special enough to make someone’s day a little sweeter.