Spooky & Sweet Halloween Monster Cookies Recipe for Kids
Spooky Halloween monster cookies bring creepy-cute charm to your seasonal dessert table.
Colorful frosting and playful decorations turn ordinary treats into delightful party pleasers.
Kids absolutely love decorating these ghoulish goodies with googly eyes and monster-inspired designs.
Candy pieces add whimsical texture and unexpected crunch to each bite-sized creation.
Sweet imagination unleashes endless possibilities for scary-sweet cookie artistry.
Small hands can help craft these delightfully monstrous treats, making baking a fun family activity.
You’ll be the coolest kitchen companion when these wiggly, giggly monster cookies appear at Halloween gatherings.
Halloween Monster Cookies: Fun and Flavorful
Ingredients List for Halloween Monster Cookies
Base Ingredients:Dry Ingredients:Decorative and Flavor Ingredients:Baking Halloween Monster Cookies Made Simple
Step 1: Warm Up the Oven
Fire up your oven to a toasty 350°F (175°C), creating the perfect cozy baking environment for these spooky monster cookies.
Step 2: Whip Up the Sweet Base
Grab a large mixing bowl and blend together:Cream these ingredients until they transform into a smooth, fluffy mixture that looks like a delicious cloud.
Step 3: Create a Creamy Texture
Stir in the following ingredients, mixing until everything looks silky and well-combined:Blend until the mixture becomes super smooth and inviting.
Step 4: Develop the Cookie Dough
Add the dry ingredients to create the perfect cookie foundation:Gently mix in the oats, watching the dough come together like magic.
Step 5: Add Monstrous Decorations
Fold in the fun Halloween-themed mix-ins:These colorful additions will give your cookies that playful monster vibe.
Step 6: Shape Spooky Cookies
Scoop the dough onto baking sheets, leaving space between each cookie.
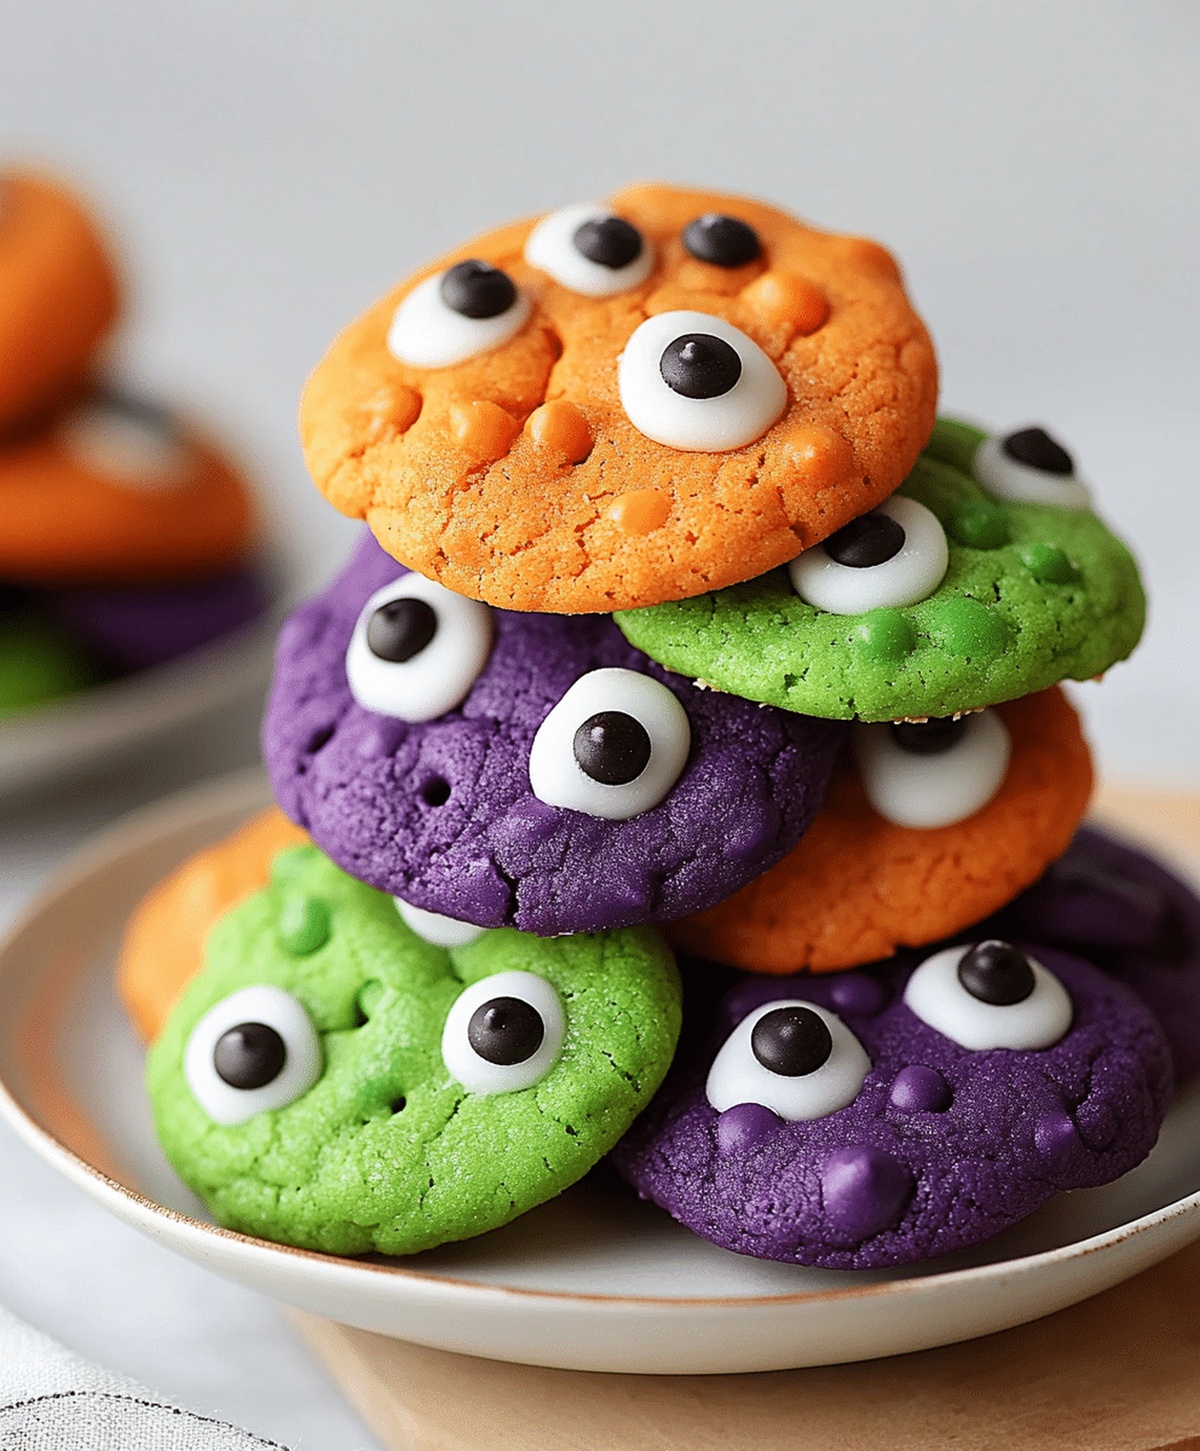
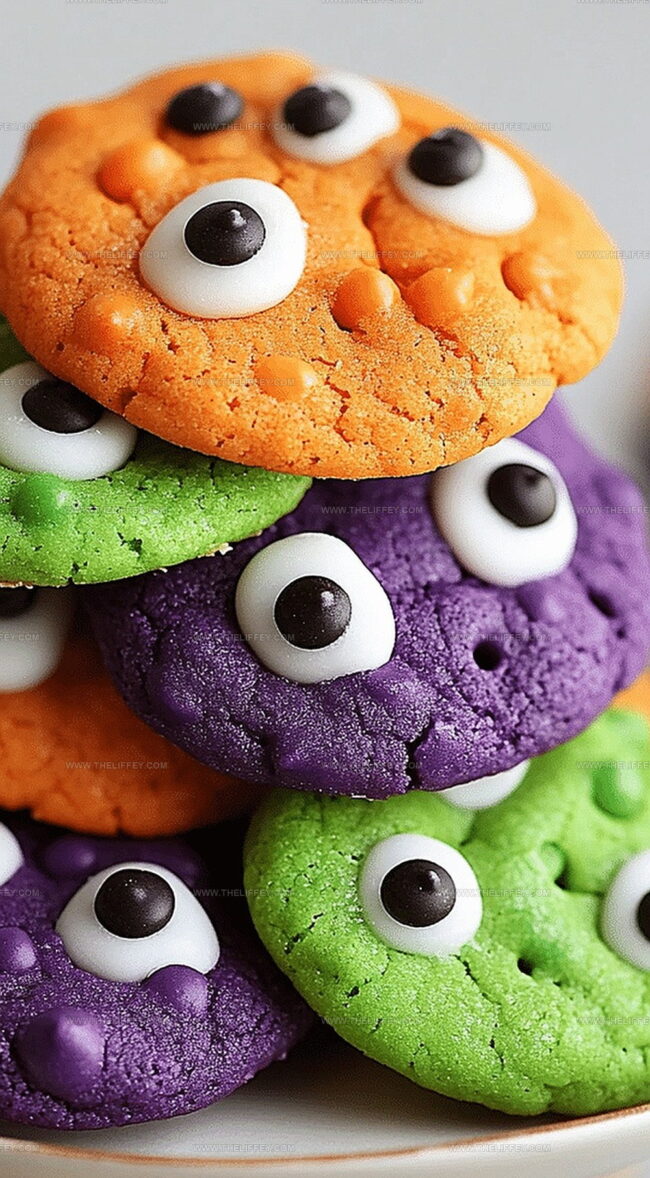
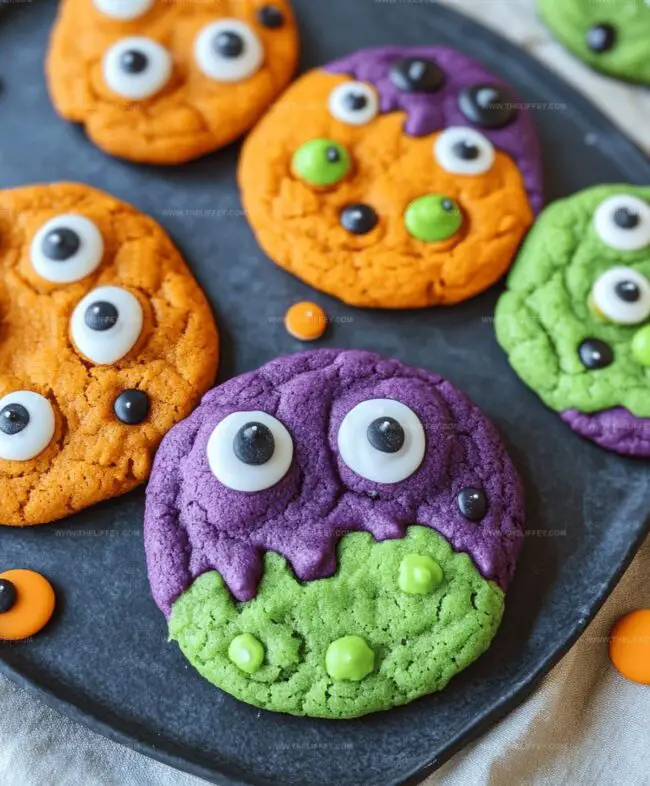
Press candy eyes into each cookie to create adorable monster faces that will make everyone smile.
Step 7: Bake to Perfection
Slide the baking sheets into the preheated oven.
Bake for 10-12 minutes until the edges turn a beautiful golden brown.
Step 8: Cool and Enjoy
Let the cookies cool completely on the baking sheet.
Once cooled, these monster cookies are ready to delight and spook everyone who takes a bite!
Tips to Perfect Halloween Monster Cookies

Flavor Variations of Halloween Monster Cookies
Serving Suggestions for Halloween Monster Cookies
Storage Advice for Halloween Monster Cookies
FAQs
Candy eyes add a fun, spooky Halloween character to the cookies, transforming ordinary monster cookies into playful treats that kids and adults will love.
Absolutely! You can swap M&Ms with other colorful candies like Reese’s Pieces or Halloween-themed sprinkles to match your preference or decoration style.
Yes, this recipe is perfect for family baking. Kids can help mix ingredients, place candy eyes, and decorate cookies, making it a fun Halloween activity.
Chill the dough for 30 minutes before baking and ensure your butter isn’t too soft. This helps maintain the cookie’s shape and prevents excessive spreading during baking.
Print
Halloween Monster Cookies Recipe
- Total Time: 32 minutes
- Yield: 24 1x
Description
Spooky halloween monster cookies blend playful design with delectable chocolate chip cookie base. Monster-themed treats guarantee festive delight for guests craving creative seasonal sweets.
Ingredients
Main Ingredients:
- 1/2 cup unsalted butter
- 1/2 cup brown sugar
- 1/2 cup granulated sugar
- 1/2 cup peanut butter
- 2 eggs
Dry Ingredients:
- 1 teaspoon (5 ml) vanilla extract
- 1 teaspoon (5 ml) baking soda
- 1/2 teaspoon (2.5 ml) salt
- 1 1/2 cups (180 grams) all-purpose flour
- 3 cups (240 grams) old-fashioned oats
Decorative Ingredients:
- 1 cup (170 grams) mini chocolate chips
- 1 cup (170 grams) M&Ms
- Candy eyes as needed
Instructions
- Prepare the oven by heating to 350F (175C) for optimal cookie baking.
- In a spacious mixing bowl, blend softened butter with brown and granulated sugars until creamy and well-incorporated.
- Introduce peanut butter, eggs, and vanilla extract, whisking thoroughly to create a smooth, uniform mixture.
- Gradually incorporate dry ingredients: flour, baking soda, and salt, then gently fold in oats to develop a consistent dough texture.
- Carefully integrate colorful M&Ms and mini chocolate chips throughout the cookie dough, ensuring even distribution.
- Using a cookie scoop, deposit rounded portions onto prepared baking sheets, leaving adequate spacing between each cookie.
- Playfully press candy eyes into the surface of each dough mound, creating whimsical monster-like appearances.
- Slide the baking sheets into the preheated oven and bake for 10-12 minutes, watching for light golden edges as an indication of doneness.
- Remove from oven and allow cookies to rest on baking sheets for 2-3 minutes to set their structure.
- Transfer cookies to a wire cooling rack and let them cool completely before serving or storing.
Notes
- Make decorative eyes using different colored candies or icing to create spooky monster variations.
- Swap peanut butter with sunflower seed butter for nut-free diets, ensuring allergen-friendly cookies.
- Chill dough for 30 minutes before baking to prevent excessive spreading and maintain monster-like shapes.
- Use silicone baking mats for easy release and perfectly shaped monster cookies without sticking.
- Prep Time: 20 minutes
- Cook Time: 12 minutes
- Category: Snacks, Desserts
- Method: Baking
- Cuisine: American
Nutrition
- Serving Size: 24
- Calories: 180 kcal
- Sugar: 12 g
- Sodium: 90 mg
- Fat: 8 g
- Saturated Fat: 3 g
- Unsaturated Fat: 4 g
- Trans Fat: 0.1 g
- Carbohydrates: 22 g
- Fiber: 1.5 g
- Protein: 3 g
- Cholesterol: 20 mg
Amanda Bennett
Recipe Curator & Culinary Educator
Expertise
Baking and Pastry Arts, Recipe Testing and Development, Culinary Instruction, Food Styling and Photography
Education
Asheville-Buncombe Technical Community College, Asheville, NC
Diploma in Culinary Arts
Emphasized practical cooking skills, nutrition, and kitchen management.
Cambridge School of Culinary Arts, Cambridge, MA
Certificate in Professional Pastry Arts
Specialized in baking techniques, dessert presentation, and flavor profiling
Amanda’s roots run deep in the Southern hills, where every meal started fresh from the garden and every dessert came with a story. She trained at Asheville-Buncombe Technical Community College and sharpened her pastry skills at the Cambridge School of Culinary Arts, blending classic technique with everyday charm.
At The Liffey, Amanda’s passion is making baking and home cooking feel natural and joyful. She’s all about single recipes that are simple enough for a busy afternoon, but special enough to make someone’s day a little sweeter.