Irresistible M&M Cookie Bars Recipe: Chewy Homemade Bliss
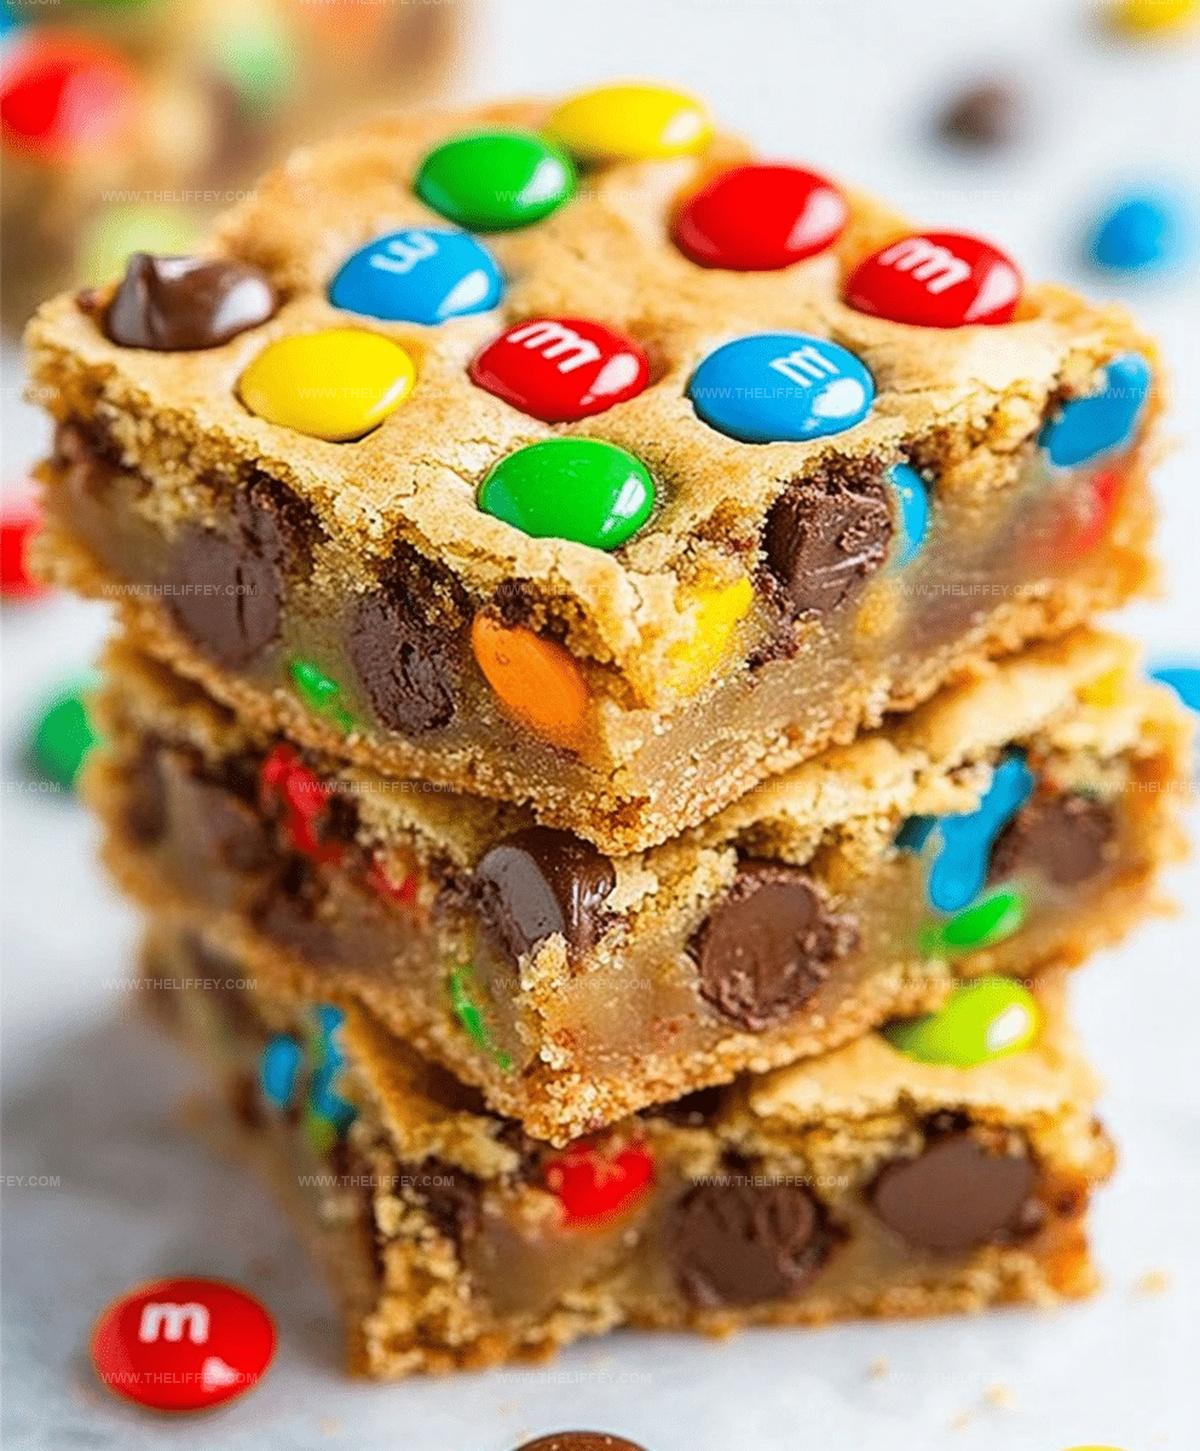
Sweet chocolate chips melt into gooey M&M cookie bars that practically dance with color and crunch.
Childhood memories flood back when these nostalgic treats emerge from the oven.
Soft edges blend perfectly with crisp centers, creating a textural symphony.
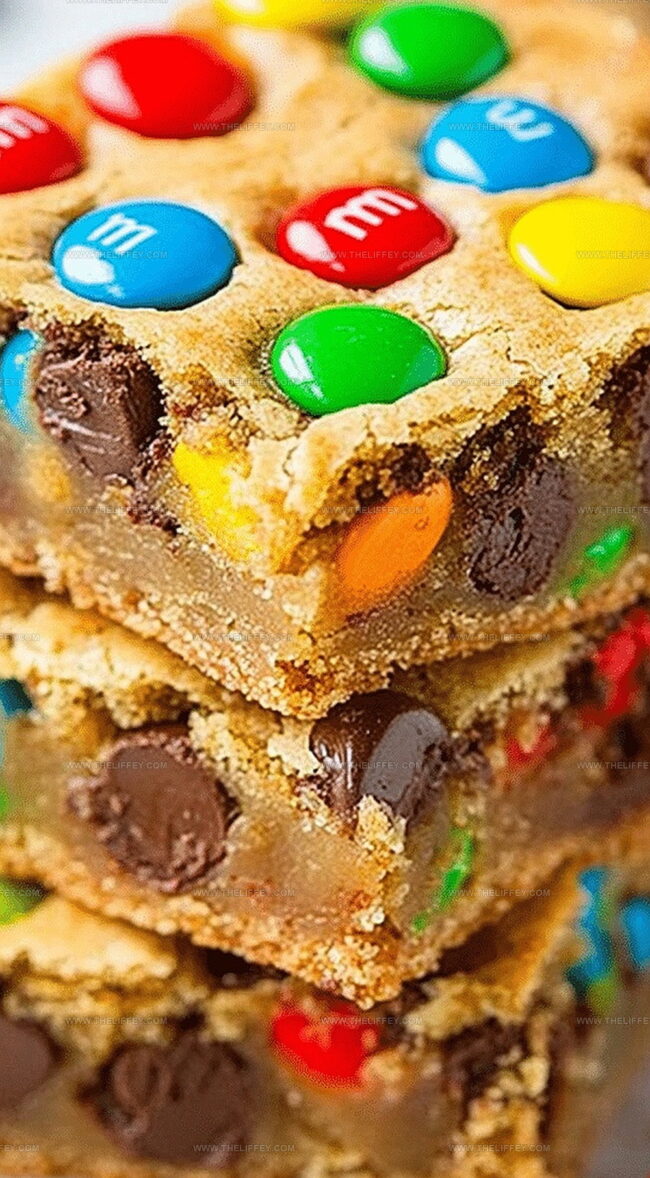
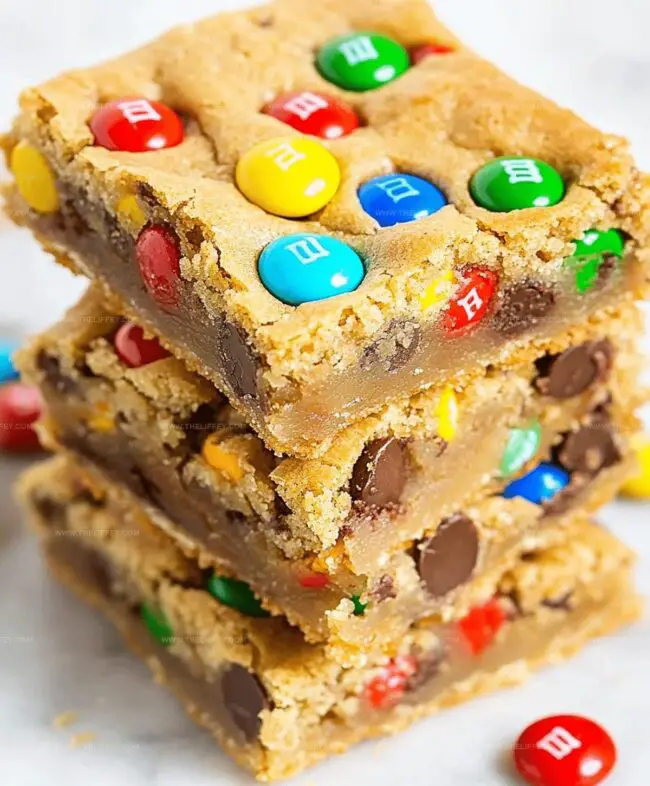
Colorful candy-coated pieces peek through golden brown surfaces like delightful little jewels.
Each square promises a playful bite that connects generations of dessert lovers.
Comfort and excitement merge in one simple pan of deliciousness.
Trust me, you won’t be able to resist cutting just one more slice.
M&M Cookie Bars That Bring Joy
Ingredients for M&M Cookie Bars
Base Ingredients:Dry Ingredients:Topping Ingredient:How to Bake M&M Cookie Bars Perfectly
Step 1: Warm Up the Oven
Turn your oven to 350F and get a 9×13-inch baking dish ready by greasing it thoroughly.
Step 2: Create a Sweet Base
In a large mixing bowl, combine:Stir until the mixture looks smooth and glossy.
Step 3: Add Moisture and Flavor
Crack eggs into the sugar mixture and pour in vanilla extract. Whisk everything together until well blended.
Step 4: Prepare Dry Ingredients
In a separate bowl, mix together:Whisk these ingredients until they are evenly combined.
Step 5: Combine Wet and Dry Mixtures
Slowly add the dry ingredients to the wet mixture.
Stir gently until just combined, being careful not to overmix.
Step 6: Incorporate Colorful Candies
Fold most of the M&Ms into the cookie dough, saving a handful for topping.
Step 7: Spread and Decorate
Transfer the dough to the prepared baking dish. Spread it evenly and press the remaining M&Ms on top for a vibrant look.
Step 8: Bake and Cool
Slide the baking dish into the preheated oven. Bake for 25-30 minutes until the edges turn golden brown.
Remove and let cool completely before cutting into bars.
Tips for Colorful and Chewy M&M Cookie Bars

Fun Variations on M&M Cookie Bars
Serving M&M Cookie Bars Creatively
Best Ways to Store M&M Cookie Bars
FAQs
Yes, they add color, texture, and bursts of chocolate flavor that make these cookie bars fun and delicious.
Absolutely! You can use milk chocolate, peanut, crispy, or seasonal M&Ms to create variety and customize the bars.
You can use a similar sized pan or adjust the recipe proportions, but keep an eye on baking time to prevent over or undercooking.
Look for golden brown edges and a slightly firm center. A toothpick inserted should come out with a few moist crumbs, not completely wet or completely dry.
Print
Gooey M&M Cookie Bars Recipe
- Total Time: 45 minutes
- Yield: 12 1x
Description
Sweet chocolate m&m cookie bars bring layers of nostalgic comfort to classic dessert expectations. Homemade chocolate chip base studded with colorful candies creates irresistible treats you’ll savor with childhood memories.
Ingredients
Dry Ingredients:
- 2 1/2 cups all-purpose flour
- 1 teaspoon baking soda
- 1/2 teaspoon salt
Wet Ingredients:
- 1 cup butter, melted
- 2 large eggs
- 2 teaspoons vanilla extract
Sweet Ingredients:
- 1 cup brown sugar
- 1/2 cup granulated sugar
- 1 1/2 cups M&Ms
Instructions
- Warm the oven to 350F and coat a 9×13-inch baking pan with non-stick spray.
- Combine melted butter with brown and granulated sugars in a mixing bowl, stirring until completely smooth and uniform.
- Incorporate eggs and vanilla extract, whisking thoroughly until the mixture becomes light and fluffy.
- Separately sift together flour, baking soda, and salt to ensure even distribution of dry ingredients.
- Gently fold the dry ingredient mixture into the wet ingredients, stirring carefully to prevent overmixing.
- Delicately blend most of the M&Ms into the cookie dough, saving a handful for decorative topping.
- Transfer the dough into the prepared baking pan, using a spatula to spread evenly and create a smooth surface.
- Strategically place the reserved M&Ms across the top of the dough, pressing them slightly into the surface.
- Slide the pan into the preheated oven and bake for 25-30 minutes until edges turn golden brown and center appears set.
- Remove from oven and allow to cool completely on a wire rack before slicing into rectangular bars.
Notes
- Enhance chewiness by slightly underbaking the bars, removing them from the oven when edges are golden but center looks slightly soft.
- Experiment with different chocolate candies like Reese’s Pieces or chocolate chips for unique flavor variations.
- For gluten-free option, substitute all-purpose flour with a 1:1 gluten-free baking blend to maintain similar texture and taste.
- Chill the dough for 30 minutes before baking to prevent excessive spreading and create thicker, more dense cookie bars.
- Prep Time: 20 minutes
- Cook Time: 25 minutes
- Category: Desserts, Snacks
- Method: Baking
- Cuisine: American
Nutrition
- Serving Size: 12
- Calories: 230 kcal
- Sugar: 18 g
- Sodium: 110 mg
- Fat: 11 g
- Saturated Fat: 6 g
- Unsaturated Fat: 4 g
- Trans Fat: 0.3 g
- Carbohydrates: 30 g
- Fiber: 1 g
- Protein: 2 g
- Cholesterol: 30 mg
John Conley
Founder & Culinary Storyteller
Expertise
Recipe Development, Culinary Writing, Home Cooking Techniques, Seasonal Ingredient Utilization
Education
Lane Community College, Eugene, OR
Certificate in Culinary Arts
Focused on foundational cooking techniques, kitchen safety, and menu planning.
Gotham Writers Workshop, New York, NY
Course in Food Writing
Explored the art of crafting engaging culinary narratives and recipe development.
John grew up where food meant connection: big bowls, warm kitchens, and meals that told a story. After earning his Certificate in Culinary Arts from Lane Community College and diving deep into food writing at Gotham Writers Workshop, he found his calling: turning everyday recipes into something worth savoring.
At The Liffey, John’s focus is all about crafting dishes that feel easy, honest, and full of heart.