
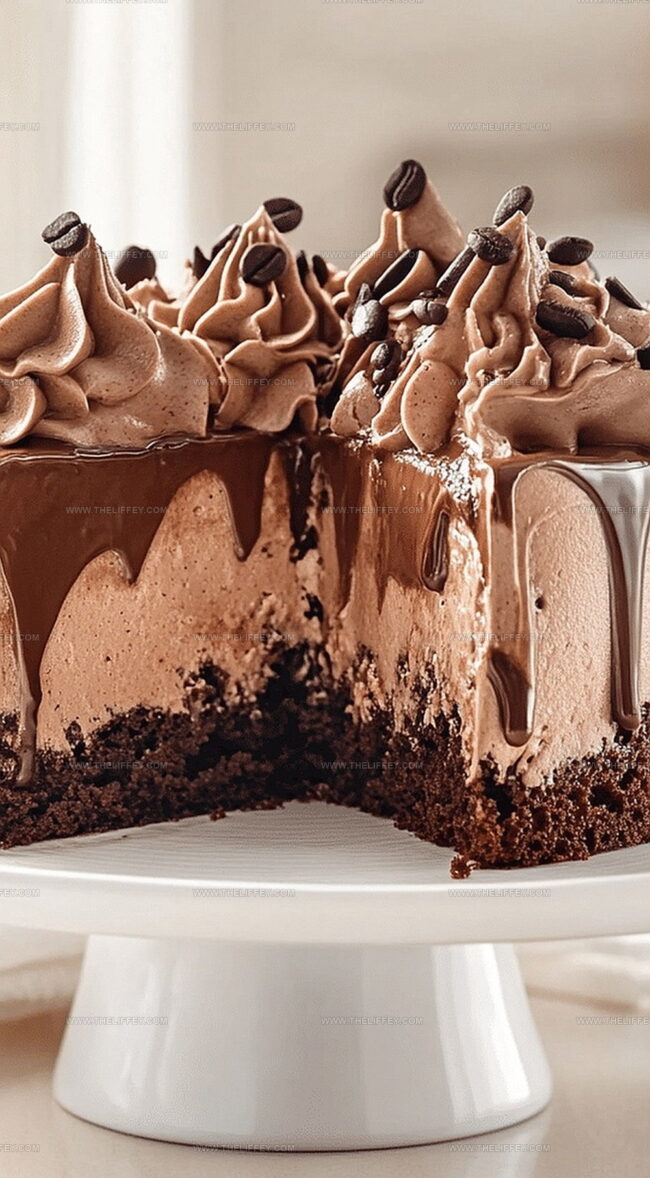
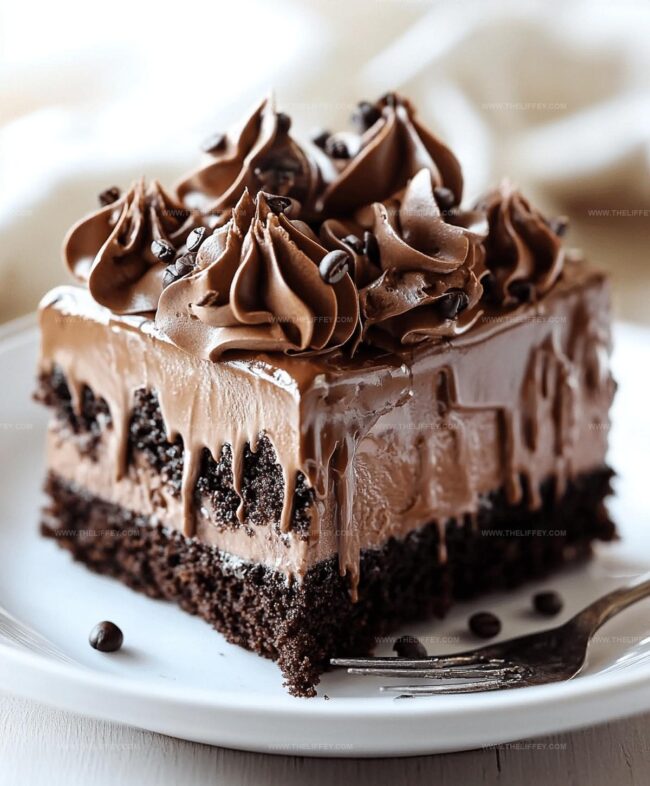
The Ultimate Espresso Infused Mocha Poke Cake Recipe for Coffee Lovers
My recent obsession with espresso infused mocha poke cake started during a late-night baking experiment.
Caffeine lovers recognize this dessert as pure magic.
Rich chocolate layers hide unexpected coffee surprises.
Creamy mocha filling seeps into tender cake spaces.
Unexpected textures create a delightful sensory experience.
Each bite promises a perfect balance between sweet chocolate and bold espresso notes.
You won’t be able to resist another slice of this decadent treat.
Espresso Infused Mocha Poke Cake With Bold Taste
Ingredients for Espresso Infused Mocha Poke Cake
Cake Base Ingredients:Leavening Agents:Espresso Elements:Moisture and Topping Ingredients:Optional Garnish:How to Prepare Espresso Infused Mocha Poke Cake
Step 1: Prepare Cake Batter
Warm up your oven to 350F.
Grease a 9×13-inch baking dish with butter or cooking spray.
In a medium bowl, sift together flour, cocoa powder, baking powder, baking soda, and salt.
In a large mixing bowl, whisk together:Dissolve instant espresso powder in boiling water and gently fold into the batter.
Pour the mixture into the prepared baking dish and bake for 30-35 minutes.
Check doneness by inserting a toothpick into the center – it should come out clean.
Allow the cake to cool for 10 minutes.
Step 2: Create Espresso Soaking Liquid
Combine in a small bowl:Poke multiple holes across the cake’s surface using a wooden spoon handle or fork.
Slowly pour the espresso mixture over the cake, ensuring it seeps into every hole.
Refrigerate for 1-2 hours to let the cake absorb the liquid.
Step 3: Whip Creamy Topping
In a chilled bowl, whip together:Whip until stiff peaks form.
Spread the whipped cream evenly across the chilled cake.
Step 4: Add Final Touches
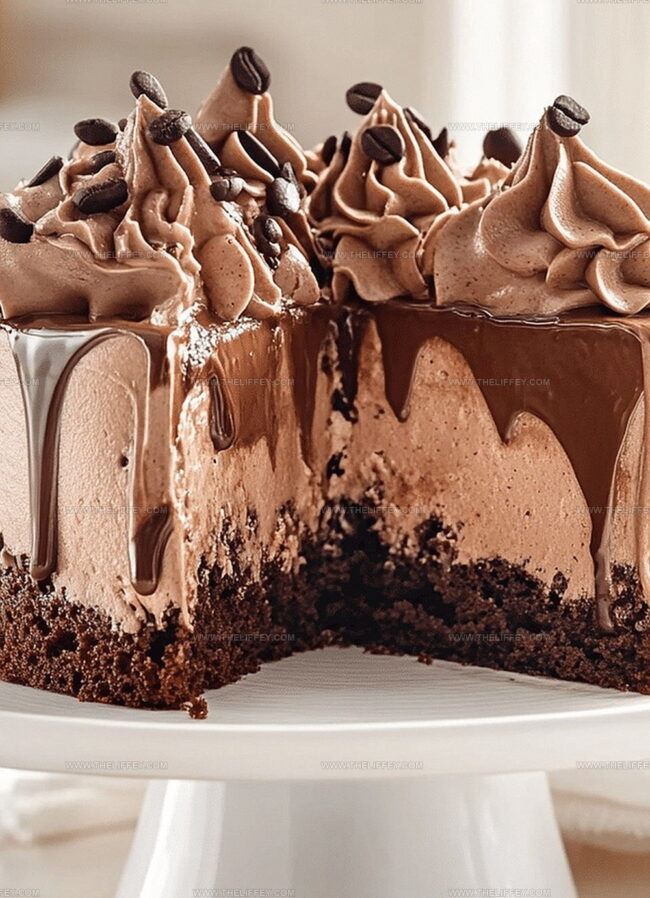
Drizzle additional chocolate syrup over the whipped cream.
Optional garnishes include chocolate shavings, a sprinkle of cocoa powder, or whole espresso beans.
Serve the cake chilled and enjoy the rich, coffee-infused dessert.
Tips for Espresso Infused Mocha Poke Cake
Flavor Variations for Espresso Infused Mocha Poke Cake
Serving Ideas for Espresso Infused Mocha Poke Cake
Storage Advice for Espresso Infused Mocha Poke Cake
FAQs
Any strong brewed espresso works well. You can use freshly brewed espresso from an espresso machine or instant espresso powder dissolved in hot water.
Yes, you can prepare the cake a day in advance. Keep it refrigerated and add the whipped topping just before serving to maintain its freshness.
Reduce the sugar in the cake batter slightly or use unsweetened cocoa powder to balance the sweetness. You can also adjust the chocolate syrup amount.
Create multiple holes across the entire surface of the cake, spacing them about 1/2 inch apart. This ensures the espresso mixture distributes evenly throughout the cake.
Print
Espresso Infused Mocha Poke Cake Recipe
- Total Time: 55 minutes
- Yield: 12 1x
Description
Espresso infused mocha poke cake brings rich chocolate and coffee flavors together in a delightful dessert. Chocolate ganache and creamy mocha frosting elevate this irresistible cake, promising a heavenly experience you’ll crave again and again.
Ingredients
Main Ingredients:
- 2 cups sugar
- 1 3/4 cups all-purpose flour
- 3/4 cup unsweetened cocoa powder
- 2 large eggs
- 1 cup whole milk
- 1/2 cup vegetable oil
- 1 cup boiling water
Liquid and Binding Ingredients:
- 2 tablespoons (30 milliliters) instant espresso powder
- 1 1/2 teaspoons baking powder
- 1 1/2 teaspoons baking soda
- 1 teaspoon salt
- 2 teaspoons vanilla extract
Espresso and Topping Ingredients:
- 1 cup brewed espresso (or strong coffee)
- 1/2 cup sweetened condensed milk
- 1/4 cup chocolate syrup
- 1 1/2 cups heavy cream
- 3 tablespoons powdered sugar
- 1 teaspoon vanilla extract
- Chocolate syrup (for garnish)
- Chocolate shavings or cocoa powder (for garnish)
- Espresso beans (optional, for garnish)
Instructions
- Prepare the cake by preheating the oven to 350°F (175°C). Coat a 9×13-inch baking dish with grease and flour. Sift dry ingredients including flour, cocoa powder, baking powder, baking soda, and salt into a medium bowl.
- In a large bowl, whisk sugar, eggs, milk, oil, and vanilla extract until thoroughly blended. Dissolve instant espresso powder in boiling water and incorporate into the batter gradually.
- Transfer batter to the prepared baking dish and bake for 30-35 minutes until a toothpick inserted in the center emerges clean. Allow cake to cool for 10 minutes.
- Create espresso mixture by combining brewed espresso, sweetened condensed milk, and chocolate syrup in a small bowl.
- Use a wooden spoon handle to puncture holes across the entire cake surface. Carefully pour espresso mixture over the cake, ensuring liquid penetrates deeply into the holes.
- Refrigerate the cake for 1-2 hours, allowing it to absorb the espresso infusion completely.
- Prepare whipped topping by whipping heavy cream, powdered sugar, and vanilla extract in a chilled bowl until stiff peaks develop.
- Spread whipped cream evenly over the chilled cake.
- Finish by drizzling additional chocolate syrup over the whipped cream. Optional: Garnish with chocolate shavings, cocoa powder, or espresso beans. Serve chilled.
Notes
- Choose dark roast espresso for deeper, richer coffee flavor that enhances the chocolate’s intensity.
- Ensure cake is slightly warm when poking holes to help espresso mixture absorb more effectively into the crumb.
- Create dairy-free version by substituting coconut cream for heavy cream and using plant-based milk in cake batter.
- Reduce sugar content by using sugar-free chocolate syrup and replacing some sugar with stevia or monk fruit sweetener for lower-calorie option.
- Prep Time: 20 minutes
- Cook Time: 35 minutes
- Category: Desserts
- Method: Baking
- Cuisine: American
Nutrition
- Serving Size: 12
- Calories: 320 kcal
- Sugar: 32 g
- Sodium: 150 mg
- Fat: 14 g
- Saturated Fat: 6 g
- Unsaturated Fat: 7 g
- Trans Fat: 0.2 g
- Carbohydrates: 43 g
- Fiber: 3 g
- Protein: 5 g
- Cholesterol: 50 mg
Amanda Bennett
Recipe Curator & Culinary Educator
Expertise
Baking and Pastry Arts, Recipe Testing and Development, Culinary Instruction, Food Styling and Photography
Education
Asheville-Buncombe Technical Community College, Asheville, NC
Diploma in Culinary Arts
Emphasized practical cooking skills, nutrition, and kitchen management.
Cambridge School of Culinary Arts, Cambridge, MA
Certificate in Professional Pastry Arts
Specialized in baking techniques, dessert presentation, and flavor profiling
Amanda’s roots run deep in the Southern hills, where every meal started fresh from the garden and every dessert came with a story. She trained at Asheville-Buncombe Technical Community College and sharpened her pastry skills at the Cambridge School of Culinary Arts, blending classic technique with everyday charm.
At The Liffey, Amanda’s passion is making baking and home cooking feel natural and joyful. She’s all about single recipes that are simple enough for a busy afternoon, but special enough to make someone’s day a little sweeter.