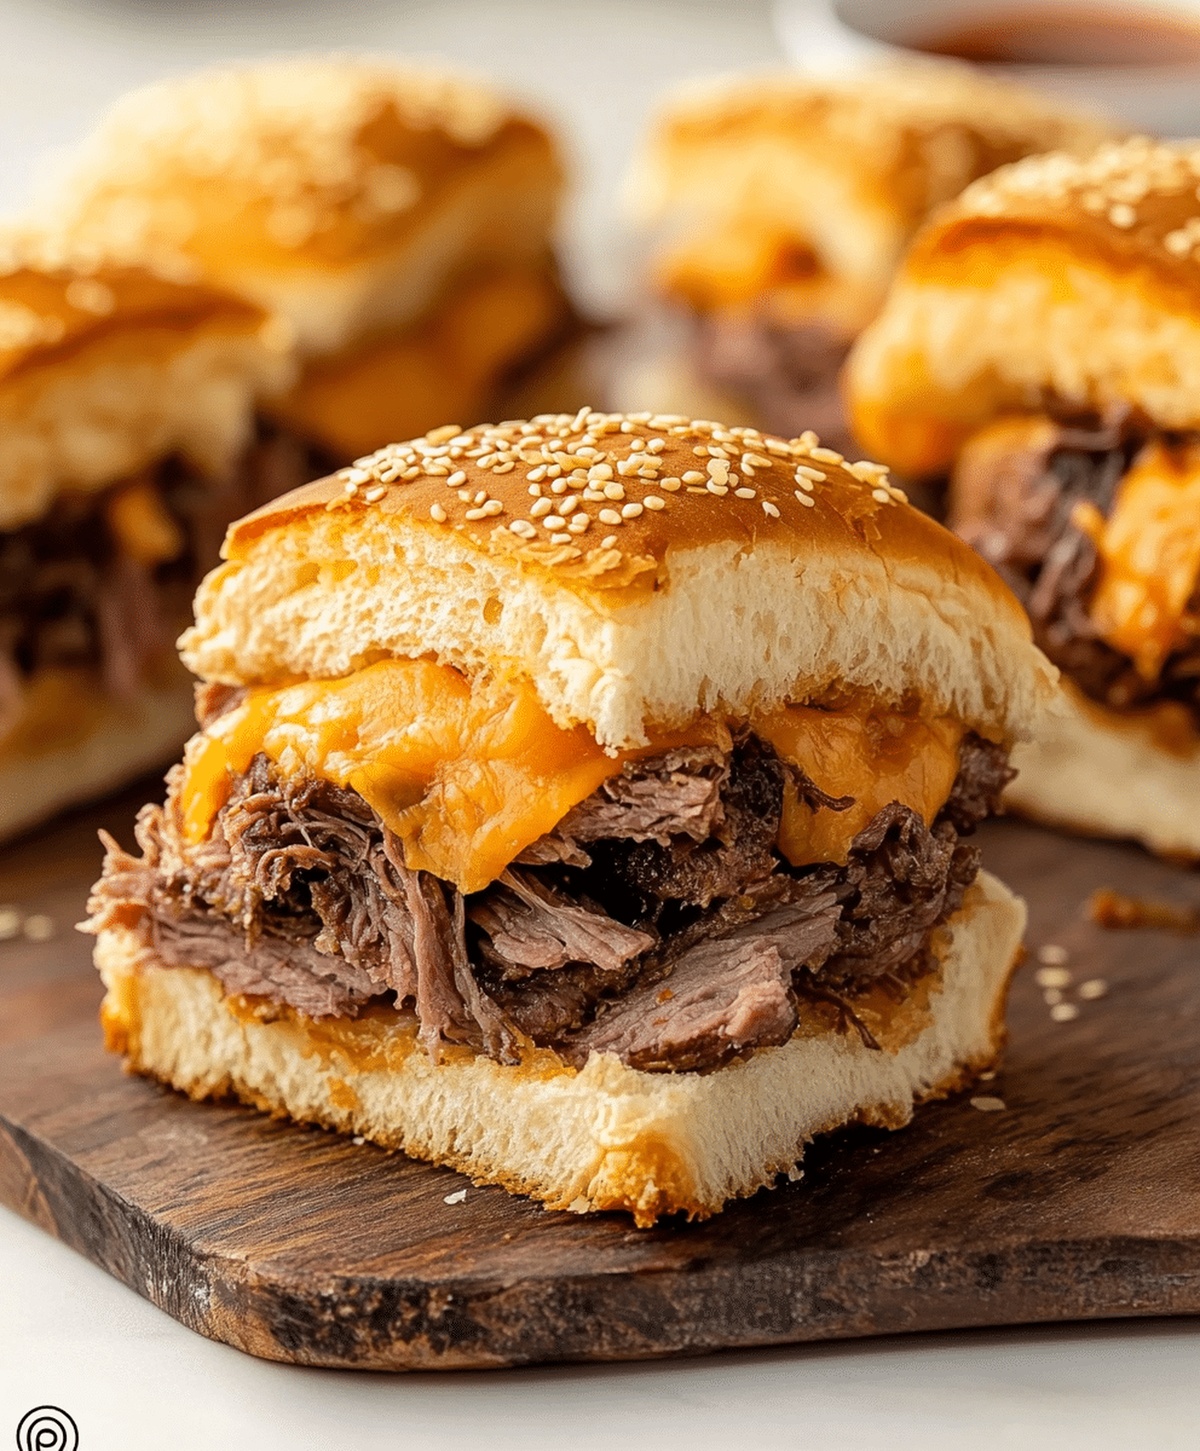
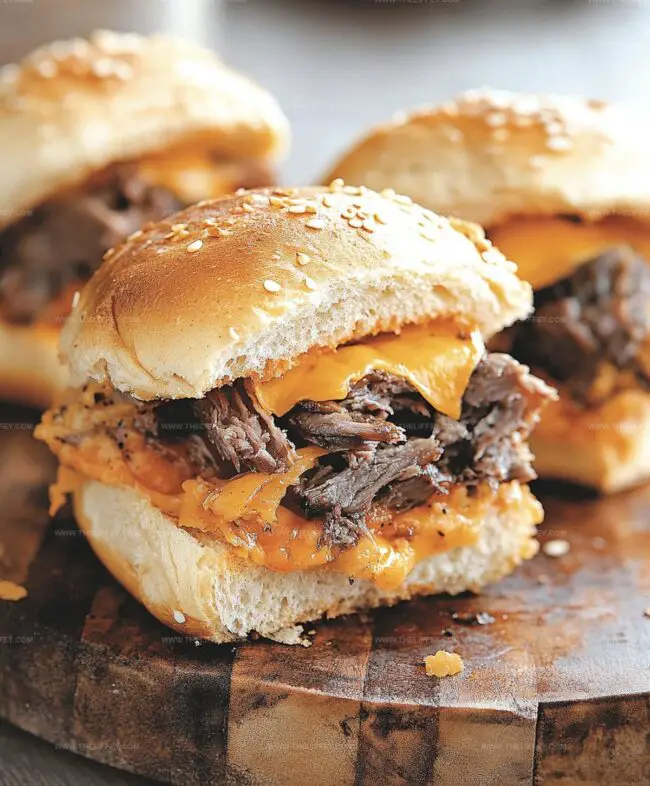
Juicy Roast Beef and Cheddar Sliders Recipe for Game Day
Crafting delectable roast beef and cheddar sliders can turn an ordinary gathering into a memorable feast.
Small sandwiches pack incredible flavor that surprises everyone at the table.
Tender meat paired with sharp cheese creates a mouthwatering combination.
These mini sandwiches work perfectly for game day, casual parties, or quick family meals.
Guests will devour these bite-sized treats faster than you can plate them.
Minimal ingredients and simple preparation mean you can whip up these sliders in under thirty minutes.
Dive into this recipe and watch everyone’s faces light up with delight.
Why Roast Beef and Cheddar Sliders Stand Out
Ingredients for Roast Beef and Cheddar Sliders
Meat Base:Bread:Flavor Enhancers:How to Make Roast Beef and Cheddar Sliders

Step 1: Warm Up The Oven
Crank your oven to a toasty 350 degrees Fahrenheit, getting it ready for some delicious slider magic.
Step 2: Prepare Slider Buns
Slice each slider bun right down the middle, creating perfect top and bottom halves.
Gently place the bottom pieces in a baking dish.
Step 3: Create A Creamy Base
Spread a generous layer of smooth mayonnaise across the bottom bun surfaces, ensuring complete coverage.
Step 4: Build Delicious Layers
Arrange your layers with care:Carefully place the top bun halves over these delectable layers.
Step 5: Whip Up Flavor-Packed Glaze
In a mixing bowl, combine these flavor-boosting ingredients:Generously brush this tantalizing mixture over the slider tops.
Step 6: Bake To Perfection
Cover the baking dish with aluminum foil and slide into the preheated oven.
Bake for 15 minutes, then remove the foil and continue baking for an additional 5 minutes until the tops turn golden and the cheese melts beautifully.
Step 7: Serve And Savor
Pull out your sliders, let them cool briefly, and serve these irresistible bites while they’re warm and inviting.
Tips for Roast Beef and Cheddar Sliders
Roast Beef Slider Variations You’ll Like
What to Serve With Roast Beef Sliders
Best Storage for Roast Beef and Cheddar Sliders
FAQs
Deli-sliced roast beef is ideal. Choose medium-thickness slices that are tender and not too dry for the best flavor and texture.
Yes, you can assemble the sliders up to 24 hours before baking. Keep them covered in the refrigerator and add the butter mixture just before baking to maintain their crispness.
Use a light layer of mayonnaise and don’t overload with wet ingredients. Toast the bottom buns slightly before adding toppings to create a barrier against moisture.
Print
Easy Roast Beef And Cheddar Sliders Recipe
- Total Time: 35 minutes
- Yield: 12 1x
Description
Roast beef and cheddar sliders deliver a mouthwatering party appetizer perfect for game day crowds. Hearty meat, melted cheese, and buttery rolls combine for an irresistible mini sandwich experience you will crave again and again.
Ingredients
Main Ingredients:
- 1 pound (1 lb) thinly sliced roast beef
- 8 slices cheddar cheese
- 12 slider buns
Sauce and Seasoning Ingredients:
- 1/4 cup mayonnaise
- 1 tablespoon Dijon mustard
- 1 tablespoon Worcestershire sauce
- 1/2 teaspoon garlic powder
- 1/2 teaspoon onion powder
Topping and Binding Ingredients:
- 3 tablespoons unsalted butter, melted
- 1 tablespoon poppy seeds (optional)
Instructions
- Prepare the workspace by arranging oven rack in the middle position and heating to 350F (175C).
- Carefully slice slider buns horizontally, creating a top and bottom layer for each mini sandwich.
- Position bottom bun halves evenly across a rectangular baking dish.
- Spread a thin, uniform layer of mayonnaise across each bottom bun surface.
- Delicately arrange roast beef slices over mayonnaise, ensuring complete coverage.
- Place cheddar cheese slices directly on top of roast beef, creating a consistent cheese layer.
- Gently position top bun halves to complete the slider assemblies.
- Combine melted butter, Dijon mustard, Worcestershire sauce, garlic powder, onion powder, and poppy seeds in a mixing bowl.
- Using a pastry brush, generously coat the entire slider top surface with the prepared butter mixture.
- Securely cover the baking dish with aluminum foil to trap moisture.
- Bake for 15 minutes, maintaining consistent oven temperature.
- Remove foil and continue baking for an additional 5 minutes until tops turn golden and cheese melts completely.
- Allow sliders to rest for 2-3 minutes before serving to set flavors.
- Serve immediately while warm for optimal taste and texture.
Notes
- Elevate flavor by using high-quality roast beef from a deli counter for richer taste and texture.
- Customize sliders with alternative cheeses like Swiss or provolone for different flavor profiles.
- Prepare sliders ahead of time and refrigerate before baking, perfect for meal prep or party planning.
- Reduce sodium by using low-sodium roast beef and mustard options for health-conscious guests.
- Prep Time: 15 minutes
- Cook Time: 20 minutes
- Category: Lunch, Dinner, Snacks, Appetizer
- Method: Baking
- Cuisine: American
Nutrition
- Serving Size: 12
- Calories: 213 kcal
- Sugar: 1 g
- Sodium: 560 mg
- Fat: 13 g
- Saturated Fat: 6 g
- Unsaturated Fat: 7 g
- Trans Fat: 0.2 g
- Carbohydrates: 16 g
- Fiber: 1 g
- Protein: 13 g
- Cholesterol: 40 mg
Amanda Bennett
Recipe Curator & Culinary Educator
Expertise
Baking and Pastry Arts, Recipe Testing and Development, Culinary Instruction, Food Styling and Photography
Education
Asheville-Buncombe Technical Community College, Asheville, NC
Diploma in Culinary Arts
Emphasized practical cooking skills, nutrition, and kitchen management.
Cambridge School of Culinary Arts, Cambridge, MA
Certificate in Professional Pastry Arts
Specialized in baking techniques, dessert presentation, and flavor profiling
Amanda’s roots run deep in the Southern hills, where every meal started fresh from the garden and every dessert came with a story. She trained at Asheville-Buncombe Technical Community College and sharpened her pastry skills at the Cambridge School of Culinary Arts, blending classic technique with everyday charm.
At The Liffey, Amanda’s passion is making baking and home cooking feel natural and joyful. She’s all about single recipes that are simple enough for a busy afternoon, but special enough to make someone’s day a little sweeter.