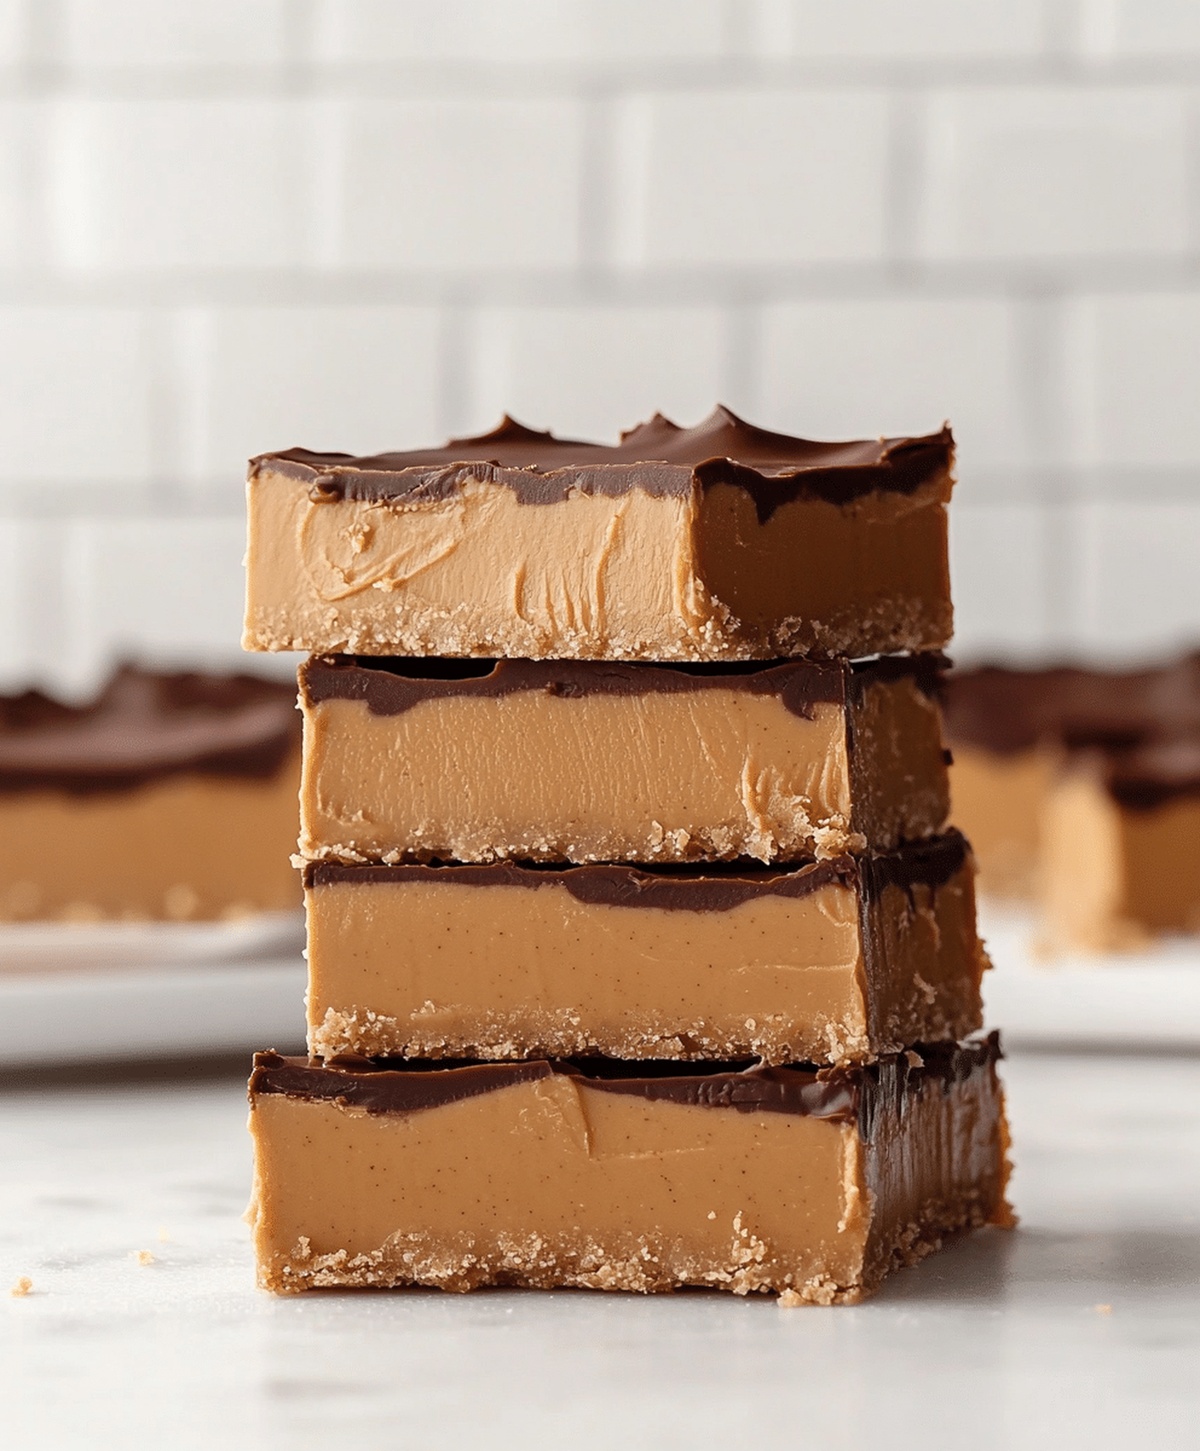
No-Bake Peanut Butter Buckeye Bars Recipe: Sweet Chocolatey Joy
Crafting delectable no-bake peanut butter buckeye bars brings pure dessert magic right into your kitchen.
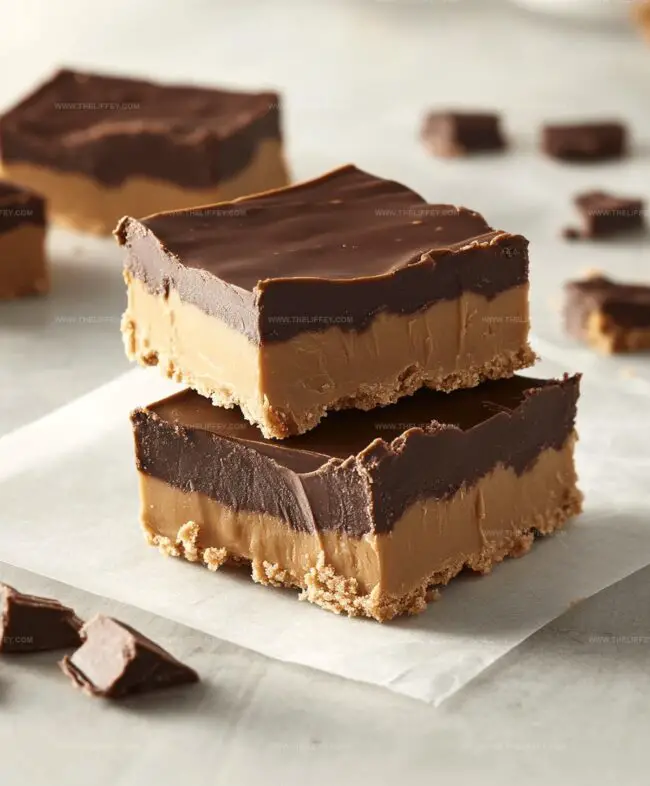
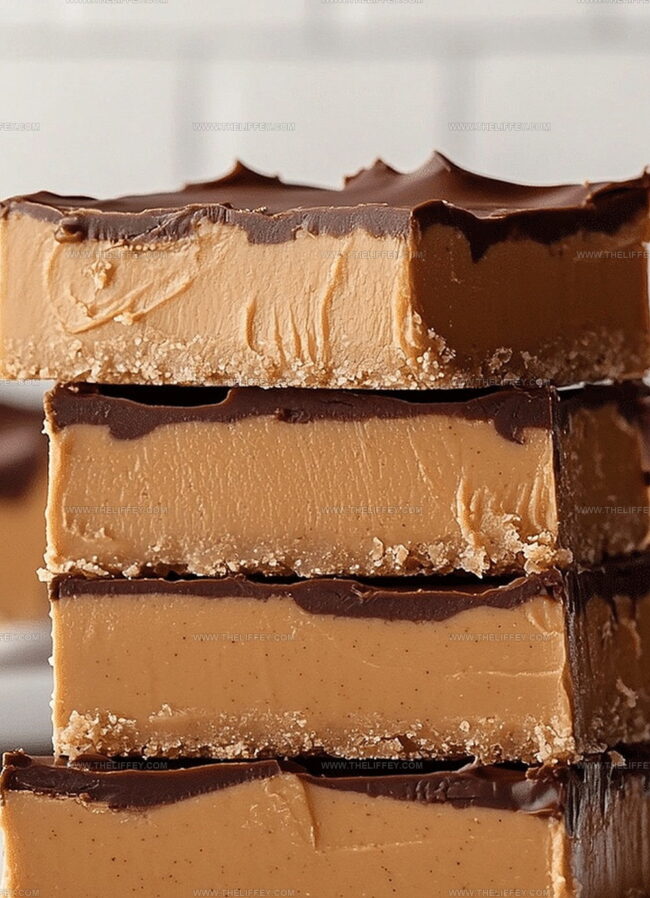
Sweet chocolate and creamy peanut butter create an irresistible combination that melts hearts instantly.
Midwestern bakers have long cherished this simple yet indulgent treat.
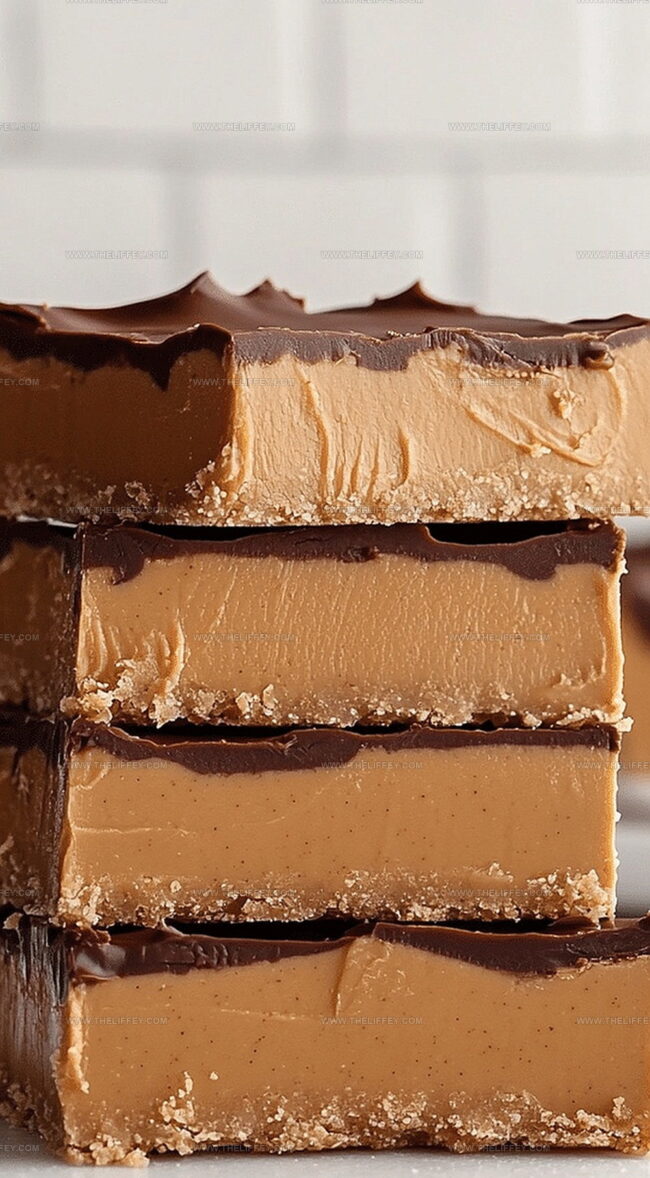
Rich layers promise decadent satisfaction without turning on a single oven.
Each bite delivers a perfect balance between smooth peanut butter and silky chocolate coating.
Simple ingredients come together quickly, making these bars a go-to dessert for spontaneous cravings.
You’ll want to share these addictive squares with everyone around you.
Grab a plate and let the deliciousness begin!
Why No-Bake Peanut Butter Buckeye Bars Are Irresistible
Ingredients For No-Bake Peanut Butter Buckeye Bars
Base Ingredients:Binding Ingredients:Topping Ingredients:How To Make No-Bake Buckeye Bars Easily
Step 1: Whip Up Peanut Butter Base
Grab a mixing bowl and combine peanut butter, melted butter, powdered sugar, and vanilla extract. Stir everything together until the mixture becomes silky smooth and well blended.
The consistency should look creamy and inviting.
Step 2: Create Crumbly Foundation
Fold the graham cracker crumbs into the peanut butter mixture, ensuring everything is thoroughly incorporated.
Take a lined 8×8-inch baking pan and press the mixture firmly and evenly across the bottom, creating a solid, compact layer that will serve as the bar’s delicious base.
Step 3: Melt Chocolate Topping
Use a microwave or double boiler to transform chocolate chips into a glossy, liquid state.
If desired, add a touch of coconut oil to enhance the chocolate’s shine and smoothness. Stir gently until the chocolate becomes completely melted and silky.
Step 4: Drench with Chocolate
Pour the molten chocolate over the peanut butter layer, making sure to spread it evenly across the entire surface. Use a spatula to create a smooth, consistent chocolate coating that covers every inch of the peanut butter foundation.
Step 5: Chill and Set
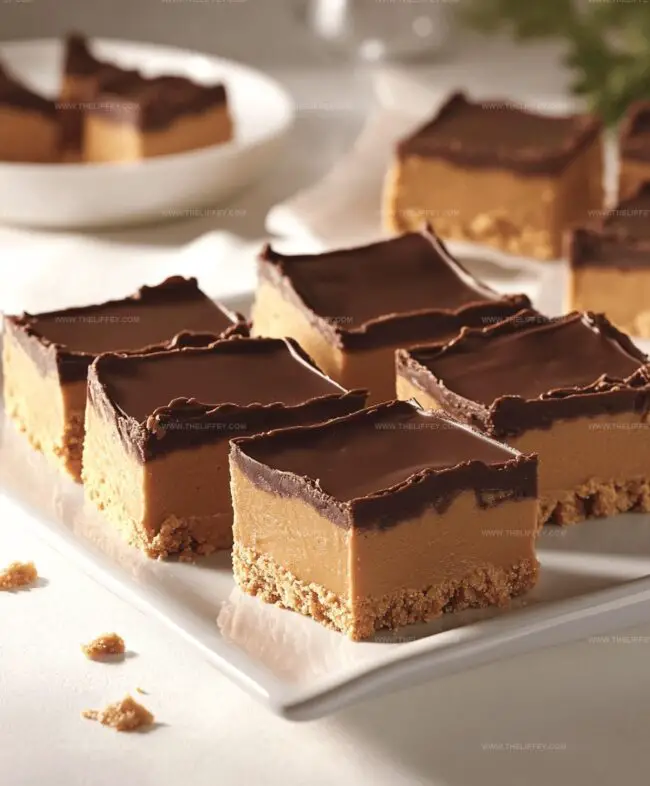
Place the pan in the refrigerator and let the bars cool and solidify for 1-2 hours. Once the bars are firm and completely set, slice into perfect squares and serve.
These decadent treats are ready to delight your taste buds!
Tips For No-Bake Peanut Butter Buckeye Bars
Creative Twists For Buckeye Bars
What To Serve With Peanut Butter Buckeye Bars
Storing No-Bake Buckeye Bars Correctly
FAQs
Buckeye Bars are a simplified, easier version of the classic Buckeye candy. Instead of rolling individual peanut butter balls and dipping them in chocolate, these bars are layered and set in a pan, making them much quicker to prepare.
Absolutely! While peanut butter is traditional, you can substitute almond butter, cashew butter, or sunflower seed butter for a different flavor or to accommodate nut allergies. Just ensure the alternative has a similar consistency.
To make the bars gluten-free, replace graham cracker crumbs with gluten-free graham crackers or use crushed gluten-free cookies like vanilla wafers or almond flour-based crackers.
Print
Easy No-Bake Peanut Butter Buckeye Bars Recipe
- Total Time: 15 minutes
- Yield: 16 1x
Description
Indulgent no-bake peanut butter buckeye bars deliver a delightful chocolate and peanut butter combination from Ohio. Sweet layers meld seamlessly, creating a quick dessert perfect for sharing with family and friends.
Ingredients
Main Ingredients:
- 2 cups chocolate chips
- 1 cup creamy peanut butter
- 1 1/2 cups graham cracker crumbs
Binding Ingredients:
- 1/2 cup unsalted butter, melted
- 2 cups powdered sugar
Flavor Enhancers:
- 1 teaspoon vanilla extract
- 1 tablespoon coconut oil or butter (optional, for smoother chocolate layer)
Instructions
- Combine peanut butter, melted butter, powdered sugar, and vanilla extract in a medium bowl, whisking until a silky, homogeneous mixture forms.
- Fold graham cracker crumbs into the peanut butter base, ensuring thorough incorporation and creating a consistent texture.
- Transfer the mixture to a parchment-lined 8×8-inch pan, using a spatula to distribute evenly and create a compact, smooth layer.
- Melt chocolate chips with coconut oil in 30-second microwave intervals or using a double boiler, stirring until achieving a glossy, fully melted consistency.
- Carefully pour the melted chocolate over the peanut butter layer, tilting the pan to create an even, seamless chocolate coating.
- Chill in the refrigerator for 90-120 minutes until the bars become completely firm and set.
- Remove from refrigerator, lift parchment paper, and slice into uniform squares using a sharp knife.
- Serve chilled and store remaining bars in an airtight container in the refrigerator for up to one week.
Notes
- Swap regular peanut butter with almond or sunflower seed butter for nut-free alternatives that keep the creamy texture and sweet flavor.
- Ensure graham cracker crumbs are finely ground to create a smooth, compact base that holds together perfectly without crumbling.
- Use dark chocolate chips for a richer, less sweet topping that balances the sweet peanut butter layer and adds sophisticated depth to the dessert.
- Sprinkle sea salt or crushed peanuts on top before chilling to enhance flavor complexity and add a delightful crunch to the smooth bars.
- Prep Time: 15 minutes
- Cook Time: 0 minutes
- Category: Snacks, Desserts
- Method: Blending
- Cuisine: American
Nutrition
- Serving Size: 16
- Calories: 256
- Sugar: 17 g
- Sodium: 85 mg
- Fat: 18 g
- Saturated Fat: 6 g
- Unsaturated Fat: 11 g
- Trans Fat: 0.1 g
- Carbohydrates: 20 g
- Fiber: 1.5 g
- Protein: 5 g
- Cholesterol: 10 mg
John Conley
Founder & Culinary Storyteller
Expertise
Recipe Development, Culinary Writing, Home Cooking Techniques, Seasonal Ingredient Utilization
Education
Lane Community College, Eugene, OR
Certificate in Culinary Arts
Focused on foundational cooking techniques, kitchen safety, and menu planning.
Gotham Writers Workshop, New York, NY
Course in Food Writing
Explored the art of crafting engaging culinary narratives and recipe development.
John grew up where food meant connection: big bowls, warm kitchens, and meals that told a story. After earning his Certificate in Culinary Arts from Lane Community College and diving deep into food writing at Gotham Writers Workshop, he found his calling: turning everyday recipes into something worth savoring.
At The Liffey, John’s focus is all about crafting dishes that feel easy, honest, and full of heart.