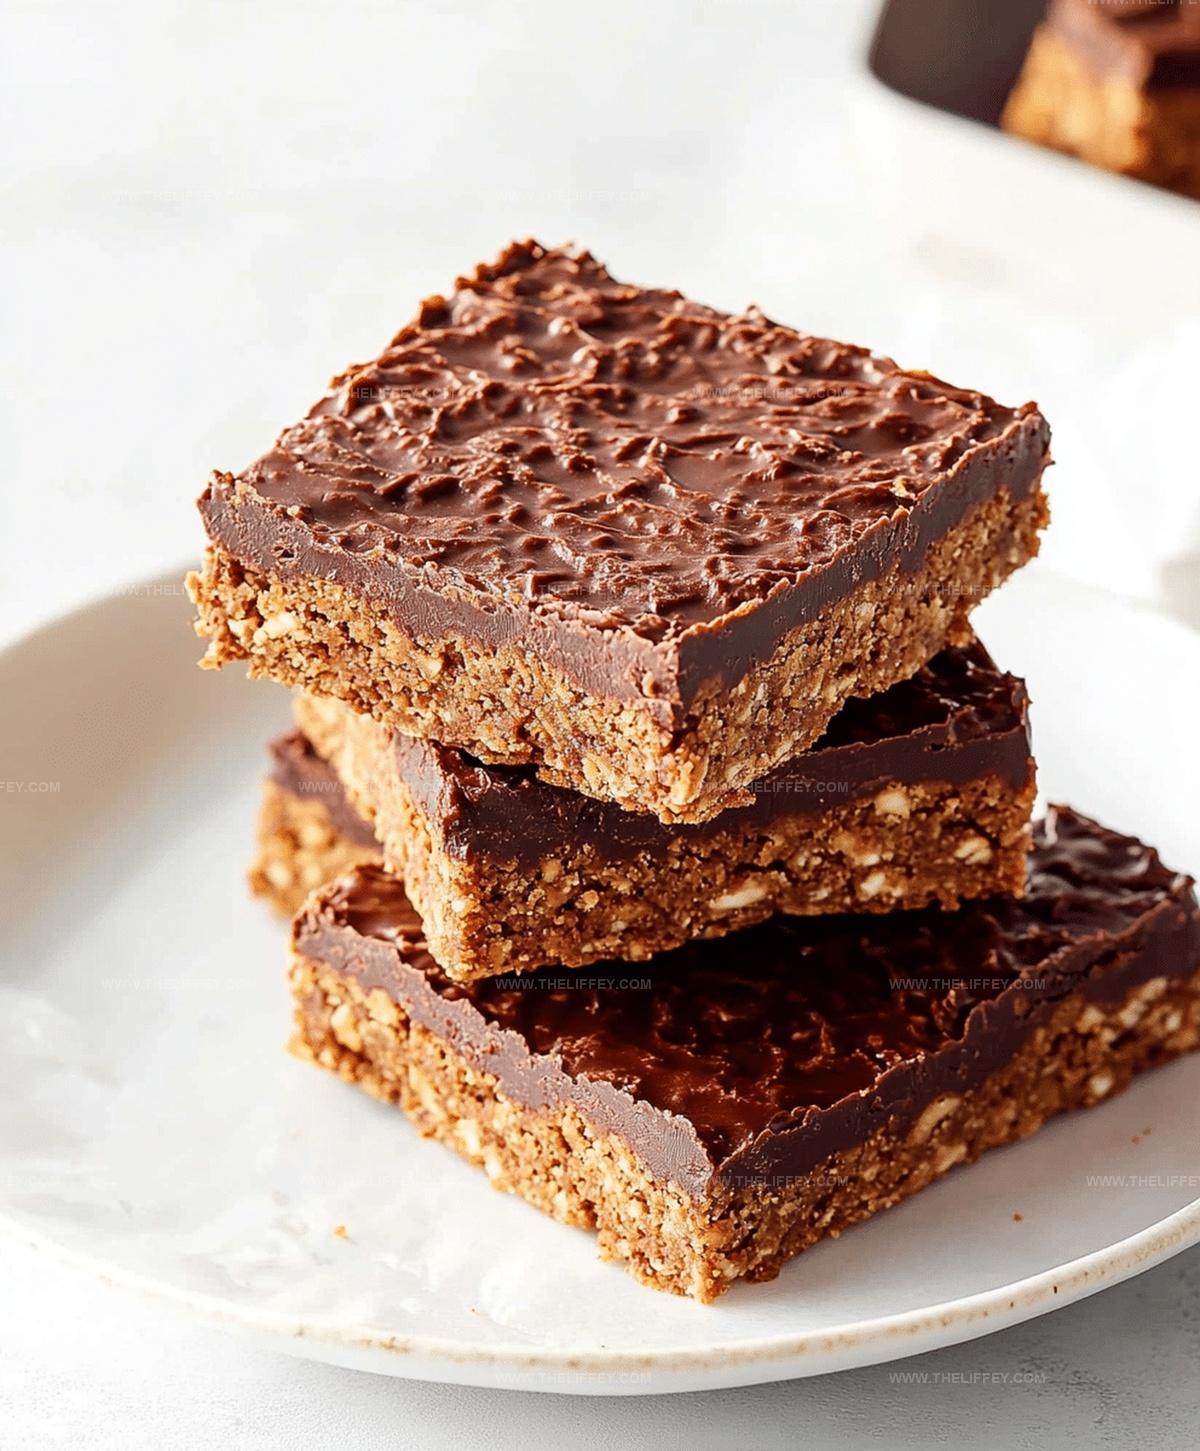
Heavenly No-Bake Chocolate Peanut Butter Bars Recipe
Crafting delectable no-bake chocolate peanut butter bars can turn an ordinary afternoon into a sweet adventure.
chocolate and peanut butter create magic when combined in this simple dessert.
Rich layers promise pure indulgence without heating up the kitchen.
Minimal ingredients mean maximum flavor in every single bite.
Quick preparation makes these bars perfect for sudden cravings or unexpected guests.
Creamy textures and decadent tastes will have people asking for seconds.
You won’t believe how easy it is to make something so delicious.
Let’s dive into a recipe that guarantees smiles with every single square.
No-Bake Chocolate Peanut Butter Bars That Shine
Ingredients for No-Bake Chocolate Peanut Butter Bars
Base Ingredients:Topping Ingredients:Optional Garnish:How to Make No-Bake Chocolate Peanut Butter Bars
Step 1: Whip Up the Creamy Peanut Butter Base
In a spacious mixing bowl, blend melted butter, crushed graham crackers, powdered sugar, and smooth peanut butter. Stir continuously until the mixture transforms into a uniform, silky consistency that looks absolutely irresistible.
Step 2: Create the Perfect Foundation
Grab a 9×13 inch pan and line it with parchment paper. Gently press the peanut butter mixture into the pan, creating an even, smooth layer that covers the entire bottom.
Use the back of a spoon or your fingers to pack it down firmly.
Step 3: Craft the Decadent Chocolate Topping
Grab a microwave-safe bowl and combine chocolate chips with additional peanut butter.
Microwave in short 30-second intervals, stirring between each burst. Continue this process until the chocolate melts completely and blends into a glossy, smooth mixture.
Step 4: Pour and Spread the Chocolate Layer
Carefully drizzle the molten chocolate mixture over the peanut butter base. Use a spatula to spread the chocolate evenly, ensuring it covers every inch of the previous layer with a luxurious chocolate blanket.
Step 5: Chill and Set the Bars
Place the pan in the refrigerator and let it rest for at least 2 hours. The bars need time to firm up and develop that perfect, slice-able texture that makes them absolutely irresistible.
Step 6: Slice and Serve
Remove the pan from the refrigerator. Lift the bars out using the parchment paper.
Slice into rectangular pieces using a sharp knife. Serve immediately and watch everyone’s eyes light up with pure deliciousness!
Tricks for No-Bake Chocolate Peanut Butter Bars
Flavorful Variations on Peanut Butter Bars
Serving No-Bake Chocolate Peanut Butter Bars
Keeping No-Bake Peanut Butter Bars Fresh
FAQs
Yes, you can substitute almond butter or cashew butter for a different flavor profile, but keep the same measurement.
While graham crackers are traditional, you can use vanilla wafers or digestive biscuits as an alternative crumb base.
When stored in an airtight container in the refrigerator, these bars will keep well for up to 7-10 days.
Use gluten-free graham crackers or gluten-free cookie crumbs to make this recipe suitable for those with gluten sensitivities.
Print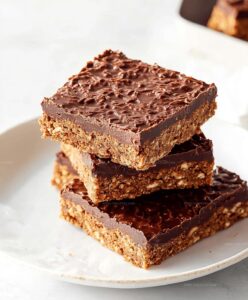
Easy No-Bake Chocolate Peanut Butter Bars Recipe
- Total Time: 2 hours 15 minutes
- Yield: 12 1x
Description
Rich chocolate and creamy peanut butter meld perfectly in this no-bake chocolate peanut butter bars masterpiece. Simple ingredients create a delightful dessert that satisfies sweet cravings without turning on the oven. Chocolate lovers will devour these easy, indulgent bars.
Ingredients
Main Ingredients:
- 1 cup butter
- 1 1/4 cups creamy peanut butter
- 1 1/2 cups semi-sweet chocolate chips
Base Ingredients:
- 2 cups graham cracker crumbs
- 2 cups powdered sugar
Topping Ingredients:
- 1/4 cup peanut butter (for chocolate topping)
Instructions
- In a large mixing bowl, thoroughly blend melted butter, graham cracker crumbs, powdered sugar, and creamy peanut butter until a uniform, velvety consistency forms.
- Transfer the mixture into a parchment-lined 9×13 inch pan, using a spatula to evenly distribute and firmly compress the base layer.
- Create the chocolate topping by gently melting chocolate chips and additional peanut butter in the microwave, stirring at 30-second intervals until completely smooth and glossy.
- Carefully pour the molten chocolate mixture over the prepared peanut butter foundation, using a clean spatula to ensure an even, consistent coverage.
- Place the pan in the refrigerator and allow it to chill for 120 minutes, or until the bars have solidified completely and developed a firm texture.
- Remove from refrigerator and slice into uniform rectangular bars using a sharp knife, wiping the blade clean between cuts for precise edges.
- Serve chilled and enjoy the rich, decadent treat immediately or store in an airtight container in the refrigerator for up to one week.
Notes
- Chill the pan beforehand to help the base set faster and create a more compact texture.
- Use high-quality chocolate chips for a richer, more indulgent flavor profile.
- Swap graham crackers with gluten-free alternatives like almond flour or oat flour for a celiac-friendly version.
- Experiment with different nut butters like almond or cashew for unique taste variations.
- Prep Time: 15 minutes
- Cook Time: 2 hours
- Category: Snacks, Desserts
- Method: None
- Cuisine: American
Nutrition
- Serving Size: 12
- Calories: 330 kcal
- Sugar: 25 g
- Sodium: 120 mg
- Fat: 22 g
- Saturated Fat: 8 g
- Unsaturated Fat: 11 g
- Trans Fat: 0.2 g
- Carbohydrates: 30 g
- Fiber: 2 g
- Protein: 7 g
- Cholesterol: 35 mg
John Conley
Founder & Culinary Storyteller
Expertise
Recipe Development, Culinary Writing, Home Cooking Techniques, Seasonal Ingredient Utilization
Education
Lane Community College, Eugene, OR
Certificate in Culinary Arts
Focused on foundational cooking techniques, kitchen safety, and menu planning.
Gotham Writers Workshop, New York, NY
Course in Food Writing
Explored the art of crafting engaging culinary narratives and recipe development.
John grew up where food meant connection: big bowls, warm kitchens, and meals that told a story. After earning his Certificate in Culinary Arts from Lane Community College and diving deep into food writing at Gotham Writers Workshop, he found his calling: turning everyday recipes into something worth savoring.
At The Liffey, John’s focus is all about crafting dishes that feel easy, honest, and full of heart.