
Dreamy No Bake Chocolate Peanut Butter Pinwheels Recipe
Whipping up these delectable no bake chocolate peanut butter pinwheels brings pure dessert magic to your kitchen.
Sweet and rich flavors dance together in a simple treat that requires zero oven time.
chocolate and peanut butter create an irresistible combination that melts hearts instantly.
Minimal ingredients mean maximum enjoyment for anyone craving a quick indulgence.
Cool and creamy textures promise a delightful experience with each bite.
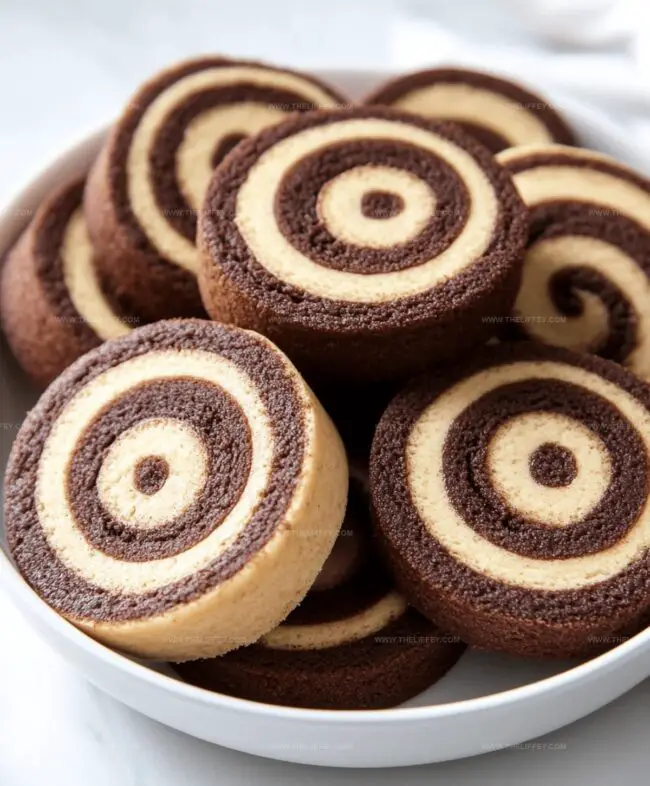
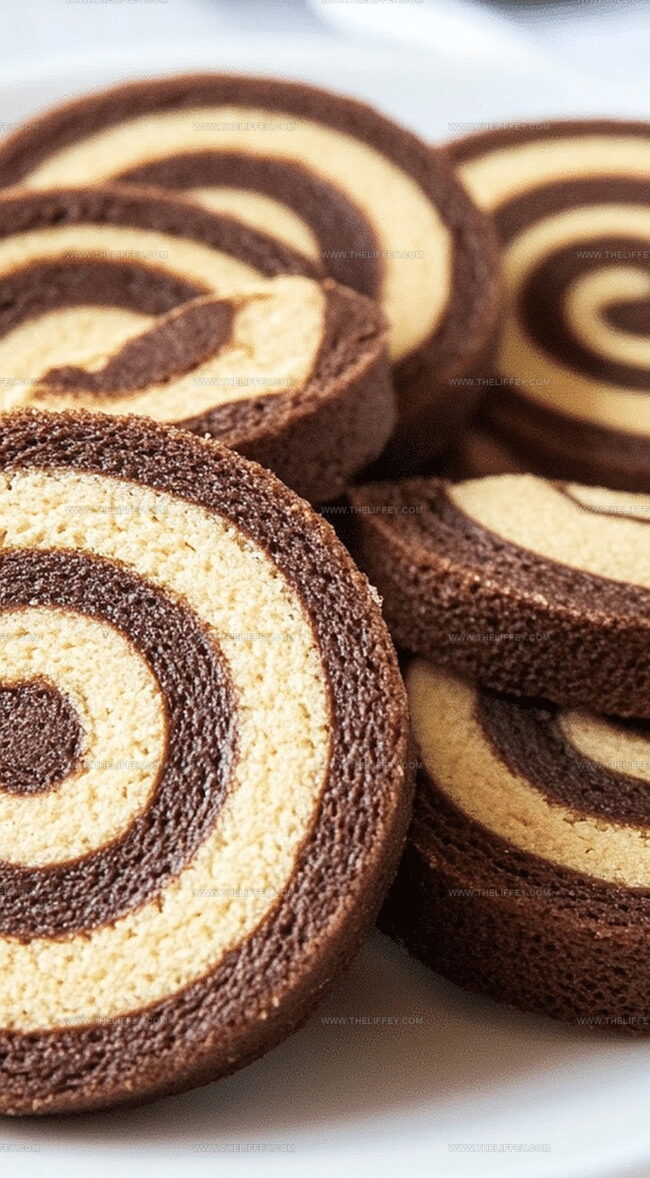
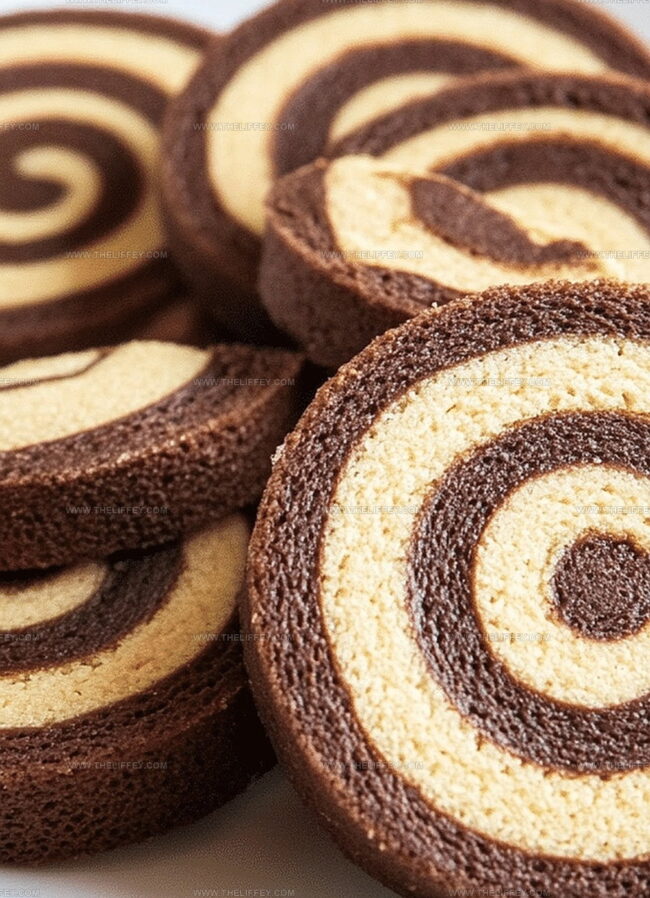
Smooth layers of chocolate and peanut butter roll into perfect spirals that look professionally crafted.
You’ll become an instant dessert hero when serving these impressive sweets at any gathering.
No Bake Chocolate Peanut Butter Pinwheels Treat
Ingredients For No Bake Peanut Butter Pinwheels
Base Ingredients:Fat and Flavor Enhancers:Coating Ingredient:Optional Preparation Ingredient:How To Make No Bake Pinwheels

Step 1: Whip Together Creamy Mixture
In a spacious mixing bowl, combine powdered sugar, smooth peanut butter, softened butter, and vanilla extract. Use an electric mixer or whisk vigorously until the ingredients transform into a silky, uniform blend with no lumps.
The mixture should feel slightly stiff but pliable.
Step 2: Create Flat Rectangular Base
Place a sheet of wax paper on a clean countertop.
Transfer the creamy mixture onto the wax paper and gently roll it out using a rolling pin. Aim to create an even rectangular shape approximately 1/4 inch thick.
Ensure the edges are smooth and consistent.
Step 3: Melt Chocolate Coating
Select your preferred chocolate chips (dark, milk, or semi-sweet).
Place them in a microwave-safe bowl or use a double boiler. If microwaving, heat in 30-second intervals, stirring between each interval to prevent burning.
Continue until chocolate becomes completely smooth and glossy.
Step 4: Spread Chocolate Layer
Pour the melted chocolate evenly over the peanut butter rectangle.
Use a spatula or offset knife to create a uniform chocolate layer, covering the entire surface. Leave a small border around the edges to prevent overflow when rolling.
Step 5: Roll Into Tight Log
Carefully lift the wax paper’s edge and begin rolling the mixture into a compact cylindrical log. Move slowly and steadily, ensuring the chocolate and peanut butter layers remain intact.
Wrap the log tightly in the wax paper.
Step 6: Chill and Set
Place the wrapped log in the refrigerator for at least 4-6 hours, preferably overnight.
The chilling process helps the pinwheels firm up and makes slicing easier.
Step 7: Slice and Serve
Remove the log from the refrigerator.
Using a sharp knife, slice into 1/2-inch thick pinwheel rounds. Arrange on a serving plate and keep chilled until ready to enjoy.
These treats are perfect for parties, dessert tables, or midnight snacking.
Tips For Creamy Chocolate Peanut Butter Pinwheels
Different Takes On No Bake Pinwheels
Serving Suggestions For No Bake Pinwheels
Best Storage For No Bake Pinwheels
FAQs
Yes, crunchy peanut butter works great and adds extra texture to the pinwheels.
No, just a mixing bowl, wax paper, and a knife are all you need to create these delicious treats.
They can be stored in an airtight container in the refrigerator for up to 5-7 days.
Absolutely! You can use milk, dark, or white chocolate chips depending on your preference.
Print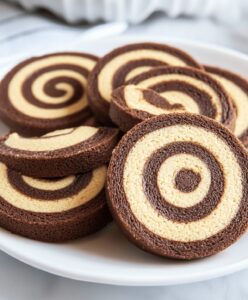
Easy No Bake Chocolate Peanut Butter Pinwheels Recipe
- Total Time: 12 hours 20 minutes
- Yield: 12 1x
Description
Chocolate peanut butter pinwheels deliver a creamy, no-bake dessert sensation from classic American kitchens. Sweet spirals of chocolate and peanut butter promise quick satisfaction for hungry snackers seeking simple indulgence.
Ingredients
Main Ingredients:
- 1 cup creamy peanut butter
- 1 cup semi-sweet chocolate chips
- 1/4 cup (4 tablespoons) unsalted butter, softened
Sweeteners and Flavoring:
- 1 1/2 cups powdered sugar
- 1/2 teaspoon vanilla extract
Instructions
- Combine powdered sugar, peanut butter, softened butter, and vanilla extract in a mixing bowl, stirring until the mixture becomes uniformly smooth and creamy.
- Lay out a sheet of wax paper and carefully spread the mixture into a thin, even rectangular shape using a spatula or rolling pin.
- Melt chocolate chips using a microwave in 30-second intervals, stirring between each interval, or use a double boiler until completely liquefied and glossy.
- Gently pour the melted chocolate over the peanut butter layer, spreading it evenly across the entire surface with a spatula, ensuring complete coverage.
- Using the wax paper as a guide, carefully roll the sheet into a tight cylindrical log, pressing gently to maintain a compact shape.
- Place the rolled log in the refrigerator and chill for 12 hours or overnight to allow the pinwheels to set and firm up completely.
- Remove from refrigerator, unwrap from wax paper, and slice into thin pinwheel rounds using a sharp knife, creating uniform bite-sized pieces.
- Serve chilled and enjoy the rich, decadent chocolate and peanut butter treat.
Notes
- Ensure butter and peanut butter are at room temperature for smooth, lump-free mixing.
- Use parchment paper instead of wax paper for easier rolling and cleaner edges.
- For a gluten-free version, verify all ingredients are certified gluten-free, especially powdered sugar.
- Experiment with dark, milk, or white chocolate for different flavor variations and visual appeal.
- Prep Time: 20 minutes
- Cook Time: 12 hours
- Category: Snacks, Desserts
- Method: Rolling
- Cuisine: American
Nutrition
- Serving Size: 12
- Calories: 215 kcal
- Sugar: 18 g
- Sodium: 45 mg
- Fat: 14 g
- Saturated Fat: 4 g
- Unsaturated Fat: 9 g
- Trans Fat: 0.1 g
- Carbohydrates: 21 g
- Fiber: 1.5 g
- Protein: 5 g
- Cholesterol: 10 mg
John Conley
Founder & Culinary Storyteller
Expertise
Recipe Development, Culinary Writing, Home Cooking Techniques, Seasonal Ingredient Utilization
Education
Lane Community College, Eugene, OR
Certificate in Culinary Arts
Focused on foundational cooking techniques, kitchen safety, and menu planning.
Gotham Writers Workshop, New York, NY
Course in Food Writing
Explored the art of crafting engaging culinary narratives and recipe development.
John grew up where food meant connection: big bowls, warm kitchens, and meals that told a story. After earning his Certificate in Culinary Arts from Lane Community College and diving deep into food writing at Gotham Writers Workshop, he found his calling: turning everyday recipes into something worth savoring.
At The Liffey, John’s focus is all about crafting dishes that feel easy, honest, and full of heart.