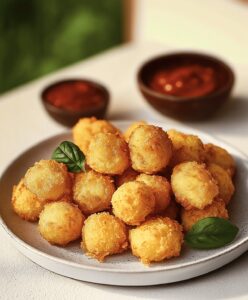
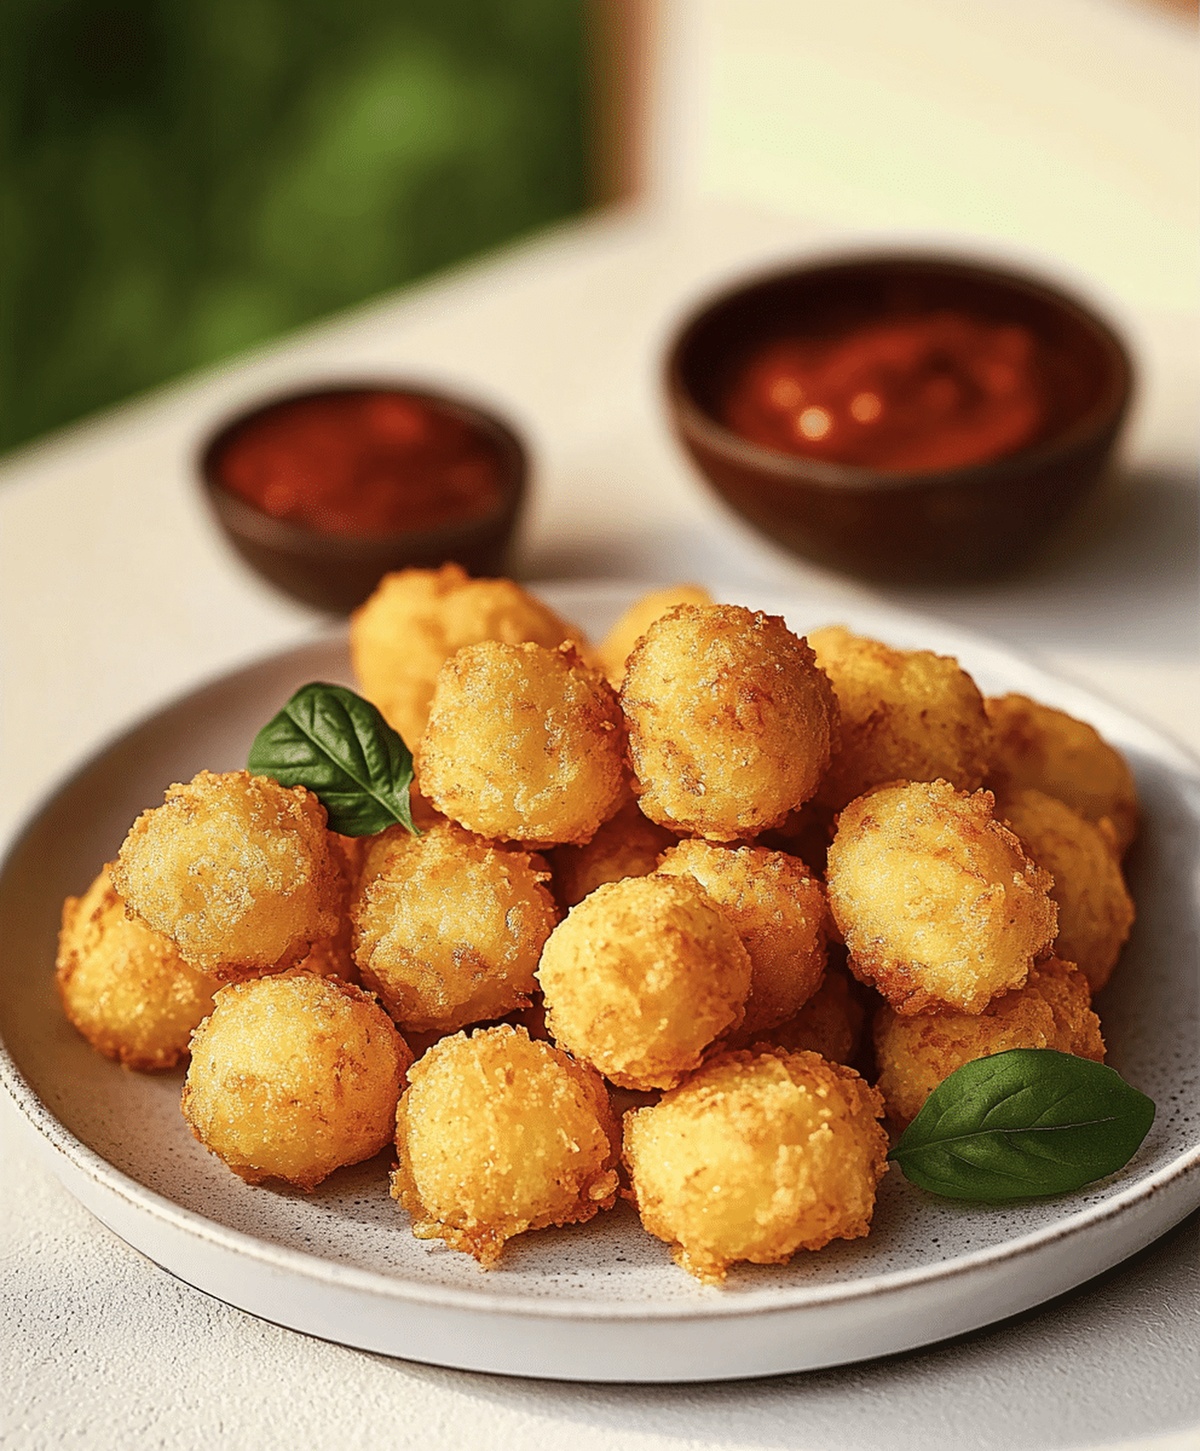
Easy Cheesy Fried Cheese Bites Recipe: Irresistibly Golden Snacks
Crispy golden cheese bites spark joy in every kitchen adventure!
Melted goodness transforms simple ingredients into something magical.
Cheese lovers understand the power of a perfect snack.
Quick preparation meets delightful flavor in this straightforward recipe.
Each bite promises a crunchy exterior with soft, gooey centers.
You can whip up these irresistible morsels in minutes.
Prepare to impress everyone at your next gathering with these addictive treats.
Ingredients for Cheese Bites Perfection
Cheese Base:Coating Ingredients:Seasoning and Crispy Layer:Cooking and Serving:Steps for Golden Fried Cheese Bites
Step 1: Prepare Delectable Coating Mixture
Combine breadcrumbs with a zesty blend of garlic powder, smoky paprika, sea salt, and freshly ground black pepper in a shallow bowl.
Mix thoroughly to create a flavor-packed coating that will make these cheese bites irresistible.
Step 2: Dredge Cheese Cubes
Take your cheese cubes and first roll them in all-purpose flour, ensuring each piece is completely covered.
This initial coating helps the egg adhere perfectly and creates a fantastic crispy exterior.
Step 3: Create Egg Wash
Crack fresh eggs into a separate bowl and whisk until smooth and well-blended.
This egg wash will be the magical glue that helps the breadcrumb mixture stick to the cheese.
Step 4: Build Crispy Layers
Dip each flour-coated cheese cube into the egg wash, making sure it’s completely covered.
Then immediately roll the piece in the seasoned breadcrumb mixture.
For extra crunch, repeat the egg and breadcrumb process a second time.
Step 5: Heat Cooking Oil
Pour vegetable or canola oil into a deep pan, bringing the temperature to exactly 350 degrees Fahrenheit.
Use a cooking thermometer to ensure precise heating for perfect golden results.
Step 6: Fry to Golden Perfection
Carefully lower the coated cheese cubes into the hot oil, working in small batches to maintain oil temperature.
Fry until they transform into a beautiful golden brown color, which typically takes about 2-3 minutes.
Step 7: Drain and Serve
Remove the fried cheese bites using a slotted spoon and place them on paper towels to drain excess oil.
Serve immediately while they’re hot and crispy, accompanied by your favorite dipping sauce like marinara, ranch, or spicy aioli.
Cheese Bite Cooking Tips for Success
Twists for Fried Cheese Bite Fans
Serving Fried Cheese Bites Warm
Storing Cheese Bites for Future Snacks
FAQs
Yes, hard cheeses like cheddar, gouda, or mozzarella work best. Soft cheeses might melt too quickly during frying.
Freeze cheese cubes for 15-20 minutes before coating to help them maintain shape. Double coating with egg and breadcrumbs also helps seal the cheese.
Marinara sauce, ranch dressing, garlic aioli, and honey mustard are popular and delicious options that complement the crispy cheese bites.
Breadcrumbs create a crispy exterior and help the coating stick. If unavailable, you can use crushed crackers or panko as alternatives.
Fried Cheese Bites Melty Snack Appeal
Print
Easy Fried Cheese Bites Recipe
- Total Time: 15 minutes
- Yield: 4 1x
Description
Crispy fried cheese bites deliver a golden, irresistible snack that melts perfectly with each crunch. Cheesy goodness comes alive through simple ingredients and quick preparation, promising delightful moments of pure comfort for hungry appetites.
Ingredients
Cheese:
- 1 cup mozzarella cheese (cubed)
Dry Ingredients:
- 1 cup all-purpose flour
- 1 cup breadcrumbs
- 1/2 teaspoon garlic powder
- 1/2 teaspoon paprika
- 1/2 teaspoon salt
- 1/4 teaspoon black pepper
Wet Ingredients:
- 2 eggs (beaten)
- Vegetable oil (for frying)
Instructions
- Prepare a deep pan and heat oil to a precise 350F (175C), ensuring optimal temperature for frying.
- Gently dust cheese cubes with a light coating of flour, creating a preliminary barrier for adhesion.
- Submerge floured cheese into whisked eggs, allowing complete coverage and helping breadcrumbs adhere effectively.
- Transfer egg-coated cheese into seasoned breadcrumb mixture, incorporating garlic powder, paprika, salt, and pepper for enhanced flavor profile.
- Double-coat the cheese by repeating the egg and breadcrumb process, guaranteeing an extra crispy exterior.
- Carefully lower breaded cheese cubes into hot oil, frying in smaller batches to maintain consistent golden-brown coloration.
- Monitor cooking process for approximately 1-2 minutes, ensuring cheese becomes crisp without burning or losing structural integrity.
- Extract fried cheese bites using slotted spoon, allowing excess oil to drip back into pan.
- Transfer to paper towel-lined plate to absorb remaining oil and maintain crispness.
- Serve immediately while warm, accompanied by preferred dipping sauce for maximum enjoyment.
Notes
- Double-coat the cheese cubes by dipping in egg and breadcrumbs twice for an extra crunchy exterior that’s irresistibly golden.
- Use a kitchen thermometer to maintain consistent oil temperature, preventing soggy or burnt cheese bites.
- Choose firm cheeses like mozzarella or halloumi that hold their shape during frying and create a delightful melty center.
- Swap wheat flour and breadcrumbs with almond flour and gluten-free breadcrumbs to make the recipe suitable for those with gluten sensitivities.
- Prep Time: 10 minutes
- Cook Time: 5 minutes
- Category: Appetizer, Snacks
- Method: Frying
- Cuisine: American
Nutrition
- Serving Size: 4
- Calories: 350 kcal
- Sugar: 1 g
- Sodium: 450 mg
- Fat: 22 g
- Saturated Fat: 11 g
- Unsaturated Fat: 9 g
- Trans Fat: 0.5 g
- Carbohydrates: 20 g
- Fiber: 1 g
- Protein: 18 g
- Cholesterol: 110 mg


Amanda Bennett
Recipe Curator & Culinary Educator
Expertise
Baking and Pastry Arts, Recipe Testing and Development, Culinary Instruction, Food Styling and Photography
Education
Asheville-Buncombe Technical Community College, Asheville, NC
Diploma in Culinary Arts
Emphasized practical cooking skills, nutrition, and kitchen management.
Cambridge School of Culinary Arts, Cambridge, MA
Certificate in Professional Pastry Arts
Specialized in baking techniques, dessert presentation, and flavor profiling
Amanda’s roots run deep in the Southern hills, where every meal started fresh from the garden and every dessert came with a story. She trained at Asheville-Buncombe Technical Community College and sharpened her pastry skills at the Cambridge School of Culinary Arts, blending classic technique with everyday charm.
At The Liffey, Amanda’s passion is making baking and home cooking feel natural and joyful. She’s all about single recipes that are simple enough for a busy afternoon, but special enough to make someone’s day a little sweeter.