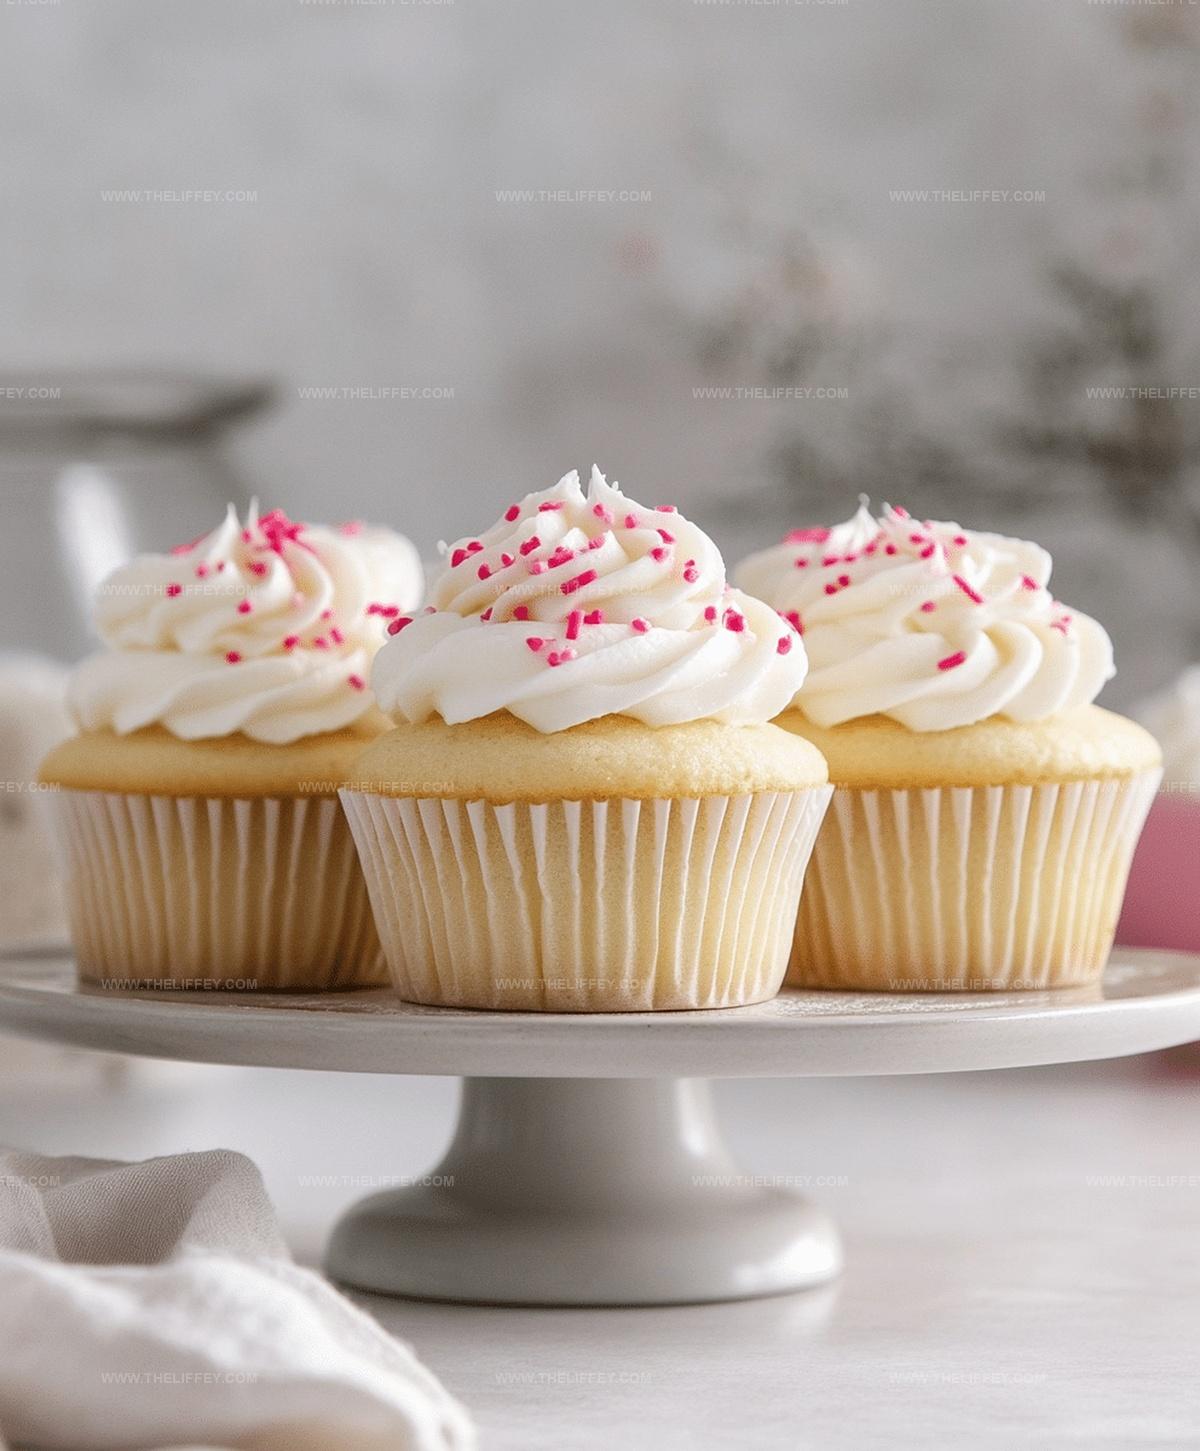
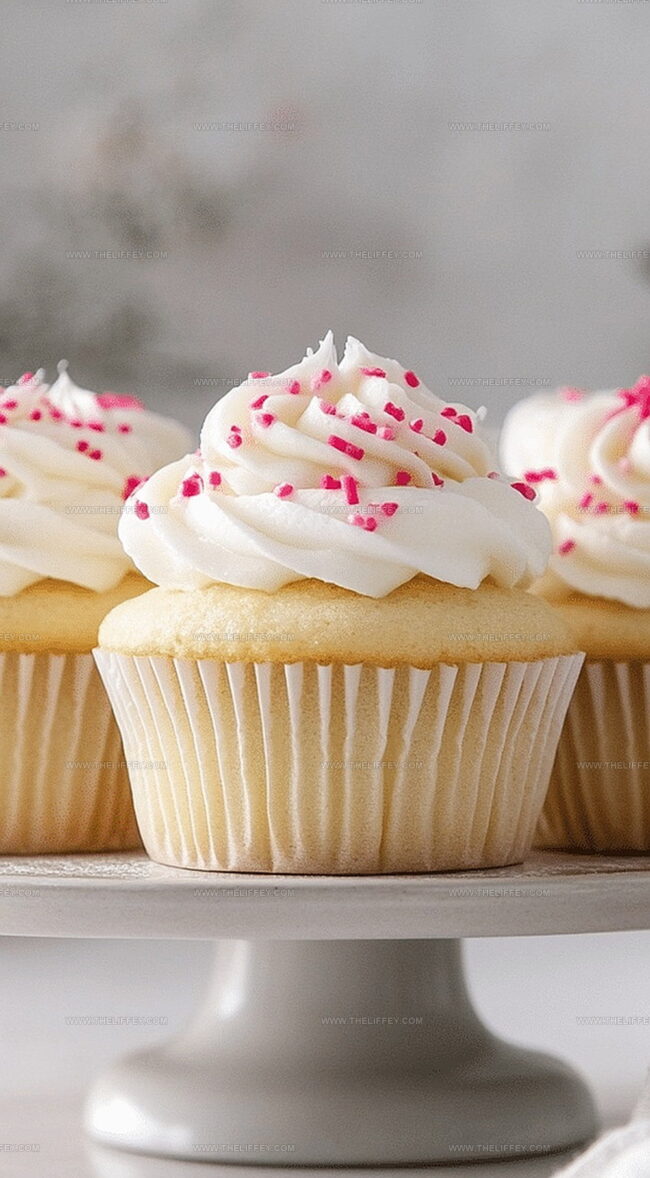
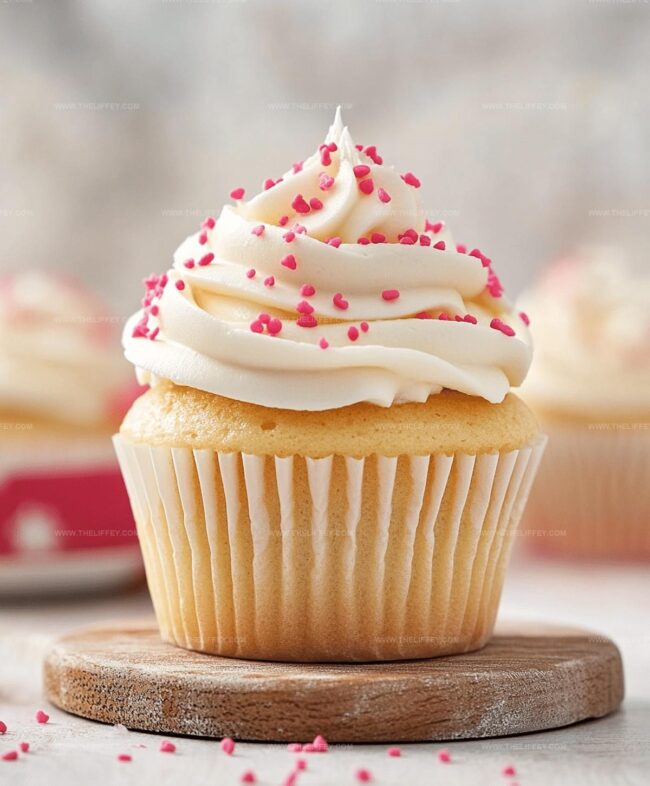
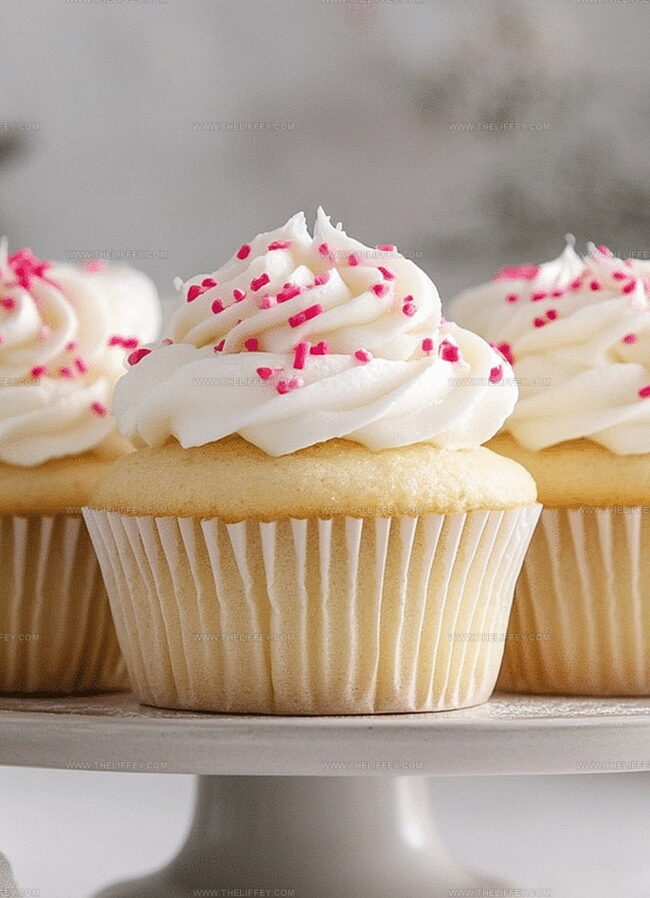
The Perfect Fluffy Cupcake Base Recipe for Sweet Success
Crafting the perfect cupcake base requires patience and a dash of creativity.
Bakers understand the delicate balance between moisture and structure in these miniature delights.
Soft, tender crumbs depend on precise measurements and gentle mixing techniques.
Simple ingredients come together to create something magical in your kitchen.
Each step matters when developing a foolproof foundation for delectable treats.
Small nuances can dramatically impact the final texture and flavor profile.
You’ll want to pay close attention to mixing methods that ensure light, fluffy results.
Dive into this recipe and unlock the secrets of an irresistible cupcake base that will make everyone ask for seconds.
Why Cupcake Base Is Essential
Ingredients For Cupcake Base
Dry Ingredients:Wet Ingredients:Finishing Components:How To Make Cupcake Base
Step 1: Warm Up the Oven
Set your oven to a toasty 350°F (175°C). Grab a standard 12-cup muffin tin and line it with colorful cupcake liners.
Step 2: Mix Dry Ingredients
Grab a medium bowl and whisk together flour, baking powder, and salt until they’re perfectly blended and smooth.
Step 3: Cream Butter and Sugar
In a large bowl, beat butter and sugar together until the mixture becomes light, fluffy, and looks like a cloud of sweetness.
Step 4: Incorporate Eggs and Vanilla
Add eggs one at a time, mixing thoroughly after each addition. Pour in vanilla extract and blend until the mixture is silky and well combined.
Step 5: Combine Wet and Dry Ingredients
Alternate adding dry ingredients and milk to the butter mixture:Mix gently until just combined. Repeat with remaining flour and milk.
Step 6: Fill Cupcake Liners
Carefully distribute the batter into the cupcake liners, filling each about two-thirds full for perfect rising.
Step 7: Bake to Perfection
Slide the muffin tin into the preheated oven and bake for 18-20 minutes.
Check doneness by inserting a toothpick – it should come out clean.
Step 8: Cool and Prepare
Let cupcakes cool completely on a wire rack before adding any frosting or decorations.
Tips For Cupcake Base
Variations For Cupcake Base
Serving Ideas For Cupcake Base
How To Keep Cupcake Base Fresh
FAQs
Yes, you can use salted butter, but reduce or omit the added salt in the recipe to maintain the right balance of flavors.
You can cream butter and sugar by hand using a wooden spoon, but it will require more arm strength and time to achieve a light and fluffy texture.
Overmixing can lead to tough, dense cupcakes. Stop mixing once the ingredients are just combined and no flour streaks remain.
Yes, substitute the all-purpose flour with a gluten-free flour blend designed for baking to create a similar texture and taste.
Print
Easy Cupcake Base Recipe
- Total Time: 35 minutes
- Yield: 12 1x
Description
Classic German chocolate cupcake delights bakers with rich cocoa and coconut layers. Silky frosting and nutty textures make this dessert a delectable treat that beckons you to savor each delightful bite.
Ingredients
Main Ingredients:
- 1.5 cups all-purpose flour
- 1/2 cup unsalted butter, softened
- 1 cup granulated sugar
- 2 large eggs
- 1/2 cup milk
Leavening and Seasoning:
- 1.5 teaspoons baking powder
- 1/4 teaspoon salt
Flavor Enhancer:
- 1 teaspoon vanilla extract
Instructions
- Arrange the oven rack in the middle position and heat to 350F (175C). Prepare a 12-cup muffin tin with cupcake liners.
- Combine dry ingredients in a medium bowl, whisking flour, baking powder, and salt until thoroughly blended.
- Using an electric mixer, cream butter and sugar in a large bowl until the mixture becomes pale and airy, approximately 3 minutes.
- Incorporate eggs individually into the butter mixture, mixing thoroughly after each addition. Blend in vanilla extract until smooth.
- Alternate adding dry ingredients and milk to the butter mixture in two stages, gently folding until just combined to prevent overmixing.
- Carefully distribute batter into cupcake liners, filling each approximately two-thirds full to allow room for rising.
- Transfer muffin tin to the preheated oven and bake for 18-20 minutes, checking doneness by inserting a toothpick into the center of a cupcake – it should emerge clean and dry.
- Remove cupcakes from the oven and let them rest in the tin for 5 minutes, then transfer to a wire rack to cool completely before applying frosting.
Notes
- Measure ingredients precisely for consistent texture and rise, using standard measuring cups and spoons.
- Ensure all ingredients are at room temperature before mixing to create a smoother, more uniform batter.
- Room temperature butter creams more easily, creating a lighter, fluffier cupcake base with better volume.
- For gluten-free option, substitute all-purpose flour with a 1:1 gluten-free baking blend to maintain similar texture and structure.
- Prep Time: 15 minutes
- Cook Time: 20 minutes
- Category: Desserts
- Method: Baking
- Cuisine: American
Nutrition
- Serving Size: 12
- Calories: 205 kcal
- Sugar: 13 g
- Sodium: 115 mg
- Fat: 10 g
- Saturated Fat: 6 g
- Unsaturated Fat: 3 g
- Trans Fat: 0.4 g
- Carbohydrates: 27 g
- Fiber: 1 g
- Protein: 3 g
- Cholesterol: 55 mg
John Conley
Founder & Culinary Storyteller
Expertise
Recipe Development, Culinary Writing, Home Cooking Techniques, Seasonal Ingredient Utilization
Education
Lane Community College, Eugene, OR
Certificate in Culinary Arts
Focused on foundational cooking techniques, kitchen safety, and menu planning.
Gotham Writers Workshop, New York, NY
Course in Food Writing
Explored the art of crafting engaging culinary narratives and recipe development.
John grew up where food meant connection: big bowls, warm kitchens, and meals that told a story. After earning his Certificate in Culinary Arts from Lane Community College and diving deep into food writing at Gotham Writers Workshop, he found his calling: turning everyday recipes into something worth savoring.
At The Liffey, John’s focus is all about crafting dishes that feel easy, honest, and full of heart.