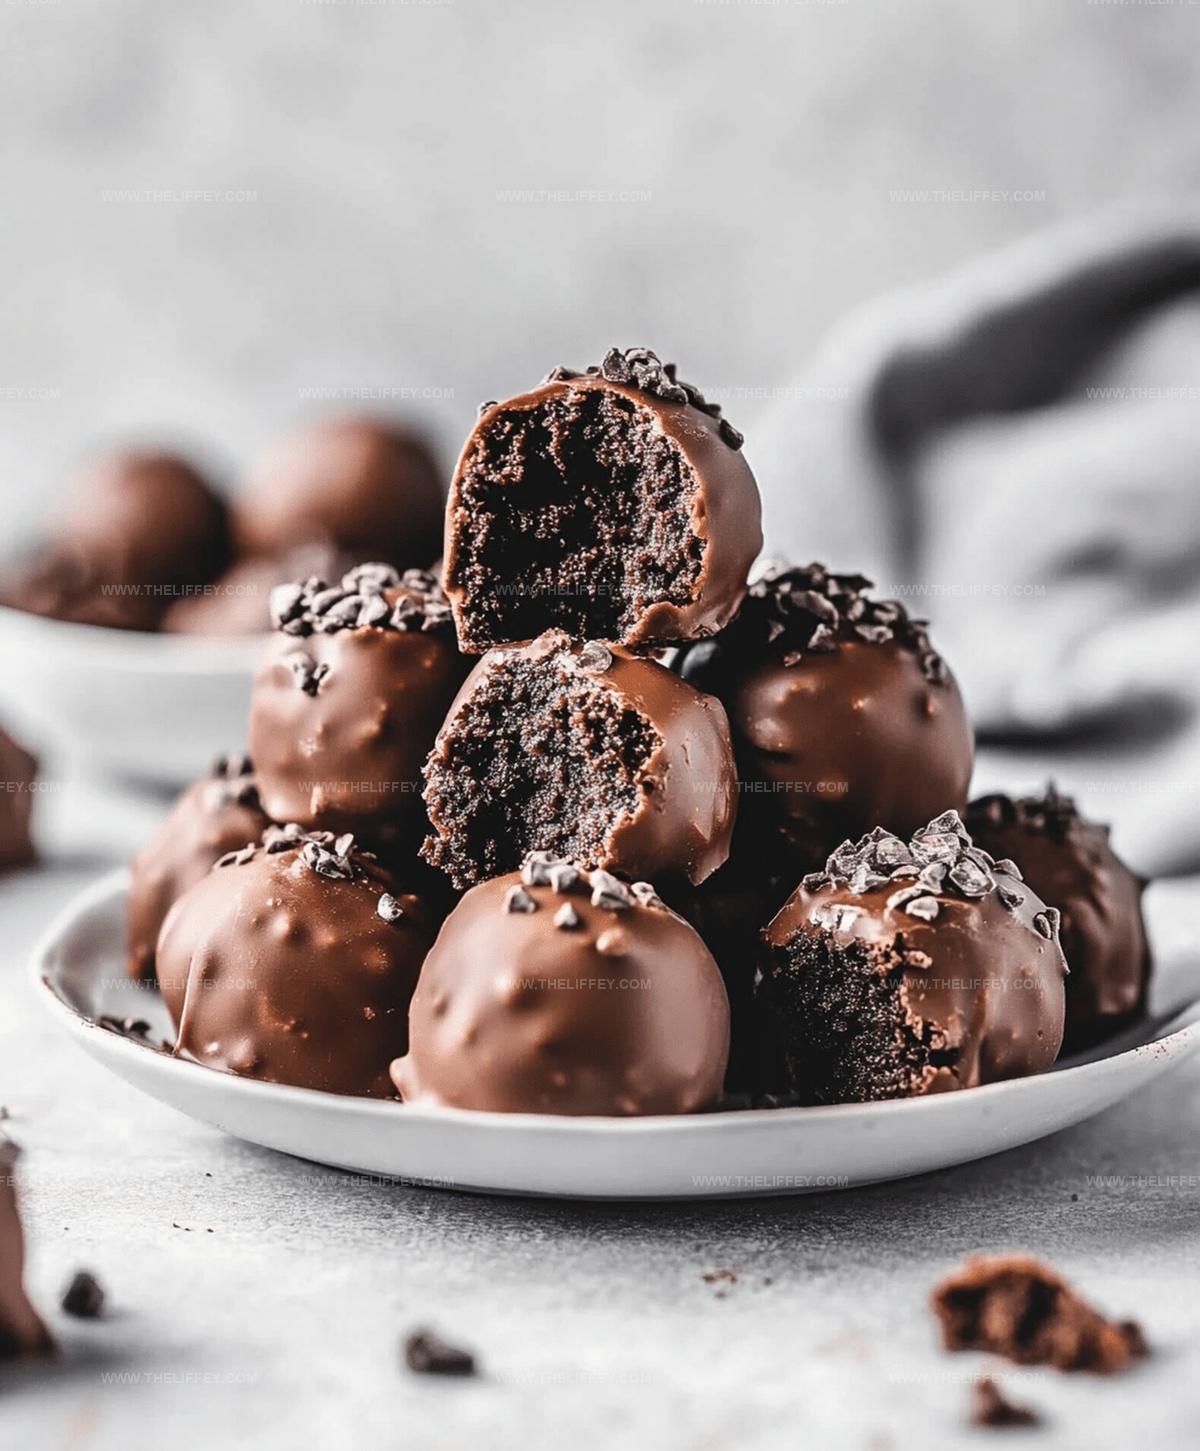
Sweet & Fudgy Easy Brownie Truffles Recipe: Bite-Sized Bliss
Crafting delectable brownie truffles brings pure chocolate magic right into your kitchen.
Sweet chocolate lovers understand the irresistible appeal of bite-sized decadence.
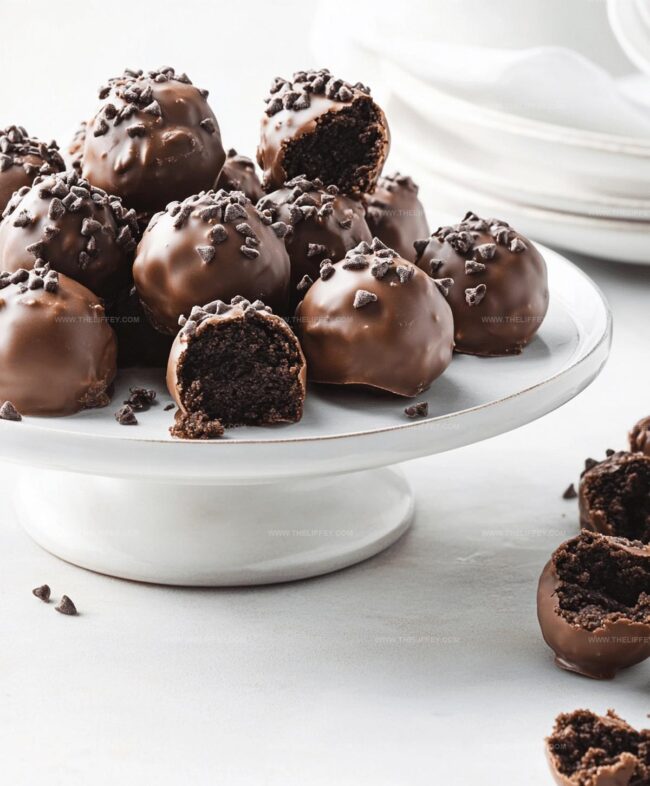
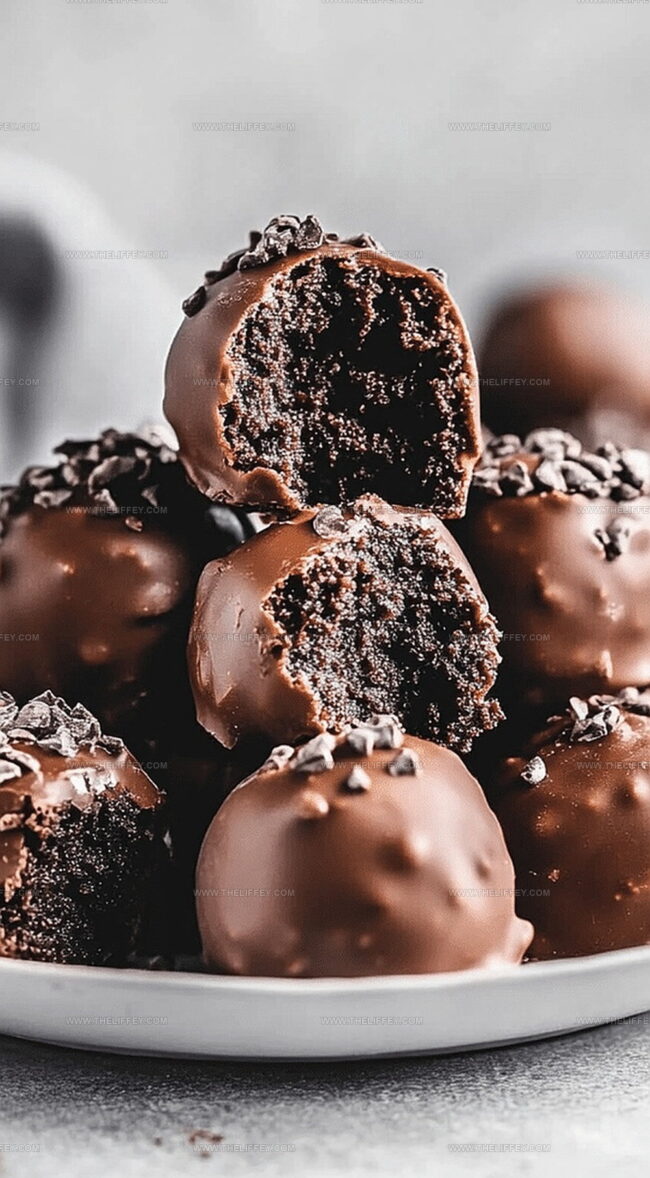
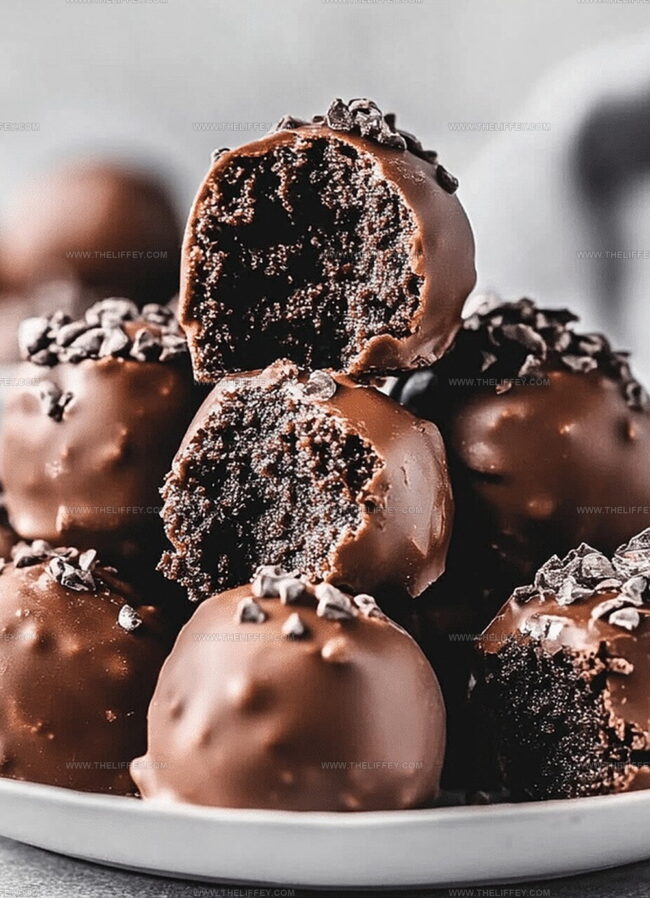
Rich, fudgy centers wrapped in smooth chocolate coatings create an instant dessert sensation.
Compact treats deliver maximum flavor in minimal space.
Each truffle promises a quick escape into indulgence.
Simple ingredients and minimal effort combine to create something extraordinary.
You’ll find these little bites perfect for spontaneous celebrations or quiet moments of personal bliss.
Why Brownie Truffles Are Worth Trying

All You Need for Brownie Truffles Recipe
Main Ingredients:Topping Ingredients:Additional Ingredients:How to Prepare Brownie Truffles Easily
Step 1: Crumble Brownie Base
Break up cooled brownies into a spacious mixing bowl.
Use your hands or a fork to transform the brownies into super fine, sandy-like crumbs.
Ensure no large chunks remain for a smooth truffle texture.
Step 2: Shape Truffle Balls
Scoop small portions of the brownie crumbs and gently roll between your palms.
Create uniform, bite-sized spheres that are compact and hold together well.
Press and roll carefully to prevent crumbling.
Step 3: Prepare Chocolate Coating
Melt chocolate using a double boiler or microwave.
Stir until completely smooth and glossy.
Options for coating include:Step 4: Dunk and Cover
Carefully dip each brownie ball into the melted chocolate.
Use a fork to lift and tap excess chocolate off.
Allow smooth, even chocolate coverage on all sides of the truffle.
Step 5: Add Delightful Toppings
Roll chocolate-covered truffles in your favorite garnishes such as:Step 6: Chill and Set
Place truffles on a parchment-lined baking sheet.
Refrigerate for 20-30 minutes until chocolate hardens completely.
Store in an airtight container in the refrigerator for up to one week.
Best Tips for Brownie Truffles Recipe
Brownie Truffle Options You’ll Want to Try
What Matches Well With Brownie Truffles
How to Keep Brownie Truffles Fresh
FAQs
Yes, you can definitely use pre-made brownies from a bakery or store. Just make sure they are fresh and have a good texture for crumbling.
Milk, dark, or semi-sweet chocolate all work great. Choose your favorite type or mix different chocolates for a unique flavor profile.
When stored in an airtight container in the refrigerator, these brownie truffles will stay fresh for up to 5-7 days.
Try crushed nuts, shredded coconut, cocoa powder, crushed candy canes, or even edible glitter for a festive touch.
Print
Easy Brownie Truffles Recipe
- Total Time: 50 minutes
- Yield: 12 1x
Description
Chocolate-lovers will adore these easy brownie truffles recipe gems that combine rich cocoa with creamy chocolate coating. Dessert enthusiasts can indulge in these bite-sized delights that bring pure decadence to any gathering.
Ingredients
Main Ingredients:
- 1 batch brownies (store-bought or homemade)
- 1 cup (240 milliliters) chocolate chips
Coating and Topping Ingredients:
- Sprinkles (as desired)
- Chopped nuts (as desired)
- Cocoa powder (as desired)
Instructions
- Pulverize freshly baked brownies into fine, uniform crumbs within a spacious mixing vessel, creating a consistent sandy-like texture.
- Compress the brownie crumbs gently with clean hands, forming compact, uniform spherical shapes approximately the size of a walnut.
- Melt chocolate using a double boiler or microwave, ensuring a smooth, glossy consistency at approximately 90°F.
- Delicately submerge each brownie sphere into the warm melted chocolate, rotating carefully to achieve complete, even coverage.
- Immediately transfer chocolate-coated truffles into selected garnishes like crushed nuts, cocoa powder, or sprinkles, gently rolling to adhere coating.
- Arrange decorated truffles on a parchment-lined tray, maintaining slight separation between each piece.
- Refrigerate the truffles for 25-30 minutes until chocolate shell solidifies and becomes firm to the touch.
- Store completed truffles in an airtight container within the refrigerator, maintaining optimal texture and flavor for up to five days.
Notes
- Experiment with brownie texture by using slightly underbaked brownies for extra moisture and richness in the truffles.
- Try different chocolate coatings like dark, milk, or white chocolate to create unique flavor variations and visual appeal.
- Customize toppings by using crushed nuts, sprinkles, cocoa powder, or shredded coconut for added crunch and personal touch.
- Store truffles in an airtight container in the refrigerator for up to a week, allowing flavors to meld and maintain their delightful texture.
- Prep Time: 20 minutes
- Cook Time: 30 minutes
- Category: Desserts, Snacks
- Method: Rolling
- Cuisine: American
Nutrition
- Serving Size: 12
- Calories: 170 kcal
- Sugar: 15 g
- Sodium: 60 mg
- Fat: 9 g
- Saturated Fat: 5 g
- Unsaturated Fat: 3 g
- Trans Fat: 0.1 g
- Carbohydrates: 22 g
- Fiber: 2 g
- Protein: 2 g
- Cholesterol: 20 mg
Amanda Bennett
Recipe Curator & Culinary Educator
Expertise
Baking and Pastry Arts, Recipe Testing and Development, Culinary Instruction, Food Styling and Photography
Education
Asheville-Buncombe Technical Community College, Asheville, NC
Diploma in Culinary Arts
Emphasized practical cooking skills, nutrition, and kitchen management.
Cambridge School of Culinary Arts, Cambridge, MA
Certificate in Professional Pastry Arts
Specialized in baking techniques, dessert presentation, and flavor profiling
Amanda’s roots run deep in the Southern hills, where every meal started fresh from the garden and every dessert came with a story. She trained at Asheville-Buncombe Technical Community College and sharpened her pastry skills at the Cambridge School of Culinary Arts, blending classic technique with everyday charm.
At The Liffey, Amanda’s passion is making baking and home cooking feel natural and joyful. She’s all about single recipes that are simple enough for a busy afternoon, but special enough to make someone’s day a little sweeter.