The Dreamiest Easy Chocolate Pie Recipe for Sweet Tooths
Whipping up a delectable chocolate pie becomes pure magic when you follow this incredibly simple method.
chocolate lovers will adore how effortlessly these ingredients blend together.
Every kitchen baker can master this dessert with minimal effort.
Sweet chocolate dreams come alive through a surprisingly straightforward process.
Professional pastry skills aren’t required to create something spectacular.
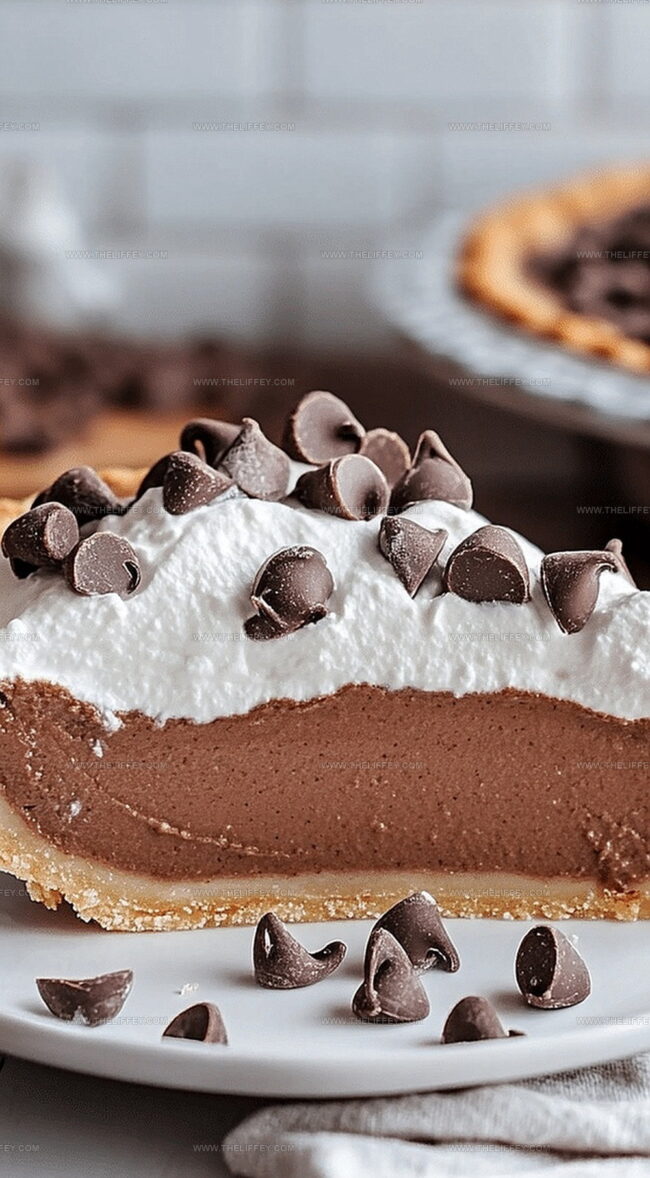
Creamy, rich layers promise a delightful experience that will impress anyone who takes a bite.
You’ll want to savor every single crumb of this irresistible treat.
What Makes Chocolate Pie So Decadent
Ingredients For Chocolate Pie
Pie Crust:Chocolate Filling Base:Flavor Enhancers:Optional Toppings:How To Make Chocolate Pie
Step 1: Prepare The Pie Crust
Warm up your oven to a cozy 350F. Gently press the pie crust into a waiting pie pan, creating little fork punctures across the bottom.
Send it into the oven for a quick 10-minute blind bake to create a golden, crispy foundation. Once done, set the crust aside to cool and wait for its chocolatey filling.
Step 2: Create Silky Chocolate Base
Grab a medium saucepan and combine:Heat the liquid mixture over medium warmth, watching for the first gentle simmer to appear. This signals the perfect moment to transform your ingredients.
Step 3: Melt Chocolate Magic
Remove the pan from heat and introduce:Stir with passion and patience until the chocolate transforms into a smooth, glossy river of deliciousness. The mixture should look like liquid silk, with no chocolate chunks remaining.
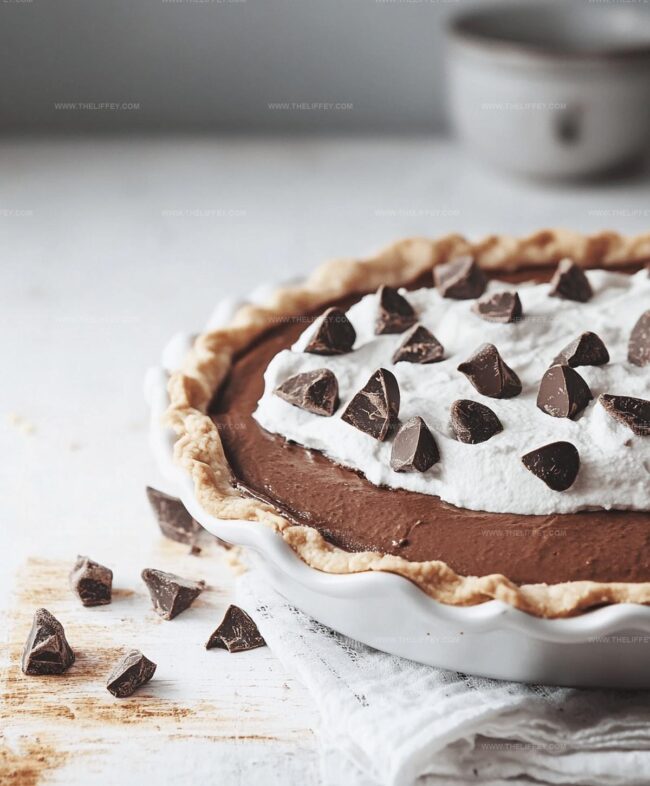
Step 4: Fill And Chill
Pour the luxurious chocolate filling into your waiting pie crust. Carefully transfer the pie to the refrigerator and let it rest for 2-3 hours.
During this time, the filling will set into a dreamy, firm texture.
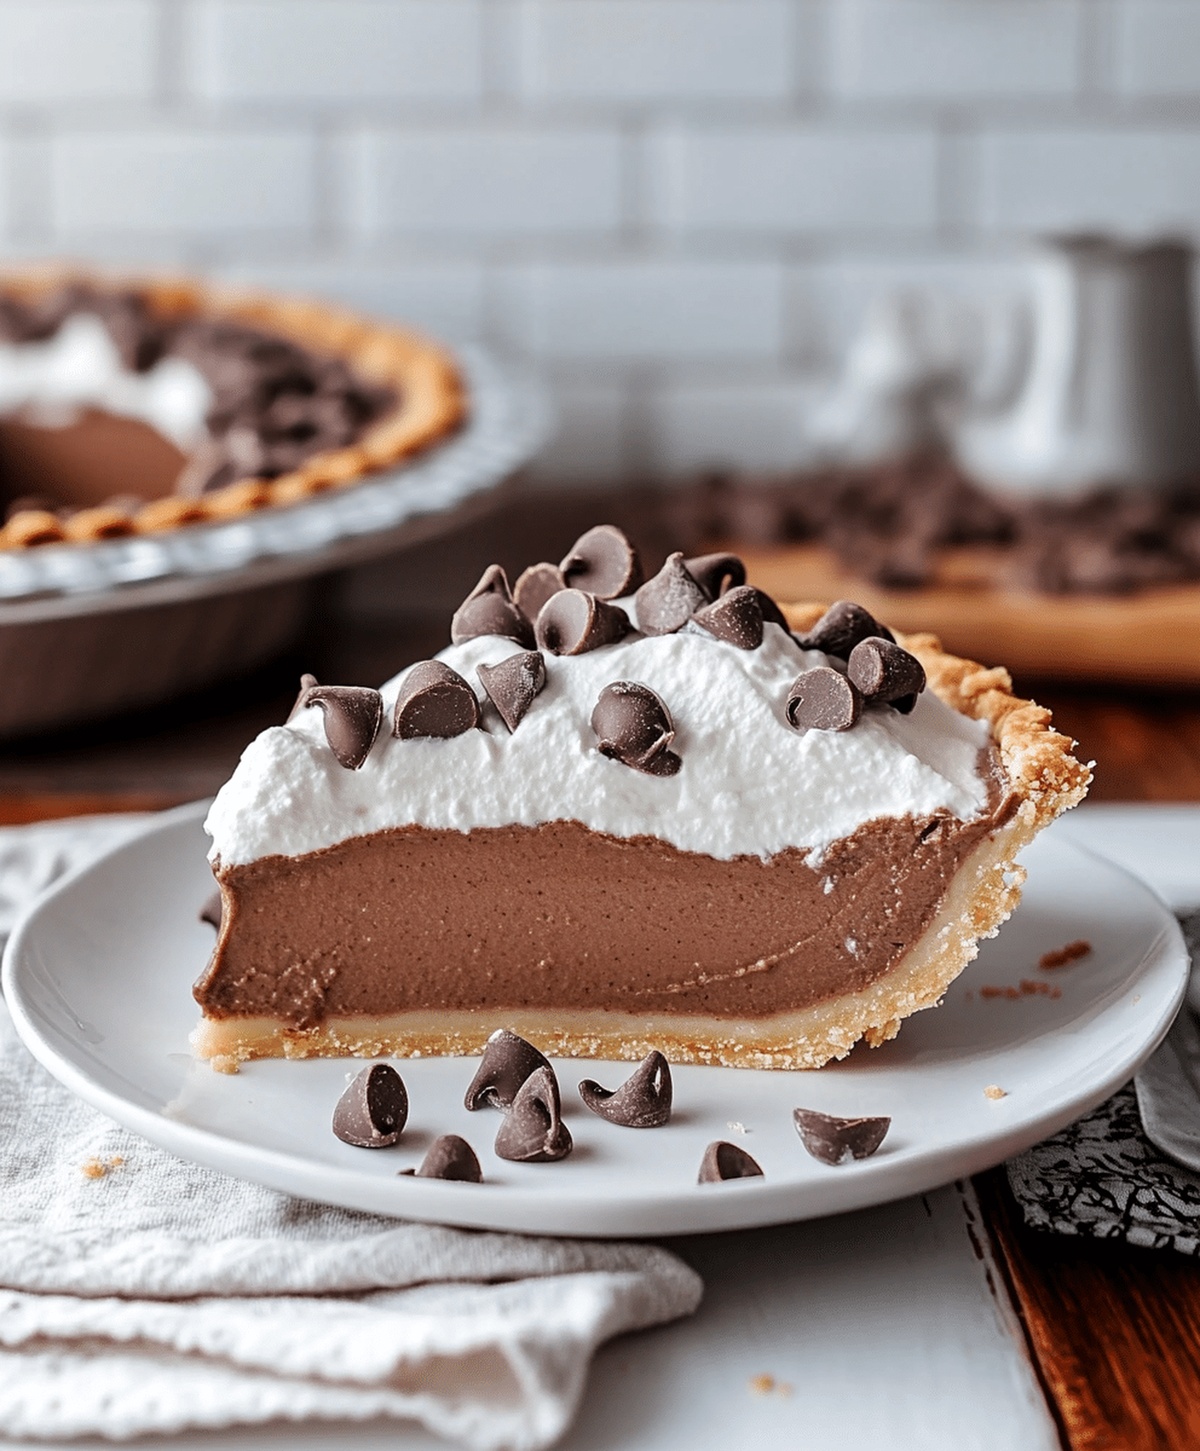
Step 5: Serve With Flair
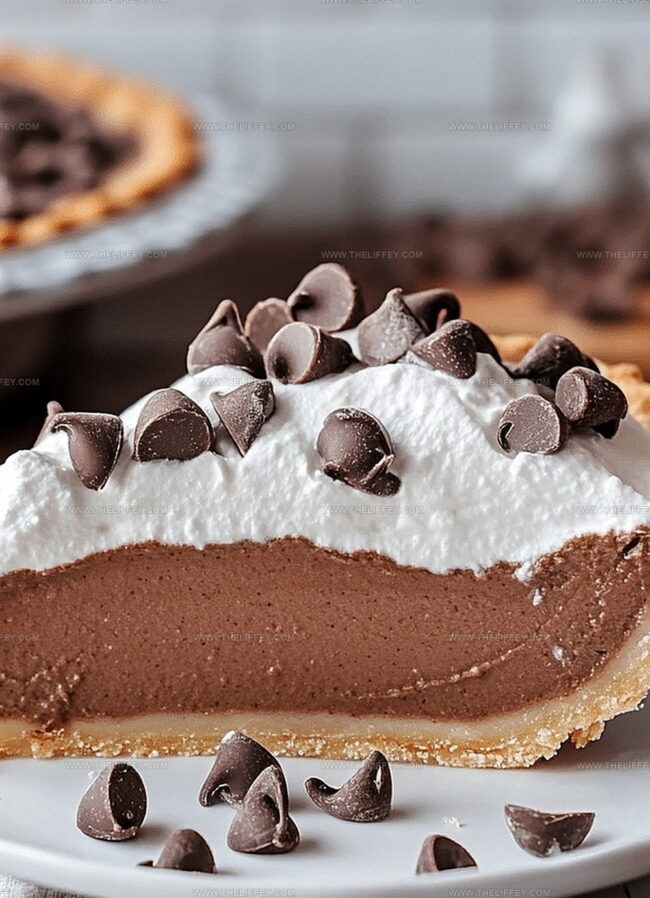
When ready to indulge, add a dollop of whipped cream or sprinkle some chocolate shavings on top.
Cut generous slices and watch everyone’s eyes light up with pure dessert joy.
Tips For Smooth And Creamy Chocolate Pie
Creative Twists For Chocolate Pie
What Goes Well With Chocolate Pie
How To Store Chocolate Pie
FAQs
Yes, you can substitute dark, milk, or semi-sweet chocolate chips based on your preference. Just ensure they melt smoothly and are of good quality.
Look for small bubbles forming around the edges of the pan and steam rising. This indicates it’s just about to simmer, which is the perfect time to remove from heat.
Continuously stir the chocolate and use low heat. If needed, return the pan to very low heat briefly to help chocolate melt smoothly. Avoid overheating to prevent burning.
Yes, blind baking prevents a soggy bottom and helps the crust maintain its crisp texture when combined with the wet chocolate filling.
Print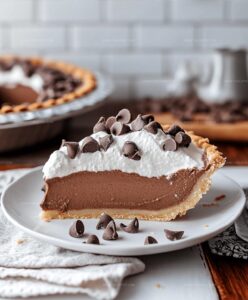
Delightful Chocolate Pie Recipe
- Total Time: 3 hours 10 minutes
- Yield: 8 1x
Description
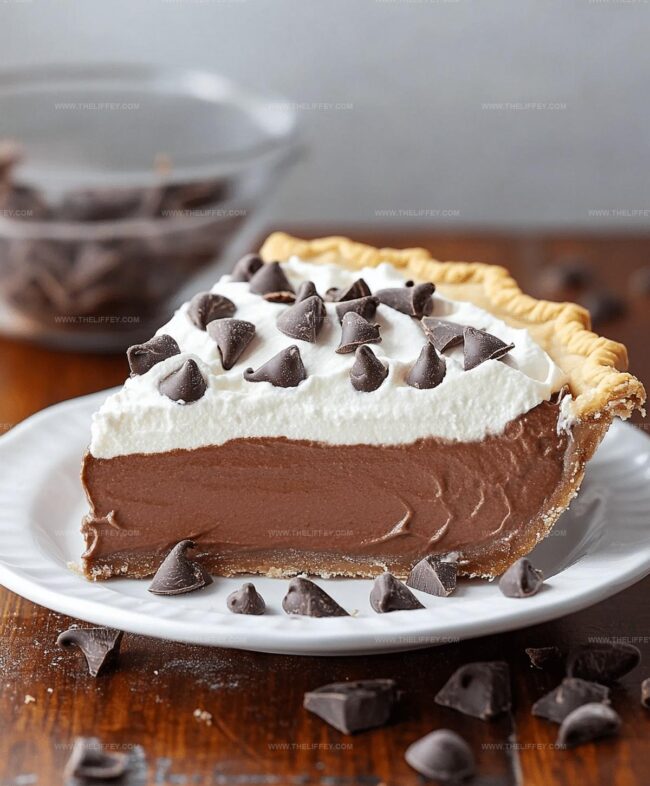
Delightful chocolate pie combines rich cocoa with creamy filling in a classic dessert. Chocolate lovers will savor each velvety slice, enjoying a simple yet indulgent treat that satisfies sweet cravings.
Ingredients
Main Ingredients:
- 1 pre-made pie crust (9-inch)
- 1 1/2 cups semi-sweet chocolate chips
- 1 cup heavy cream
- 1/2 cup whole milk
Flavor Enhancers:
- 1 teaspoon vanilla extract
- 1/4 teaspoon salt
Garnish (Optional):
- Whipped cream
- Chocolate shavings
Instructions
- Warm the oven to 350F (175C) and prepare the pie crust by gently piercing the bottom with a fork. Bake the crust for 10 minutes until lightly golden, then remove and let cool.
- Combine heavy cream and milk in a saucepan, heating over medium temperature until tiny bubbles form around the edges.
- Immediately remove the cream mixture from heat and incorporate chocolate chips, salt, and vanilla extract. Whisk continuously until the chocolate completely dissolves and the mixture transforms into a silky, uniform consistency.
- Carefully transfer the molten chocolate filling into the pre-baked pie shell, ensuring an even distribution.
- Chill the pie in the refrigerator for 2-3 hours, allowing the filling to solidify and develop a rich, creamy texture.
- When ready to serve, garnish with a generous dollop of whipped cream or delicate chocolate shavings for an elegant finishing touch.
Notes
- Choose high-quality chocolate chips for richer, more intense flavor that elevates the entire dessert.
- Avoid overheating chocolate mixture to prevent separation and grainy texture, stirring gently until smooth and glossy.
- For a gluten-free version, use almond flour or gluten-free pie crust as a delicious alternative to traditional pastry.
- Consider adding a pinch of espresso powder to enhance the chocolate’s depth without creating a coffee flavor.
- Prep Time: 10 minutes
- Cook Time: 3 hours
- Category: Desserts
- Method: Baking
- Cuisine: American
Nutrition
- Serving Size: 8
- Calories: 366
- Sugar: 30 g
- Sodium: 120 mg
- Fat: 26 g
- Saturated Fat: 16 g
- Unsaturated Fat: 8 g
- Trans Fat: 0.5 g
- Carbohydrates: 34 g
- Fiber: 2 g
- Protein: 4 g
- Cholesterol: 70 mg
John Conley
Founder & Culinary Storyteller
Expertise
Recipe Development, Culinary Writing, Home Cooking Techniques, Seasonal Ingredient Utilization
Education
Lane Community College, Eugene, OR
Certificate in Culinary Arts
Focused on foundational cooking techniques, kitchen safety, and menu planning.
Gotham Writers Workshop, New York, NY
Course in Food Writing
Explored the art of crafting engaging culinary narratives and recipe development.
John grew up where food meant connection: big bowls, warm kitchens, and meals that told a story. After earning his Certificate in Culinary Arts from Lane Community College and diving deep into food writing at Gotham Writers Workshop, he found his calling: turning everyday recipes into something worth savoring.
At The Liffey, John’s focus is all about crafting dishes that feel easy, honest, and full of heart.