Heavenly Homemade Cheesy Garlic Breadsticks Recipe for Tonight
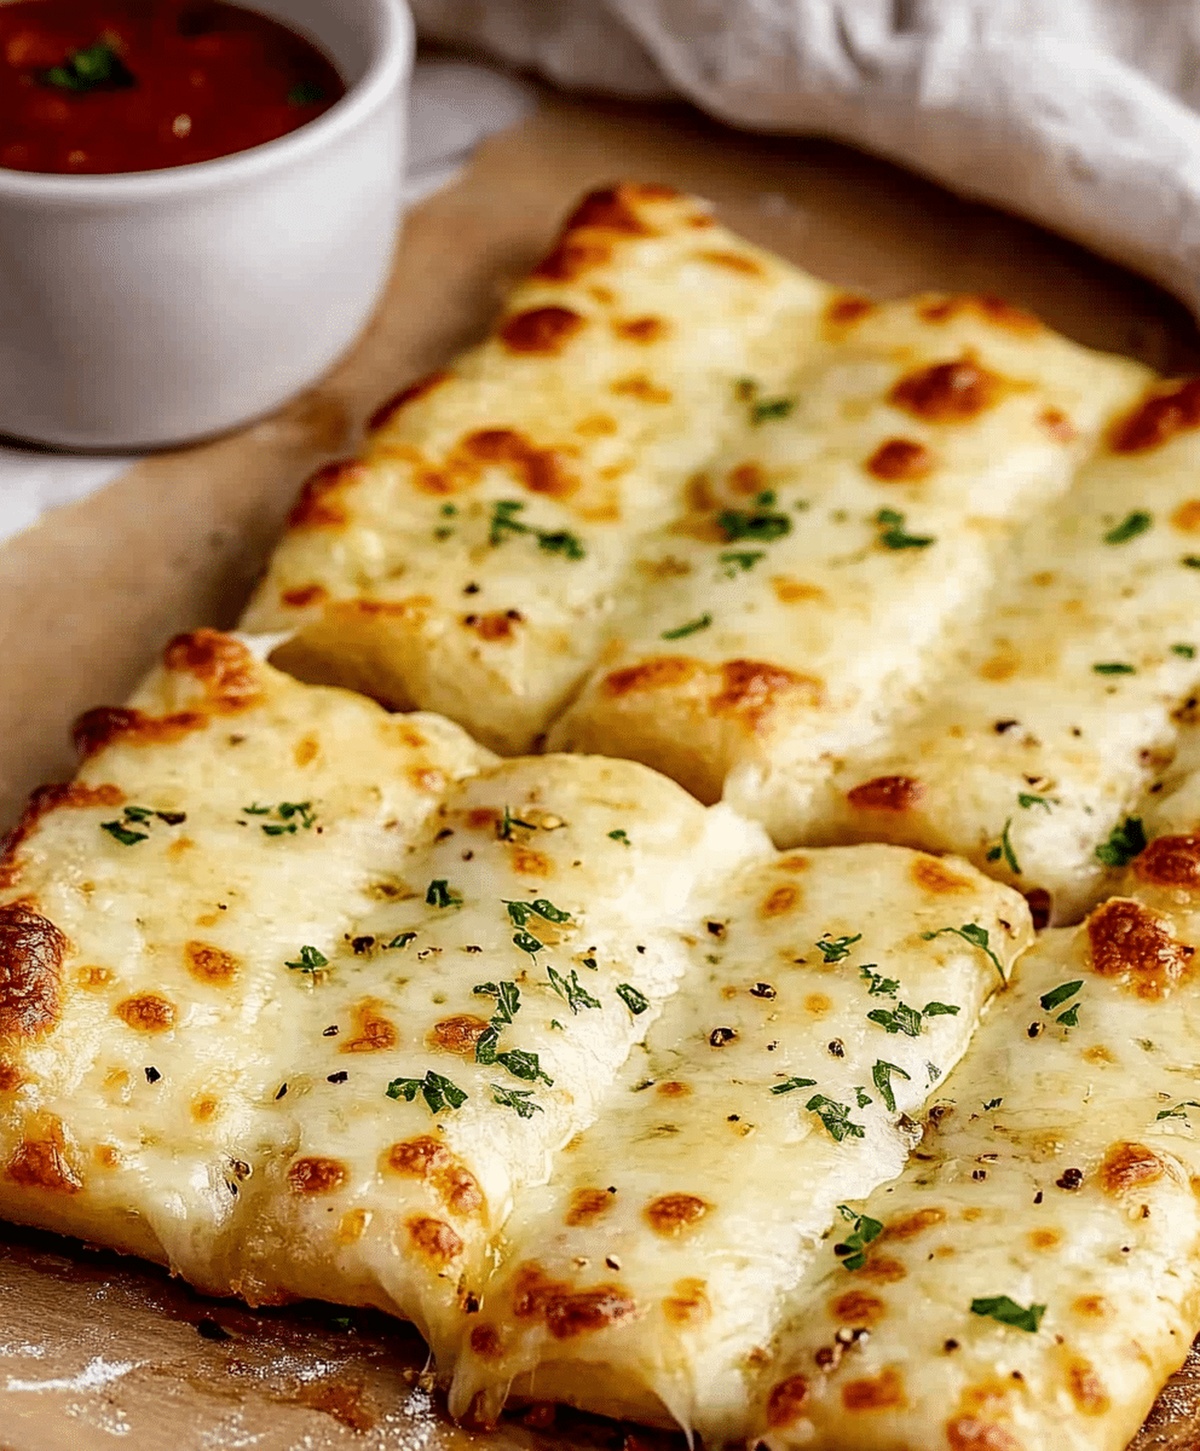
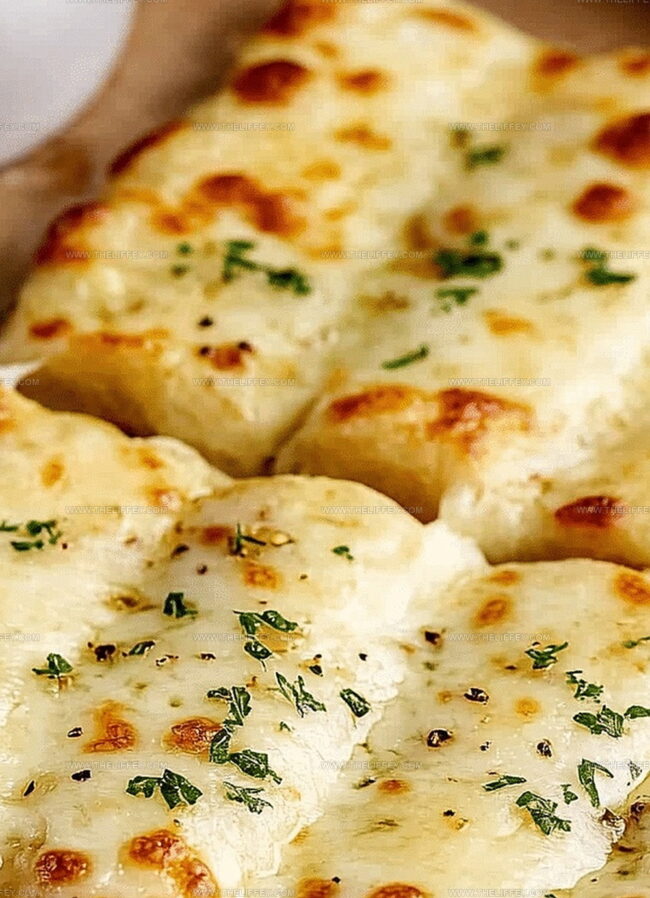
Crispy golden homemade cheesy garlic breadsticks sparkle with irresistible flavors that make dinner feel special.
Melted butter mingles with fresh herbs and sharp cheese for an incredible aroma.
Soft dough gets brushed with garlic-infused oil, creating magic in every bite.
Simple ingredients come together quickly in this crowd-pleasing side dish.
Perfectly seasoned and crunchy on the outside, these breadsticks deliver comfort and satisfaction.
Warm from the oven, they’ll have everyone asking for seconds.
You won’t be able to resist these delectable treats that turn an ordinary meal into something extraordinary.
Cheesy Garlic Breadsticks Made from Scratch
Essential Ingredients for Perfect Garlic Breadsticks
Main Ingredients:Flavor Enhancers:Finishing Touches:Serving Companion:How to Bake Golden and Cheesy Breadsticks at Home
Step 1: Prepare Baking Station
Get your oven ready by heating it to 375F. Line a baking sheet with parchment paper to prevent sticking and make cleanup a breeze.
Step 2: Shape the Dough
Roll out the pizza dough into a beautiful rectangle or circle, spreading it to about 1/4-inch thickness. Make sure the surface is even for perfect breadsticks.
Step 3: Add Flavor Base
Generously brush the dough with melted butter, creating a golden canvas. Sprinkle minced garlic across the surface to infuse incredible flavor into every bite.
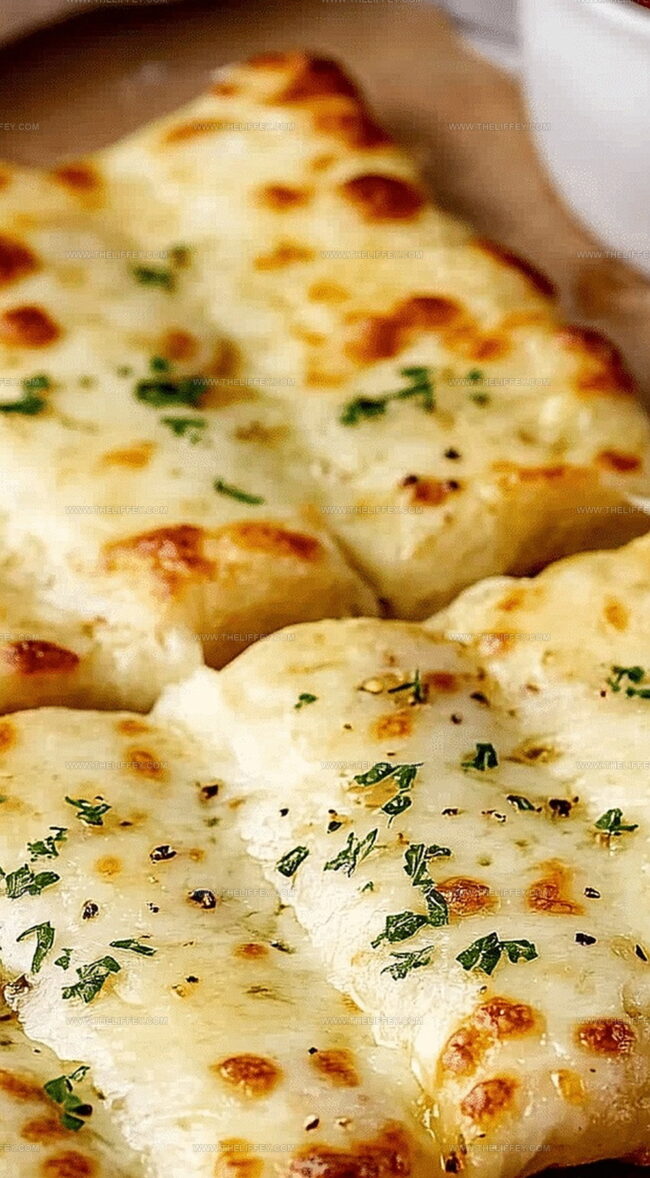
Step 4: Layer Cheesy Goodness
Spread a delicious blanket of cheeses over the dough:Ensure the cheese covers the entire surface for maximum cheesy enjoyment.
Step 5: Season to Perfection
Enhance the flavor profile with a sprinkle of:These seasonings will transform your breadsticks from good to absolutely amazing.
Step 6: Bake to Golden Deliciousness
Slide the baking sheet into the oven and bake for 12-15 minutes. Watch for a beautiful golden-brown color and bubbling cheese that signals breadstick perfection.
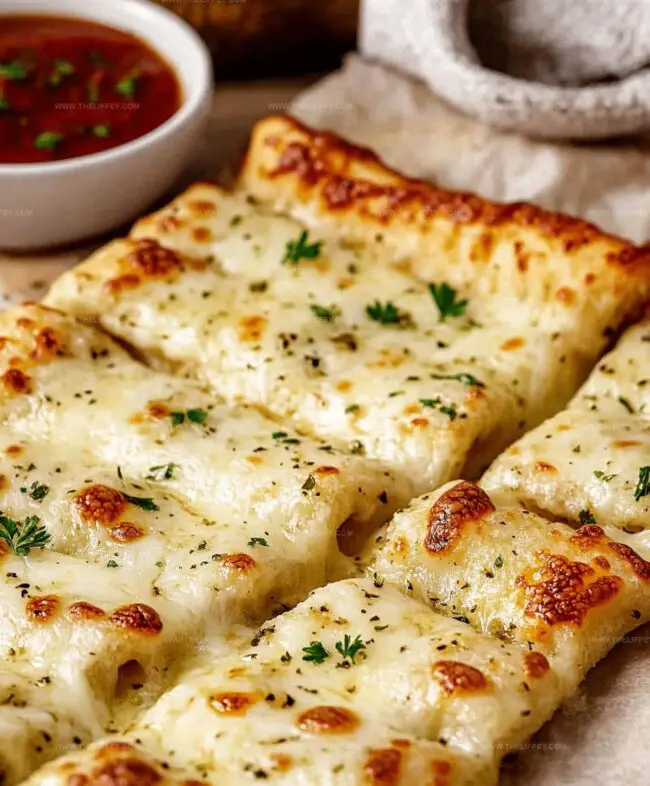
Step 7: Final Touches
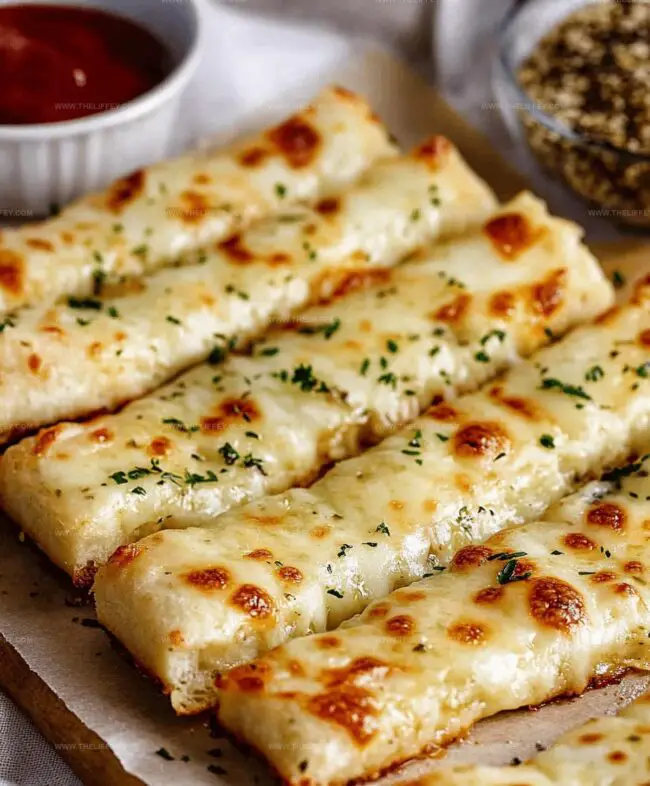
Remove from the oven and add a fresh sprinkle of chopped parsley for a pop of color and extra flavor. Slice into strips that are perfect for grabbing and dipping.
Step 8: Serve and Enjoy
Plate your breadsticks with a side of marinara sauce for dipping. Best served warm and shared with friends and family who will be impressed by your culinary skills.
Tips to Elevate Your Breadsticks Every Time
Ways to Add Extra Flavor and Texture
Great Serving Ideas for Breadsticks
Storing Tips to Keep Breadsticks Soft and Cheesy
FAQs
Yes, absolutely! Pre-made pizza dough works perfectly and saves time in the kitchen.
No problem. You can substitute with a mix of dried oregano, basil, and thyme or simply use dried basil as a replacement.
Make sure to pat minced garlic dry before adding and avoid using too much butter. Also, ensure your oven is fully preheated before baking to create a crispy exterior.
You can use gluten-free pizza dough from most grocery stores or make your own using gluten-free flour blend. Just follow the same preparation steps.
Print
Crispy Cheesy Garlic Breadsticks Recipe
- Total Time: 30 minutes
- Yield: 8 1x
Description
Delectable homemade cheesy garlic breadsticks combine classic Italian flavors with comforting homemade charm. Crispy edges, melted cheese, and aromatic garlic create an irresistible side dish you’ll crave with every meal.
Ingredients
Main Ingredients:
- 1 pound (454 grams) pizza dough
- 1 cup (226 grams) mozzarella cheese, shredded
- 1/4 cup (25 grams) Parmesan cheese, grated
Herbs and Seasonings:
- 2 cloves garlic, minced
- 1/2 teaspoon Italian seasoning
- 1/2 teaspoon garlic powder
- 1/4 teaspoon salt
Finishing Ingredients:
- 2 tablespoons butter, melted
- 1 tablespoon fresh parsley, chopped (optional)
Instructions
- Prepare the oven at 375°F (190°C) and line a baking sheet with parchment paper for optimal non-stick performance.
- Gently stretch and roll the pizza dough into a uniform rectangular shape, maintaining a consistent 1/4-inch thickness.
- Lavishly coat the dough surface with melted butter, ensuring complete and even coverage.
- Distribute minced garlic across the buttered dough, creating a fragrant and flavorful base layer.
- Generously sprinkle mozzarella and Parmesan cheese over the entire surface, allowing for complete cheese coverage.
- Enhance the flavor profile by evenly sprinkling Italian seasoning, garlic powder, and a pinch of salt across the cheese layer.
- Transfer the prepared sheet to the preheated oven and bake for 12-15 minutes, watching for a golden-brown color and bubbling cheese.
- Once achieved, carefully remove from the oven and optionally garnish with freshly chopped parsley for added color and aroma.
- Slice the baked creation into elegant breadstick portions using a sharp pizza cutter or knife.
- Serve immediately while warm, accompanied by a side of marinara sauce for a delightful dipping experience.
Notes
- Knead the dough gently to avoid tough breadsticks, ensuring a soft and fluffy texture.
- Experiment with different cheese blends like cheddar or provolone for unique flavor profiles.
- Use room temperature ingredients to help the dough rise evenly and create a more consistent texture.
- For a gluten-free version, substitute regular pizza dough with cauliflower or almond flour-based alternatives.
- Prep Time: 15 minutes
- Cook Time: 15 minutes
- Category: Appetizer, Snacks, Dinner
- Method: Baking
- Cuisine: Italian
Nutrition
- Serving Size: 8
- Calories: 250 kcal
- Sugar: 1 g
- Sodium: 350 mg
- Fat: 14 g
- Saturated Fat: 7 g
- Unsaturated Fat: 6 g
- Trans Fat: 0.2 g
- Carbohydrates: 22 g
- Fiber: 1 g
- Protein: 11 g
- Cholesterol: 25 mg
John Conley
Founder & Culinary Storyteller
Expertise
Recipe Development, Culinary Writing, Home Cooking Techniques, Seasonal Ingredient Utilization
Education
Lane Community College, Eugene, OR
Certificate in Culinary Arts
Focused on foundational cooking techniques, kitchen safety, and menu planning.
Gotham Writers Workshop, New York, NY
Course in Food Writing
Explored the art of crafting engaging culinary narratives and recipe development.
John grew up where food meant connection: big bowls, warm kitchens, and meals that told a story. After earning his Certificate in Culinary Arts from Lane Community College and diving deep into food writing at Gotham Writers Workshop, he found his calling: turning everyday recipes into something worth savoring.
At The Liffey, John’s focus is all about crafting dishes that feel easy, honest, and full of heart.