
The Sweetest Twist: Cheesecake Tacos Recipe for Dessert Lovers
Culinary magic happens when cheesecake meets taco in this unexpected fusion delight.
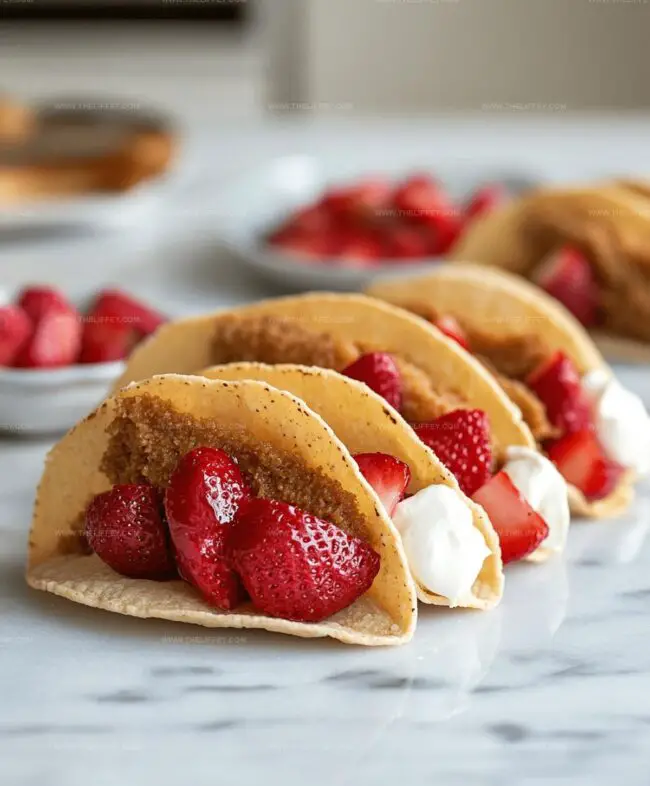
Sweet cream cheese blends perfectly with crispy tortilla shells for an irresistible treat.
Mexican-inspired dessert traditions take a playful twist with these innovative bites.
Creamy filling nestled inside crunchy shells creates a textural symphony that surprises and delights.
Unexpected combinations often spark the most memorable kitchen adventures.
Simple ingredients transform into an extraordinary dessert that will impress everyone at the table.
You can’t resist diving into these delectable cheesecake tacos that promise pure indulgence.
Why Cheesecake Tacos Are A Fun Treat
Ingredients For Cheesecake Tacos
Taco Shells:Dry Ingredients:Cheesecake Filling Ingredients:Optional Garnish:Additional Ingredients:How To Make Cheesecake Tacos Easily
Step 1: Prepare Taco Shells
Grab your taco shells and cooking spray. Lightly mist each shell to help the sweet coating stick perfectly.
The light spray will create a magical golden crispness.
Step 2: Create Cinnamon Sugar Coating
In a small bowl, mix granulated sugar and ground cinnamon until they become best friends.
This sweet and warm mixture will transform ordinary taco shells into a dessert dream.
Step 3: Shape and Crisp Taco Shells
Drape the coated taco shells over a baking rack, creating that classic taco curve.
Slide them into a preheated oven at 350 degrees Fahrenheit. Bake for 5-7 minutes until they become delightfully crisp and golden.
Let them cool completely.
Step 4: Whip Up Creamy Cheesecake Filling
Grab your mixing bowl and beat together:Whip until the mixture becomes silky smooth.
Gently fold in whipped cream, creating a cloud-like filling that’s light and dreamy.
Step 5: Fill the Taco Shells
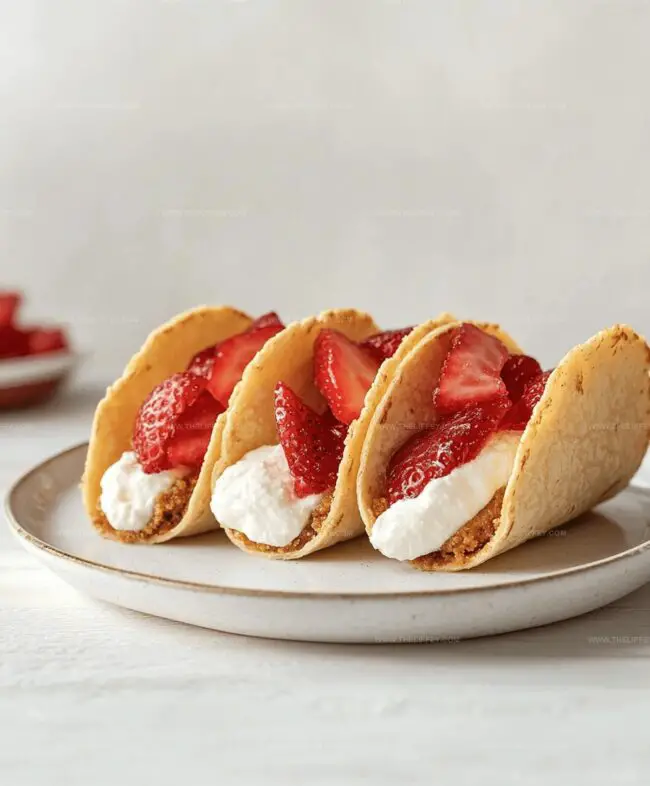
Carefully spoon or pipe the luscious cheesecake filling into each cooled taco shell.
Make sure to fill them generously for maximum deliciousness.
Step 6: Add Gorgeous Finishing Touches
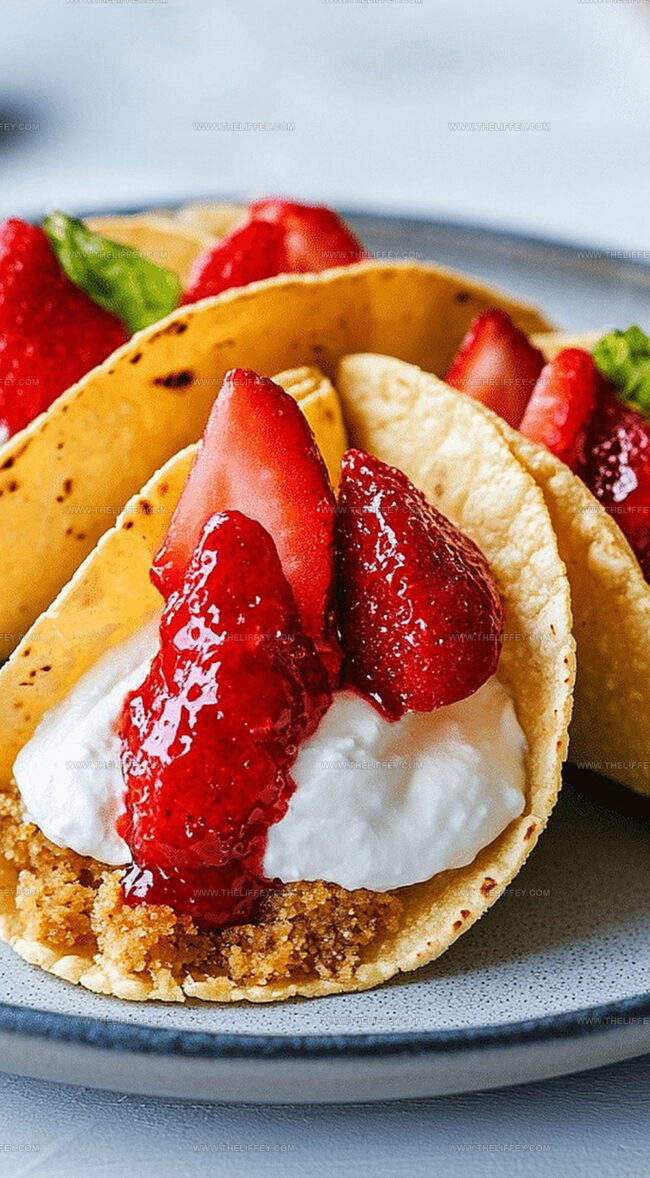
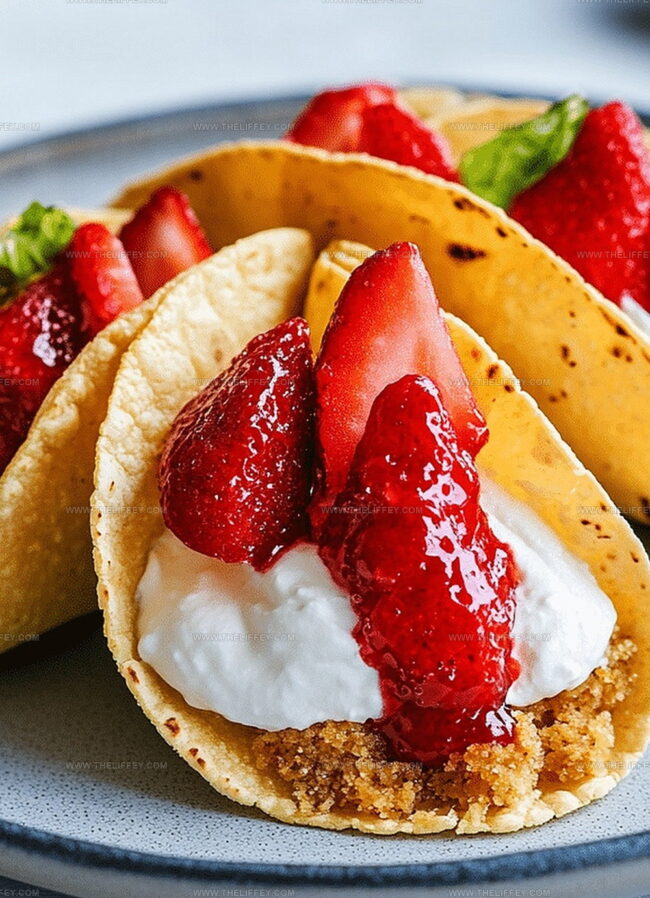
Sprinkle fresh berries on top or drizzle with melted chocolate.
This step transforms your cheesecake tacos from awesome to absolutely spectacular.
Step 7: Serve and Celebrate
Present these gorgeous dessert tacos immediately.
Watch as everyone’s eyes light up with pure joy and excitement!
Tips For Perfect Cheesecake Tacos
Sweet Variations For Cheesecake Tacos
What To Serve With Cheesecake Tacos
Storing Cheesecake Tacos The Right Way
FAQs
You can prepare the taco shells and cheesecake filling separately up to a day in advance. Keep the shells in an airtight container and the filling refrigerated. Assemble just before serving to maintain crispiness.
Absolutely! Kids love the playful taco shape and sweet creamy filling. The recipe is easy to make and fun to decorate with berries or chocolate.
Use full-fat cream cheese at room temperature for the smoothest, richest filling. Philadelphia or similar brick-style cream cheese yields the best results.
Handle the shells gently when coating with cinnamon sugar and baking. Use fresh, unbroken taco shells and let them cool completely before filling to maintain their structure.
Print
Crispy Cheesecake Tacos Recipe
- Total Time: 22 minutes
- Yield: 6 1x
Description
Mexican-inspired cheesecake tacos bring a playful twist to dessert traditions. Sweet cream cheese filling nestles inside crisp cinnamon-sugar tortilla shells, creating a delightful fusion of flavors you’ll savor with each delectable bite.
Ingredients
Main Ingredients:
- 6 small taco shells (soft)
- 8 ounces (226 grams) cream cheese, softened
- 1 cup (240 milliliters) whipped cream
Fresh Ingredients:
- 1/4 cup (50 grams) granulated sugar
- 1 teaspoon vanilla extract
- Fresh berries (optional, for garnish)
Seasoning and Garnish:
- 1 cup (120 grams) powdered sugar
- 1 teaspoon cinnamon
- Chocolate drizzle (optional, for garnish)
Instructions
- Prepare a warm oven at 350F (175C) and lightly mist taco shells with cooking spray for a crisp foundation.
- Create a sweet coating by thoroughly blending granulated sugar and cinnamon in a small mixing container.
- Generously dust each taco shell with the cinnamon-sugar mixture, ensuring complete coverage.
- Position taco shells carefully over a baking rack to maintain their curved shape, allowing even heat circulation.
- Bake the prepared shells for 5-7 minutes until they develop a golden, crisp texture, then remove and allow complete cooling.
- Using an electric mixer, whip cream cheese until ultra-smooth, gradually incorporating powdered sugar and vanilla extract.
- Gently fold whipped cream into the cream cheese mixture, creating a light and airy filling with consistent texture.
- Transfer the creamy filling into a piping bag or use a spoon to carefully fill each cooled cinnamon-crusted taco shell.
- Optional: Enhance presentation by artfully topping with fresh seasonal berries or drizzling melted chocolate across the filled shells.
- Serve immediately to preserve the delicate crispness of the shells and enjoy these delightful dessert tacos.
Notes
- Customize the sweetness by adjusting powdered sugar to match your taste preferences.
- Use room temperature cream cheese for smoother, lump-free filling that spreads easily.
- Prepare taco shells ahead of time and store in an airtight container to maintain crispness before filling.
- For a gluten-free version, use corn tortillas or gluten-free taco shells and ensure all ingredients are certified gluten-free.
- Prep Time: 15 minutes
- Cook Time: 7 minutes
- Category: Desserts, Snacks
- Method: Baking
- Cuisine: American
Nutrition
- Serving Size: 6
- Calories: 393 kcal
- Sugar: 36 g
- Sodium: 125 mg
- Fat: 27 g
- Saturated Fat: 16 g
- Unsaturated Fat: 9 g
- Trans Fat: 0.5 g
- Carbohydrates: 34 g
- Fiber: 1 g
- Protein: 5 g
- Cholesterol: 70 mg
John Conley
Founder & Culinary Storyteller
Expertise
Recipe Development, Culinary Writing, Home Cooking Techniques, Seasonal Ingredient Utilization
Education
Lane Community College, Eugene, OR
Certificate in Culinary Arts
Focused on foundational cooking techniques, kitchen safety, and menu planning.
Gotham Writers Workshop, New York, NY
Course in Food Writing
Explored the art of crafting engaging culinary narratives and recipe development.
John grew up where food meant connection: big bowls, warm kitchens, and meals that told a story. After earning his Certificate in Culinary Arts from Lane Community College and diving deep into food writing at Gotham Writers Workshop, he found his calling: turning everyday recipes into something worth savoring.
At The Liffey, John’s focus is all about crafting dishes that feel easy, honest, and full of heart.