
Sizzling Beef and Cheese Chimichangas Recipe for Fun Family Dinners
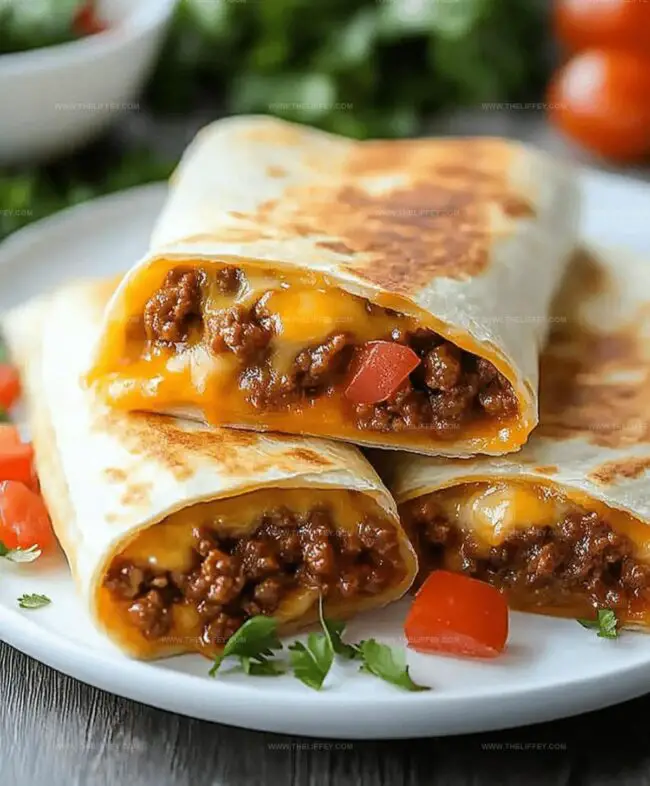
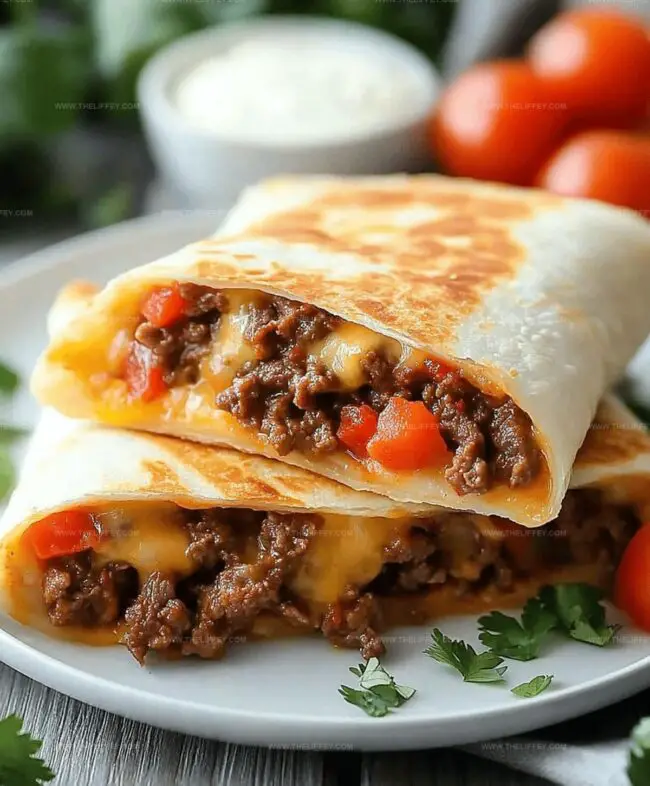
Crispy, golden beef and cheese chimichangas dance with vibrant flavors that promise an unforgettable meal.
Mexican cuisine brings incredible excitement to your dinner table.
Authentic ingredients combine in a delightful blend of spices and textures.
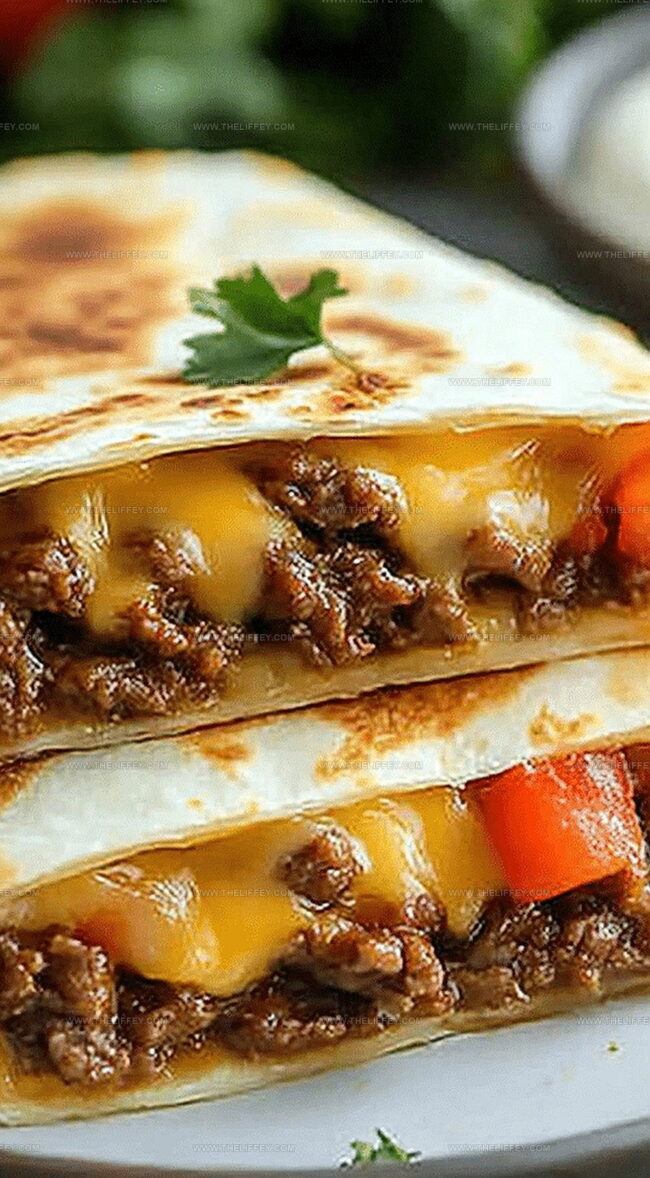
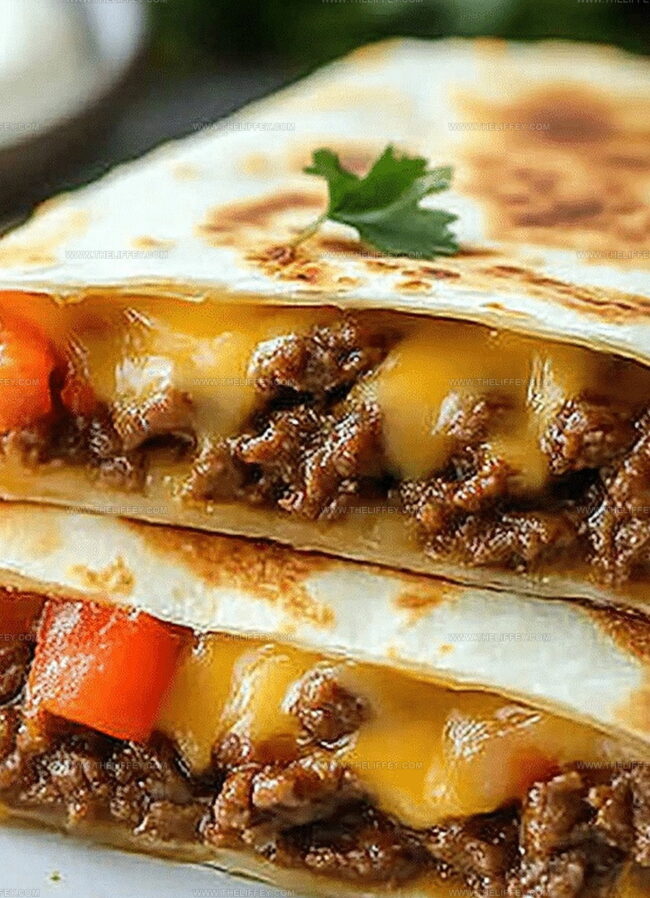
Carefully wrapped tortillas cradle seasoned ground beef and melted cheese.
Each bite delivers a satisfying crunch that makes taste buds celebrate.
Rich, robust fillings create a perfect balance of comfort and excitement.
You’ll want to savor every delectable morsel of this mouthwatering dish.
Jump into this culinary adventure and let your kitchen become a flavor paradise.
Beef and Cheese Chimichangas Made Right
Ingredients for Beef and Cheese Chimichangas
Main Protein:Spices and Seasonings:Cheese and Dairy:Wrapper and Cooking Ingredients:Additional Ingredients:Directions for Beef and Cheese Chimichangas
Step 1: Brown the Beef
Sizzle ground beef in a skillet over medium heat until it transforms into a rich, golden brown color. Carefully drain away any excess fat to keep your chimichangas light and delicious.
Step 2: Enhance the Flavor
Toss in finely chopped onions and minced garlic, letting them dance and soften in the pan. Sprinkle in:Stir these spices to create an aromatic blend that will make your taste buds sing.
Step 3: Add Salsa Excitement
Pour in zesty salsa and let it simmer for a couple of minutes, allowing the flavors to meld together. Remove the skillet from heat and let the mixture cool down slightly.
Step 4: Incorporate Cheesy Goodness
Fold in a generous mixture of:Stir until the cheese begins to melt and blend with the beef mixture.
Step 5: Wrap and Prepare
Place a hearty portion of the beef mixture in the center of each tortilla.
Carefully fold in the sides, then roll tightly to create a perfect chimichanga package.
Step 6: Crisp to Perfection
Heat vegetable oil in a deep pan over medium heat.
Gently lower each chimichanga into the hot oil, frying until they turn a beautiful golden brown and become delightfully crispy. This should take about 2-3 minutes per side.
Step 7: Serve and Enjoy
Lift the chimichangas from the oil and let them rest on paper towels to drain excess oil. Serve piping hot alongside fresh salsa, cool sour cream, or creamy guacamole for a mouth-watering meal that will impress everyone at the table.
Key Insights on Beef and Cheese Chimichangas
Flavor Alternatives for Beef and Cheese Chimichangas
Side Dishes to Serve with Beef and Cheese Chimichangas
Storage Guidelines for Beef and Cheese Chimichangas
FAQs
Use toothpicks to secure the edges before frying, or ensure you fold and roll the tortillas tightly, tucking in the sides firmly to create a sealed package.
Yes, brush the rolled chimichangas with oil and bake at 400°F for about 20-25 minutes until golden and crispy, turning once halfway through cooking.
Large flour tortillas are ideal because they’re more pliable and less likely to tear when rolling and frying. Make sure they’re at room temperature for easier handling.
Print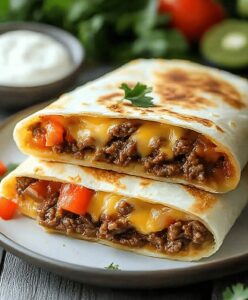
Crispy Beef And Cheese Chimichangas Recipe
- Total Time: 30 minutes
- Yield: 6 1x
Description
Mexican beef and cheese chimichangas combine crispy tortillas with savory ground beef and melted cheese. Spicy fillings and golden-brown exteriors make this dish a crowd-pleasing favorite that you’ll crave again and again.
Ingredients
Main Ingredients:
- 1 pound (454 grams) ground beef
- 6 large flour tortillas
- 1 cup (240 milliliters) shredded cheddar cheese
- 1 cup (240 milliliters) shredded Monterey Jack cheese
Vegetable Base:
- 1 small onion, chopped
- 2 cloves garlic, minced
Spices and Seasonings:
- 1 teaspoon chili powder
- 1/2 teaspoon cumin
- 1/2 teaspoon paprika
- Salt, to taste
- Pepper, to taste
- 1/2 cup (120 milliliters) salsa
Cooking Ingredient:
- Vegetable oil, for frying
Instructions
- Brown ground beef in a skillet over medium heat, eliminating excess fat.
- Incorporate diced onions and minced garlic, sautéing until translucent and fragrant.
- Season the meat mixture with chili powder, cumin, paprika, salt, and pepper, ensuring even distribution of spices.
- Pour salsa into the skillet, simmering for 2 minutes to meld flavors and create a cohesive filling.
- Allow the beef mixture to cool slightly, then fold in shredded cheddar and Monterey Jack cheeses until well combined.
- Position a portion of the prepared filling at the center of each tortilla, carefully folding sides inward to create a tight, secure pocket.
- Heat vegetable oil in a deep pan to 350°F, preparing for frying.
- Carefully submerge each chimichanga into the hot oil, frying until achieving a crisp, golden-brown exterior, approximately 2-3 minutes per side.
- Transfer fried chimichangas to a paper towel-lined plate to absorb excess oil and drain.
- Serve immediately, accompanied by fresh salsa, cool sour cream, or creamy guacamole for dipping.
Notes
- Adjust spice levels by modifying chili powder and cumin for personal heat preference.
- Choose lean ground beef to reduce excess grease and create a healthier version of the dish.
- Experiment with alternative cheese blends like pepper jack or queso fresco for unique flavor profiles.
- Bake chimichangas instead of frying for a lighter, less oily meal by brushing with olive oil and cooking at 400°F for 20-25 minutes until golden brown.
- Prep Time: 15 minutes
- Cook Time: 15 minutes
- Category: Lunch, Dinner, Appetizer, Snacks
- Method: Frying
- Cuisine: Mexican
Nutrition
- Serving Size: 6
- Calories: 520 kcal
- Sugar: 3 g
- Sodium: 480 mg
- Fat: 32 g
- Saturated Fat: 14 g
- Unsaturated Fat: 16 g
- Trans Fat: 0.5 g
- Carbohydrates: 36 g
- Fiber: 3 g
- Protein: 28 g
- Cholesterol: 75 mg
John Conley
Founder & Culinary Storyteller
Expertise
Recipe Development, Culinary Writing, Home Cooking Techniques, Seasonal Ingredient Utilization
Education
Lane Community College, Eugene, OR
Certificate in Culinary Arts
Focused on foundational cooking techniques, kitchen safety, and menu planning.
Gotham Writers Workshop, New York, NY
Course in Food Writing
Explored the art of crafting engaging culinary narratives and recipe development.
John grew up where food meant connection: big bowls, warm kitchens, and meals that told a story. After earning his Certificate in Culinary Arts from Lane Community College and diving deep into food writing at Gotham Writers Workshop, he found his calling: turning everyday recipes into something worth savoring.
At The Liffey, John’s focus is all about crafting dishes that feel easy, honest, and full of heart.