
The Best Vanilla Cheesecake Recipe: Silky-Smooth & Irresistible
Crafting the ultimate vanilla cheesecake demands precision and passion for baking.
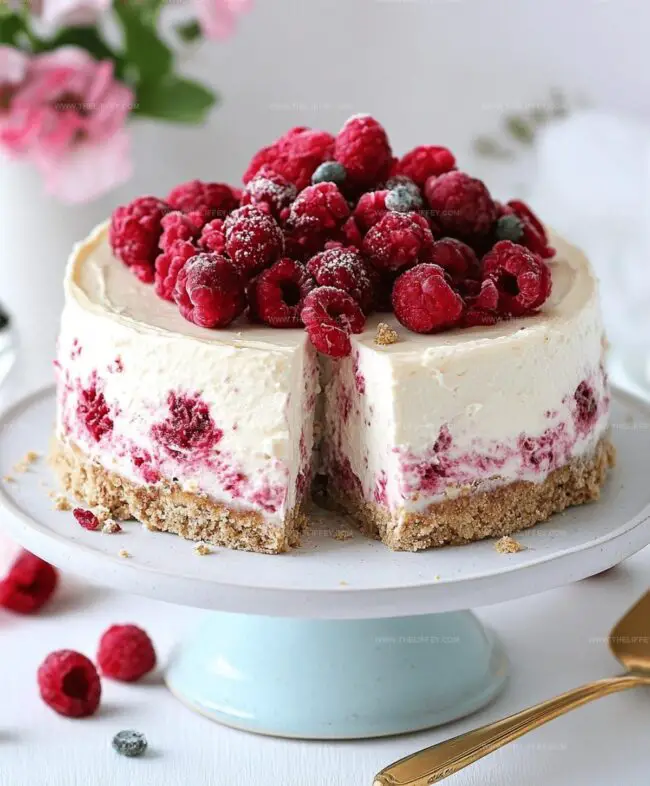
Creamy textures and delicate flavors come together in this irresistible dessert.
Professional pastry techniques merge with home kitchen simplicity to create something extraordinary.
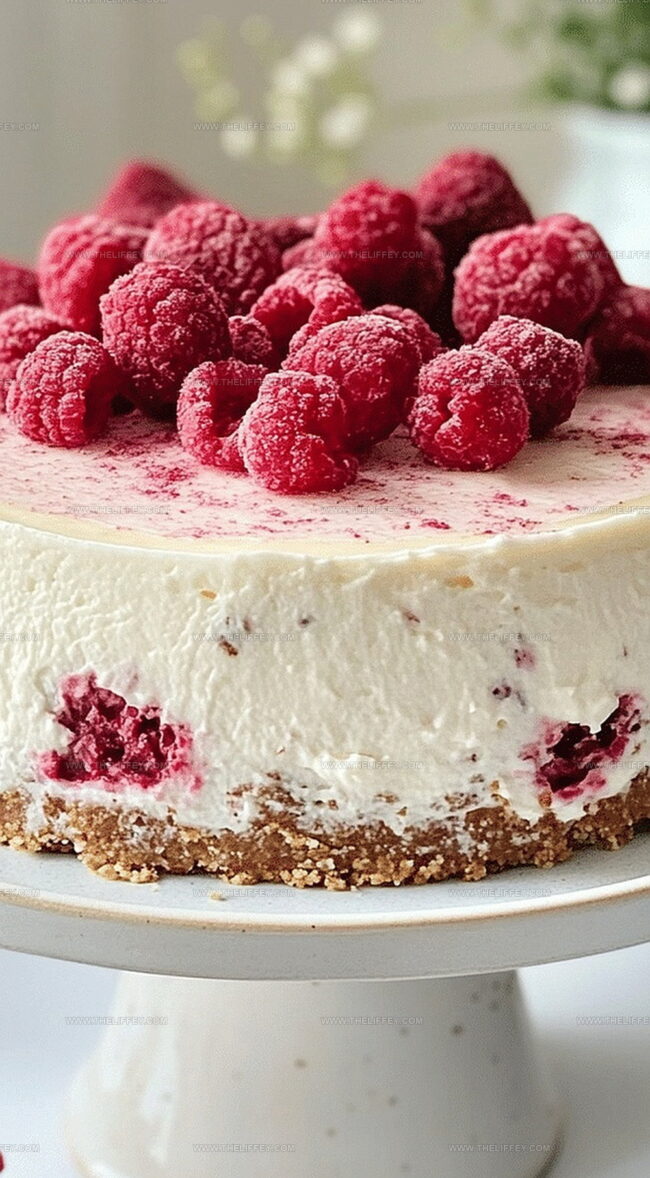
Rich cream cheese blends seamlessly with smooth vanilla notes that dance across your palate.
Each carefully measured ingredient contributes to a dessert experience that feels both luxurious and comforting.
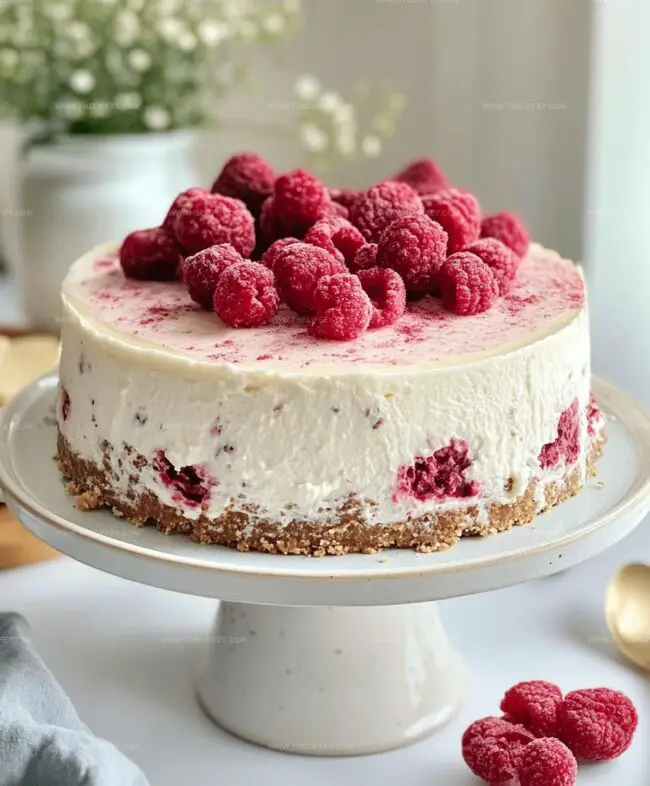
Smooth, velvety layers promise a decadent encounter that will leave you craving another slice.
Prepare to indulge in a cheesecake that redefines dessert elegance.
Vanilla Cheesecake That Impresses Everyone
Ingredients For Vanilla Cheesecake
Crust Ingredients:Filling Ingredients:Optional Topping Ingredients:Making Vanilla Cheesecake Step by Step
Step 1: Prepare the Oven
Set your oven to a cozy 325°F (160°C), creating the perfect warm environment for your cheesecake to bake beautifully.
Step 2: Craft the Crunchy Crust
In a mixing bowl, combine:Press this delightful mixture firmly into the bottom of a 9-inch springform pan, creating a golden, crispy foundation.
Step 3: Whip Up the Creamy Filling
Grab a large mixing bowl and beat cream cheese and sugar until they become silky smooth. Add eggs one by one, mixing thoroughly after each addition to ensure a velvety texture.
Step 4: Enhance the Flavor
Gently fold in sour cream and vanilla extract, stirring until the mixture is completely combined and looks luxuriously creamy.
Step 5: Fill and Smooth
Carefully pour the luscious filling over the prepared crust, using a spatula to create a perfectly even surface.
Step 6: Bake to Perfection
Place the cheesecake in the preheated oven and bake for 50-60 minutes. You’ll know it’s ready when the edges look set but the center still has a slight jiggle.
Step 7: Gentle Cooling Process
Turn off the oven and crack the door open slightly. Let the cheesecake rest inside for one hour, allowing it to cool slowly and prevent cracking.
Step 8: Chill and Serve
Refrigerate the cheesecake for at least 4 hours (or overnight for best results). This helps the flavors meld and the texture become wonderfully firm.
Slice, serve, and enjoy your creamy, dreamy vanilla cheesecake!
Tips To Smooth Vanilla Cheesecake
New Twists On Vanilla Cheesecake

Perfect Sides For Vanilla Cheesecake
Best Practices For Storing Cheesecake
FAQs
Use a water bath method by placing the springform pan in a larger pan filled with hot water. This helps distribute heat evenly and prevents sudden temperature changes that cause cracking.
While you can, full-fat cream cheese provides the best texture and richness. Low-fat versions might result in a less creamy and less stable cheesecake.
Always let cream cheese sit at room temperature for about 30-45 minutes before mixing. Cold cream cheese can create lumps and affect the smooth texture of your cheesecake.
Print
Creamy Vanilla Cheesecake Recipe
- Total Time: 1 hour 20 minutes
- Yield: 12 1x
Description
Indulgent vanilla cheesecake delights dessert enthusiasts with its creamy texture and rich flavor profile. Silky smooth layers promise a luxurious experience that lingers deliciously on palates, leaving you craving another heavenly slice.
Ingredients
Main Ingredients:
- 3 (8-ounce) cream cheese, softened
- 3 large eggs
- 1 cup granulated sugar
Crust Ingredients:
- 2 cups graham cracker crumbs
- 1/2 cup (113 grams) unsalted butter, melted
Finishing Ingredients:
- 1/2 cup (120 milliliters) sour cream
- 1 tablespoon vanilla extract
Instructions
- Prepare the oven at 325F (160C) and position a rack in the center.
- Blend graham cracker crumbs with melted butter until thoroughly mixed, then firmly press the mixture into the bottom of a 9-inch springform pan, creating an even base layer.
- Using an electric mixer, whip cream cheese and sugar until achieving a silky, lump-free consistency.
- Incorporate eggs individually, gently mixing after each addition to maintain a smooth texture and prevent overmixing.
- Fold in sour cream and vanilla extract, stirring until the filling becomes uniform and glossy.
- Carefully transfer the creamy mixture onto the prepared crust, using a spatula to spread evenly and eliminate any air pockets.
- Place in the preheated oven and bake for 50-60 minutes, monitoring until the edges appear set while the center maintains a subtle wobble.
- Once baking completes, turn off the oven but leave the cheesecake inside with the door slightly ajar, allowing it to cool gradually for 1 hour.
- Transfer to the refrigerator and chill for a minimum of 4 hours, permitting the cheesecake to set completely and develop optimal flavor and texture.
Notes
- Use room temperature ingredients to ensure smooth, lump-free mixing and consistent texture throughout the cheesecake.
- Avoid overmixing the batter to prevent air bubbles that can cause cracking during baking.
- Wrap the springform pan with aluminum foil to prevent water from seeping in during the water bath baking method, which helps create a creamy, even texture.
- For a gluten-free version, replace graham cracker crumbs with almond flour or gluten-free cookie crumbs to accommodate dietary restrictions.
- Prep Time: 20 minutes
- Cook Time: 1 hour
- Category: Desserts
- Method: Baking
- Cuisine: American
Nutrition
- Serving Size: 12
- Calories: 370 kcal
- Sugar: 21 g
- Sodium: 240 mg
- Fat: 29 g
- Saturated Fat: 18 g
- Unsaturated Fat: 10 g
- Trans Fat: 0.5 g
- Carbohydrates: 22 g
- Fiber: 1 g
- Protein: 6 g
- Cholesterol: 110 mg
John Conley
Founder & Culinary Storyteller
Expertise
Recipe Development, Culinary Writing, Home Cooking Techniques, Seasonal Ingredient Utilization
Education
Lane Community College, Eugene, OR
Certificate in Culinary Arts
Focused on foundational cooking techniques, kitchen safety, and menu planning.
Gotham Writers Workshop, New York, NY
Course in Food Writing
Explored the art of crafting engaging culinary narratives and recipe development.
John grew up where food meant connection: big bowls, warm kitchens, and meals that told a story. After earning his Certificate in Culinary Arts from Lane Community College and diving deep into food writing at Gotham Writers Workshop, he found his calling: turning everyday recipes into something worth savoring.
At The Liffey, John’s focus is all about crafting dishes that feel easy, honest, and full of heart.