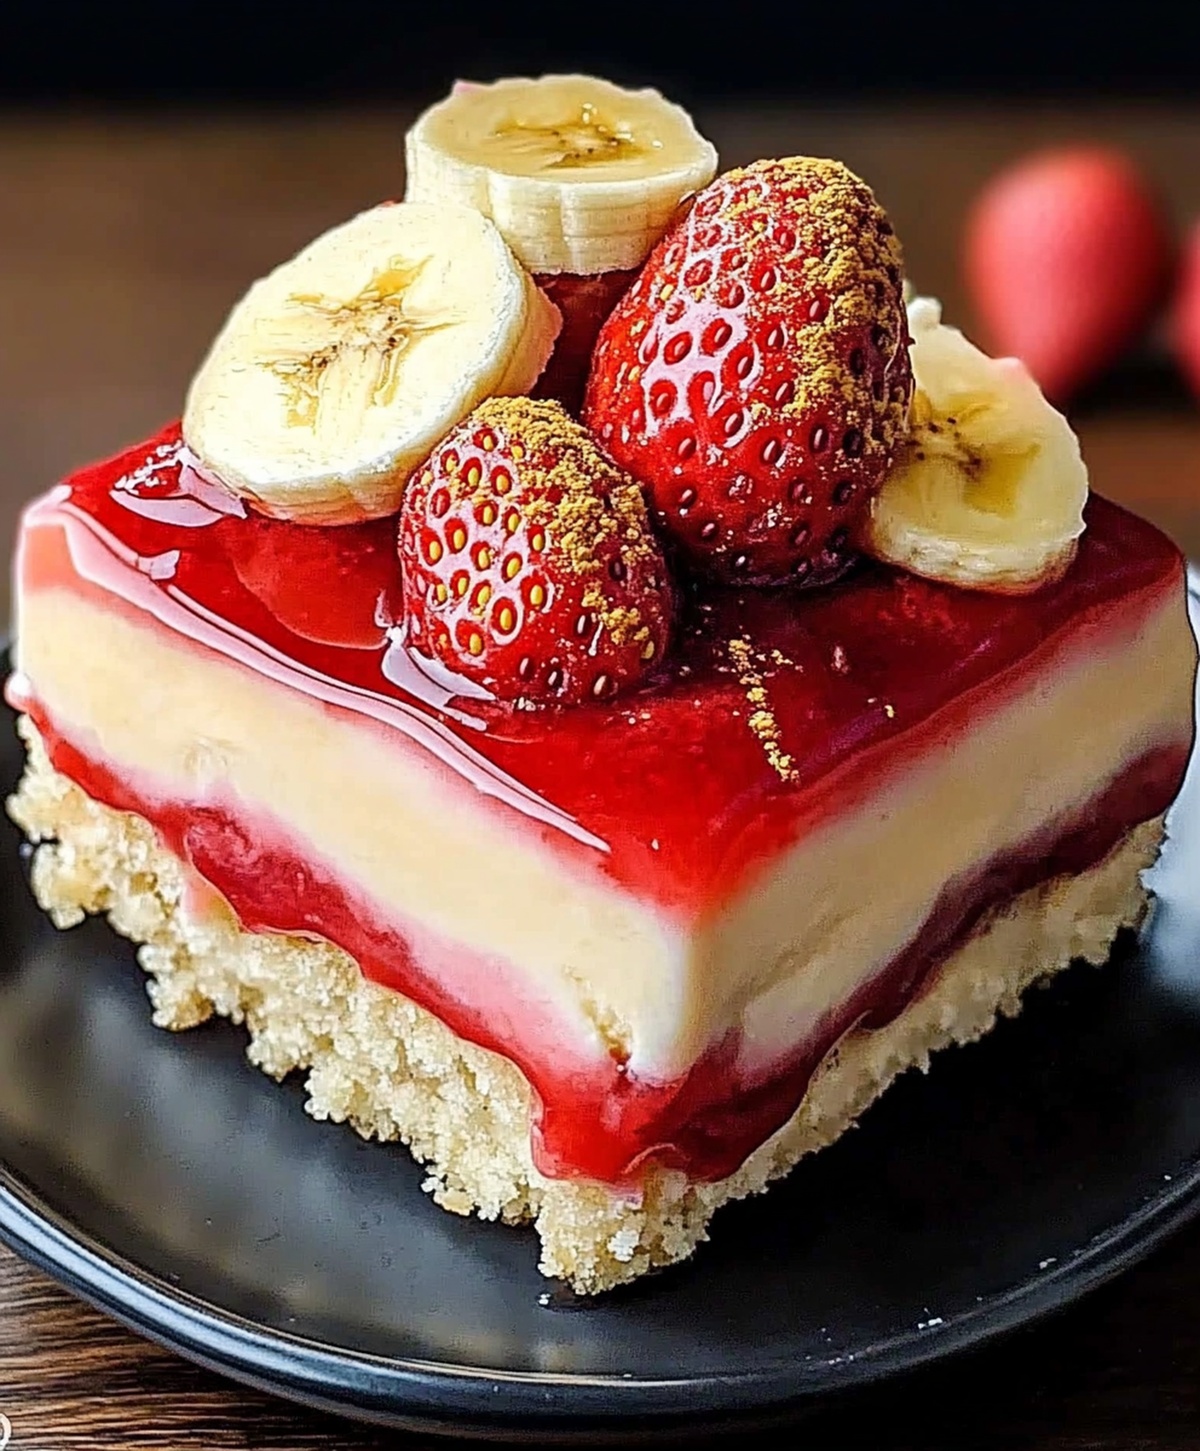
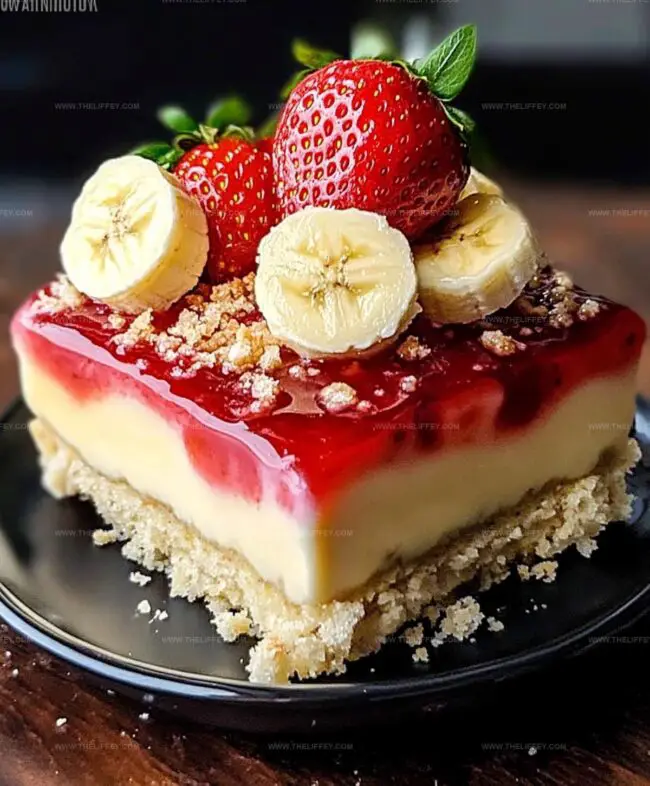
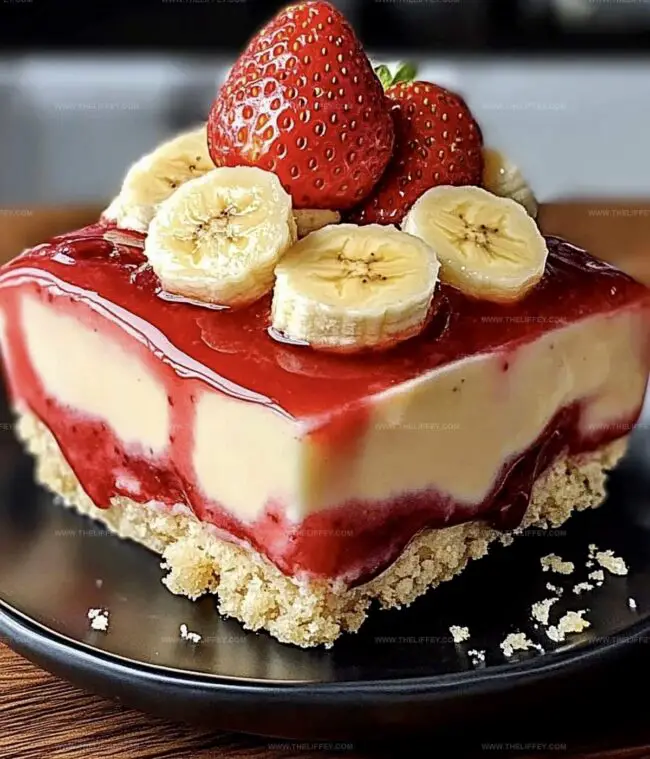
Dreamy Strawberry Cheesecake Banana Pudding Recipe for Sweet Fans
Sweet summer memories dance through this creamy strawberry cheesecake banana pudding that promises pure comfort.
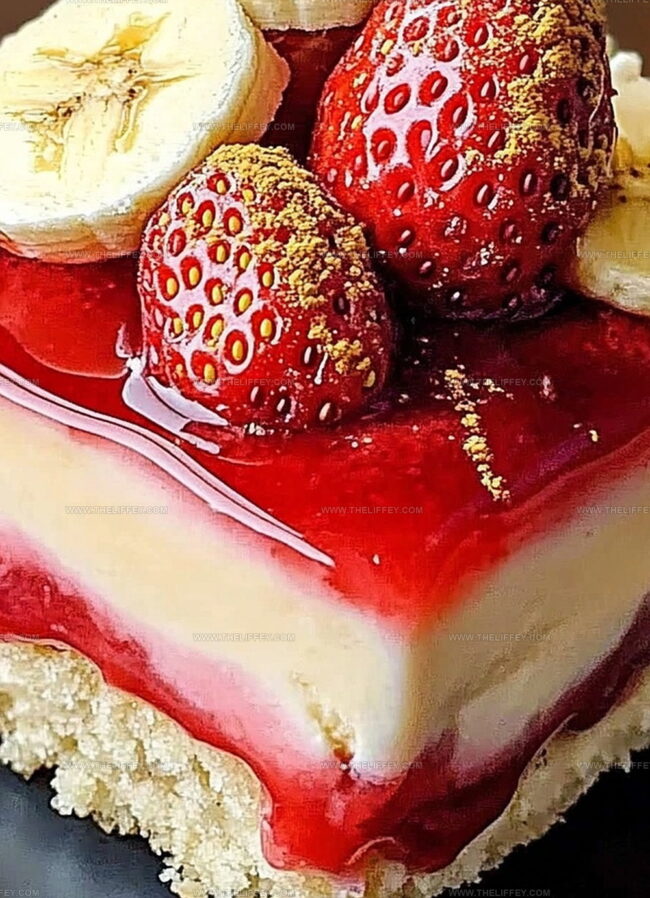
Luscious layers blend unexpected flavors into one irresistible dessert.
Soft bananas nestle between velvety cream cheese and ripe strawberry swirls.
Delicate textures mingle with rich, smooth ingredients that whisper indulgence.
Seasonal fruits add natural sweetness to each delightful spoonful.
Minimal effort creates maximum satisfaction in this crowd-pleasing treat.
Let’s make magic happen with simple ingredients and a dash of love.
Why This Strawberry Cheesecake Banana Pudding Is a Must-Try
Ingredients That Build This Layered Dessert
Main Ingredients:Dairy Components:Fruit and Crunch Layer:Flavor Enhancers:How to Assemble Strawberry Cheesecake Banana Pudding
Step 1: Whip Cream Cheese
Beat cream cheese in a large mixing bowl until it becomes silky smooth and free of lumps.
Step 2: Blend Condensed Milk
Pour sweetened condensed milk into the cream cheese and mix thoroughly until the mixture is completely uniform and creamy.
Step 3: Prepare Pudding Base
In a separate bowl, combine pudding mix with cold milk and vanilla extract. Whisk vigorously until the mixture thickens and becomes smooth.
Step 4: Create Creamy Fusion
Gently fold the prepared pudding mixture into the cream cheese mixture, ensuring a consistent and light texture.
Step 5: Incorporate Whipped Topping
Softly fold whipped topping into the combined mixture until it becomes incredibly smooth and airy.
Step 6: Build Delicious Layers
In a trifle dish or 9×13 pan, start creating delectable layers:Step 7: Complete Layer Construction
Continue layering ingredients, making sure to end with a final layer of pudding on top for a beautiful presentation.
Step 8: Chill and Set
Refrigerate the dessert for a minimum of 4 hours, allowing flavors to meld and the pudding to set perfectly.
Step 9: Serve and Enjoy
Remove from refrigerator and serve chilled, delighting in the creamy, fruity, and sweet layers of this irresistible dessert.
Tips for Perfect Texture and Flavor Balance

Flavor Ideas to Make It Your Own
Serving Suggestions for Sharing and Snacking
Best Storage Tips for Banana Pudding Desserts
FAQs
Yes, the recipe uses vegetarian-friendly ingredients like cream cheese, pudding mix, and whipped topping.
Absolutely! You can prepare this dessert up to 24 hours before serving, which makes it perfect for parties and gatherings.
No special equipment is needed – just a large mixing bowl, whisk, and a trifle dish or 9×13 pan will work perfectly.
Yes, this banana pudding is sweet, colorful, and has familiar flavors that children typically enjoy, making it a great dessert for family meals.
Print
Creamy Strawberry Cheesecake Banana Pudding Recipe
- Total Time: 30 minutes
- Yield: 8 1x
Description
Creamy strawberry cheesecake banana pudding blends classic dessert flavors into a southern-style treat. Layers of vanilla wafers, ripe bananas, and luscious strawberry cheesecake pudding create a nostalgic and indulgent experience you’ll savor to the last bite.
Ingredients
Main Ingredients:
- 4 bananas, sliced
- 1 1/2 cups fresh strawberries, sliced
- 1 (8 ounces/226 grams) package cream cheese, softened
- 1 (14 ounces/397 grams) can sweetened condensed milk
- 2 cups whipped topping (Cool Whip or homemade)
Dry Ingredients:
- 1 (5 ounces/142 grams) package instant vanilla pudding mix
Liquid and Flavoring Ingredients:
- 1 1/2 cups cold milk
- 1 teaspoon vanilla extract
Instructions
- Whip cream cheese in a spacious mixing bowl until velvety and free of lumps.
- Incorporate sweetened condensed milk, blending thoroughly until uniform in texture.
- Prepare pudding mixture separately by whisking instant pudding mix with cold milk and vanilla extract until it reaches a thick, creamy consistency.
- Gently integrate pudding into cream cheese mixture, creating a smooth, cohesive blend.
- Delicately fold whipped topping into the mixture, ensuring a light and airy texture.
- Construct layered dessert in a trifle dish or rectangular pan by creating a foundation of crisp vanilla wafers.
- Arrange fresh banana slices evenly across the wafer layer, covering the entire surface.
- Distribute vibrant strawberry slices over the banana layer, creating a colorful pattern.
- Carefully spread a generous portion of the pudding mixture to cover the fruit completely.
- Repeat layering process – wafers, bananas, strawberries, pudding – until all ingredients are utilized.
- Ensure the final layer is the pudding mixture, creating a smooth, inviting top surface.
- Refrigerate for minimum 4 hours to allow flavors to meld and dessert to set firmly.
- Serve chilled for optimal taste and texture.
Notes
- Swap condensed milk with honey or maple syrup for a less processed sweetener option.
- Use gluten-free vanilla wafers to make the dessert celiac-friendly.
- Ensure bananas are ripe but firm to prevent turning mushy during chilling.
- For dairy-free version, substitute cream cheese with coconut cream and use non-dairy whipped topping.
- Prep Time: 30 minutes
- Cook Time: 0 minutes
- Category: Desserts
- Method: Chilling
- Cuisine: American
Nutrition
- Serving Size: 8
- Calories: 321 kcal
- Sugar: 41 g
- Sodium: 186 mg
- Fat: 15 g
- Saturated Fat: 9 g
- Unsaturated Fat: 5 g
- Trans Fat: 0.2 g
- Carbohydrates: 44 g
- Fiber: 3 g
- Protein: 6 g
- Cholesterol: 45 mg
John Conley
Founder & Culinary Storyteller
Expertise
Recipe Development, Culinary Writing, Home Cooking Techniques, Seasonal Ingredient Utilization
Education
Lane Community College, Eugene, OR
Certificate in Culinary Arts
Focused on foundational cooking techniques, kitchen safety, and menu planning.
Gotham Writers Workshop, New York, NY
Course in Food Writing
Explored the art of crafting engaging culinary narratives and recipe development.
John grew up where food meant connection: big bowls, warm kitchens, and meals that told a story. After earning his Certificate in Culinary Arts from Lane Community College and diving deep into food writing at Gotham Writers Workshop, he found his calling: turning everyday recipes into something worth savoring.
At The Liffey, John’s focus is all about crafting dishes that feel easy, honest, and full of heart.