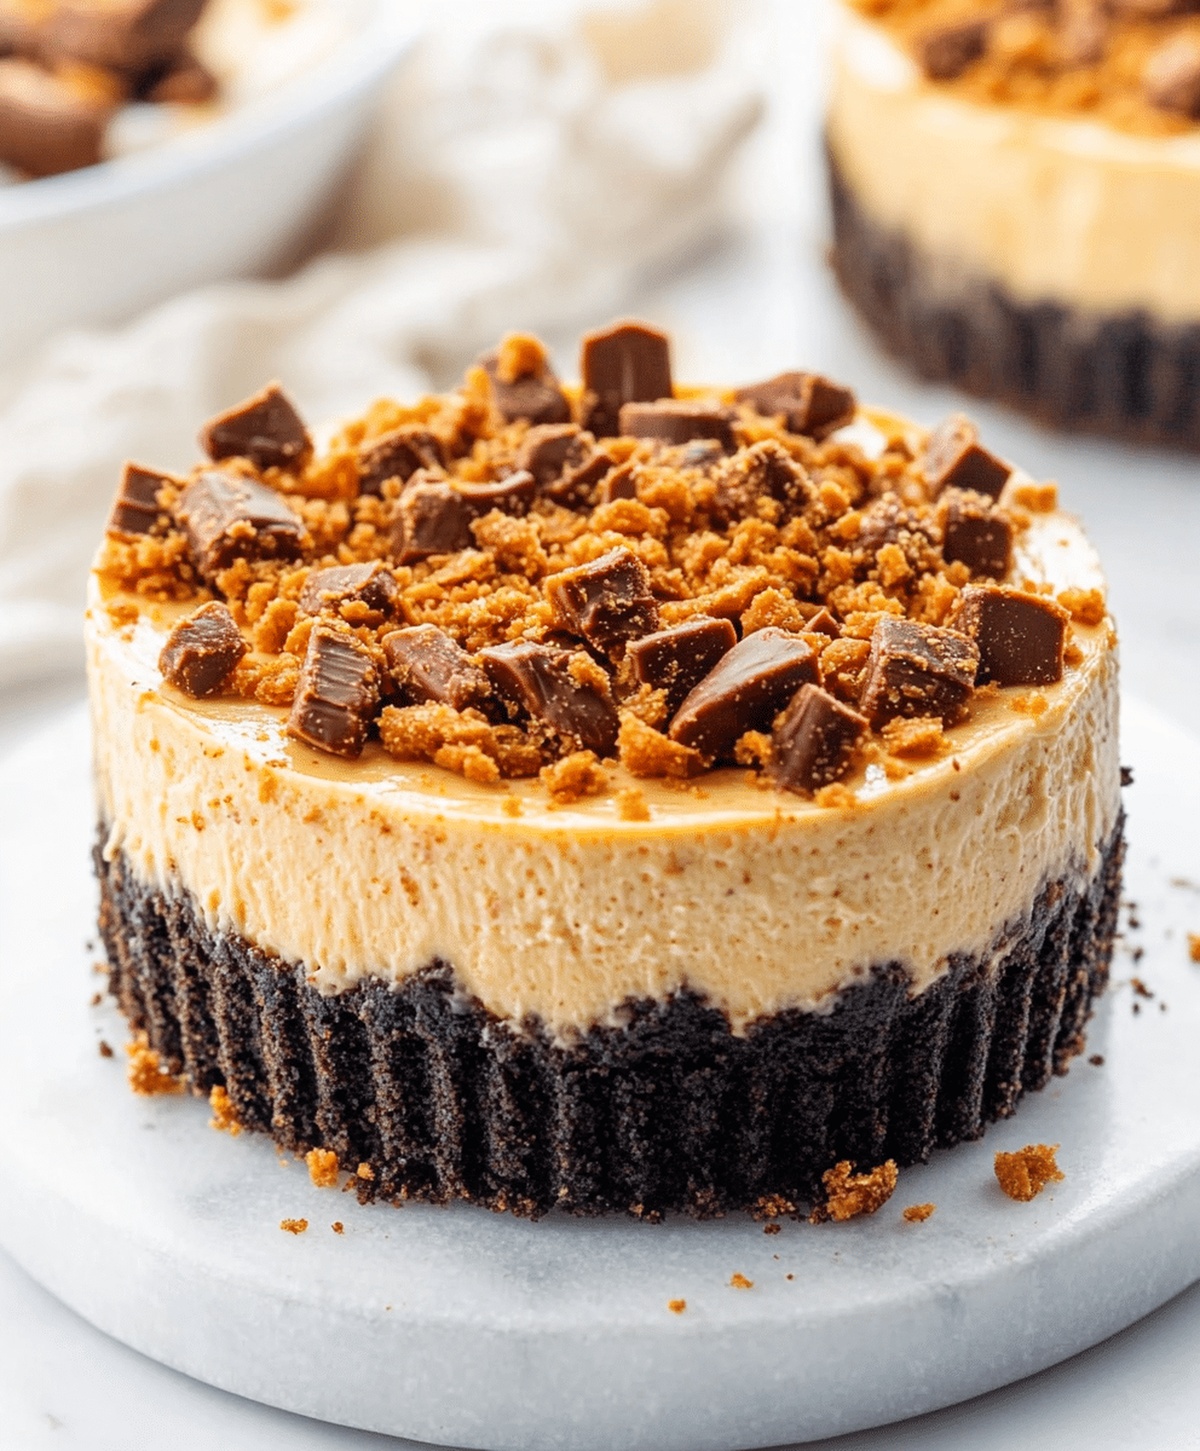
Creamy Peanut Butter Butterfinger Cheesecake Recipe: Sweet Bliss
Creamy peanut butter dancing with crushed Butterfinger bars creates a dessert that defies ordinary expectations.
Sweet memories of childhood candy collide with rich cheesecake textures.
Layers of decadent flavors promise an indulgent experience beyond traditional treats.
Delicate cream cheese blends seamlessly with nutty peanut butter undertones.
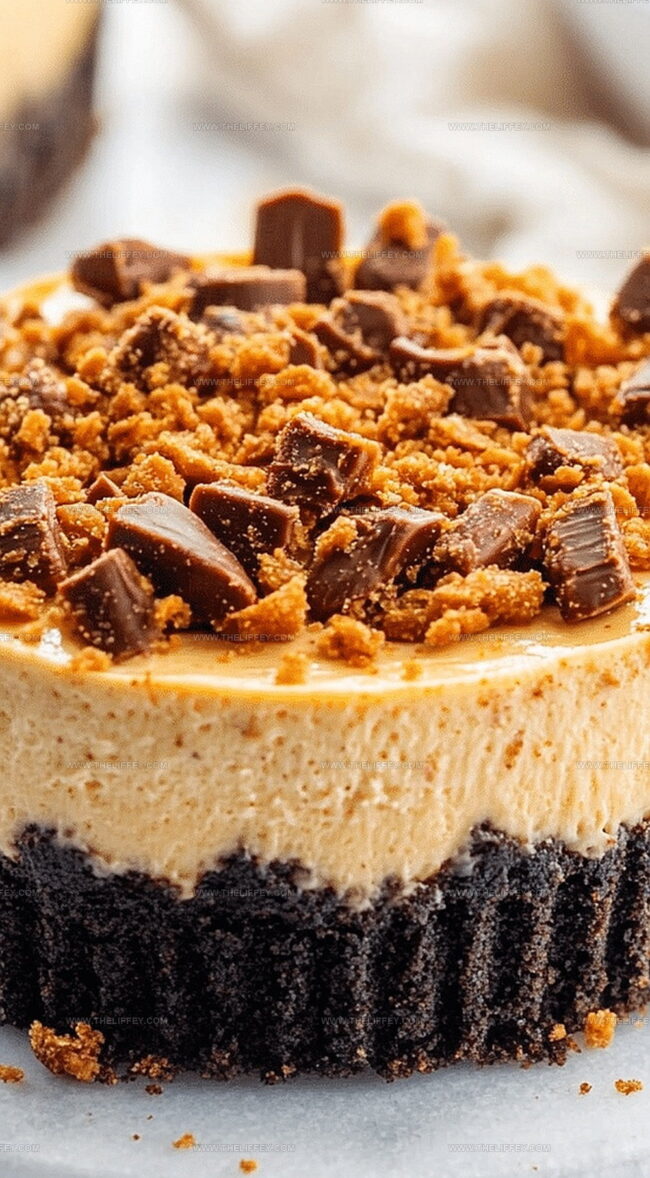
Crunchy Butterfinger pieces scattered throughout add unexpected bursts of caramel-like crunch.
Delightful combinations rarely emerge with such delicious complexity.
You’ll want to savor every single heavenly bite of this extraordinary dessert.
Peanut Butter Butterfinger Cheesecake Delight
Ingredients Needed for Peanut Butter Butterfinger Cheesecake
Crust Base:Cheesecake Filling:Topping and Garnish:Step-by-Step Peanut Butter Butterfinger Cheesecake

Step 1: Warm Up the Oven
Crank the oven to a toasty 350F (175C), getting it ready for your delicious cheesecake adventure.
Step 2: Create the Crunchy Crust
Grab your graham cracker crumbs and melted butter.
Mix them together until they’re perfectly combined, then press the mixture firmly into the bottom of a springform pan, creating a solid, delectable base for your cheesecake.
Step 3: Whip Up the Creamy Filling
In a large mixing bowl, blend cream cheese, peanut butter, and sugar until the mixture becomes silky smooth and free of any lumps.
Use an electric mixer to ensure everything is perfectly combined.
Step 4: Incorporate the Binding Ingredients
Gently add eggs and vanilla extract to the creamy mixture.
Mix carefully until all ingredients are fully integrated, creating a luscious and uniform filling.
Step 5: Fold in the Crunchy Surprise
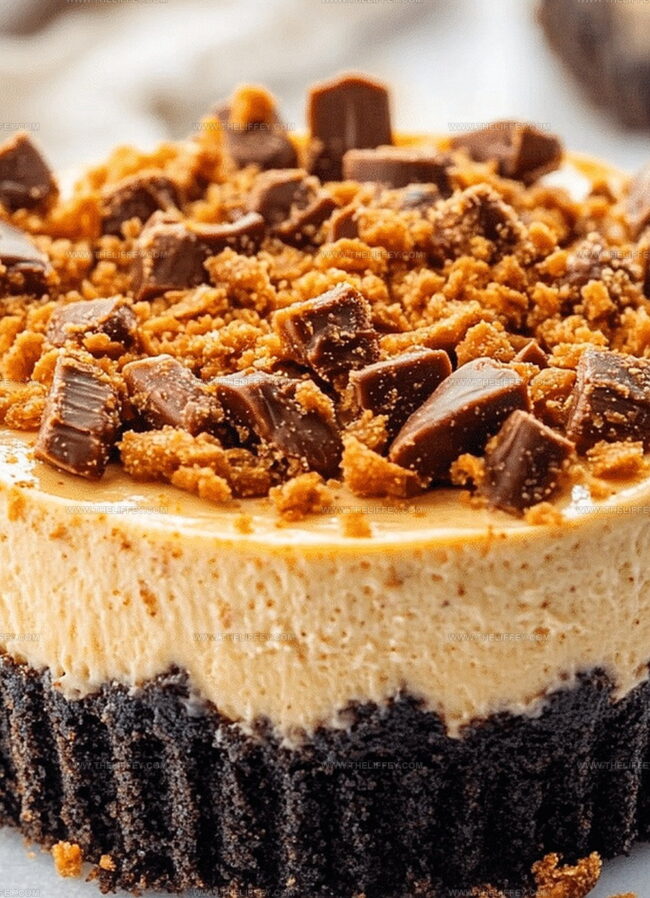
Sprinkle in chopped Butterfinger pieces and fold them gently into the cheesecake mixture.
This will create delightful bursts of candy goodness throughout the cake.
Step 6: Bake to Perfection
Pour the entire mixture over the prepared crust in the springform pan.
Slide the pan into the preheated oven and bake for 50-55 minutes. The cheesecake should look slightly jiggly in the center but set around the edges.
Step 7: Cool and Chill
Allow the cheesecake to cool completely at room temperature. Once cooled, transfer to the refrigerator and let it chill for at least 4 hours, or preferably overnight, to set completely.
Step 8: Add the Final Flourish
Before serving, top the cheesecake with a generous dollop of whipped cream. Sprinkle additional chopped Butterfinger pieces over the top for an extra crunch and visual appeal.
Insider Tips for Perfect Peanut Butter Butterfinger Cheesecake
Fun Twists to Try on Peanut Butter Butterfinger Cheesecake
Ways to Present Peanut Butter Butterfinger Cheesecake
Storing Tips for Peanut Butter Butterfinger Cheesecake
FAQs
Yes, you can substitute Butterfinger with other chocolate or peanut butter candy bars like Reese’s Pieces or Snickers for a similar flavor profile.
To prevent cracks, avoid overmixing the batter, bake in a water bath, and let the cheesecake cool gradually by turning off the oven and leaving the door slightly open after baking.
A springform pan is recommended because it allows easy removal of the cheesecake without damaging its structure. If you don’t have one, use a deep cake pan with removable bottom.
Print
Creamy Peanut Butter Butterfinger Cheesecake Recipe
- Total Time: 1 hour 15 minutes
- Yield: 12 1x
Description
Creamy peanut butter butterfinger cheesecake delivers a sublime dessert experience for chocolate and candy enthusiasts. Rich layers of smooth cheesecake and crushed butterfinger bars create a delightful indulgence you won’t want to miss.
Ingredients
Main Ingredients:
- 16 ounces (454 grams) cream cheese
- 1 cup (250 grams) peanut butter
- 3/4 cup (150 grams) sugar
- 2 large eggs
Base Ingredients:
- 1 1/2 cups (180 grams) crushed graham crackers
- 1/3 cup (76 grams) melted butter
Finishing and Flavor Ingredients:
- 1 teaspoon vanilla extract
- 4 Butterfinger candy bars, chopped
- 1/2 cup (120 milliliters) heavy cream
Instructions
- Prepare a springform pan by creating a graham cracker crust with melted butter, pressing firmly and evenly across the bottom.
- In a large mixing bowl, whip cream cheese, peanut butter, and sugar until achieving a silky, uniform consistency.
- Gently incorporate eggs and vanilla extract, stirring until the mixture becomes smooth and well-blended.
- Carefully fold crushed Butterfinger pieces throughout the creamy batter, distributing evenly.
- Transfer the cheesecake mixture onto the prepared crust, ensuring an even surface.
- Place in a preheated oven at 350F (175C) and bake for approximately 50-55 minutes, watching for a slightly firm center with minimal jiggling.
- Remove from oven and allow the cheesecake to cool completely at room temperature, which helps prevent cracking.
- Refrigerate for a minimum of 4 hours to set and develop optimal flavor and texture.
- Before serving, decorate the top with dollops of whipped cream and sprinkle additional crushed Butterfinger pieces for extra crunch and visual appeal.
Notes
- Crush graham crackers finely to ensure a compact, even crust that holds together perfectly when sliced.
- Soften cream cheese at room temperature for smooth, lump-free mixing that creates a silky cheesecake texture.
- Chop Butterfinger bars into small, uniform pieces to distribute candy evenly throughout the cheesecake for consistent flavor in every bite.
- Cool cheesecake gradually to prevent cracking by leaving it in the oven with the door slightly open after baking, allowing a gentle temperature transition.
- Prep Time: 20 minutes
- Cook Time: 55 minutes
- Category: Desserts
- Method: Baking
- Cuisine: American
Nutrition
- Serving Size: 12
- Calories: 420 kcal
- Sugar: 30 g
- Sodium: 220 mg
- Fat: 28 g
- Saturated Fat: 12 g
- Unsaturated Fat: 14 g
- Trans Fat: 0.5 g
- Carbohydrates: 32 g
- Fiber: 2 g
- Protein: 8 g
- Cholesterol: 80 mg
John Conley
Founder & Culinary Storyteller
Expertise
Recipe Development, Culinary Writing, Home Cooking Techniques, Seasonal Ingredient Utilization
Education
Lane Community College, Eugene, OR
Certificate in Culinary Arts
Focused on foundational cooking techniques, kitchen safety, and menu planning.
Gotham Writers Workshop, New York, NY
Course in Food Writing
Explored the art of crafting engaging culinary narratives and recipe development.
John grew up where food meant connection: big bowls, warm kitchens, and meals that told a story. After earning his Certificate in Culinary Arts from Lane Community College and diving deep into food writing at Gotham Writers Workshop, he found his calling: turning everyday recipes into something worth savoring.
At The Liffey, John’s focus is all about crafting dishes that feel easy, honest, and full of heart.