
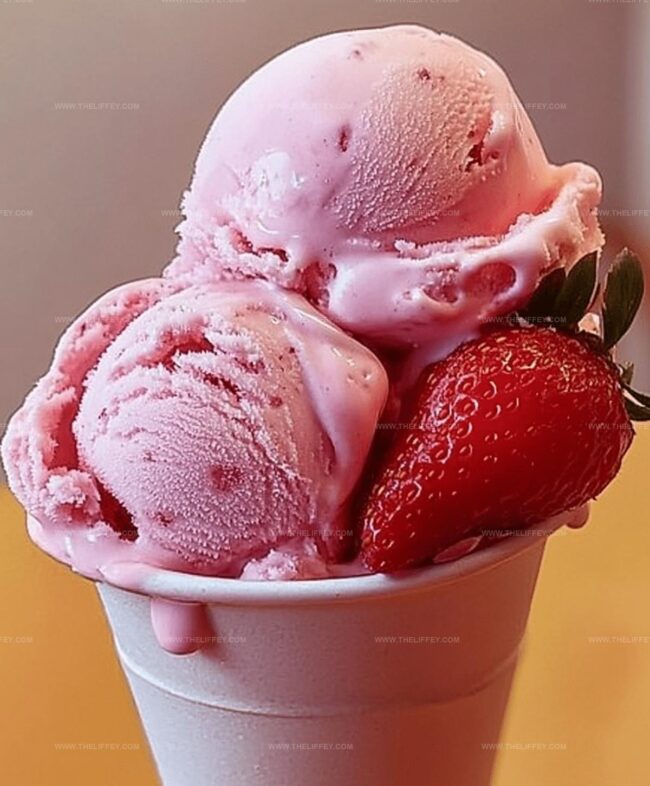
Dreamy Homemade Strawberry Vanilla Bean Ice Cream Recipe
Crafting a delectable homemade strawberry vanilla bean ice cream brings pure summer magic right into your kitchen.
Sweet berries burst with natural brightness against creamy vanilla smooth backdrop.
Local strawberries work best when selecting ingredients for this dreamy dessert.
Seasonal fruit ensures maximum flavor and natural sweetness throughout each delightful scoop.
Minimal ingredients combine to create an incredible frozen treat that feels luxurious yet simple.
Blending fresh strawberries with rich vanilla beans produces an elegant dessert anyone can master.
You’ll fall in love with this effortless recipe that transforms basic ingredients into something extraordinary.
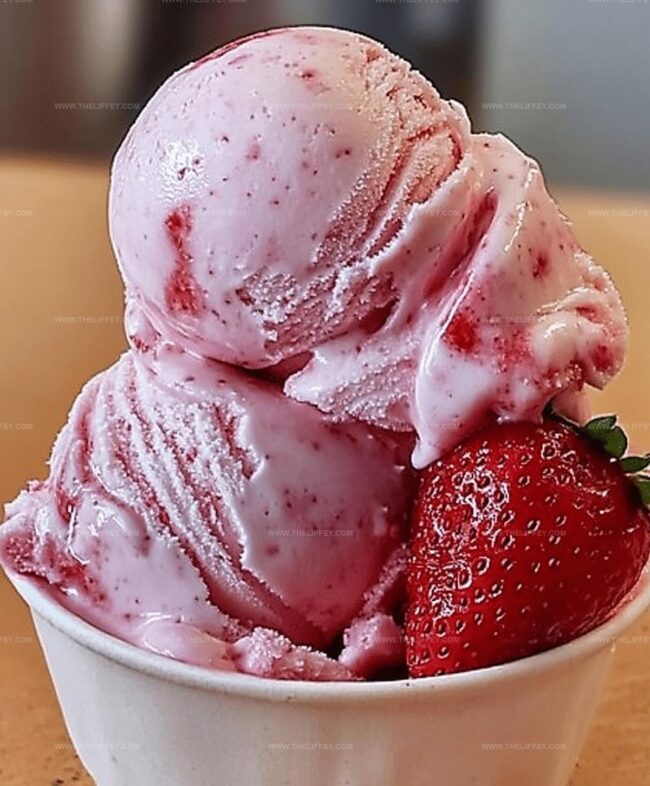
Homemade Strawberry Vanilla Bean Ice Cream
Ingredients to Make Strawberry Vanilla Bean Ice Cream
Dairy Base:Sweeteners and Flavoring:Fruit Component:How to Craft Strawberry Vanilla Bean Ice Cream
Step 1: Infuse Creamy Base
Combine heavy cream, milk, sugar, and scraped vanilla bean seeds in a saucepan. Warm the mixture over medium heat, stirring gently until sugar dissolves and ingredients meld together.
Avoid boiling the liquid to prevent scorching.
Step 2: Prepare Egg Mixture
Whisk egg yolks in a separate bowl until smooth and pale.
Slowly drizzle a small amount of warm cream mixture into the yolks, whisking constantly to prevent curdling. This technique, called tempering, helps bring the egg yolks to temperature smoothly.
Step 3: Create Custard Base
Pour the tempered egg mixture back into the saucepan. Stir continuously over medium heat until the mixture thickens and coats the back of a spoon.
This process typically takes about 5 minutes. Watch carefully to avoid overcooking.
Step 4: Strain and Cool Mixture
Remove the custard from heat and strain through a fine-mesh sieve to eliminate any potential lumps or solid vanilla bean pieces. Transfer to a clean bowl and let the mixture cool completely at room temperature.
Step 5: Incorporate Strawberry Goodness
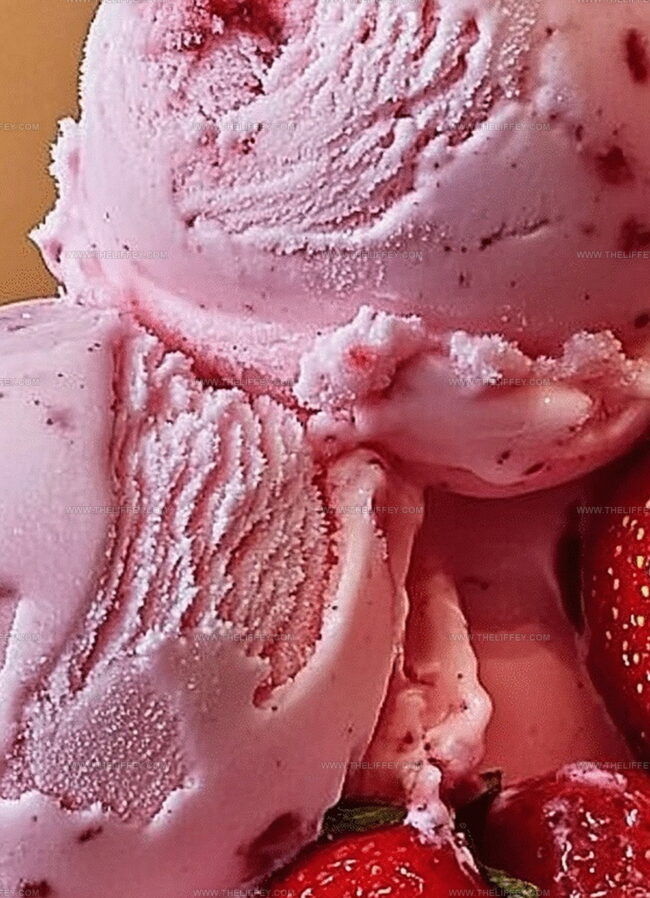
Fold mashed strawberries into the cooled custard base. Mix thoroughly to distribute the fruit evenly throughout the mixture, creating a beautiful swirled effect.
Step 6: Chill Thoroughly
Refrigerate the strawberry-vanilla mixture for at least 4 hours or overnight. This resting period allows flavors to develop and the base to become properly chilled for churning.
Step 7: Churn to Perfection
Pour the chilled mixture into an ice cream maker. Churn according to the manufacturer’s instructions, typically 20-25 minutes, until the texture becomes creamy and starts to thicken.
Step 8: Freeze and Serve
Transfer the freshly churned ice cream to a freezer-safe container. Smooth the top with a spatula and freeze for at least 2 hours to achieve the ideal scooping consistency.
Serve and enjoy your homemade strawberry vanilla bean ice cream!
Tips to Nail Strawberry Vanilla Bean Ice Cream
Flavor Options for Strawberry Vanilla Bean Ice Cream
Suggested Pairings with Strawberry Vanilla Bean Ice Cream
Storage Guidelines for Strawberry Vanilla Bean Ice Cream
FAQs
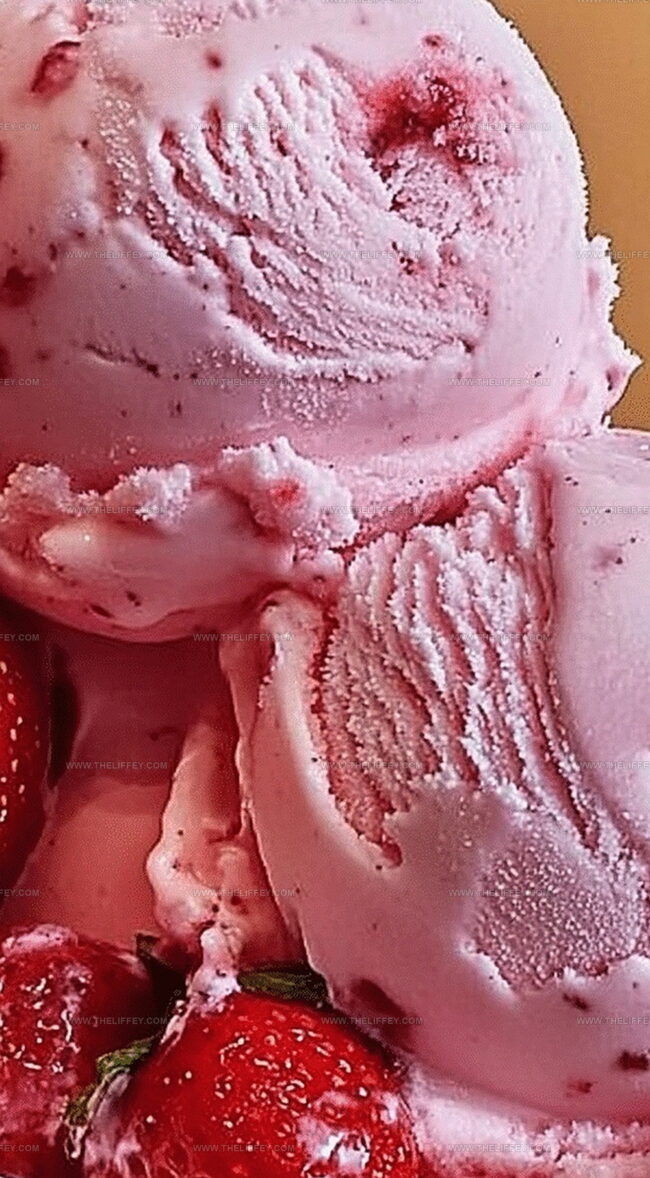
Vanilla bean seeds provide a richer, more intense flavor and create beautiful specks throughout the ice cream, offering a more authentic and gourmet taste compared to liquid extract.
While an ice cream maker helps create a smoother texture, you can use the no-churn method by whipping heavy cream and condensed milk together, then folding in strawberries and freezing, though the texture will be slightly different.
The custard is ready when it coats the back of a spoon and you can draw a line with your finger that holds its shape without the mixture running back together immediately.
Print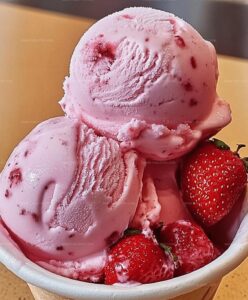
Creamy Homemade Strawberry Vanilla Bean Ice Cream Recipe
- Total Time: 6 hours 30 minutes
- Yield: 6 1x
Description
Homemade strawberry vanilla bean ice cream brings together luscious summer berries and creamy Madagascar vanilla in a luxurious dessert. Smooth, rich scoops will transport dessert enthusiasts directly to culinary bliss.
Ingredients
Dairy:
- 2 cups (473 ml) heavy cream
- 1 cup (237 ml) whole milk
- 4 large egg yolks
Sweeteners:
- 3/4 cup (150 g) granulated sugar
Fruits and Flavoring:
- 1 1/2 cups (225 g) fresh strawberries, hulled and mashed
- 1 vanilla bean (seeds scraped) or 2 teaspoons vanilla extract
Instructions
- Infuse heavy cream, milk, sugar, and vanilla bean seeds in a saucepan over medium heat until steamy and fragrant, avoiding boiling.
- Whisk egg yolks in a separate bowl, then gradually incorporate a small portion of the warm cream mixture to gently raise the temperature and prevent curdling.
- Return the tempered yolks to the saucepan, stirring consistently until the custard develops a silky, slightly thickened consistency, approximately 5 minutes.
- Strain the custard through a fine-mesh sieve to eliminate any potential lumps or solids, ensuring a smooth texture.
- Allow the custard to cool completely at room temperature, stirring occasionally to prevent skin formation.
- Fold in freshly mashed strawberries, distributing them evenly throughout the creamy base.
- Refrigerate the mixture for a minimum of 4 hours or overnight to enhance flavor development and chill thoroughly.
- Process the chilled mixture in an ice cream maker according to manufacturer’s guidelines, typically 20-25 minutes.
- Transfer the churned ice cream to a freezer-safe container, smoothing the surface, and freeze for 2-3 hours until firm but scoopable.
Notes
- Enhance the vanilla flavor by using fresh vanilla bean pods, which provide a richer, more complex taste compared to extract.
- For a smoother texture, strain the custard mixture twice to ensure no egg lumps remain and create a silky-smooth ice cream base.
- Consider using macerated strawberries by sprinkling sugar over them 30 minutes before mixing to intensify their natural sweetness and release more juices.
- Make this recipe dairy-free by substituting heavy cream and milk with coconut cream and almond milk, creating a delightful vegan alternative that maintains a creamy consistency.
- Prep Time: 30 minutes
- Cook Time: 6 hours
- Category: Desserts
- Method: Simmering
- Cuisine: American
Nutrition
- Serving Size: 6
- Calories: 360
- Sugar: 29 g
- Sodium: 65 mg
- Fat: 30 g
- Saturated Fat: 18 g
- Unsaturated Fat: 11 g
- Trans Fat: 0.5 g
- Carbohydrates: 28 g
- Fiber: 1.5 g
- Protein: 5 g
- Cholesterol: 195 mg
John Conley
Founder & Culinary Storyteller
Expertise
Recipe Development, Culinary Writing, Home Cooking Techniques, Seasonal Ingredient Utilization
Education
Lane Community College, Eugene, OR
Certificate in Culinary Arts
Focused on foundational cooking techniques, kitchen safety, and menu planning.
Gotham Writers Workshop, New York, NY
Course in Food Writing
Explored the art of crafting engaging culinary narratives and recipe development.
John grew up where food meant connection: big bowls, warm kitchens, and meals that told a story. After earning his Certificate in Culinary Arts from Lane Community College and diving deep into food writing at Gotham Writers Workshop, he found his calling: turning everyday recipes into something worth savoring.
At The Liffey, John’s focus is all about crafting dishes that feel easy, honest, and full of heart.