The Perfect Classic Peanut Butter Blossoms Recipe For Holidays
Mixing classic peanut butter blossoms brings back memories of grandma’s cozy kitchen and sweet holiday traditions.
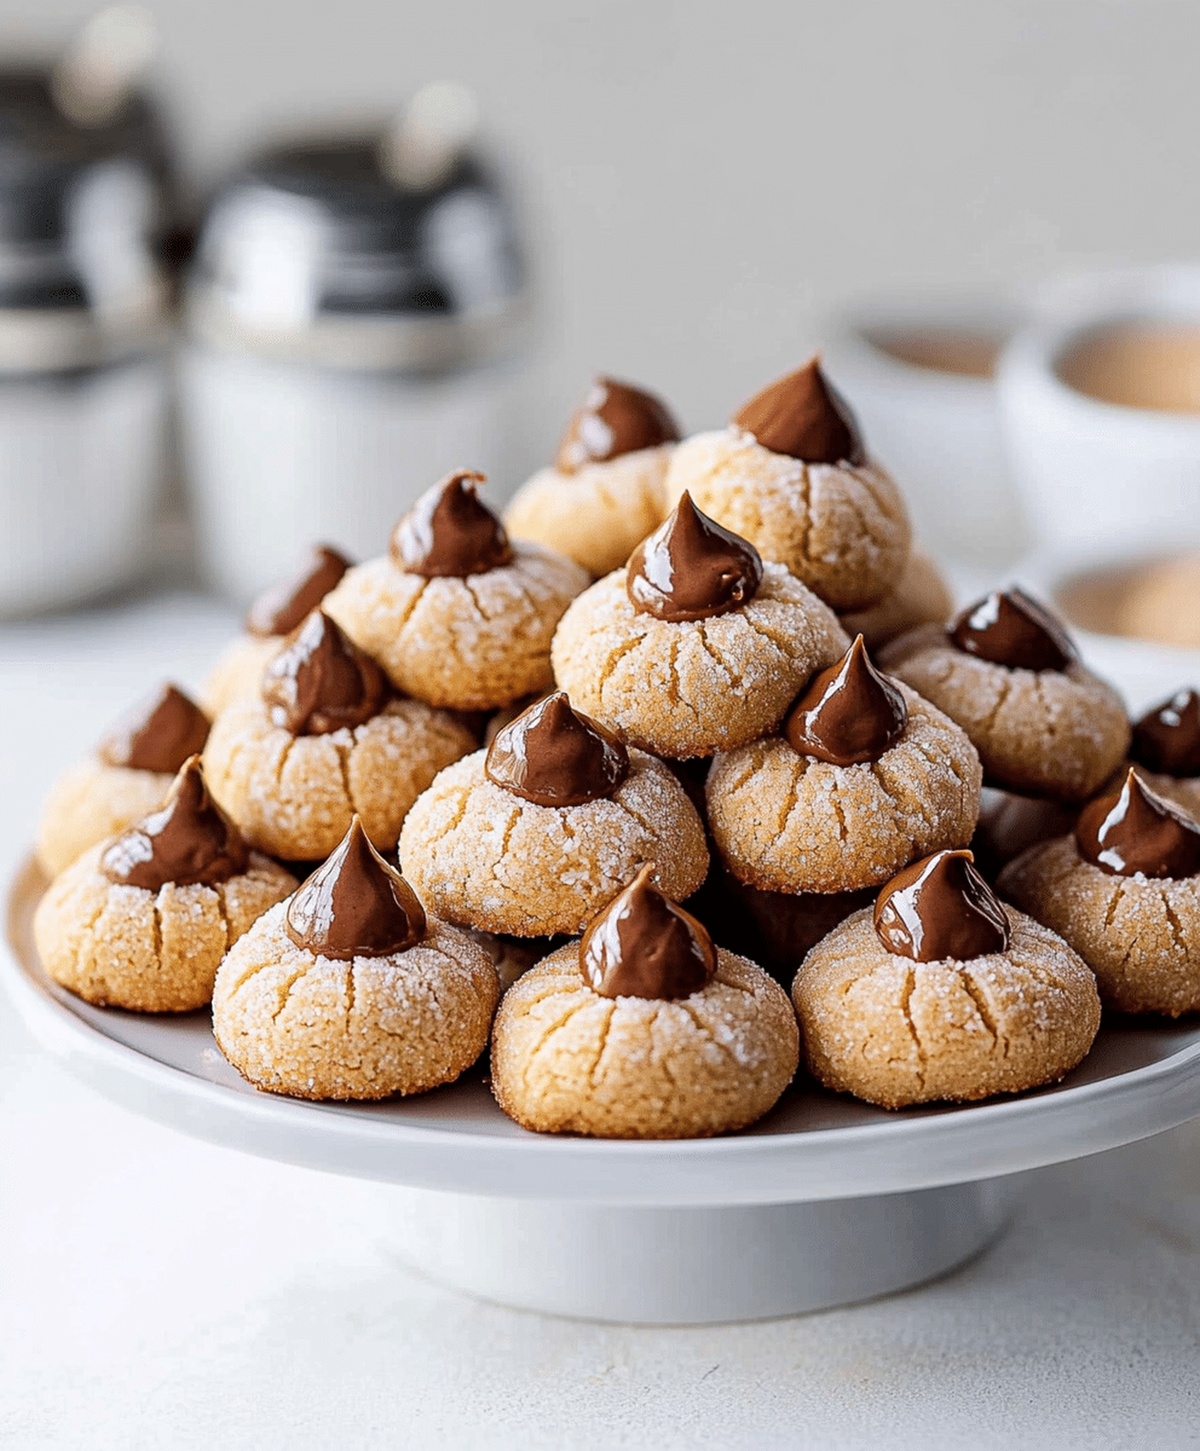
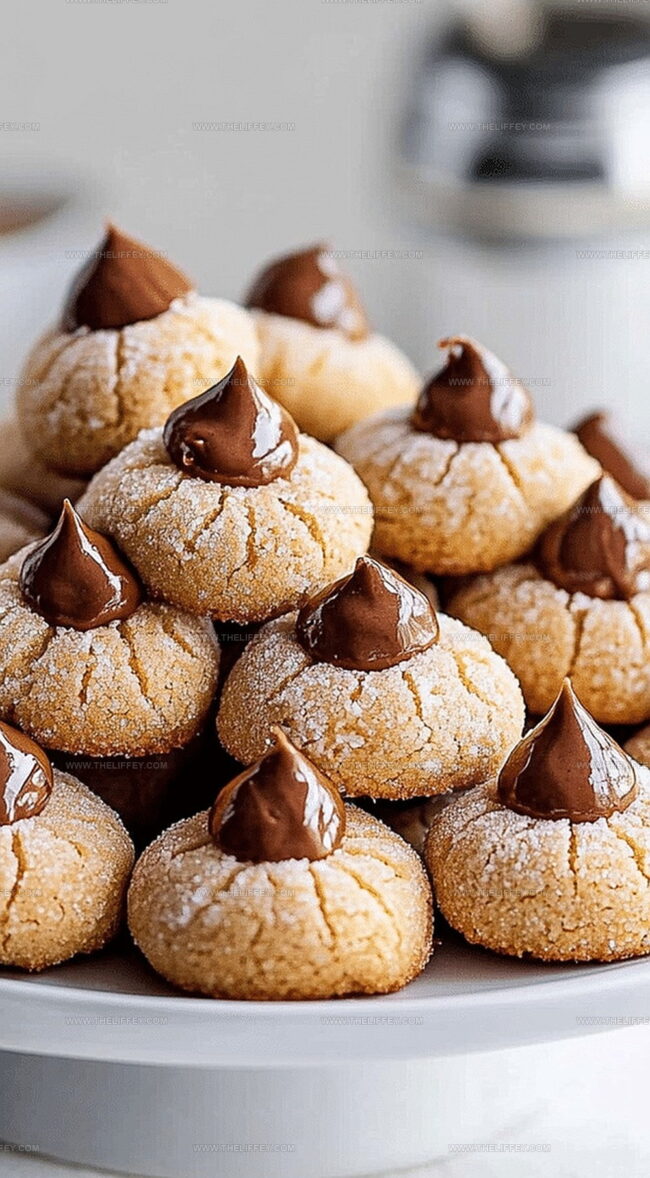
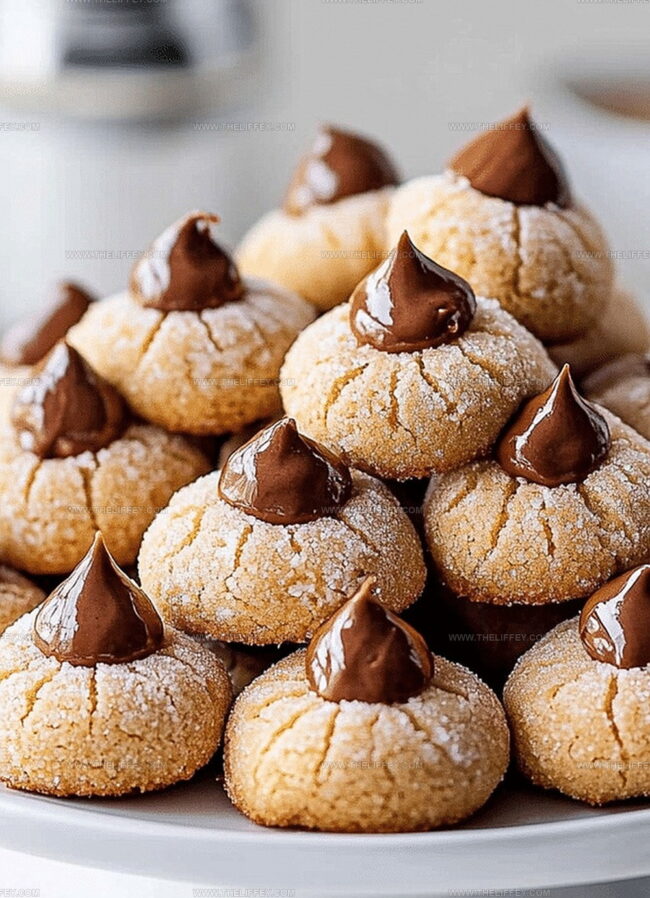
Soft cookie dough packed with nutty richness promises pure comfort in every bite.
Perfectly crackled edges hint at the delightful texture waiting inside.
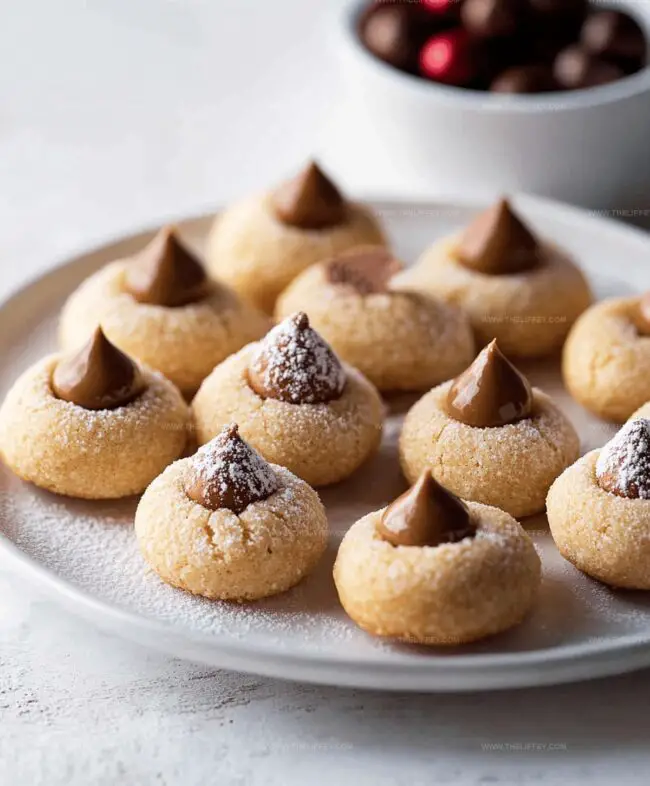
Chocolate kisses nestled in the center create an irresistible contrast of flavors.
Each batch connects you to cherished moments of warmth and joy.
Simple ingredients combine to craft a treat that sparks nostalgia and smiles.
Bake these cookies and watch faces light up with pure delight.
Classic Peanut Butter Blossoms: A Timeless Favorite
Ingredients for Peanut Butter Blossoms
Cookie Base:Wet Ingredients:Topping and Finishing:Step-by-Step Peanut Butter Blossoms Recipe
Step 1: Prepare Oven and Baking Surface
Warm up the oven to 375°F (190°C).
Line a baking sheet with parchment paper or a silicone baking mat to prevent sticking.
Step 2: Create Creamy Cookie Base
In a large mixing bowl, blend together:Mix until the mixture becomes smooth and fluffy, creating a rich and creamy texture.
Step 3: Add Moisture and Flavor
Incorporate into the mixture:Beat thoroughly until all ingredients are completely combined and the batter looks uniform.
Step 4: Mix Dry Ingredients
In a separate bowl, combine:Whisk these dry ingredients together to ensure even distribution.
Step 5: Combine Wet and Dry Mixtures
Gradually add the dry ingredient mixture to the wet ingredients.
Stir gently until a soft dough forms, being careful not to overmix.
Step 6: Shape Cookie Balls
Roll the dough into small balls, each about the size of a walnut.
Gently roll each ball in granulated sugar to create a sparkling exterior.
Step 7: Bake Cookies
Place the sugar-coated dough balls on the prepared baking sheet, leaving space between each cookie.
Bake for 8-10 minutes until the edges are lightly golden.
Step 8: Add Chocolate Kiss
Immediately after removing cookies from the oven, press a chocolate kiss into the center of each warm cookie.
The heat will help the chocolate adhere.
Step 9: Cool and Enjoy
Transfer cookies to a wire cooling rack.
Allow them to cool completely so the chocolate kiss sets and the cookies firm up.
Pro Tips for Peanut Butter Blossoms Success
Flavor Variations for Peanut Butter Blossoms
Serving Ideas for Peanut Butter Blossoms
How to Store Peanut Butter Blossoms
FAQs
Yes, but you’ll need to stir it well and drain any excess oil before using. Natural peanut butter might make the cookies slightly less stable.
You can substitute with chocolate chunks, chocolate chips, or even caramel-filled chocolates for a different twist.
Make sure your ingredients are at room temperature and don’t overmix the dough. Roll the balls gently and avoid handling them too much.
Absolutely! You can refrigerate the dough for up to 3 days or freeze it for up to 2 months. Just let it come to room temperature before baking.
Print
Classic Peanut Butter Blossoms Recipe
- Total Time: 30 minutes
- Yield: 24 1x
Description
Irresistible classic peanut butter blossoms bring nostalgic holiday cheer with simple ingredients and minimal preparation. Chocolate Hershey’s Kisses crown tender peanut butter cookies, creating sweet memories for cookie enthusiasts.
Ingredients
Peanut Blossoms Ingredients:
Main Cookie Ingredients:
- 3/4 cup (170 grams) creamy peanut butter
- 1/2 cup (113 grams or 1 stick) unsalted butter, softened
- 1 large egg
- 1 1/2 cups (180 grams) all-purpose flour
Sweeteners:
- 1/3 cup (67 grams) granulated sugar
- 1/3 cup (73 grams) brown sugar, packed
Flavor and Binding Ingredients:
- 2 tablespoons milk
- 1 teaspoon vanilla extract
- 1 teaspoon baking soda
- 1/4 teaspoon salt
Additional Ingredients:
- Additional granulated sugar (for rolling)
- 24–30 Hershey’s chocolate kisses, unwrapped
Instructions
- Prepare the oven environment by heating to 375F (190C), ensuring optimal baking conditions.
- Combine softened butter, peanut butter, granulated and brown sugars in a mixing bowl, blending until achieving a smooth, homogeneous texture.
- Incorporate egg, milk, and vanilla extract, mixing thoroughly to create a cohesive wet mixture.
- In a separate container, sift together flour, baking soda, and salt, then gradually fold into the wet ingredients, creating a uniform dough.
- Form the dough into compact, bite-sized spheres approximately 1-inch in diameter, delicately coating each ball with additional granulated sugar.
- Arrange the sugar-dusted dough balls on a prepared baking sheet, maintaining adequate spacing between each cookie.
- Transfer to the preheated oven, baking for 8-10 minutes until edges develop a gentle golden-brown hue.
- Upon removal from the oven, immediately nestle a chocolate kiss into the center of each warm cookie, creating an indentation.
- Transfer cookies to a wire cooling rack, allowing them to reach room temperature and set completely.
Notes
- Swap peanut butter with sunflower seed butter for a nut-free version perfect for school lunches or allergy-friendly gatherings.
- Chill the dough for 30 minutes before rolling to prevent spreading and create more uniform, perfectly shaped cookies.
- Use room temperature ingredients to ensure smooth mixing and consistent cookie texture, helping achieve that classic soft and chewy result.
- Gently press chocolate kiss into warm cookie center to create a smooth, glossy chocolate topping without cracking the delicate cookie base.
- Prep Time: 20 minutes
- Cook Time: 10 minutes
- Category: Snacks, Desserts
- Method: Baking
- Cuisine: American
Nutrition
- Serving Size: 24
- Calories: 130
- Sugar: 8 g
- Sodium: 70 mg
- Fat: 7 g
- Saturated Fat: 2 g
- Unsaturated Fat: 4 g
- Trans Fat: 0.1 g
- Carbohydrates: 15 g
- Fiber: 1 g
- Protein: 3 g
- Cholesterol: 15 mg
Amanda Bennett
Recipe Curator & Culinary Educator
Expertise
Baking and Pastry Arts, Recipe Testing and Development, Culinary Instruction, Food Styling and Photography
Education
Asheville-Buncombe Technical Community College, Asheville, NC
Diploma in Culinary Arts
Emphasized practical cooking skills, nutrition, and kitchen management.
Cambridge School of Culinary Arts, Cambridge, MA
Certificate in Professional Pastry Arts
Specialized in baking techniques, dessert presentation, and flavor profiling
Amanda’s roots run deep in the Southern hills, where every meal started fresh from the garden and every dessert came with a story. She trained at Asheville-Buncombe Technical Community College and sharpened her pastry skills at the Cambridge School of Culinary Arts, blending classic technique with everyday charm.
At The Liffey, Amanda’s passion is making baking and home cooking feel natural and joyful. She’s all about single recipes that are simple enough for a busy afternoon, but special enough to make someone’s day a little sweeter.