Grandma Carter’s Heartwarming Peanut Butter Cookies Recipe
Warm memories of Jimmy Carter’s childhood often swirl around his grandmother’s beloved peanut butter cookies.
Nostalgia whispers through every crumbly, sweet bite of this Southern classic.
Family recipes carry magic that transcends generations and kitchens.
Soft, nutty notes dance across your palate with each tender morsel.
Simple ingredients combine to create something truly extraordinary.
Generations have cherished these humble yet delectable treats passed down through careful hands.
You’ll want to experience this delightful connection to culinary heritage right now.
The Classic Peanut Butter Cookies Grandma Loved
Ingredients List for Timeless Peanut Butter Cookies
Main Ingredients:Flavor Enhancers:Baking Essentials:How to Bake Cookies with That Perfect Soft-Crisp Texture
Step 1: Warm Up The Oven
Crank the oven to a toasty 350°F and line a baking sheet with parchment paper for easy cookie removal.
Step 2: Mix Magical Cookie Ingredients
Grab a mixing bowl and toss in these delightful ingredients:Stir everything together until the mixture looks smooth and well-blended.
Step 3: Shape Tasty Cookie Balls
Roll the dough into cute little balls about 1 inch in size. Place these adorable cookie balls onto your prepared baking sheet.
Step 4: Create Classic Crisscross Pattern
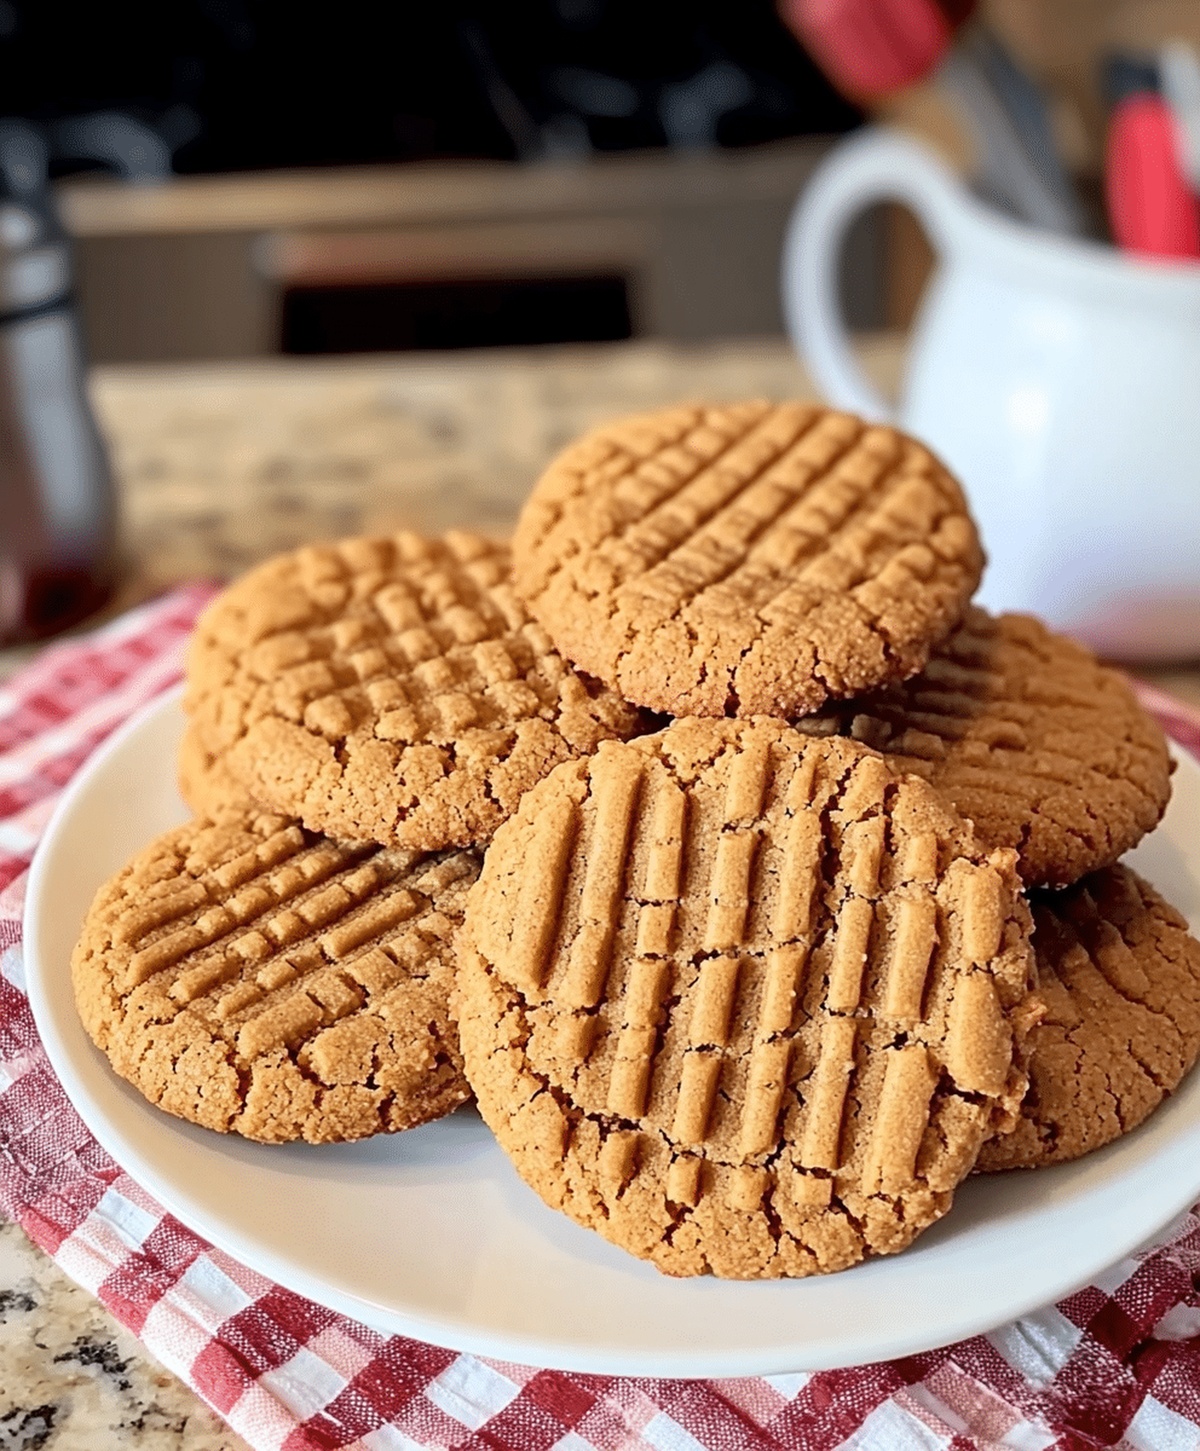
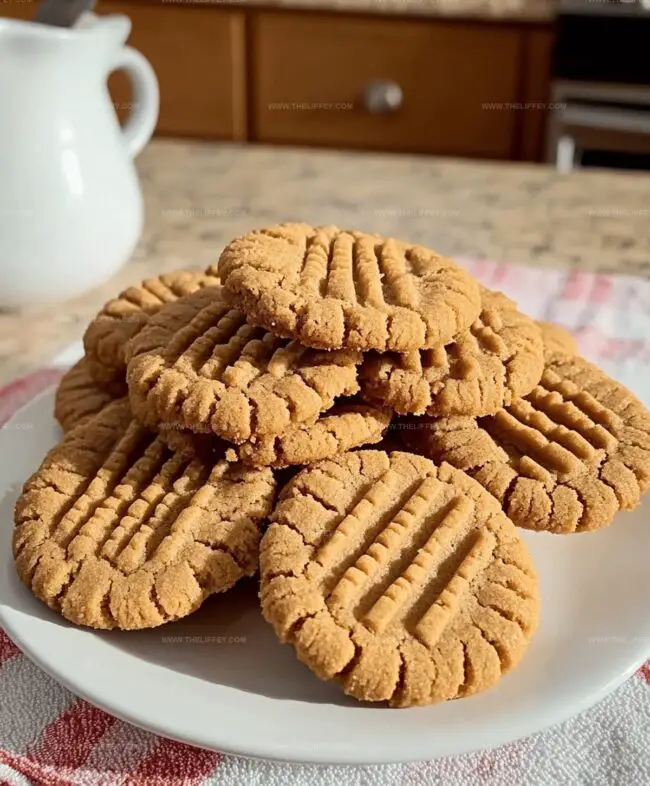
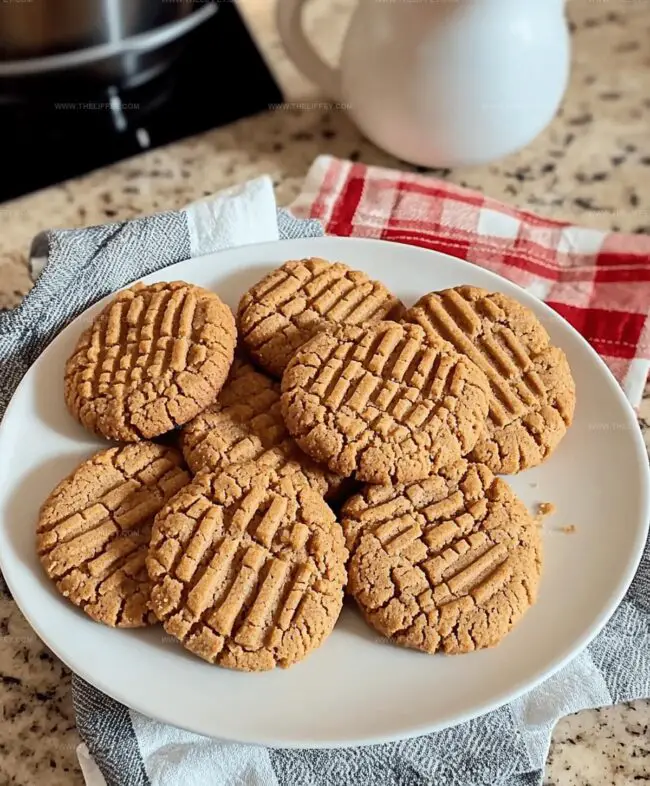
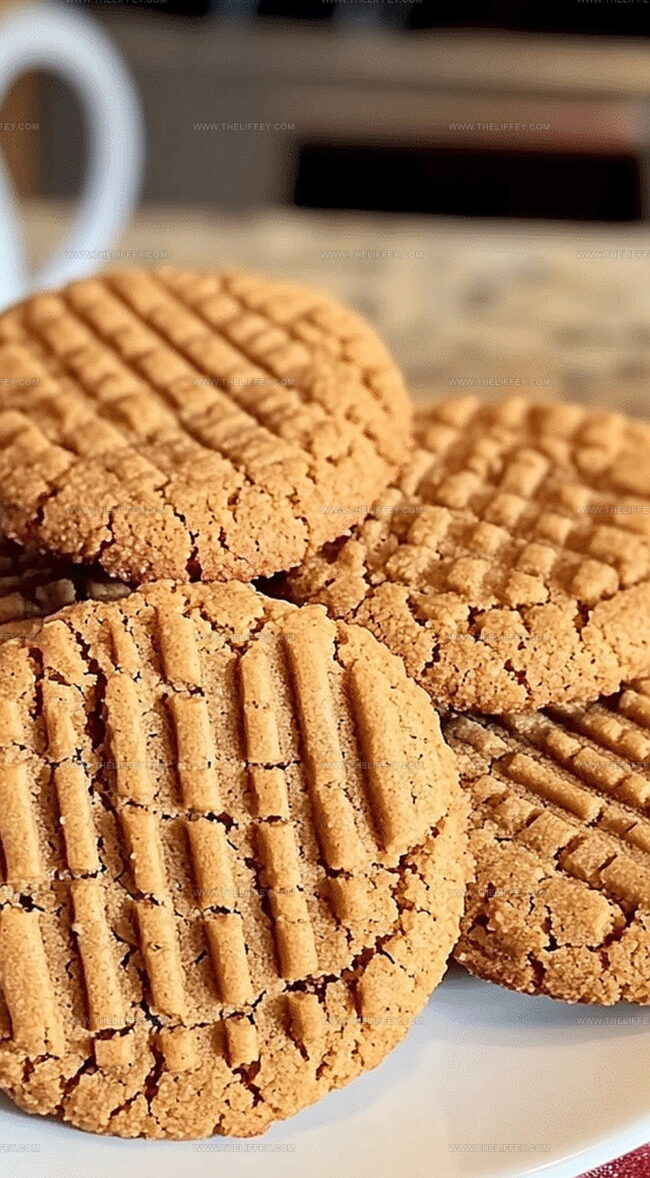
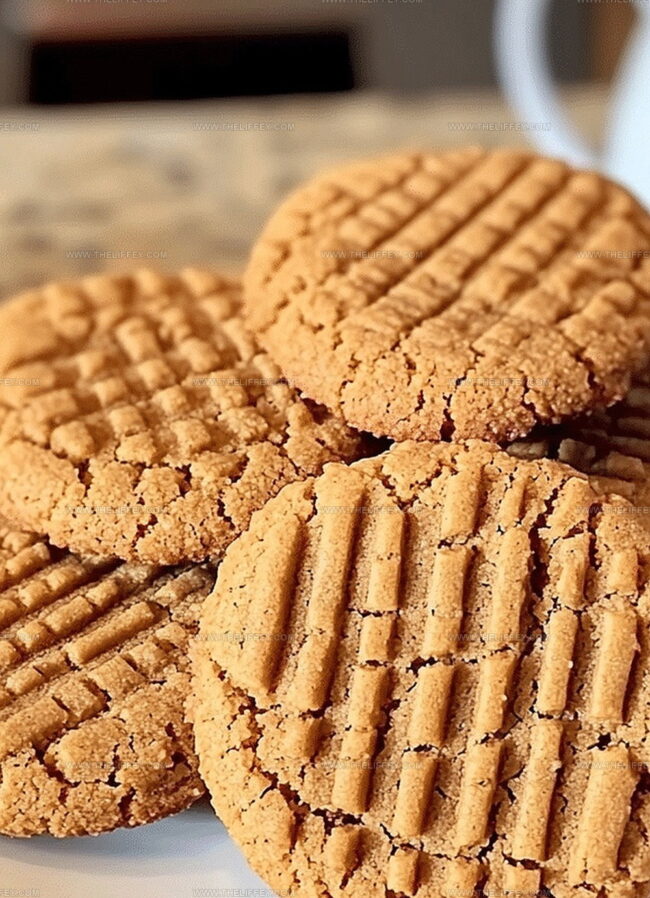
Using a fork, gently press down on each cookie ball to create the traditional crisscross design that makes these cookies instantly recognizable.
Step 5: Bake To Golden Perfection
Slide the baking sheet into the preheated oven and bake for 8-10 minutes.
Watch for the edges to turn a lovely light golden color.
Step 6: Cool And Enjoy
After pulling the cookies from the oven, let them rest on the baking sheet for 5 minutes.
Then transfer to a wire rack to cool completely. These peanut butter cookies are ready to munch and enjoy!
Secrets to Achieving the Best Peanut Butter Cookies
Fun Flavor Changes to Try with Your Cookies
Great Treat Pairings to Enjoy with Your Cookies
Storing Cookies for Maximum Freshness and Flavor
FAQs
These cookies are super easy and beginner-friendly. With just six ingredients and simple mixing steps, anyone can make them quickly, even if you’re not an experienced baker.
Yes, you can use natural or crunchy peanut butter. Just ensure it’s well-stirred and at room temperature for the best cookie texture and consistency.
No special equipment is needed. You’ll just require a mixing bowl, baking sheet, parchment paper, and a fork to create the classic crisscross pattern.
These cookies are naturally gluten-free since they don’t contain flour. However, always check your peanut butter label to confirm no gluten-containing ingredients are present.
Print
Best Jimmy Carter’s Grandmother’s Peanut Butter Cookies Recipe
- Total Time: 25 minutes
- Yield: 12 1x
Description
Grandma Carter’s peanut butter cookies honor Southern baking traditions with simple, nostalgic ingredients. Jimmy Carter’s family recipe delivers classic comfort and sweet memories for cookie enthusiasts who appreciate homemade goodness.
Ingredients
Main Ingredients:
- 1 cup (240 milliliters) peanut butter
- 1 cup (200 grams) granulated sugar
- 1 egg
Flavor Enhancers:
- 1 teaspoon (5 milliliters) vanilla extract
Leavening and Seasoning:
- 1/2 teaspoon (2.5 grams) baking soda
- 1/4 teaspoon (1.25 grams) salt
Instructions
- Warm the oven to 350F (175C) and arrange parchment paper on a baking sheet to prevent sticking.
- Mix all ingredients thoroughly in a large mixing bowl until the mixture becomes smooth and uniform, creating a cohesive dough.
- Gently shape the dough into small, uniform spheres approximately 1 inch in diameter, ensuring consistent size for even baking.
- Position each dough ball on the prepared baking sheet, leaving adequate space between them for spreading.
- Using a fork, carefully press down on each ball in a precise crisscross pattern, creating distinctive ridges and flattening the cookies slightly.
- Slide the baking sheet into the preheated oven and bake for 8-10 minutes, watching for delicate golden edges as an indicator of doneness.
- Remove from oven and allow cookies to rest on the baking sheet for 5 minutes, which helps them firm up and prevents breaking.
- Transfer cookies to a wire cooling rack, letting them cool completely to achieve the perfect texture and prevent crumbling.
Notes
- Choose natural, creamy peanut butter without added sugar for a more authentic, rich flavor that enhances the cookie’s texture.
- Chill the dough for 15-20 minutes before rolling to prevent sticky hands and create more uniform cookie shapes.
- Swap regular sugar with coconut sugar or monk fruit sweetener for a lower glycemic index and healthier alternative that maintains delicious taste.
- Use gluten-free flour or almond flour to make these cookies suitable for those with gluten sensitivities while keeping the classic peanut butter cookie experience.
- Prep Time: 15 minutes
- Cook Time: 10 minutes
- Category: Desserts, Snacks
- Method: Baking
- Cuisine: American
Nutrition
- Serving Size: 12
- Calories: 183
- Sugar: 12 g
- Sodium: 116 mg
- Fat: 11 g
- Saturated Fat: 2 g
- Unsaturated Fat: 9 g
- Trans Fat: 0 g
- Carbohydrates: 14 g
- Fiber: 1.5 g
- Protein: 6 g
- Cholesterol: 16 mg
John Conley
Founder & Culinary Storyteller
Expertise
Recipe Development, Culinary Writing, Home Cooking Techniques, Seasonal Ingredient Utilization
Education
Lane Community College, Eugene, OR
Certificate in Culinary Arts
Focused on foundational cooking techniques, kitchen safety, and menu planning.
Gotham Writers Workshop, New York, NY
Course in Food Writing
Explored the art of crafting engaging culinary narratives and recipe development.
John grew up where food meant connection: big bowls, warm kitchens, and meals that told a story. After earning his Certificate in Culinary Arts from Lane Community College and diving deep into food writing at Gotham Writers Workshop, he found his calling: turning everyday recipes into something worth savoring.
At The Liffey, John’s focus is all about crafting dishes that feel easy, honest, and full of heart.