Dreamy Cheesecake Cookie Cups Recipe: Sweet Bliss in Every Bite
Sweet memories often spark when creamy cheesecake cookie cups appear on a dessert plate.
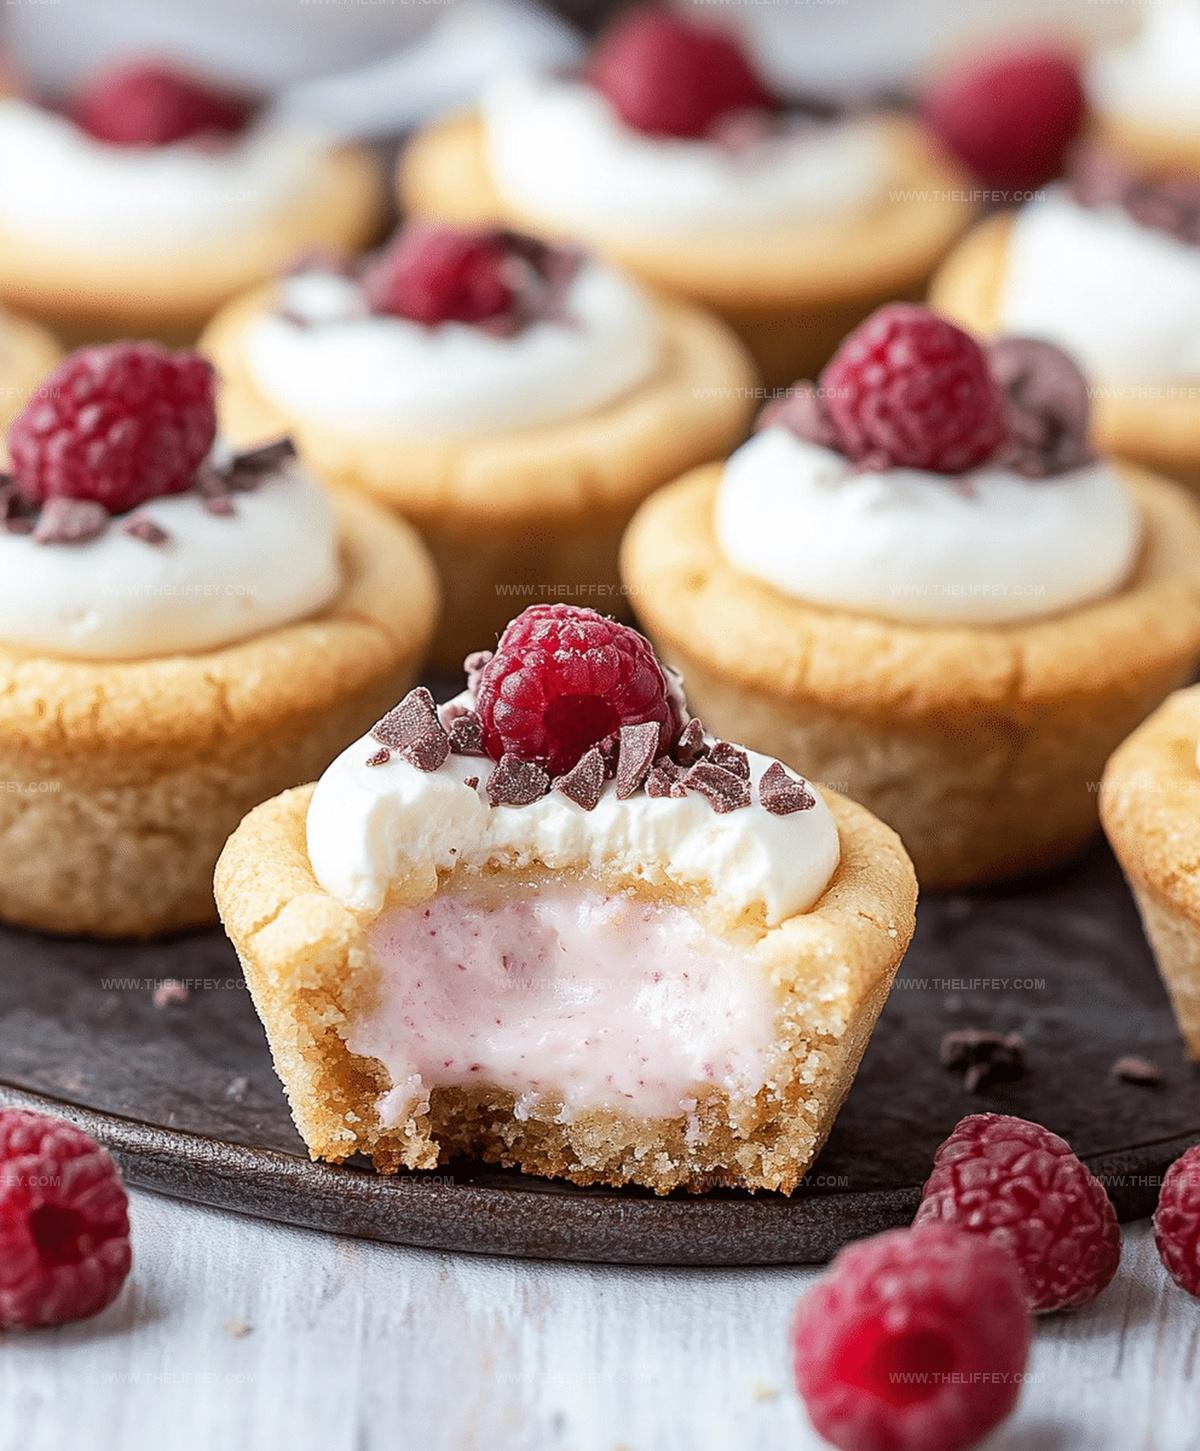
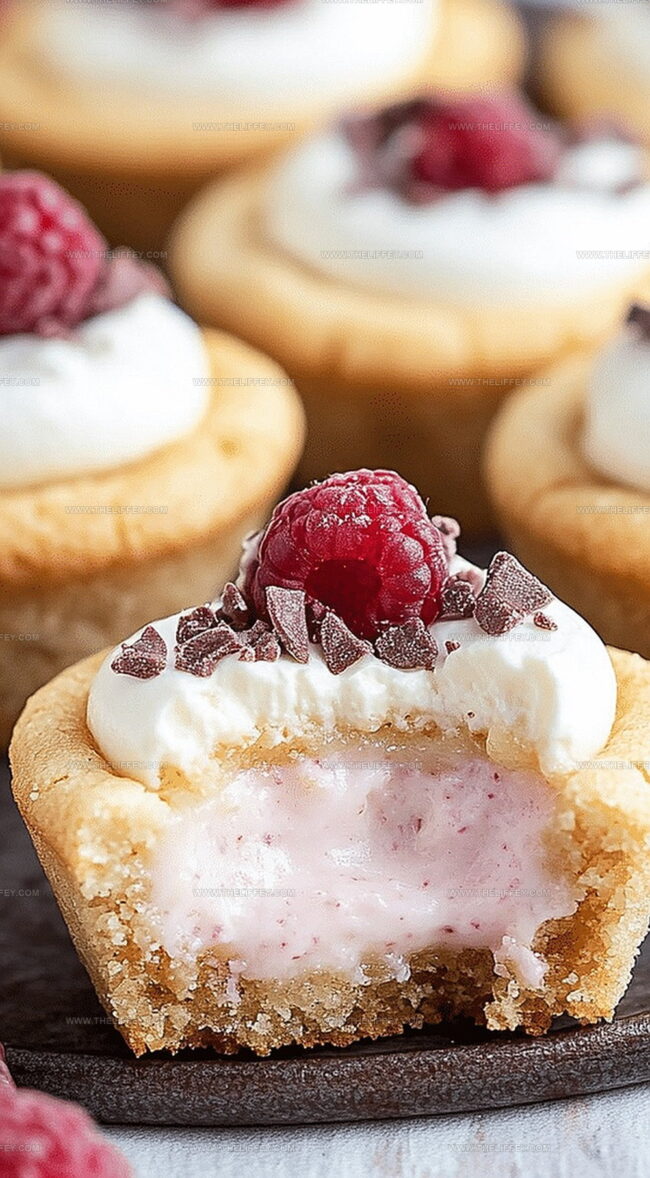
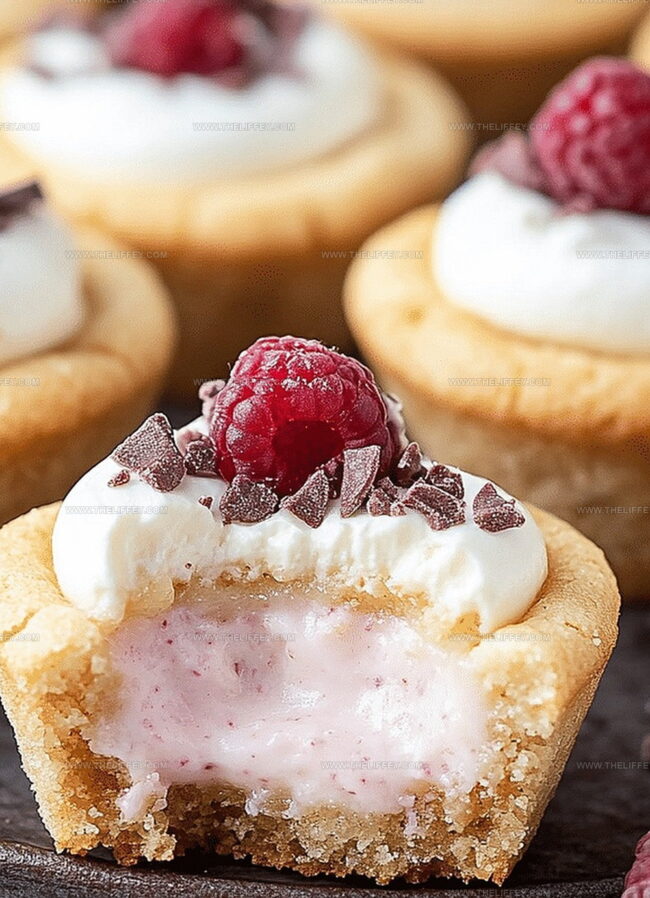
Crisp edges hint at delectable surprises waiting inside each miniature treat.
Tiny pastry shells cradle smooth, rich filling that melts perfectly on your tongue.
Baking these delicate cups feels like crafting edible art with minimal effort.
Each bite combines classic cheesecake smoothness with buttery cookie crunch that surprises your palate.
Minimal ingredients and simple steps make this dessert accessible for novice bakers seeking something special.
You’ll want to savor every delightful morsel of these irresistible mini delights.
What Makes Cheesecake Cookie Cups Unique
Ingredients You’ll Need for Cookie Cups
Cookie Base:Cheesecake Filling:Optional Toppings:How to Prepare Cookie Cups
Step 1: Warm Up the Oven
Set your oven to 350°F (175°C). Grab a muffin tin and give it a light spray or butter coating to prevent sticking.
Step 2: Create Creamy Cookie Base
In a mixing bowl, blend butter and sugar together until the mixture becomes light and fluffy. The texture should look smooth and airy.
Step 3: Add Moisture and Flavor
Introduce egg and vanilla extract to the butter mixture. Stir until everything is beautifully combined and looks uniform.
Step 4: Form the Cookie Dough
Gently fold in flour, mixing slowly until a soft dough forms. The consistency should be easy to shape but not too sticky.
Step 5: Shape Cookie Cups
Roll the dough into small, 1-inch balls. Place each ball into a muffin tin cavity.
Use your fingers to press down and create little cup shapes with raised edges.
Step 6: Bake Cookie Shells
Slide the muffin tin into the preheated oven.
Bake for 10-12 minutes until the edges turn a beautiful golden brown. The centers should look slightly soft.
Step 7: Craft Cheesecake Filling
While cookies cool, prepare the creamy filling:Beat these ingredients together until the mixture becomes silky smooth and free of lumps.
Step 8: Fill the Cookie Cups
Once cookie cups have completely cooled, carefully spoon the cheesecake filling into each cup.
Make sure to fill them generously.
Step 9: Garnish and Serve
Optional but delightful toppings:Serve immediately or chill for an extra refreshing treat.
Tips for Perfect Cheesecake Cups
Fun Spins on Cheesecake Cookie Cups
Perfect Pairings with Cookie Cups
FAQs
You’ll need butter, sugar, egg, vanilla extract, flour, cream cheese, and powdered sugar. Optional toppings include fresh fruit or chocolate chips.
Yes, simply substitute regular flour with a gluten-free flour blend that works well for baking.
Thoroughly grease the muffin tin with butter or cooking spray before adding the cookie dough. This ensures easy removal after baking.
Absolutely! Kids will love helping to roll the dough, press it into the muffin tin, and add fun toppings like fruit or chocolate chips.
Print
Best Cheesecake Cookie Cups Recipe
- Total Time: 37 minutes
- Yield: 12 1x
Description
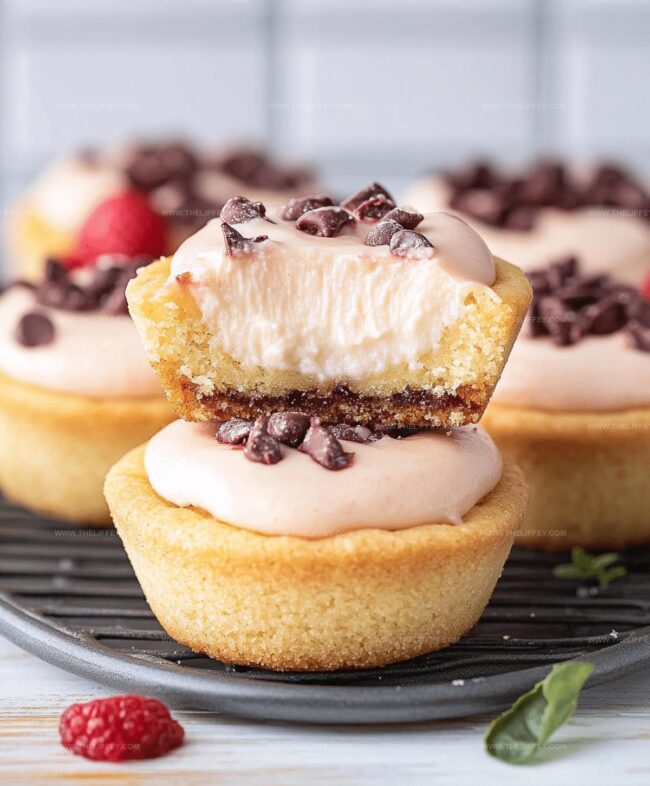
Irresistible chocolate chip cheesecake cookie cups combine two beloved desserts in one delightful treat. Sweet and creamy cheesecake nestles perfectly inside a crisp chocolate chip cookie shell, creating pure dessert magic for hungry guests.
Ingredients
Main Ingredients:
- 2 cups all-purpose flour
- 1 cup butter, softened
- 1 cup sugar
- 8 ounces (226 grams) cream cheese, softened
Filling Ingredients:
- 1/2 cup powdered sugar
- 1 egg
Flavoring Ingredients:
- 2 teaspoons vanilla extract
- Fresh fruit or chocolate chips for topping (optional)
Instructions
- Warm the oven to 350F (175C) and thoroughly coat a muffin tin with cooking spray to prevent sticking.
- Using an electric mixer, blend softened butter and sugar until the mixture becomes light and airy with a creamy texture.
- Incorporate the egg and vanilla extract into the butter mixture, mixing until fully integrated and smooth.
- Gradually fold in the flour, stirring gently until the dough forms a consistent and cohesive texture.
- Form the dough into small, uniform spheres approximately 1-inch in diameter, carefully placing each ball into the prepared muffin cavities.
- Gently press down the dough balls, creating cup-like indentations that will serve as the cookie base.
- Transfer the muffin tin to the preheated oven and bake for 10-12 minutes, watching for golden-brown edges as an indication of doneness.
- While cookies are baking, prepare the filling by whipping cream cheese with powdered sugar and vanilla until achieving a silky, uniform consistency.
- Allow the baked cookie cups to cool completely at room temperature, ensuring they are stable enough to hold the filling.
- Delicately spoon the prepared cheesecake mixture into each cooled cookie cup, filling them to the brim.
- Optional: Garnish with fresh berries, chocolate shavings, or a light dusting of powdered sugar for an elegant finishing touch.
Notes
- Test cookie dough consistency by ensuring it’s not too sticky or crumbly, which helps create perfect cup shapes.
- Refrigerate cookie dough for 15-20 minutes before forming cups to prevent spreading during baking.
- Use a small spoon or shot glass to gently press cookie dough into muffin tin for uniform, even shapes.
- Customize filling by adding lemon zest, cocoa powder, or different extracts to match personal flavor preferences.
- Prep Time: 25 minutes
- Cook Time: 12 minutes
- Category: Desserts, Snacks
- Method: Baking
- Cuisine: American
Nutrition
- Serving Size: 12
- Calories: 327 kcal
- Sugar: 23 g
- Sodium: 93 mg
- Fat: 22 g
- Saturated Fat: 13 g
- Unsaturated Fat: 7 g
- Trans Fat: 0.5 g
- Carbohydrates: 31 g
- Fiber: 1 g
- Protein: 4 g
- Cholesterol: 48 mg
John Conley
Founder & Culinary Storyteller
Expertise
Recipe Development, Culinary Writing, Home Cooking Techniques, Seasonal Ingredient Utilization
Education
Lane Community College, Eugene, OR
Certificate in Culinary Arts
Focused on foundational cooking techniques, kitchen safety, and menu planning.
Gotham Writers Workshop, New York, NY
Course in Food Writing
Explored the art of crafting engaging culinary narratives and recipe development.
John grew up where food meant connection: big bowls, warm kitchens, and meals that told a story. After earning his Certificate in Culinary Arts from Lane Community College and diving deep into food writing at Gotham Writers Workshop, he found his calling: turning everyday recipes into something worth savoring.
At The Liffey, John’s focus is all about crafting dishes that feel easy, honest, and full of heart.