
The Cheerful Funfetti Layer Cake Recipe: A Sweet Celebration
Baking a whimsical funfetti layer cake brings pure joy to any celebration.
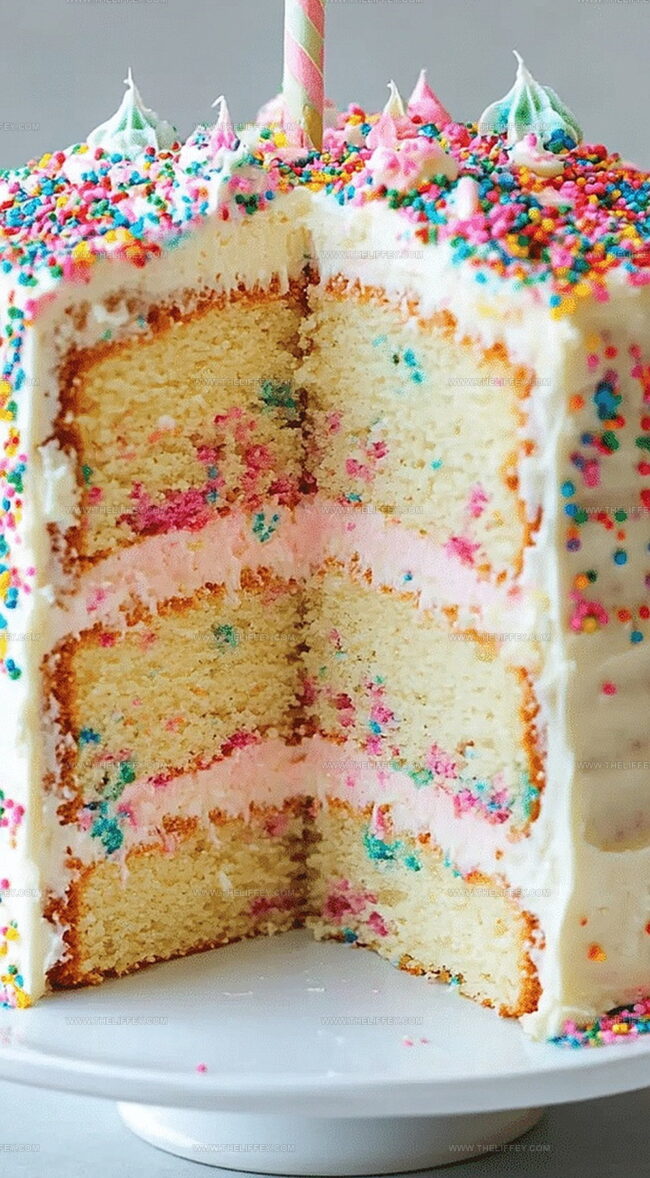
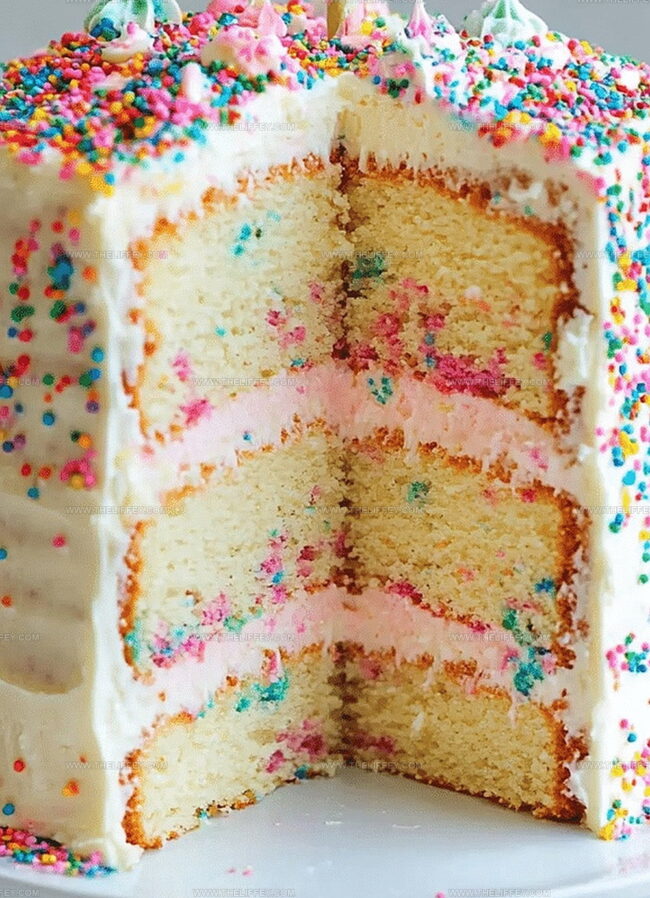
Colorful sprinkles dance through soft, tender crumbs creating magical moments.
Sweet memories emerge with each playful slice of this delightful dessert.
Childhood happiness bursts from every vibrant layer, inviting smiles and laughter.
Mixing the batter becomes an adventure of color and happiness.
Sprinkle magic transforms an ordinary cake into something extraordinary.
You will want to grab your mixing bowl and start creating delicious memories right now.
Funfetti Layer Cake Party Favorite
Ingredients for Funfetti Layer Cake
Cake Base:Wet Ingredients:Decorative Elements:Stepwise Funfetti Layer Cake Guide
Step 1: Warm Up the Oven and Prep Cake Pans
Get your oven ready by heating it to the perfect temperature. Grab your cake pans and give them a quick spray with non-stick cooking spray.
Line the bottom of each pan with parchment paper for easy removal later.
Step 2: Combine Dry Ingredients
In a medium bowl, whisk together:Make sure everything is well mixed and set the bowl aside.
Step 3: Create a Creamy Base
In a large mixing bowl, beat softened butter and sugar until the mixture becomes light and fluffy. This should take about 3-4 minutes.
Add eggs one at a time, mixing well after each addition. Pour in vanilla extract and mix until everything is smooth and combined.
Step 4: Build the Cake Batter
Slowly add the dry ingredient mixture to the butter mixture, alternating with milk. Start and end with the dry ingredients.
Gently fold in colorful sprinkles, being careful not to overmix the batter.
Step 5: Bake the Cake Layers
Divide the batter evenly between the prepared cake pans.
Smooth the tops with a spatula. Slide the pans into the preheated oven and bake until a toothpick inserted in the center comes out clean.
Step 6: Cool and Decorate
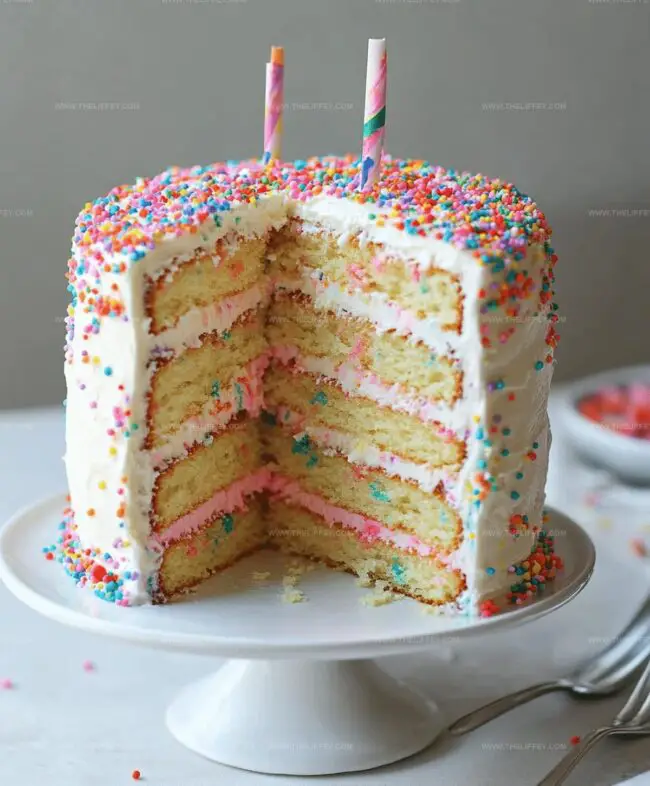
Let the cake layers cool completely on a wire rack. Once cooled, spread a generous layer of buttercream frosting between the layers and on the outside of the cake.
Sprinkle additional colorful sprinkles all over the frosted cake for a festive touch.
Tricks for Funfetti Layer Cake
Flavor Twists on Funfetti Cake
Serving Funfetti Layer Cake
Storing Funfetti Layer Cake
FAQs
Sprinkles mixed directly into the cake batter create a festive, colorful look that pops throughout each slice.
Both work great! Just ensure they’re rainbow-colored jimmies that won’t bleed color into the batter during mixing.
Lightly coat sprinkles in a bit of flour before folding into the batter to help them distribute evenly and stay suspended during baking.
Absolutely! The vibrant, playful design makes it perfect for kids’ parties, birthdays, and any festive occasion where you want a cheerful dessert.
Print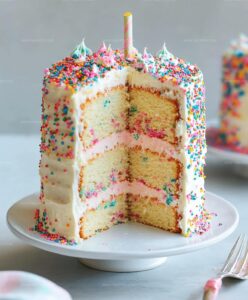
Ultimate Funfetti Layer Cake Recipe
- Total Time: 50 minutes
- Yield: 12 1x
Description
Sprinkled with joy, this funfetti layer cake delivers childhood nostalgia through colorful crumbs and silky vanilla buttercream. Rainbow-hued confetti creates delightful texture, promising sweet memories for celebration seekers who crave playful dessert perfection.
Ingredients
Main Ingredients:
- 2 1/2 cups (312 grams) all-purpose flour
- 2 cups (400 grams) sugar
- 4 large eggs
- 1 cup (240 milliliters) whole milk
- 1 cup (227 grams) unsalted butter
Leavening and Seasoning:
- 2 1/2 teaspoons baking powder
- 1/2 teaspoon salt
Flavor and Decoration:
- 2 teaspoons vanilla extract
- 1/2 cup (80 grams) rainbow sprinkles
- 2 cups (240 grams) powdered sugar
Instructions
- Warm the oven to 350°F and thoroughly grease two 9-inch round cake pans with butter, then dust with flour to prevent sticking.
- Sift together flour, baking powder, and salt in a medium bowl, ensuring no lumps remain, and set aside.
- Using an electric mixer, whip softened butter and granulated sugar until light and fluffy, approximately 3-4 minutes.
- Incorporate eggs one at a time, mixing thoroughly after each addition, then blend in pure vanilla extract until smooth.
- Gradually mix dry ingredients into the butter mixture, alternating with milk, stirring gently to maintain a silky batter consistency.
- Gently fold rainbow sprinkles into the batter, distributing evenly without overmixing to preserve cake’s delicate texture.
- Evenly distribute batter between prepared cake pans, smoothing tops with a spatula for uniform layers.
- Bake in preheated oven for 25-30 minutes, or until a toothpick inserted in center comes out clean.
- Remove from oven and allow cakes to cool in pans for 10 minutes, then transfer to wire rack to cool completely.
- Prepare vanilla buttercream frosting, then generously spread between layers and cover entire cake surface.
- Decorate exterior with additional sprinkles, creating a festive and colorful presentation.
Notes
- Cool cake layers completely before frosting to prevent melting and sliding.
- Fold sprinkles gently into batter at the last moment to prevent color bleeding and maintain their vibrant appearance.
- Use room temperature ingredients like eggs and milk for smoother, more even cake texture and better mixing.
- For gluten-free option, swap all-purpose flour with a 1:1 gluten-free baking blend to maintain cake’s light and fluffy consistency.
- Prep Time: 20 minutes
- Cook Time: 30 minutes
- Category: Desserts
- Method: Baking
- Cuisine: American
Nutrition
- Serving Size: 12
- Calories: 320 kcal
- Sugar: 22 g
- Sodium: 180 mg
- Fat: 14 g
- Saturated Fat: 8 g
- Unsaturated Fat: 5 g
- Trans Fat: 0.2 g
- Carbohydrates: 44 g
- Fiber: 1 g
- Protein: 4 g
- Cholesterol: 55 mg
John Conley
Founder & Culinary Storyteller
Expertise
Recipe Development, Culinary Writing, Home Cooking Techniques, Seasonal Ingredient Utilization
Education
Lane Community College, Eugene, OR
Certificate in Culinary Arts
Focused on foundational cooking techniques, kitchen safety, and menu planning.
Gotham Writers Workshop, New York, NY
Course in Food Writing
Explored the art of crafting engaging culinary narratives and recipe development.
John grew up where food meant connection: big bowls, warm kitchens, and meals that told a story. After earning his Certificate in Culinary Arts from Lane Community College and diving deep into food writing at Gotham Writers Workshop, he found his calling: turning everyday recipes into something worth savoring.
At The Liffey, John’s focus is all about crafting dishes that feel easy, honest, and full of heart.