Spooky Halloween Monster Cookies Recipe for Sweet Thrills
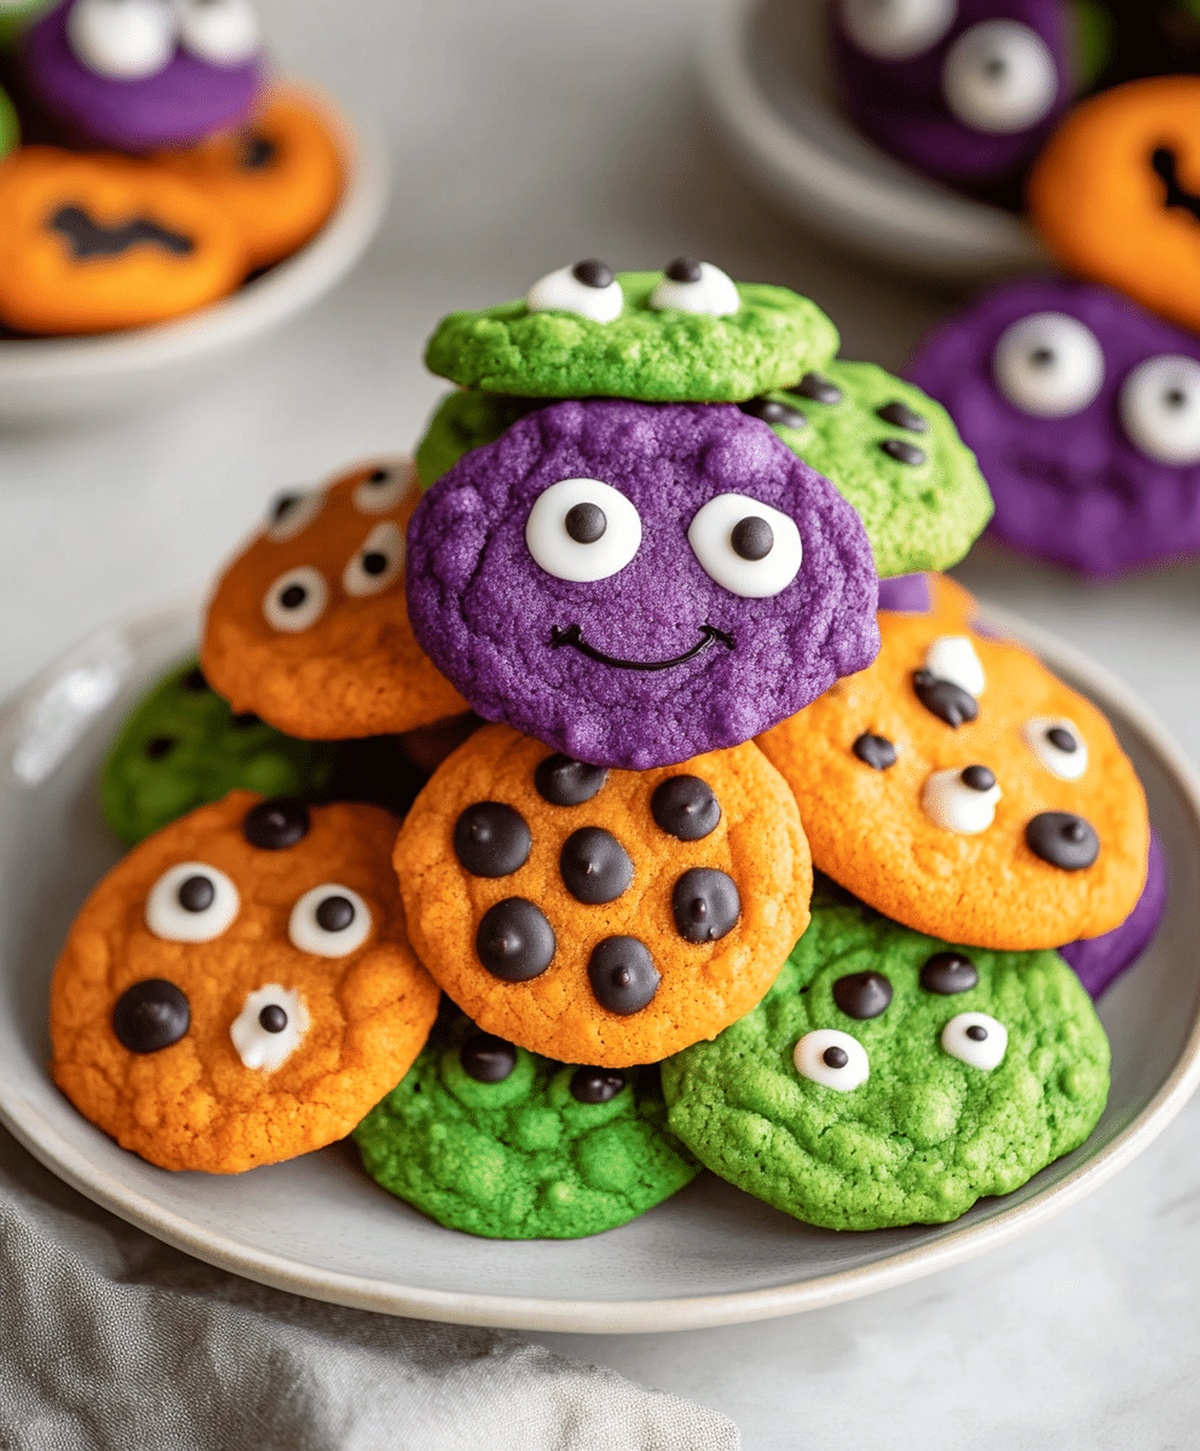
Spooky monsters haunt this delightful Halloween monster cookies creation that brings playful magic to your kitchen.
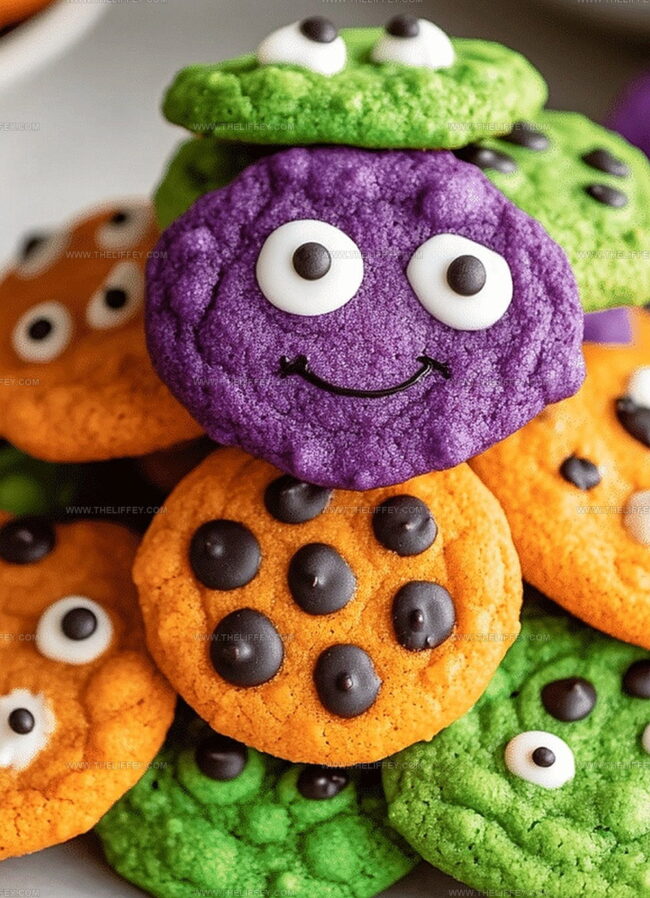
Colorful candies and festive sprinkles dance across soft, chewy surfaces.
Childhood memories sparkle with each delectable bite of these whimsical treats.
Playful decorations turn ordinary cookies into spectacular Halloween companions.
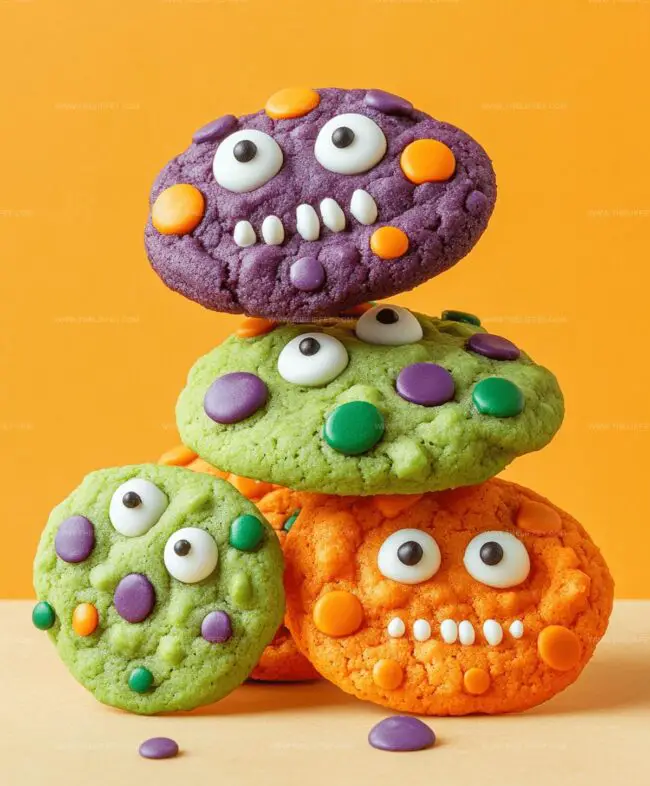
Kids absolutely adore the googly eyes and wild frosting designs.
Creepy yet cute monsters emerge from your baking sheet, ready to delight and surprise.
Bake these wickedly fun cookies and watch smiles spread like supernatural enchantment.
Halloween Monster Cookies: Festive Bites

Ingredients for Halloween Monster Cookies
Base Ingredients:Dry Ingredients:Decoration and Mix-In Ingredients:How to Bake Mythical Monster Cookies
Step 1: Prepare Baking Station
Grab a baking sheet and line it with parchment paper. Turn on the oven and set the temperature to 350°F (175°C) to get it nice and toasty for your monster cookie adventure.
Step 2: Mix Creamy Base
In a large mixing bowl, whip together:Blend until the mixture becomes fluffy and looks like a cloud of sweet deliciousness.
Step 3: Add Wet Ingredients
Crack in the eggs and pour in vanilla extract.
Mix thoroughly until everything is well combined and looking smooth.
Step 4: Combine Dry Ingredients
In a separate bowl, whisk together:Slowly incorporate the dry mixture into the wet ingredients, stirring until a perfect cookie dough forms.
Step 5: Add Spooky Chocolate Bits
Gently fold in chocolate chips or candy-coated chocolates to give your monsters some extra personality.
Step 6: Shape Monster Cookies
Scoop dollops of dough onto the prepared baking sheet.
Get creative and transform each cookie into a monster by pressing:Step 7: Bake to Perfection
Slide the baking sheet into the oven and bake for 10-12 minutes. Watch for golden edges that signal your monsters are ready to emerge.
Step 8: Decorate and Bring Monsters to Life
Once cooled, add final monster touches with:Baker’s Tip for Soft, Chewy Cookies
Fun Mix-Ins to Make Your Cookies Monsters
Themed Displays for Monster Cookie Fun
Keeping Your Cookies Fresh for Trick-Or-Treat
FAQs
Yes, you can prepare the dough up to 3 days in advance and store it covered in the refrigerator. You can also freeze the dough for up to 2 months before baking.
Absolutely! Kids will love decorating the monsters with googly eyes and colorful candies. It’s a fun baking activity that encourages creativity and allows children to personalize their cookies.
Candy eyeballs, colorful M&Ms, sprinkles, and food coloring gel work great. Soft candies like gummy bears or marshmallows can also create fun monster faces and details.
Print
Spooky Halloween Monster Cookies Recipe
- Total Time: 32 minutes
- Yield: 24 1x
Description
Monster cookies pack Halloween spirit into a delightful treat that combines classic chocolate chip goodness with spooky decorative elements. Creepy candy eyes and colorful sprinkles make these cookies perfect for seasonal celebrations and frightful fun.
Ingredients
Main Ingredients:
- 1 cup unsalted butter (softened)
- 2 large eggs
- 2 1/2 cups all-purpose flour
- 1 1/2 cups chocolate chips or candy-coated chocolates
- 1 cup granulated sugar
- 1 cup brown sugar
Flavor Enhancers:
- 1 teaspoon vanilla extract
- 1 teaspoon baking soda
- 1 teaspoon salt
Decorative Ingredients:
- Edible googly eyes
- Food coloring (optional)
- Sprinkles
- Candy decorations
Instructions
- Prepare the baking surface by lining a sheet with parchment paper and heating the oven to 350F (175C).
- In a mixing bowl, thoroughly blend butter with both sugars until achieving a light, airy consistency.
- Incorporate eggs and vanilla extract, mixing until smoothly integrated.
- Separately combine dry ingredients: flour, baking soda, and salt, then gradually introduce this mixture into the wet ingredients.
- Gently fold chocolate chips or candy-coated chocolates into the cookie dough, ensuring even distribution.
- Using a scoop, deposit dollops of dough onto the prepared baking sheet, allowing space between each portion.
- Transform each cookie into a whimsical monster by strategically pressing googly eyes and festive candy decorations onto the surface.
- Place in the preheated oven and bake for 10-12 minutes, watching for golden-brown edges as a doneness indicator.
- Remove from oven and allow cookies to cool completely on the baking sheet.
- Once cooled, enhance the monster theme by adding playful details like colorful sprinkles or creative food coloring accents.
Notes
- Use room temperature butter and eggs for smoother, more evenly mixed dough that ensures consistent cookie texture.
- Select vibrant, contrasting candy colors to create playful monster faces that pop and make cookies visually engaging.
- Chill dough for 30 minutes before baking to prevent excessive spreading and maintain cookie shape during baking.
- Replace wheat flour with gluten-free blend for celiac-friendly version without compromising delicious monster cookie experience.
- Prep Time: 20 minutes
- Cook Time: 12 minutes
- Category: Snacks, Desserts
- Method: Baking
- Cuisine: American
Nutrition
- Serving Size: 24
- Calories: 190
- Sugar: 14 g
- Sodium: 110 mg
- Fat: 10 g
- Saturated Fat: 6 g
- Unsaturated Fat: 4 g
- Trans Fat: 0.2 g
- Carbohydrates: 26 g
- Fiber: 1 g
- Protein: 2 g
- Cholesterol: 25 mg
John Conley
Founder & Culinary Storyteller
Expertise
Recipe Development, Culinary Writing, Home Cooking Techniques, Seasonal Ingredient Utilization
Education
Lane Community College, Eugene, OR
Certificate in Culinary Arts
Focused on foundational cooking techniques, kitchen safety, and menu planning.
Gotham Writers Workshop, New York, NY
Course in Food Writing
Explored the art of crafting engaging culinary narratives and recipe development.
John grew up where food meant connection: big bowls, warm kitchens, and meals that told a story. After earning his Certificate in Culinary Arts from Lane Community College and diving deep into food writing at Gotham Writers Workshop, he found his calling: turning everyday recipes into something worth savoring.
At The Liffey, John’s focus is all about crafting dishes that feel easy, honest, and full of heart.