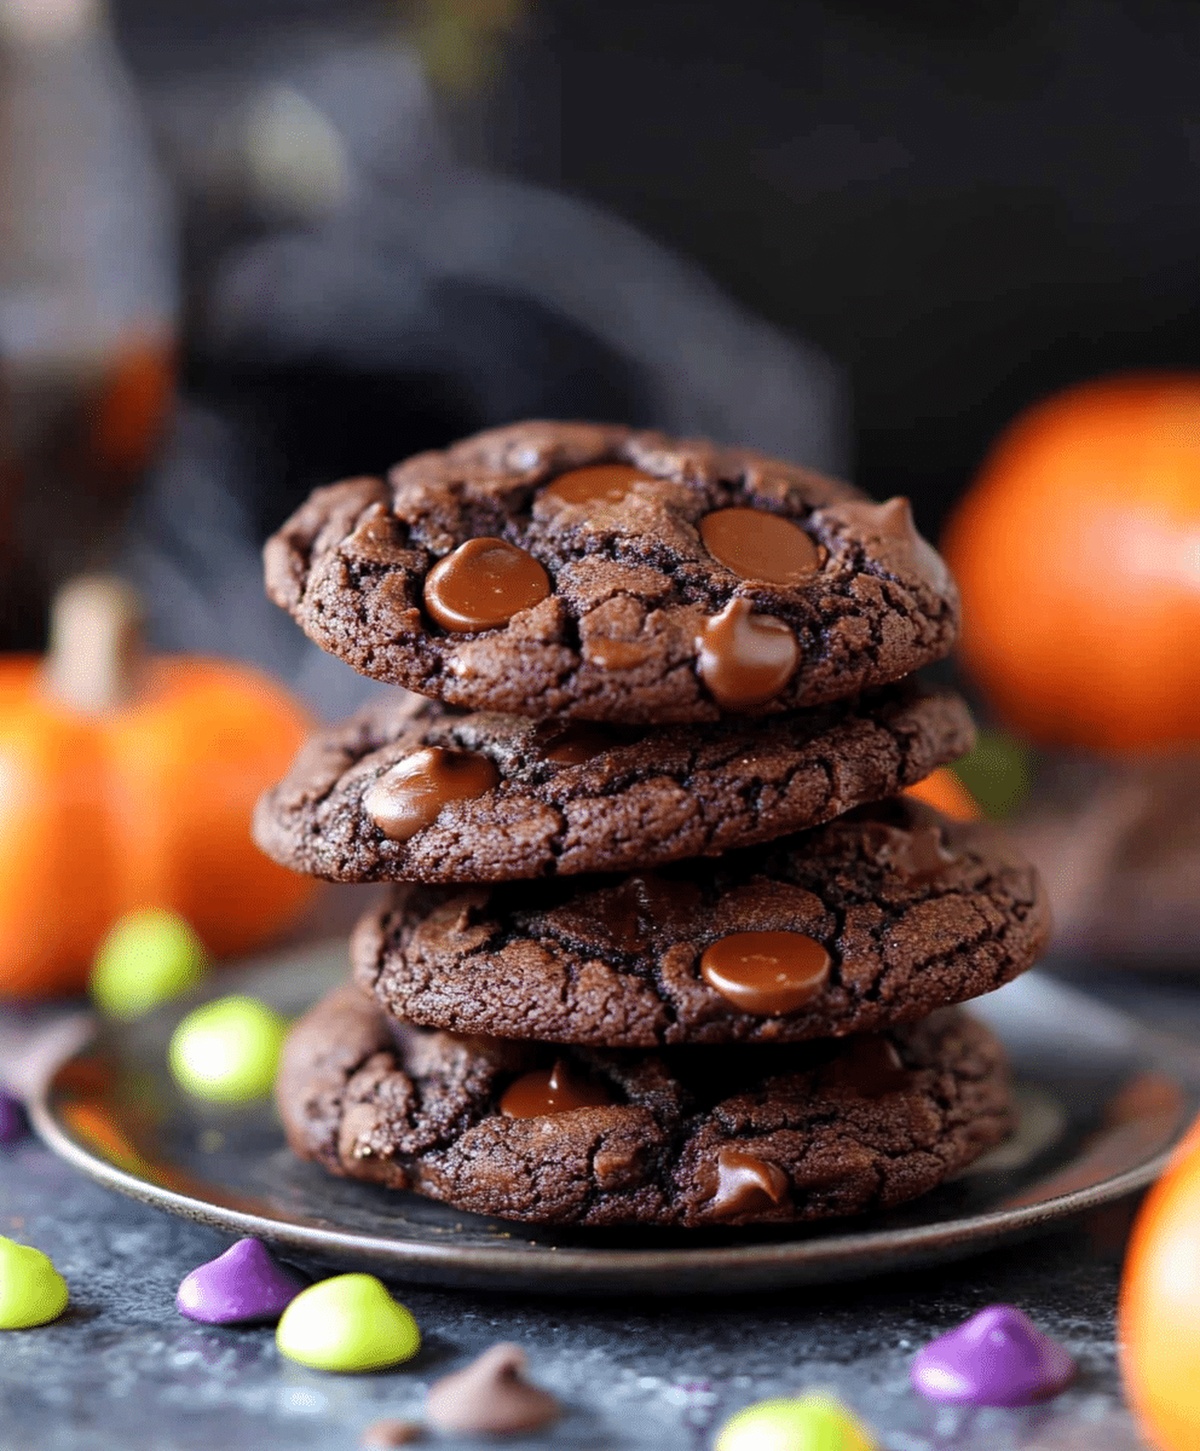
Spooky Halloween Chocolate Cookies Recipe: Sweet Haunted Treats
Crafting spooky halloween chocolate cookies brings pure magic to your autumn baking adventure.
Shadows dance with sweet temptations waiting to emerge from your kitchen.
Dark chocolate whispers mysterious tales through each delectable bite.
Crumbly edges hint at spectral delights lurking beneath a rich cocoa surface.
Mysterious ingredients promise delightful surprises for anyone brave enough to mix and bake.
Witchy vibes swirl around these decadent treats that blend playful halloween spirit with irresistible chocolate charm.
You’ll want to summon these wickedly delicious cookies for your next ghoulish gathering.
Halloween Chocolate Cookies Full of Fun

Ingredients for Halloween Chocolate Cookies
Base Ingredients:Chocolate Elements:Flavor Enhancers and Binders:Decorative Ingredients:How to Bake Spooky Halloween Chocolate Cookies
Step 1: Warm Up the Oven
Set your oven to 350°F (175°C) and line a baking sheet with parchment paper for easy cleanup.
Step 2: Cream the Fats and Sugars
In a large mixing bowl, blend together softened butter, white sugar, and brown sugar until the mixture becomes light and fluffy.
Use an electric mixer for the best results.
Step 3: Add Liquid Ingredients
Crack eggs into the sugar mixture one at a time, stirring thoroughly after each addition.
Pour in vanilla extract and mix until everything is well combined.
Step 4: Prepare Dry Ingredients
In a separate bowl, whisk together:Ensure all dry ingredients are evenly mixed with no lumps.
Step 5: Combine Wet and Dry Mixtures
Slowly add the dry ingredient mixture to the wet ingredients. Stir gently until just combined, being careful not to overmix.
Step 6: Fold in Chocolate Chips
Sprinkle chocolate chips into the cookie dough and fold them in gently, distributing them evenly throughout the mixture.
Step 7: Shape the Cookies
Using a cookie scoop or spoon, drop dollops of dough onto the prepared baking sheet.
Slightly flatten each cookie with the back of a spoon.
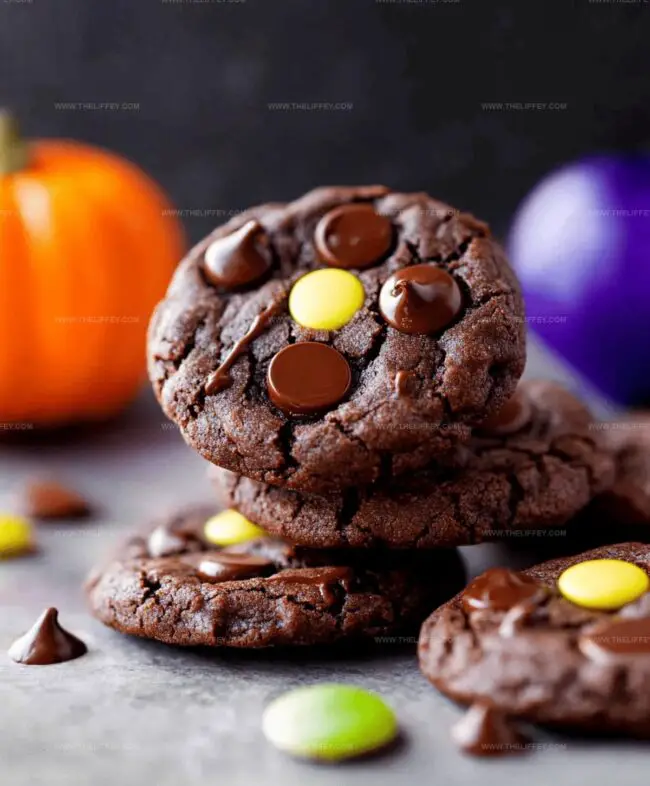
Step 8: Add Spooky Decorations
Sprinkle Halloween-themed decorations like orange and black sprinkles or candy eyes on top of each cookie.
Step 9: Bake and Cool
Slide the baking sheet into the preheated oven and bake for 10-12 minutes. The edges should look set while the centers remain soft.
Remove from oven and let cookies cool completely on a wire rack.
Tips for Soft and Chocolatey Halloween Cookies

Creative Twists on Halloween Chocolate Cookies
Serving Halloween Chocolate Cookies
How to Store Halloween Chocolate Cookies
FAQs
Yes, you can prepare the cookie dough in advance and refrigerate it for up to 3 days before baking. You can also freeze the unbaked dough balls for up to 2 months.
Absolutely! Kids will love decorating these Halloween cookies with sprinkles and candy eyes. It’s a fun and easy baking activity that children can enjoy with adult supervision.
Dutch-processed or natural cocoa powder both work well in this recipe. Just ensure it’s unsweetened and of good quality for the richest chocolate flavor.
Look for set edges and slightly soft centers. The cookies will continue to firm up as they cool on the wire rack, so don’t overbake them.
Print
Spooky Halloween Chocolate Cookies Recipe
- Total Time: 27 minutes
- Yield: 24 1x
Description
Spooky halloween chocolate cookies bring festive terror to your dessert table with irresistible dark chocolate flavor. Chocolate-loving bakers can craft these haunting treats in under 30 minutes for a perfectly ghoulish Halloween celebration.
Ingredients
Main Ingredients:
- 1 cup unsalted butter, softened
- 1 cup granulated sugar
- 1 cup brown sugar
- 2 large eggs
- 2 1/4 cups all-purpose flour
- 1 cup chocolate chips
Dry Ingredients:
- 1/2 cup cocoa powder
- 1 teaspoon baking soda
- 1/4 teaspoon salt
Decorative Ingredients:
- 1 teaspoon vanilla extract
- Halloween-themed sprinkles or candy decorations
Instructions
- Heat oven to 350F (175C) and prepare a baking sheet with parchment paper for even cookie placement.
- Blend butter, granulated sugar, and brown sugar in a large mixing bowl until smooth and airy.
- Incorporate eggs individually, then add vanilla extract, mixing thoroughly to create a uniform base.
- Separately combine flour, cocoa powder, baking soda, and salt in a clean bowl, whisking to eliminate lumps.
- Merge dry ingredients into wet mixture, stirring gently until a consistent chocolate dough forms.
- Fold chocolate chips throughout the dough, ensuring even distribution for balanced flavor.
- Drop rounded spoonfuls onto prepared baking sheet, gently pressing each mound to create slight disk shape.
- Embellish cookies with festive Halloween sprinkles or whimsical candy eyes for spooky decoration.
- Bake 10-12 minutes, watching for set edges and soft centers, indicating perfect cookie texture.
- Transfer cookies to wire cooling rack, allowing them to firm and reach optimal serving temperature.
Notes
- Swap butter with coconut oil for a dairy-free alternative that maintains the rich chocolate flavor.
- Use gluten-free flour blend to make these cookies suitable for those with wheat sensitivities.
- Chill the dough for 30 minutes before baking to prevent excessive spreading and create thicker, chewier cookies.
- Experiment with different Halloween-themed decorations like orange and black sprinkles or spooky chocolate shapes to make the cookies more festive.
- Prep Time: 15 minutes
- Cook Time: 12 minutes
- Category: Desserts, Snacks
- Method: Baking
- Cuisine: American
Nutrition
- Serving Size: 24
- Calories: 160
- Sugar: 13 g
- Sodium: 75 mg
- Fat: 8 g
- Saturated Fat: 5 g
- Unsaturated Fat: 3 g
- Trans Fat: 0.1 g
- Carbohydrates: 22 g
- Fiber: 2 g
- Protein: 2 g
- Cholesterol: 15 mg
John Conley
Founder & Culinary Storyteller
Expertise
Recipe Development, Culinary Writing, Home Cooking Techniques, Seasonal Ingredient Utilization
Education
Lane Community College, Eugene, OR
Certificate in Culinary Arts
Focused on foundational cooking techniques, kitchen safety, and menu planning.
Gotham Writers Workshop, New York, NY
Course in Food Writing
Explored the art of crafting engaging culinary narratives and recipe development.
John grew up where food meant connection: big bowls, warm kitchens, and meals that told a story. After earning his Certificate in Culinary Arts from Lane Community College and diving deep into food writing at Gotham Writers Workshop, he found his calling: turning everyday recipes into something worth savoring.
At The Liffey, John’s focus is all about crafting dishes that feel easy, honest, and full of heart.