Sweet & Simple Cream Cheese Mints Recipe: Homemade Treats
Whipping up delightful cream cheese mints brings pure magic to any celebration or gathering.
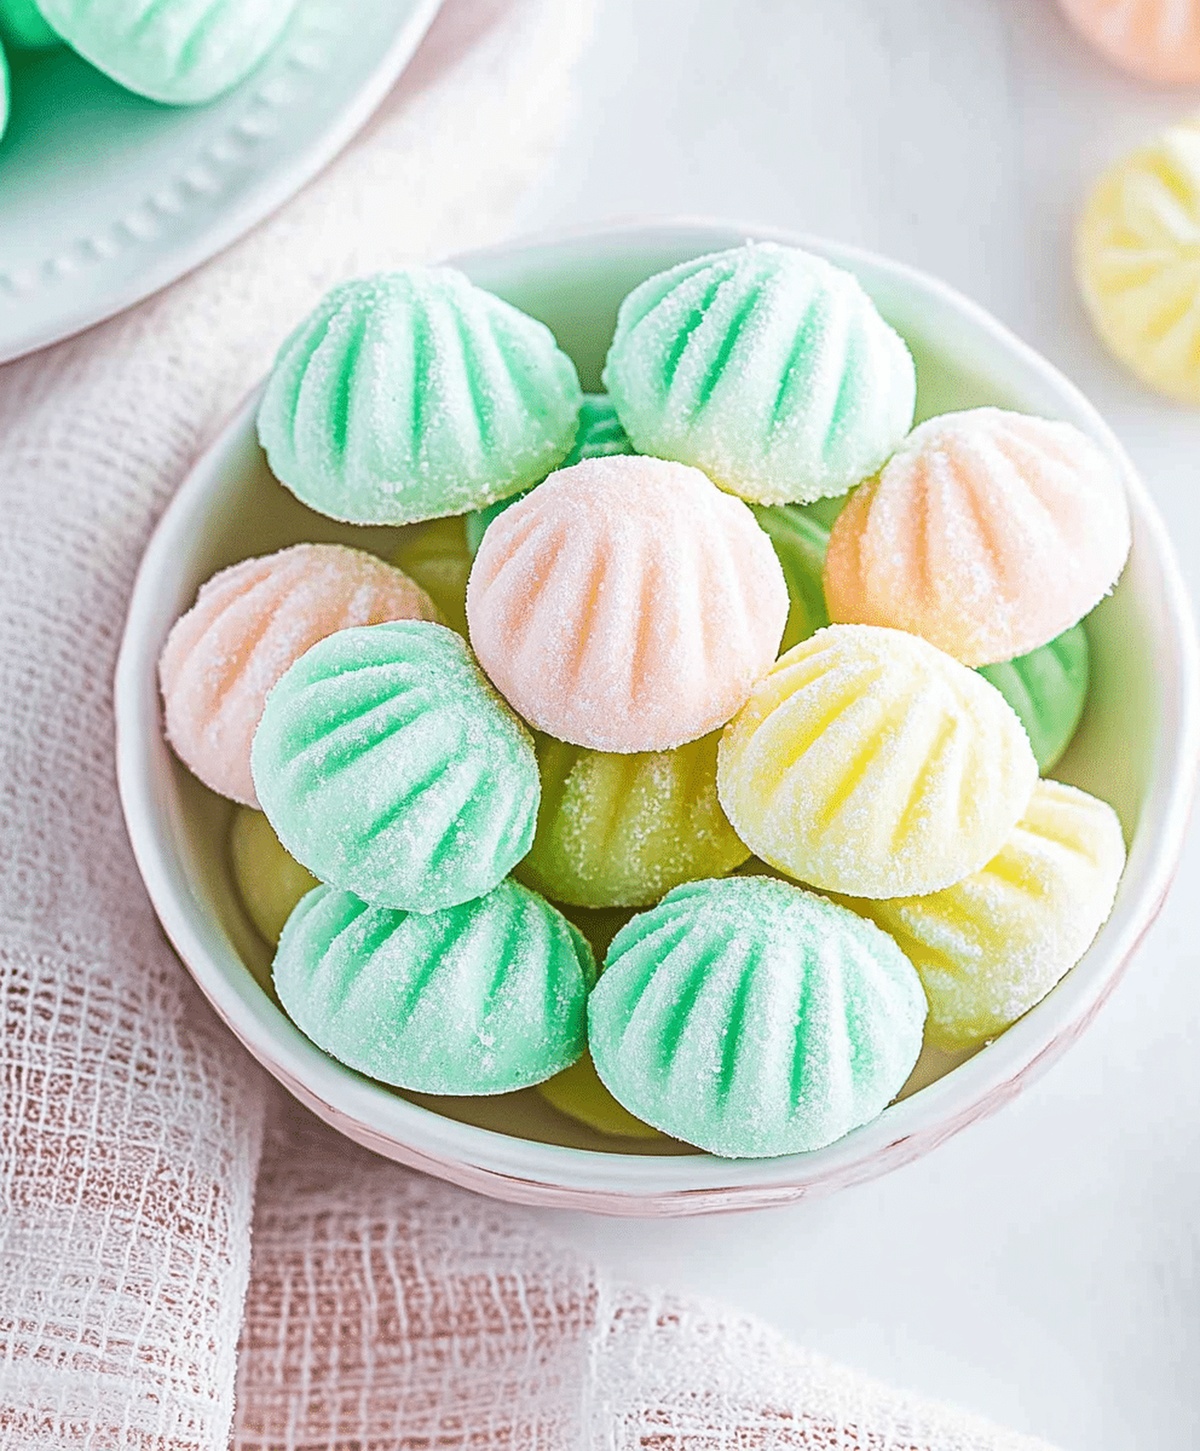
Soft, pillowy clouds of sweetness melt right on your tongue with each delicate bite.
cream cheese creates a smooth, luxurious base that transforms ordinary mint treats into something extraordinary.
Quick and simple ingredients come together effortlessly in just minutes.
These charming confections require minimal kitchen skills and deliver maximum taste satisfaction.
Guests will absolutely adore these elegant, melt-in-your-mouth delicacies that look professionally crafted.
Prepare to impress everyone with these irresistible little flavor bombs that sparkle with minty freshness.
What Makes Cream Cheese Mints Refreshing
Ingredients for Cream Cheese Mints
Main Ingredients:Optional Add-Ins:Preparation Tools:Stepwise Cream Cheese Mints Instructions

Step 1: Whip Cream Cheese Smooth
Grab a large mixing bowl and toss in the softened cream cheese.
Use an electric mixer or whisk to beat the cream cheese until it becomes silky and free of lumps.
This creates a perfect base for your delightful mints.
Step 2: Blend in Powdered Sugar
Slowly add powdered sugar to the cream cheese mixture.
Pour it in gradually, about a cup at a time, and mix thoroughly after each addition.
Keep blending until the mixture transforms into a cohesive, moldable dough that’s not too sticky.
Step 3: Add Flavor and Color
Introduce mint extract to give your mints a refreshing kick.
If you want a pop of color, now’s the time to mix in a few drops of food coloring.
Stir these ingredients gently but completely throughout the dough.
Step 4: Shape Your Mints
Use your hands to roll the dough into tiny, bite-sized balls.
Alternatively, press the mixture into silicone molds to create cute, decorative shapes.
Work carefully to keep the mints uniform in size.
Step 5: Let Mints Set
Place your shaped mints on wax paper or a parchment-lined tray.
Allow them to sit at room temperature for 1-2 hours.
This resting time helps them firm up and develop a perfect, slightly crisp exterior.
Step 6: Store and Serve
Once set, transfer your cream cheese mints to an airtight container.
They’ll keep beautifully in the refrigerator for up to a week.
Serve these delightful treats at parties, gatherings, or as a sweet personal indulgence.
Helpful Tips for Mint Perfection
Flavor Variations for Cream Cheese Mints
Serving Suggestions for Mint Treats
Storage Tips for Cream Cheese Mints
FAQs
Peppermint extract is the most popular choice, providing a classic, cool flavor that complements the cream cheese perfectly.
Absolutely! The mints will taste just as delicious without color, giving you a pure white mint that looks elegant and classic.
Dust the mints with a light layer of powdered sugar or place wax paper between layers when storing to keep them from clumping.
Yes! These mints are perfect for events, and you can easily customize their color to match party themes or color schemes.
Print
Simple Cream Cheese Mints Recipe
- Total Time: 2 hours 20 minutes
- Yield: 24 1x
Description
Creamy homemade Cream Cheese Mints melt with sweet perfection at family gatherings and holiday celebrations. Southern dessert lovers will appreciate these elegant, quick-to-prepare confections that disappear quickly from serving platters.
Ingredients
Cream Cheese Mixture:
- 4 ounces (113 grams) cream cheese, softened
- 1/2 teaspoon mint extract
Food Coloring:
- Food coloring (optional)
Sweetener:
- 3 1/2 cups (440 grams) powdered sugar
Instructions
- Whip softened cream cheese in a large mixing bowl until completely smooth and creamy, ensuring no lumps remain.
- Incorporate powdered sugar gradually, folding in one cup at a time and thoroughly blending after each addition until a consistent dough forms.
- Infuse the mixture with mint extract and optional food coloring, gently stirring until color and flavor are evenly distributed throughout the dough.
- Carefully shape the mixture into small, uniform spheres using gentle rolling motions between your palms, or press the dough into decorative silicone molds for intricate designs.
- Arrange the shaped mints on wax paper, allowing them to rest and solidify at room temperature for 1-2 hours until they achieve a firm, delicate texture.
- Once set, transfer the mints to an airtight container, separating layers with parchment paper to prevent sticking, and refrigerate for optimal preservation and flavor development.
Notes
- Soften cream cheese completely at room temperature for smoother, easier mixing without lumps.
- Use gel food coloring for vibrant colors that won’t thin out the mint dough consistency.
- Chill mints in refrigerator to help them set faster and maintain a firmer texture.
- Experiment with different extract flavors like peppermint, spearmint, or vanilla for unique variations.
- Prep Time: 20 minutes
- Cook Time: 2 hours
- Category: Snacks, Desserts
- Method: Rolling
- Cuisine: American
Nutrition
- Serving Size: 24
- Calories: 49 kcal
- Sugar: 7 g
- Sodium: 15 mg
- Fat: 2 g
- Saturated Fat: 1.3 g
- Unsaturated Fat: 0.5 g
- Trans Fat: 0 g
- Carbohydrates: 7.3 g
- Fiber: 0 g
- Protein: 0.8 g
- Cholesterol: 10 mg
Amanda Bennett
Recipe Curator & Culinary Educator
Expertise
Baking and Pastry Arts, Recipe Testing and Development, Culinary Instruction, Food Styling and Photography
Education
Asheville-Buncombe Technical Community College, Asheville, NC
Diploma in Culinary Arts
Emphasized practical cooking skills, nutrition, and kitchen management.
Cambridge School of Culinary Arts, Cambridge, MA
Certificate in Professional Pastry Arts
Specialized in baking techniques, dessert presentation, and flavor profiling
Amanda’s roots run deep in the Southern hills, where every meal started fresh from the garden and every dessert came with a story. She trained at Asheville-Buncombe Technical Community College and sharpened her pastry skills at the Cambridge School of Culinary Arts, blending classic technique with everyday charm.
At The Liffey, Amanda’s passion is making baking and home cooking feel natural and joyful. She’s all about single recipes that are simple enough for a busy afternoon, but special enough to make someone’s day a little sweeter.