Irresistible Sheet Pan Oven Grilled Cheese Recipe for Gatherings
Crafting the perfect sheet pan oven grilled cheese requires minimal effort and delivers maximum deliciousness.
Crispy edges and melty centers await your culinary adventure.
Forget standing over a hot stove flipping individual sandwiches.
cheese lovers can now feed a crowd with this clever technique.
Multiple golden-brown sandwiches emerge simultaneously, ensuring everyone enjoys hot, gooey goodness together.
Each bite promises a delightful crunch that traditional methods can’t match.
Let’s revolutionize your lunch or dinner with this simple, foolproof approach.
Sheet Pan Oven Grilled Cheese Recipe Highlights
Ingredients for Sheet Pan Oven Grilled Cheese
Bread and Cheese:Spreads and Seasonings:Preparation Tools:How to Make Sheet Pan Oven Grilled Cheese
Step 1: Warm Up the Oven
Crank the oven to a toasty 425F (220C) so it’s ready for some cheesy magic.
Step 2: Butter Up the Bread
Generously spread soft butter across one side of each bread slice, creating a golden crispy canvas.
Step 3: Create the Cheese Foundation
Lay out 4 bread slices on a baking sheet with buttered sides facing down, preparing for cheesy greatness.
Step 4: Layer the Cheese
Add your cheese dream team on each bread slice:Step 5: Top and Press
Crown each cheese layer with the remaining bread slices, buttered sides facing up.
Gently place another sheet pan on top to create a perfect press.
Step 6: First Bake Session
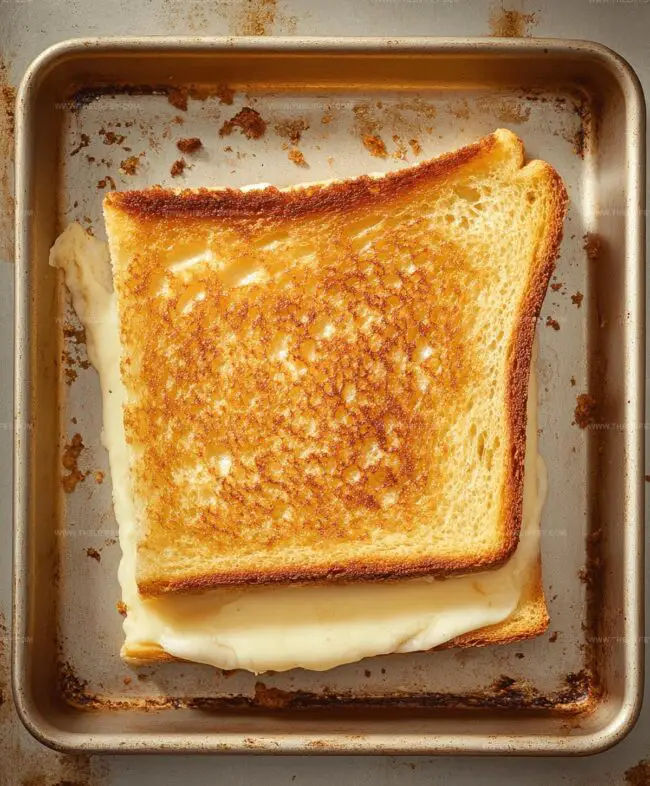
Slide the sandwiches into the hot oven and bake for 6-8 minutes, letting the cheese start melting and bread turning golden.
Step 7: Flip and Finish
Remove the top sheet pan, carefully flip the sandwiches, and return to the oven for another 4-5 minutes until they reach crispy, golden-brown perfection.
Step 8: Serve and Enjoy
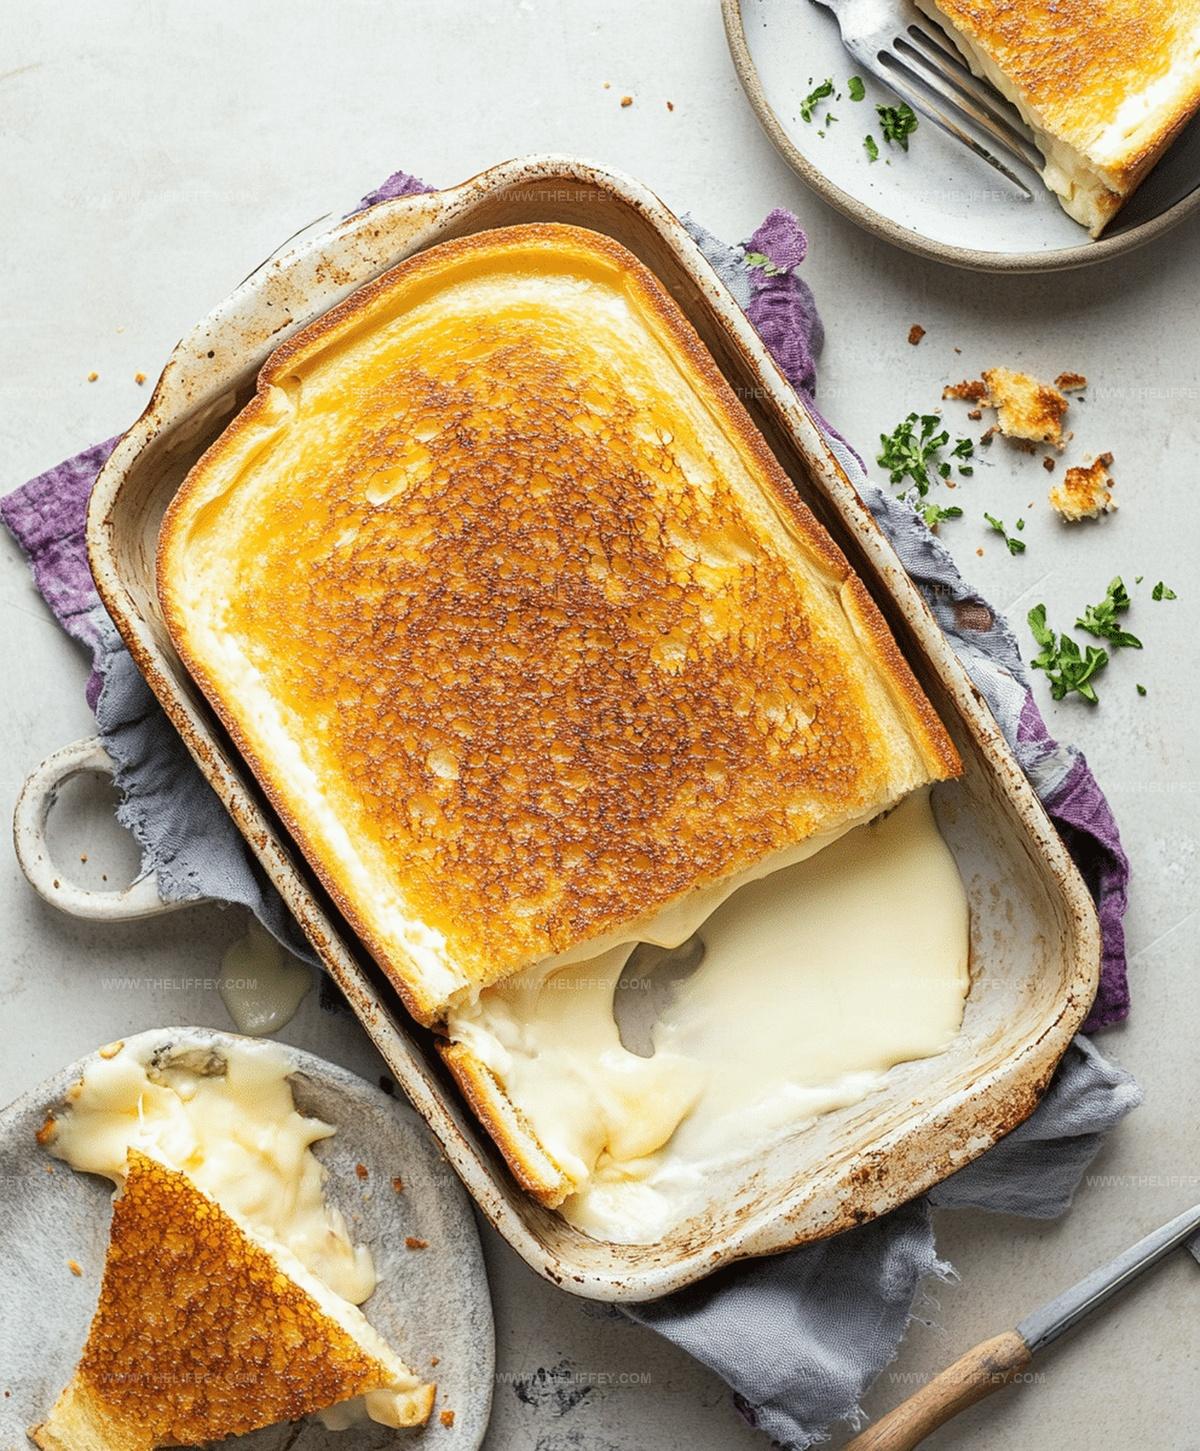
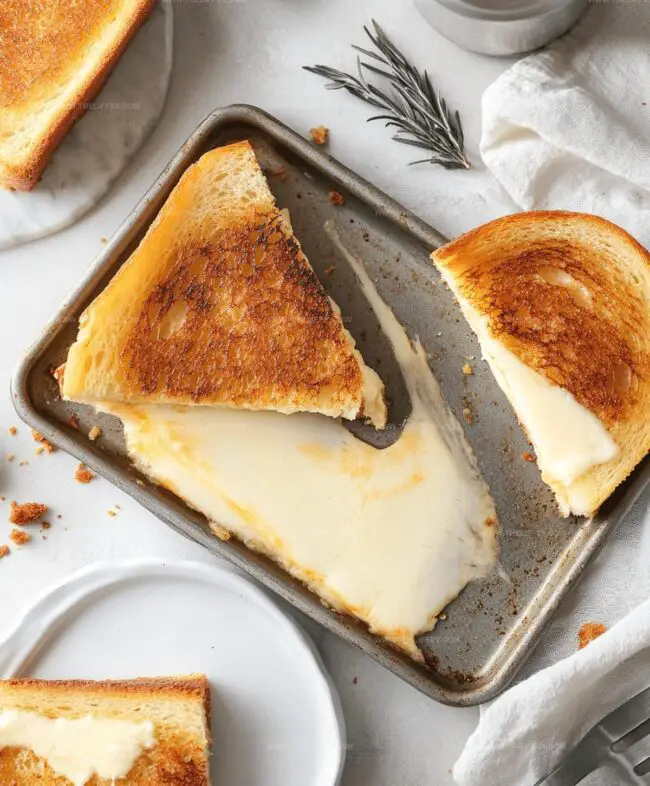
Pull out your masterpiece, slice diagonally, and serve these hot, melty grilled cheese wonders immediately.
Helpful Tips for Oven Grilled Cheese Recipe

Flavor Variations for Oven Grilled Cheese

Serving Suggestions for Oven Grilled Cheese
Storage Advice for Oven Grilled Cheese
FAQs
The second sheet pan helps press the sandwich evenly, creating a crispy, golden exterior and ensuring uniform grilling without manual pressing.
Absolutely! Experiment with your favorite cheese combinations like Swiss, provolone, or pepper jack for unique flavor profiles.
Lightly grease the baking sheet with cooking spray or use parchment paper to ensure easy sandwich removal and prevent sticking.
Yes, oven grilling requires less added fat and allows for more even cooking, making it a slightly healthier alternative to pan-frying.
Print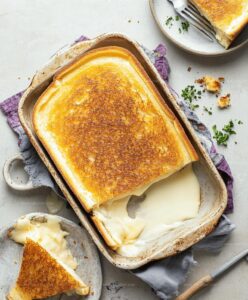
Sheet Pan Oven Grilled Cheese Recipe
- Total Time: 22 minutes
- Yield: 4 1x
Description
Gourmet sheet pan oven grilled cheese delivers crispy, golden sandwiches for a crowd with minimal effort. Melted cheese and buttery bread create a comforting meal that brings family and friends together effortlessly.
Ingredients
Main Ingredients:
- 8 slices bread
- 4 slices cheddar cheese
- 4 slices mozzarella cheese
Dairy and Fat:
- 4 tablespoons (60 milliliters) unsalted butter, softened
Instructions
- Heat oven to 425F (220C), ensuring rack is positioned in center for even cooking.
- Generously coat one side of each bread slice with softened butter, creating a golden exterior.
- Arrange 4 bread slices butter-side down on a large rimmed baking sheet, creating a sturdy base.
- Layer cheddar and mozzarella cheese atop each bread slice, ensuring complete coverage.
- Crown each cheese layer with remaining bread slices, positioning butter-side facing upward.
- Compress sandwiches gently by placing a second sheet pan directly on top, creating uniform thickness.
- Transfer to preheated oven and bake for 6-8 minutes, allowing cheese to melt and bottom to crisp.
- Carefully remove top sheet pan and flip sandwiches using a spatula for even browning.
- Continue baking 4-5 minutes until exterior turns deep golden and cheese becomes perfectly melted.
- Extract from oven, let rest momentarily, then slice diagonally and serve immediately while hot and crispy.
Notes
- Customize cheese varieties by mixing different types like gouda, provolone, or pepper jack for unique flavor profiles.
- Experiment with bread types such as sourdough, whole wheat, or gluten-free options to suit dietary preferences.
- Add extra crunch and flavor by sprinkling everything bagel seasoning or dried herbs on the buttered bread surface before baking.
- Prevent soggy sandwiches by using room temperature butter and ensuring even, thin butter spread for crispy golden edges.
- Prep Time: 10 minutes
- Cook Time: 12 minutes
- Category: Lunch, Dinner, Snacks
- Method: Baking
- Cuisine: American
Nutrition
- Serving Size: 4
- Calories: 400 kcal
- Sugar: 3 g
- Sodium: 600 mg
- Fat: 24 g
- Saturated Fat: 13 g
- Unsaturated Fat: 10 g
- Trans Fat: 0.5 g
- Carbohydrates: 30 g
- Fiber: 2 g
- Protein: 15 g
- Cholesterol: 45 mg
Amanda Bennett
Recipe Curator & Culinary Educator
Expertise
Baking and Pastry Arts, Recipe Testing and Development, Culinary Instruction, Food Styling and Photography
Education
Asheville-Buncombe Technical Community College, Asheville, NC
Diploma in Culinary Arts
Emphasized practical cooking skills, nutrition, and kitchen management.
Cambridge School of Culinary Arts, Cambridge, MA
Certificate in Professional Pastry Arts
Specialized in baking techniques, dessert presentation, and flavor profiling
Amanda’s roots run deep in the Southern hills, where every meal started fresh from the garden and every dessert came with a story. She trained at Asheville-Buncombe Technical Community College and sharpened her pastry skills at the Cambridge School of Culinary Arts, blending classic technique with everyday charm.
At The Liffey, Amanda’s passion is making baking and home cooking feel natural and joyful. She’s all about single recipes that are simple enough for a busy afternoon, but special enough to make someone’s day a little sweeter.