
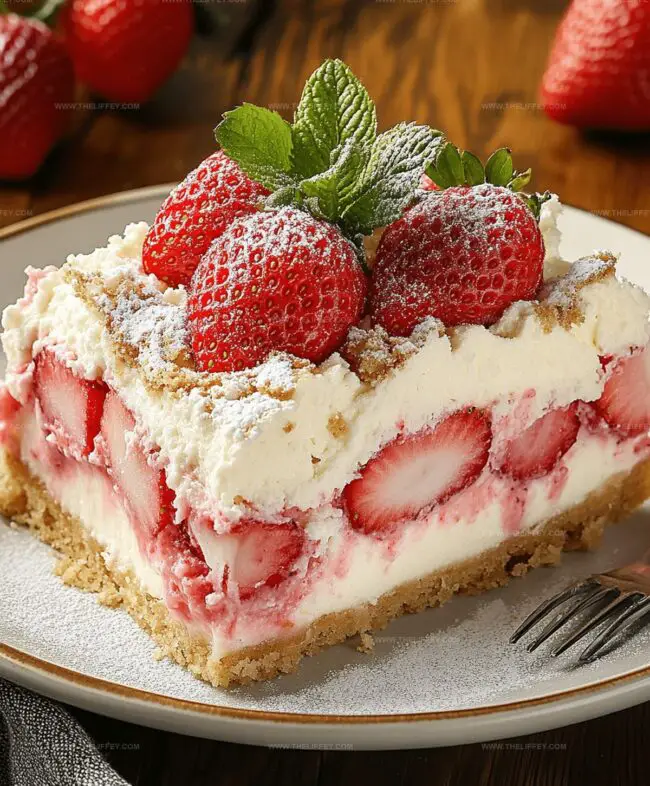
Dreamy Strawberry Cheesecake Dump Cake Recipe For Sweet Cravings
Sweet strawberry cheesecake dump cake promises a delightful twist on classic dessert traditions.
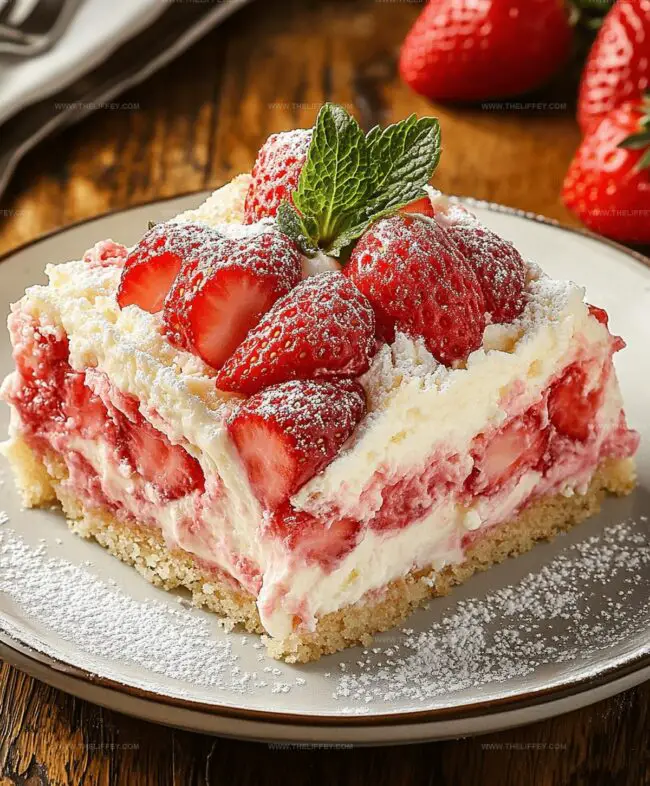
Layers of creamy goodness meld with fruity freshness in this effortless treat.
Minimal effort yields maximum satisfaction for anyone seeking a quick and delicious dessert.
Mixing ingredients becomes a breeze with this simple approach to baking.
Nobody needs advanced culinary skills to create this mouthwatering masterpiece.
Each bite combines tangy cream cheese with luscious strawberry notes that dance across your palate.
Whip up this crowd-pleasing recipe and watch smiles spread around the table.
A No-Fuss Strawberry Cheesecake Dump Cake
All the Ingredients You’ll Need for This Dessert
Fruit Base:Cream Cheese Layer:Cake and Topping:Step-by-Step Assembly and Baking Instructions
Step 1: Warm Up the Oven
Fire up your oven to a toasty 350°F (175°C). Grab your 9×13-inch baking dish and give it a quick spray or butter rub to prevent sticking.
Step 2: Create the Fruity Foundation
Grab your strawberry pie filling and spread it out in an even, luscious layer across the bottom of the baking dish. Make sure it covers the entire surface like a bright red carpet.
Step 3: Whip Up the Creamy Dream
In a mixing bowl, combine your ingredients to create a silky smooth mixture:Beat these ingredients until they transform into a velvety, luxurious cream. Pour this dreamy mixture directly over the strawberry layer, creating a decadent second level.
Step 4: Sprinkle the Cake Magic
Evenly distribute the dry cake mix across the top of the creamy layer. Think of it like a delicate snow falling gently over a landscape.
Step 5: Drench with Buttery Goodness
Melt your butter and drizzle it generously over the cake mix. This will help create a golden, crispy top that’s absolutely irresistible.
Step 6: Bake to Perfection
Slide your dish into the preheated oven and let it bake for 40-45 minutes. You’re looking for a beautiful golden-brown color and a bubbly, tempting surface.
Step 7: Cool and Serve
Allow the cake to cool slightly before diving in. This lets the layers set and makes cutting and serving a breeze.
Grab a fork and enjoy your masterpiece!
Pro Tips for a Perfectly Moist Dump Cake
Delicious Additions to Make It Your Own
Serving Suggestions for an Eye-Catching Dessert
Best Ways to Store Your Cheesecake Dump Cake
FAQs
You’ll need strawberry pie filling, cream cheese, sugar, eggs, vanilla extract, milk, dry white cake mix, and butter.
No, this recipe specifically requires strawberry pie filling for the right consistency and flavor profile.
Yes, dump cakes are known for being super simple – just layer ingredients and bake without complicated mixing or preparation techniques.
Look for a golden brown top and bubbly edges, which indicates the cake is done and ready to be removed from the oven.
Print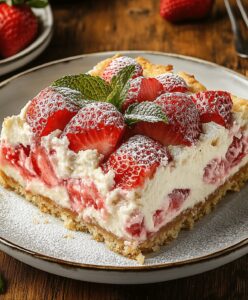
Quick Strawberry Cheesecake Dump Cake Recipe
- Total Time: 1 hour
- Yield: 8 1x
Description
Delightful strawberry cheesecake dump cake blends creamy cheesecake layers with sweet strawberry goodness. Simple ingredients and easy preparation make this dessert a crowd-pleaser that you can whip up in no time.
Ingredients
Main Ingredients:
- 1 (21 ounces / 595 grams) can strawberry pie filling
- 1 box yellow cake mix
- 8 ounces (226 grams) cream cheese, softened
- 2 eggs
Dairy and Sweet Ingredients:
- 1/2 cup (100 grams) granulated sugar
- 1/2 cup (120 milliliters) milk
- 1/2 cup (113 grams) unsalted butter, melted
Flavor Enhancer:
- 1 teaspoon vanilla extract
Instructions
- Warm the oven to 350F (175C) and lightly coat a 9×13-inch baking dish with cooking spray.
- Create an even base layer of strawberry pie filling across the entire bottom of the prepared dish.
- Whip cream cheese with sugar, eggs, vanilla, and milk until achieving a silky, uniform consistency.
- Gently cascade the cream cheese mixture over the strawberry foundation, ensuring complete coverage.
- Distribute the dry cake mix uniformly across the top of the cream cheese layer, creating a powdery blanket.
- Elegantly drench the cake mix surface with melted butter, allowing it to seep through the powder.
- Transfer the dish to the preheated oven and bake for 40-45 minutes until the top transforms into a golden, effervescent crust.
- Remove from oven and permit the dessert to rest and settle for 10-15 minutes before slicing.
- Serve warm and savor the decadent layers of strawberry, cream cheese, and buttery cake.
Notes
- Prevent cake mix from clumping by sifting it evenly across the top for a more uniform texture.
- Consider using fresh strawberries alongside pie filling for a brighter, more intense berry flavor and added freshness.
- Reduce sugar content by selecting a low-sugar cake mix and using reduced-fat cream cheese for a lighter version.
- Chill the dessert completely before serving to help set the layers and enhance the cheesecake-like consistency.
- Prep Time: 15 minutes
- Cook Time: 45 minutes
- Category: Desserts
- Method: Baking
- Cuisine: American
Nutrition
- Serving Size: 8
- Calories: 403
- Sugar: 33 g
- Sodium: 290 mg
- Fat: 20 g
- Saturated Fat: 12 g
- Unsaturated Fat: 7 g
- Trans Fat: 0.5 g
- Carbohydrates: 48 g
- Fiber: 1 g
- Protein: 6 g
- Cholesterol: 72 mg
John Conley
Founder & Culinary Storyteller
Expertise
Recipe Development, Culinary Writing, Home Cooking Techniques, Seasonal Ingredient Utilization
Education
Lane Community College, Eugene, OR
Certificate in Culinary Arts
Focused on foundational cooking techniques, kitchen safety, and menu planning.
Gotham Writers Workshop, New York, NY
Course in Food Writing
Explored the art of crafting engaging culinary narratives and recipe development.
John grew up where food meant connection: big bowls, warm kitchens, and meals that told a story. After earning his Certificate in Culinary Arts from Lane Community College and diving deep into food writing at Gotham Writers Workshop, he found his calling: turning everyday recipes into something worth savoring.
At The Liffey, John’s focus is all about crafting dishes that feel easy, honest, and full of heart.