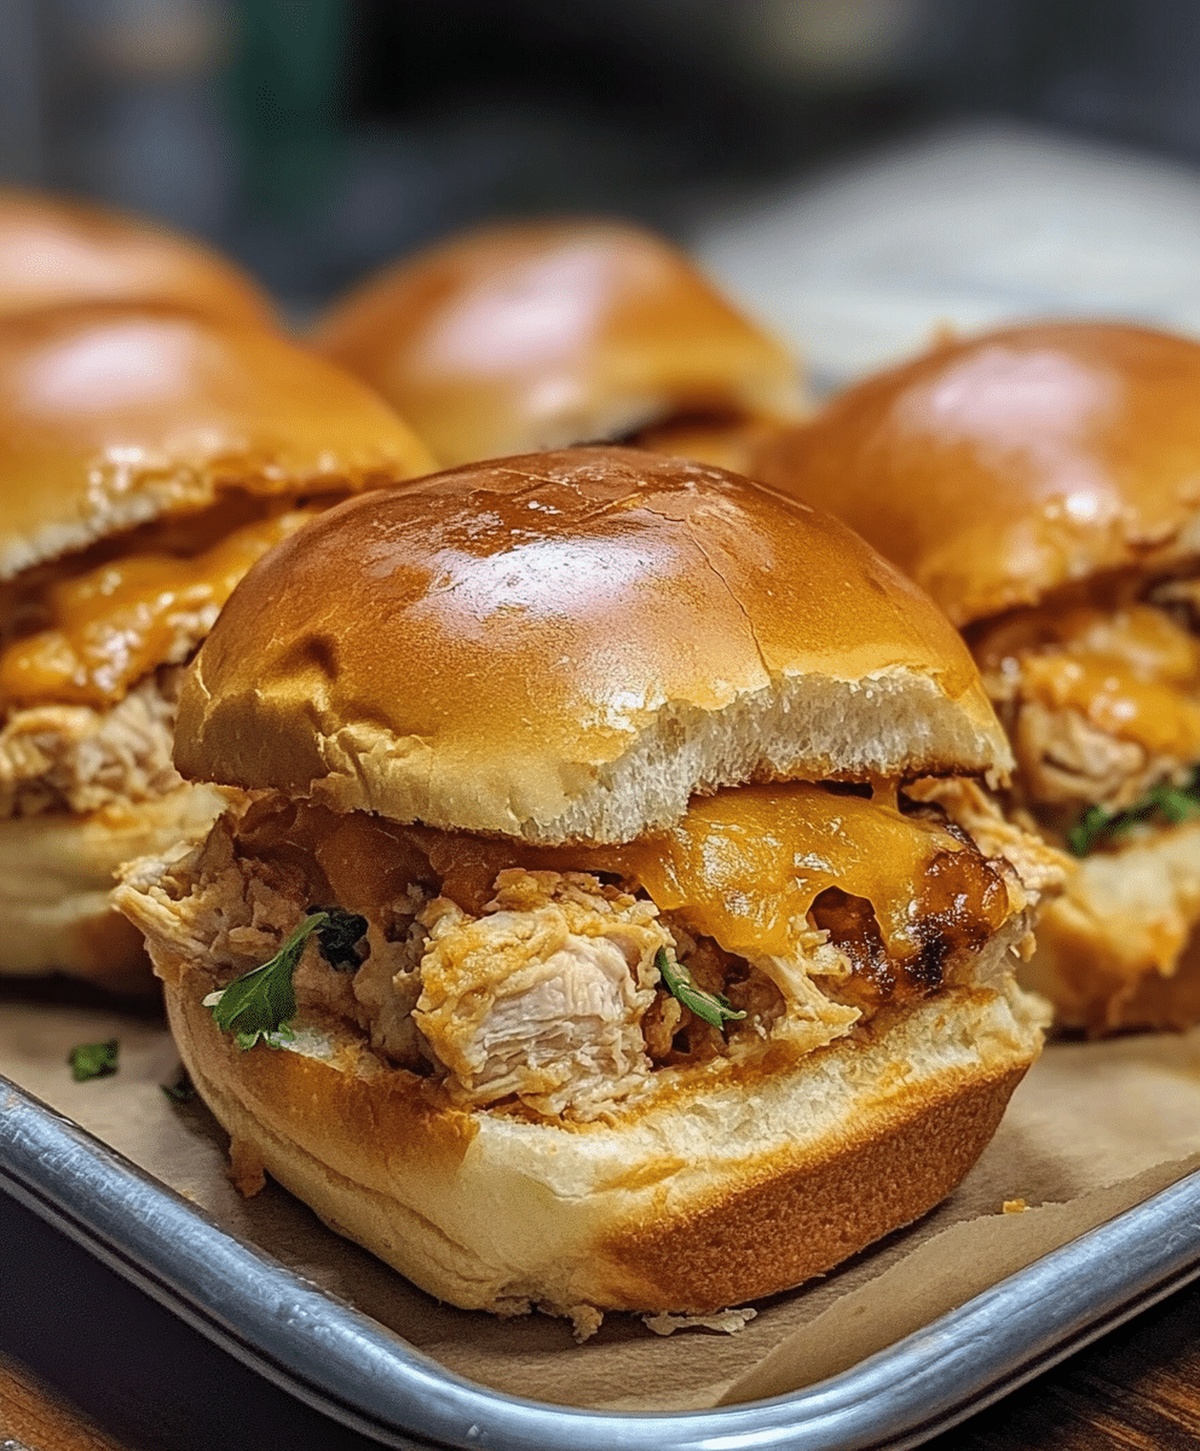
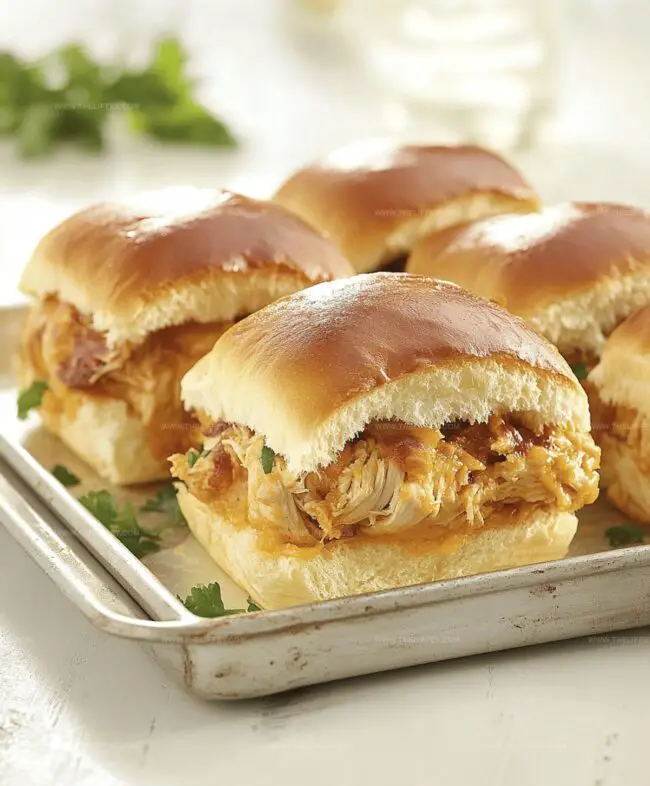
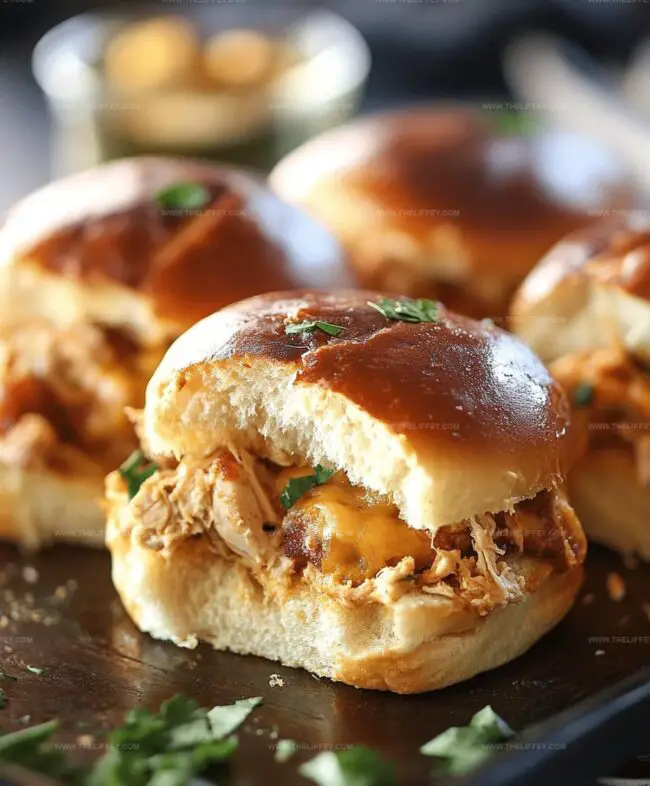
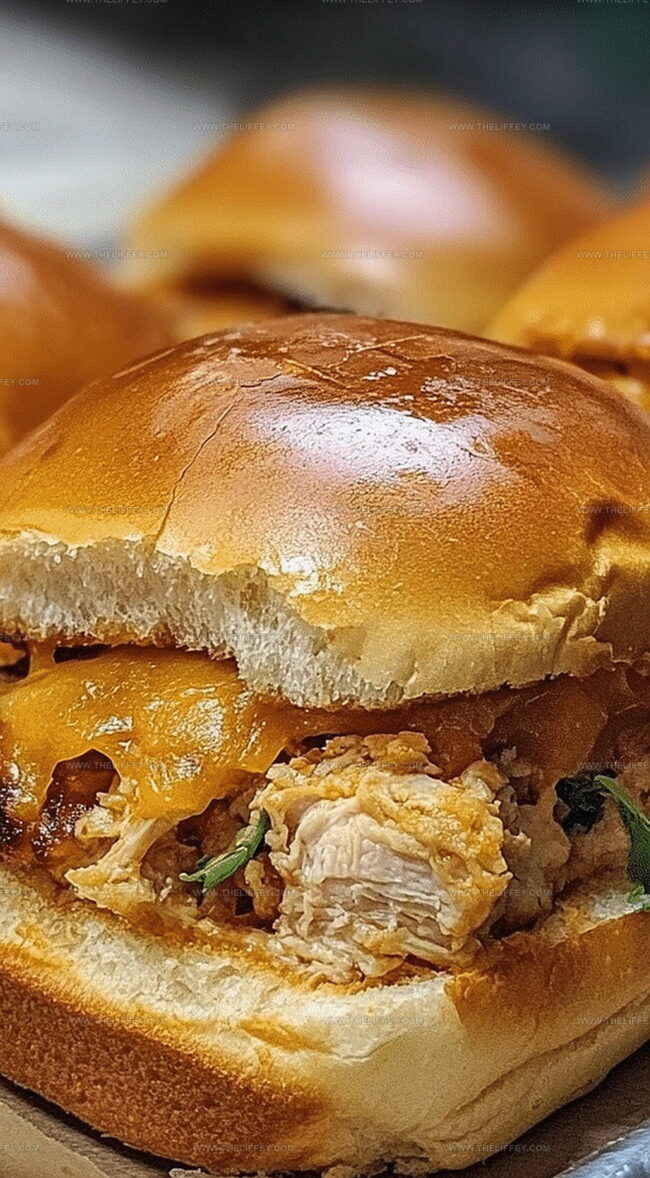
Savory Crack Chicken Sliders Recipe: Addictive Flavorful Bites
Crispy, creamy crack chicken sliders bring an explosion of flavor to your next meal.
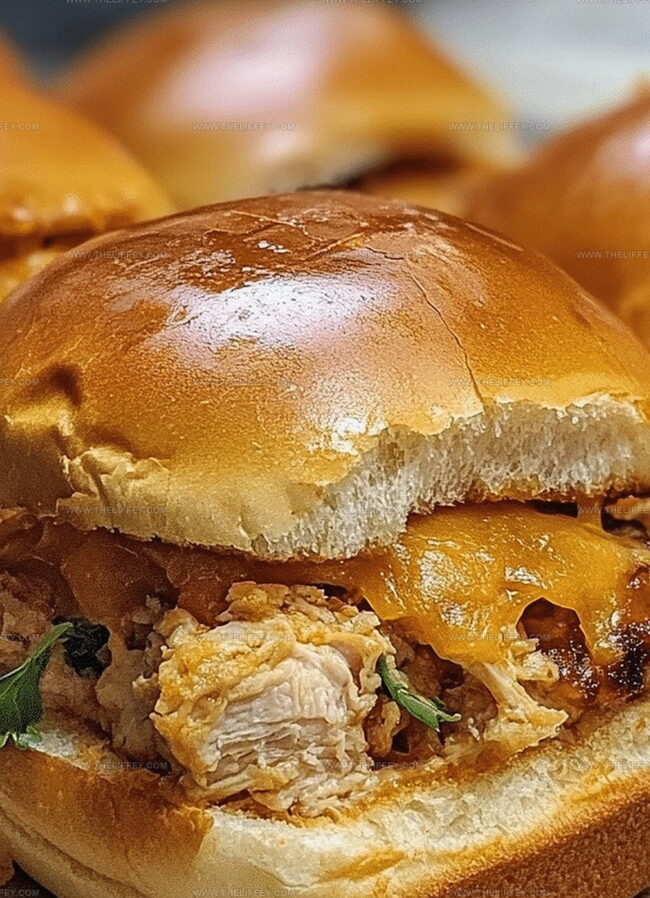
Packed with tender shredded chicken and a rich, tangy sauce, these little sandwiches will have everyone begging for seconds.
Melted cheese creates a gooey backdrop that perfectly complements the zesty chicken mixture.
Quick and simple ingredients come together in minutes, making this recipe a weeknight superhero.
Ranch seasoning adds a punch of bold taste that keeps people coming back for more.
Soft slider buns cradle the delicious filling, promising a handheld delight that’s impossible to resist.
You’ll want to make extra because these sliders disappear faster than you can say “more please!”.
Crack Chicken Sliders Loaded With Flavor
Ingredients For Crack Chicken Sliders
Main Protein:Cheese and Seasonings:Bread and Finishing Ingredients:Step-By-Step Crack Chicken Sliders Instructions
Step 1: Prepare the Oven
Warm up your oven to a cozy 350F (175C), getting ready for some delicious slider magic.
Step 2: Create the Chicken Mixture
Grab a big mixing bowl and toss in these delightful ingredients:Stir everything together until it’s perfectly combined and looks irresistibly creamy.
Step 3: Arrange the Slider Buns
Gently slice your slider buns horizontally, keeping the top and bottom halves connected like best friends. Place the bottom halves in a baking dish, creating a soft foundation for your flavor-packed filling.
Step 4: Layer the Chicken Filling
Spread the chicken mixture evenly across the bottom bun halves, making sure every inch gets some love. Carefully place the top bun halves back on, creating little slider sandwiches.
Step 5: Add the Buttery Finish
Brush melted butter over the top buns, giving them a golden, glossy look. Sprinkle some chopped parsley on top for an extra pop of color and freshness.
Step 6: Initial Baking
Cover the baking dish with aluminum foil and slide it into the preheated oven. Bake for 15 minutes, letting the flavors mingle and the cheese get all melty.
Step 7: Final Crisp
Remove the foil and return the sliders to the oven. Bake for an additional 5-10 minutes until the tops turn a beautiful golden brown.
Step 8: Serve and Enjoy
Let the sliders cool for a moment, then serve these mouthwatering treats while they’re warm and inviting. Get ready for a flavor explosion!
Boosting Flavor In Crack Chicken Sliders
Different Variations For Crack Chicken Sliders
Serving Suggestions For Crack Chicken Sliders
Storing Crack Chicken Sliders Safely
FAQs
Yes, rotisserie chicken works great and saves time. Shred it thoroughly before mixing with other ingredients.
Ranch seasoning adds incredible flavor, but you can substitute with dried dill, garlic powder, and onion powder if needed.
Add diced jalapeños, red pepper flakes, or a dash of hot sauce to the chicken mixture for extra kick.
Yes, assemble the sliders and refrigerate for up to 24 hours before baking. Just add a few extra minutes to baking time when cooking from cold.
Print
Quick and Zesty Crack Chicken Sliders Recipe
- Total Time: 40 minutes
- Yield: 12 1x
Description
Juicy crack chicken sliders deliver irresistible flavor combinations from classic American comfort cuisine. Home cooks can quickly prepare these crowd-pleasing sandwiches for casual gatherings with minimal ingredients and maximum satisfaction.
Ingredients
Protein:
- 3 cups cooked, shredded chicken
- 2 cups shredded cheddar cheese
Dairy:
- 8 ounces (226 grams) cream cheese, softened
- 2 tablespoons unsalted butter, melted
Seasonings and Garnish:
- 1 packet ranch seasoning mix
- 1/4 cup sliced green onions
- 1 tablespoon chopped parsley (optional for garnish)
Bread:
- 12 slider buns
Instructions
- Heat the oven to 350F (175C), preparing a baking dish for the sliders.
- Blend shredded chicken, cream cheese, ranch seasoning, cheddar cheese, and green onions in a mixing bowl until thoroughly combined.
- Carefully slice slider buns horizontally, maintaining the connected top and bottom sections.
- Arrange bottom bun halves in the prepared baking dish, creating a stable base.
- Distribute the chicken mixture evenly across the bottom bun layers, ensuring consistent coverage.
- Gently place the top bun halves back onto the chicken-covered base.
- Generously brush melted butter over the exposed bun surfaces, creating a golden finish.
- Optional: Sprinkle chopped parsley across the buttered tops for added flavor and visual appeal.
- Cover the entire dish with aluminum foil to prevent excessive browning.
- Bake for 15 minutes, allowing the ingredients to meld and heat thoroughly.
- Remove foil and continue baking 5-10 minutes until buns turn golden brown and crispy.
- Allow sliders to rest for 2-3 minutes after removing from oven, helping them set.
- Serve warm, ensuring each slider maintains its structural integrity when plated.
Notes
- Adapt the chicken mixture by using low-fat cream cheese and Greek yogurt for a lighter version that maintains creamy texture.
- Swap traditional slider buns with gluten-free alternatives to accommodate dietary restrictions without compromising flavor.
- Customize protein options by replacing chicken with pulled pork or shredded turkey for variety and different taste profiles.
- Prepare the chicken mixture ahead of time and refrigerate overnight to enhance flavor development and streamline meal preparation.
- Prep Time: 15 minutes
- Cook Time: 25 minutes
- Category: Lunch, Dinner, Snacks
- Method: Baking
- Cuisine: American
Nutrition
- Serving Size: 12
- Calories: 319 kcal
- Sugar: 1 g
- Sodium: 580 mg
- Fat: 24 g
- Saturated Fat: 13 g
- Unsaturated Fat: 10 g
- Trans Fat: 0.5 g
- Carbohydrates: 11 g
- Fiber: 1 g
- Protein: 18 g
- Cholesterol: 75 mg
John Conley
Founder & Culinary Storyteller
Expertise
Recipe Development, Culinary Writing, Home Cooking Techniques, Seasonal Ingredient Utilization
Education
Lane Community College, Eugene, OR
Certificate in Culinary Arts
Focused on foundational cooking techniques, kitchen safety, and menu planning.
Gotham Writers Workshop, New York, NY
Course in Food Writing
Explored the art of crafting engaging culinary narratives and recipe development.
John grew up where food meant connection: big bowls, warm kitchens, and meals that told a story. After earning his Certificate in Culinary Arts from Lane Community College and diving deep into food writing at Gotham Writers Workshop, he found his calling: turning everyday recipes into something worth savoring.
At The Liffey, John’s focus is all about crafting dishes that feel easy, honest, and full of heart.