Easy Pepperoni Pizza Bombs Recipe: Cheesy Delight for All
Crafting the perfect pepperoni pizza bombs requires just a few simple ingredients and some kitchen creativity.
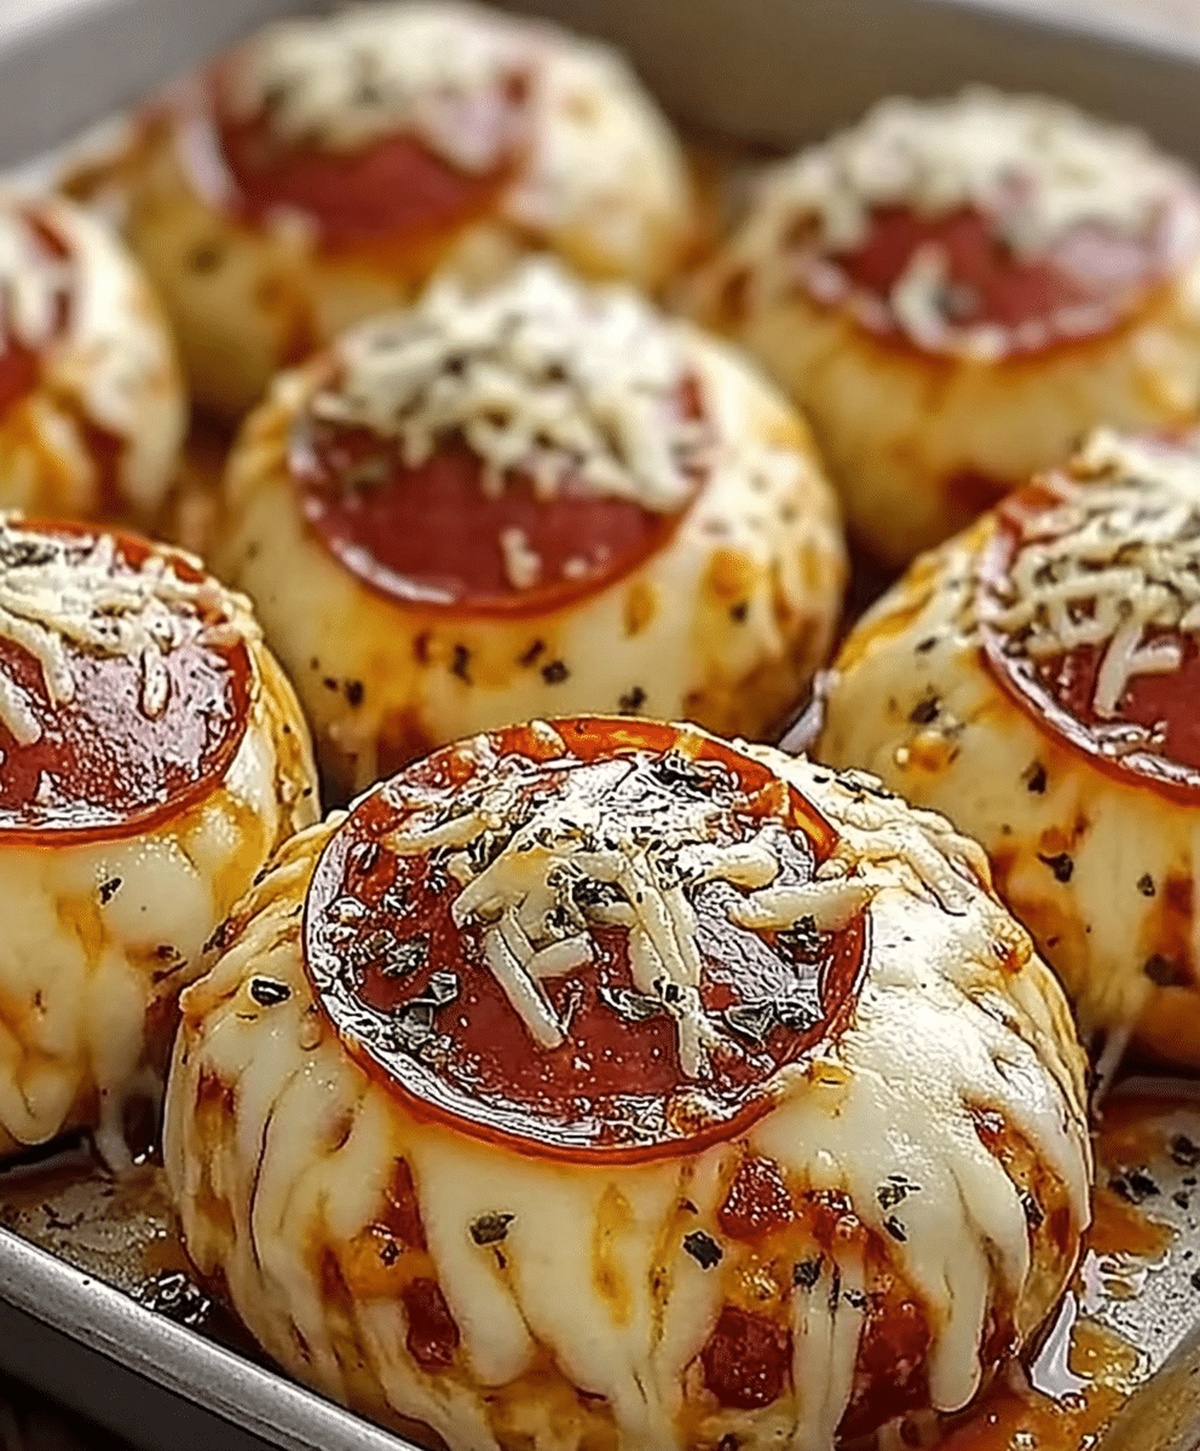
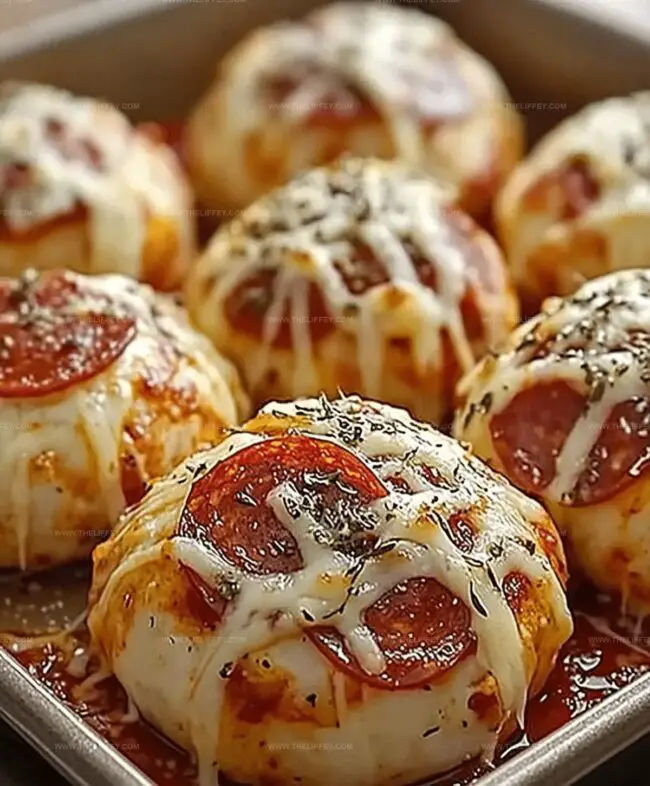
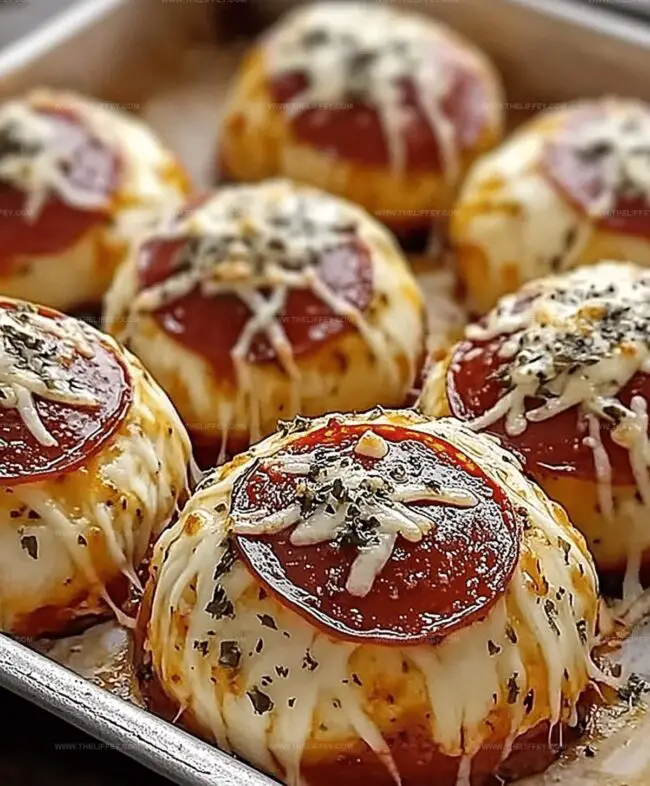
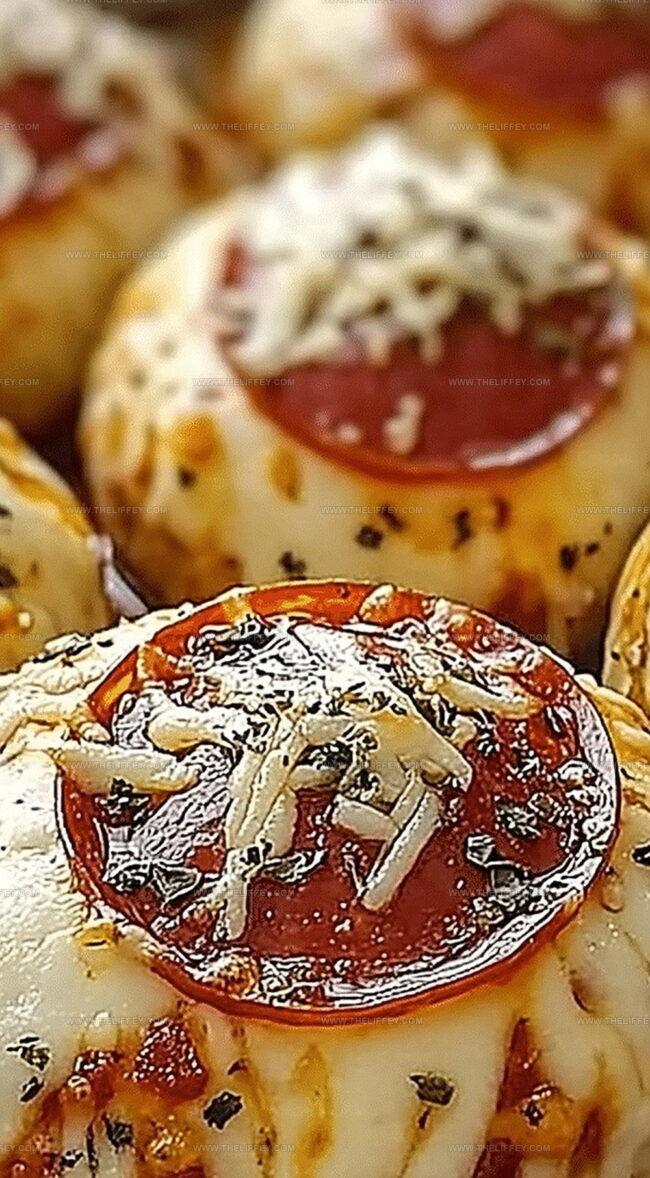
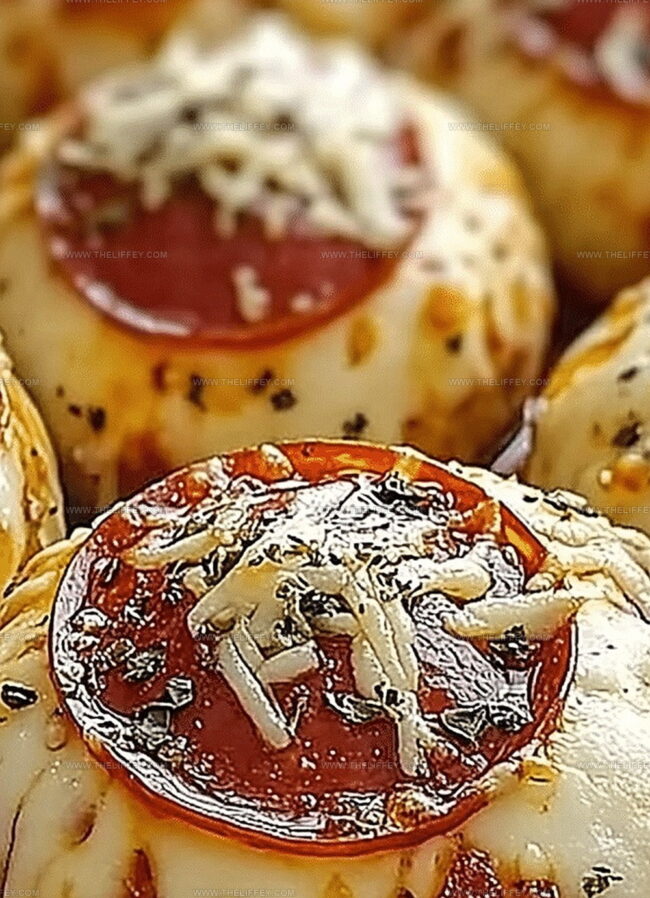
Melted cheese oozes from these delightful little pockets of deliciousness.
Dough wraps around savory pepperoni like a warm culinary hug.
Each bite promises a burst of classic pizza flavors that dance across your taste buds.
Small enough to pop in one bite, these snacks work magic at parties or casual gatherings.
Quick to assemble and even faster to disappear, you’ll become the star of any get-together with this irresistible recipe.
Prepare to impress everyone around the table with these mouthwatering morsels that combine comfort and excitement in one perfect package.
Pepperoni Pizza Bombs to Try
Ingredients for Pepperoni Pizza Bombs
Main Ingredients:Seasoning Ingredients:Preparation Ingredients:How to Make Pepperoni Pizza Bombs
Step 1: Prepare Baking Station
Crank up your oven to a toasty 375°F (190°C). Grab a baking sheet and line it with parchment paper to prevent any sticky situations.
Step 2: Craft Pizza Bomb Bases
Take each biscuit and gently flatten it out like a soft disk. In the center, arrange:Step 3: Create Delicious Parcels
Carefully fold the dough around the tasty filling, pinching the edges together to create a perfect sealed ball.
Make sure no delicious bits can escape!
Step 4: Position Pizza Bombs
Place each formed bomb on the prepared baking sheet with the sealed side facing down.
Give them a little breathing room between each other.
Step 5: Add Flavor Boosters
Grab a pastry brush and generously coat each bomb with melted butter.
Then sprinkle on:Step 6: Bake to Golden Perfection
Slide the baking sheet into the oven and bake for 12-15 minutes. Watch for a beautiful golden-brown color that signals they’re ready.
Step 7: Serve and Enjoy
Pull out your pizza bombs and let them cool slightly. Serve with a side of marinara sauce for dipping and get ready for flavor explosions!
Helpful Tips on Pepperoni Pizza Bombs
Flavor Enhancements for Pepperoni Pizza Bombs
Serving Suggestions for Pepperoni Pizza Bombs
Storage Advice for Pepperoni Pizza Bombs
FAQs
Yes, you can substitute with homemade biscuit dough. Just ensure it’s rolled thin enough to wrap around the fillings easily.
You can prepare and assemble the bombs earlier, cover, and refrigerate for up to 4 hours before baking. This makes them great for prep-ahead appetizers.
Thin-sliced pepperoni is ideal as it distributes more evenly and melts nicely inside the pizza bombs. Opt for regular or turkey pepperoni based on your preference.
Print
Quick and Easy Pepperoni Pizza Bombs Recipe
- Total Time: 30 minutes
- Yield: 4 1x
Description
Homemade pepperoni pizza bombs deliver explosive flavor in each cheesy, bite-sized morsel. Crispy dough pockets stuffed with melted mozzarella and spicy pepperoni create an irresistible snack you’ll crave at every gathering.
Ingredients
Main Ingredients:
- 1 can refrigerated biscuit dough
- 20 pepperoni slices
- 1 cup (240 milliliters) mozzarella cheese, shredded
Cheese Topping:
- 1/4 cup (60 milliliters) grated Parmesan cheese
Seasoning and Finishing:
- 2 tablespoons (30 milliliters) butter, melted
- 1/2 teaspoon garlic powder
- 1/2 teaspoon Italian seasoning
- 1/2 cup (120 milliliters) marinara sauce (for dipping)
Instructions
- Prepare the oven to 375°F (190°C) and cover a baking sheet with parchment paper for optimal cooking surface.
- Gently press each biscuit into a thin, uniform circle using your fingertips.
- Arrange pepperoni slices and mozzarella cheese in the center of each flattened biscuit.
- Carefully encase the filling by pulling the dough edges toward the center, creating a secure pocket.
- Seal the dough completely by pinching and pressing the edges, ensuring no filling escapes during baking.
- Position the filled dough balls seam-side down on the prepared baking sheet, maintaining even spacing.
- Generously coat the exterior of each pizza bomb with melted butter using a pastry brush.
- Sprinkle a blend of garlic powder, Italian seasoning, and grated Parmesan cheese over the buttered surface.
- Transfer the baking sheet to the preheated oven and bake for 12-15 minutes until the bombs achieve a rich golden-brown color.
- Remove from oven and allow to cool slightly before serving alongside warm marinara sauce for dipping.
Notes
- Customize fillings by swapping pepperoni with ham, bacon, or vegetarian alternatives like roasted vegetables for diverse flavor profiles.
- Ensure tight sealing of dough around filling to prevent cheese leakage during baking, using gentle pinching and pressing techniques.
- Use room temperature ingredients for smoother dough handling and more even cooking, especially with cold cheese and butter.
- Create gluten-free version by substituting biscuit dough with gluten-free biscuit mix or cauliflower-based dough for diet-sensitive individuals.
- Prep Time: 15 minutes
- Cook Time: 15 minutes
- Category: Lunch, Dinner, Appetizer, Snacks
- Method: Baking
- Cuisine: Italian
Nutrition
- Serving Size: 4
- Calories: 375 kcal
- Sugar: 3 g
- Sodium: 850 mg
- Fat: 25 g
- Saturated Fat: 11 g
- Unsaturated Fat: 10 g
- Trans Fat: 0.5 g
- Carbohydrates: 22 g
- Fiber: 1.5 g
- Protein: 17 g
- Cholesterol: 55 mg
John Conley
Founder & Culinary Storyteller
Expertise
Recipe Development, Culinary Writing, Home Cooking Techniques, Seasonal Ingredient Utilization
Education
Lane Community College, Eugene, OR
Certificate in Culinary Arts
Focused on foundational cooking techniques, kitchen safety, and menu planning.
Gotham Writers Workshop, New York, NY
Course in Food Writing
Explored the art of crafting engaging culinary narratives and recipe development.
John grew up where food meant connection: big bowls, warm kitchens, and meals that told a story. After earning his Certificate in Culinary Arts from Lane Community College and diving deep into food writing at Gotham Writers Workshop, he found his calling: turning everyday recipes into something worth savoring.
At The Liffey, John’s focus is all about crafting dishes that feel easy, honest, and full of heart.