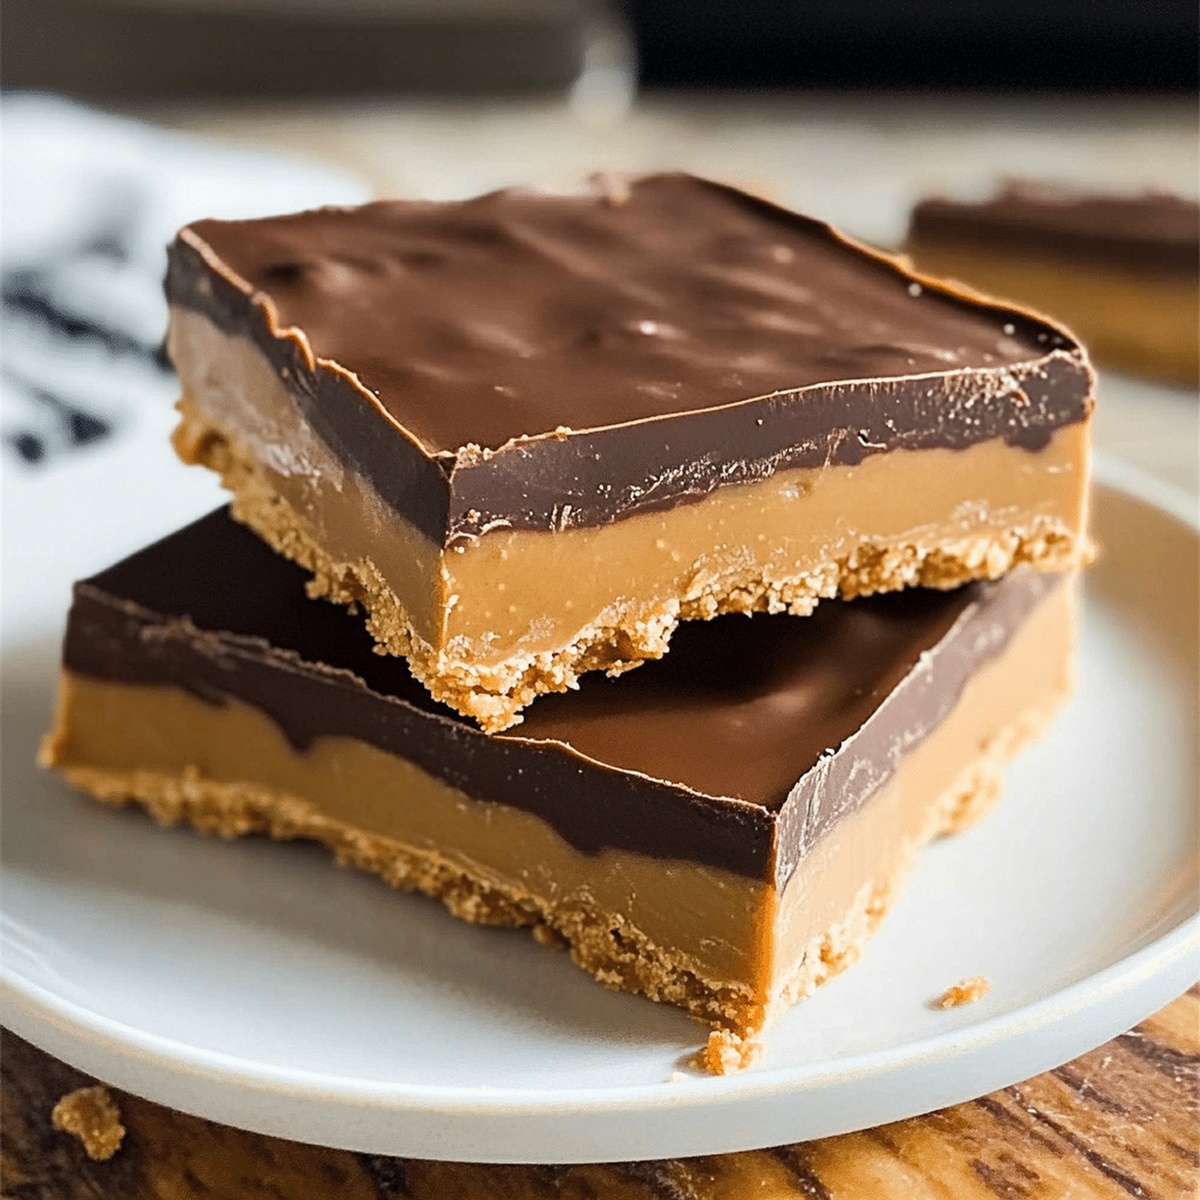
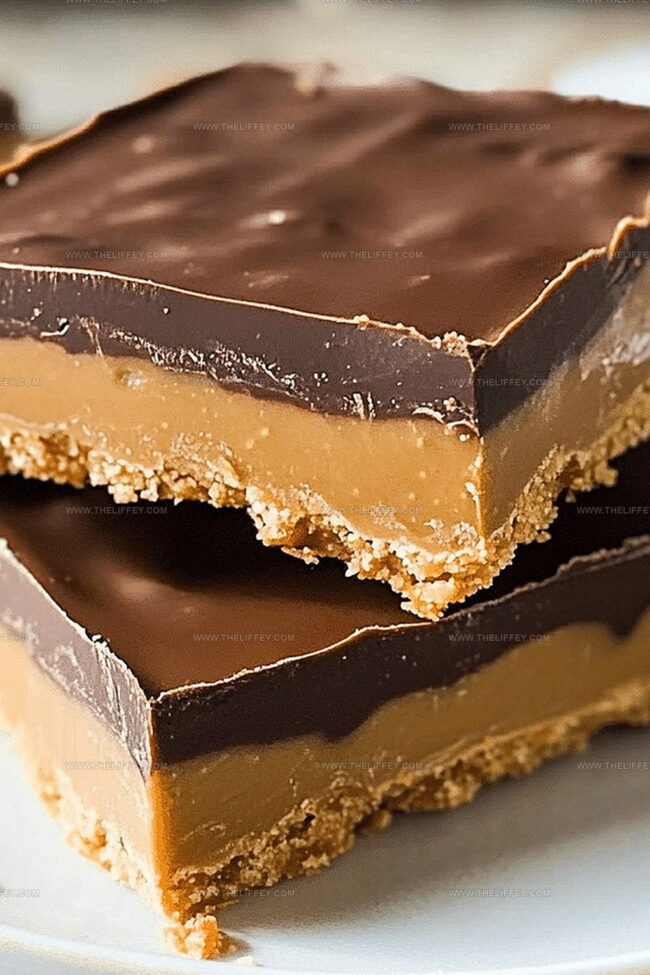
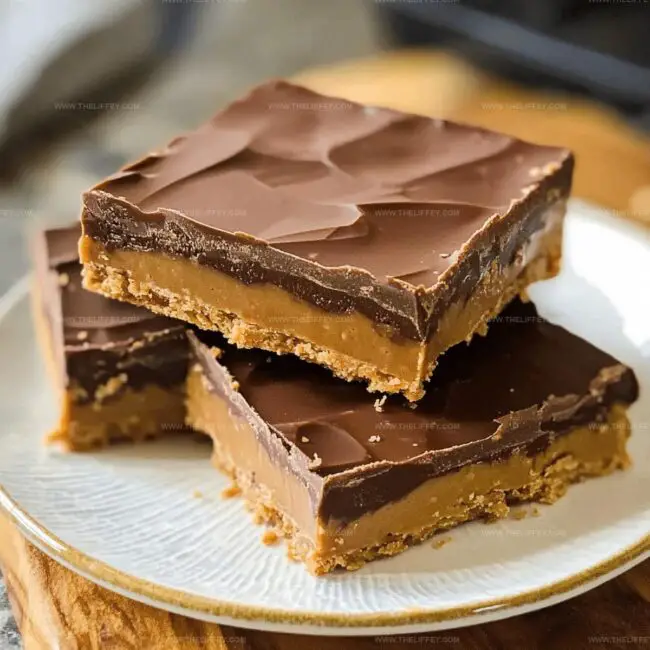
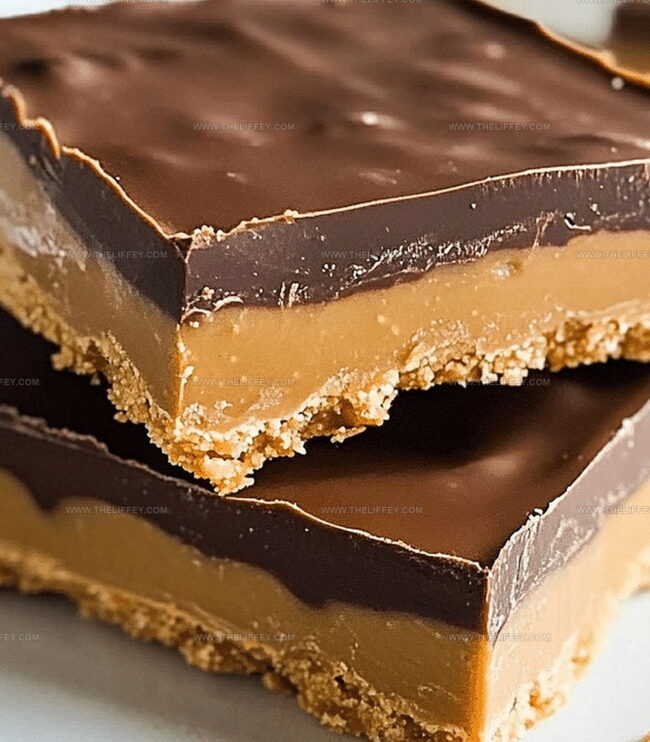
The Ultimate No-Bake Chocolate Peanut Butter Bars Recipe
Sweet dreams come true with these irresistible no-bake chocolate peanut butter bars that promise pure indulgence.
Creamy peanut butter layers meld perfectly with rich chocolate in a dessert that requires zero oven time.
Minimal ingredients mean maximum flavor, creating a treat anyone can whip up quickly.
Crisp textures and decadent taste combine for a seriously addictive snack that feels like a gourmet experience.
chocolate and peanut butter lovers will swoon over this simple yet luxurious recipe.
Cooling in the refrigerator transforms these bars into a silky, melt-in-your-mouth sensation that screams comfort and deliciousness.
Prepare to be amazed by how such a simple recipe can deliver such extraordinary results.
Why No-Bake Chocolate Peanut Butter Bars Are a Hit
Ingredients for No-Bake Chocolate Peanut Butter Bars
Base Ingredients:Fat and Flavor Layer:Optional Garnish:How to Prepare No-Bake Chocolate Peanut Butter Bars
Step 1: Craft Peanut Butter Base
Grab a spacious mixing bowl and combine:Stir everything together until the mixture transforms into a smooth, cohesive blend that looks like delicious edible play dough.
Step 2: Create Perfect Foundation Layer
Take your baking pan and gently press the peanut butter mixture into an even, compact layer.
Use the back of a spoon or your fingertips to ensure a smooth, consistent surface that will serve as the delectable base for your bars.
Step 3: Melt Chocolate Topping
Find a microwave-safe bowl and combine:Zap in short 30-second bursts, stirring between each interval.
Continue until the chocolate melts into a silky, glossy mixture that looks like liquid velvet.
Step 4: Spread Chocolate Layer
Pour the molten chocolate mixture over the peanut butter foundation.
Use a spatula to spread it evenly, creating a beautiful, smooth chocolate blanket that covers every inch of the base.
Step 5: Chill and Set
Slide the pan into the refrigerator and let the bars cool and solidify for approximately two hours.
The waiting is the hardest part! Once set, slice into squares and indulge in your homemade treat.
Tips for No-Bake Chocolate Peanut Butter Bars
Flavor Twists on No-Bake Chocolate Peanut Butter Bars
Serving Ideas for No-Bake Chocolate Peanut Butter Bars
Storage Tips for No-Bake Chocolate Peanut Butter Bars
FAQs
Yes, you can substitute almond butter or sunflower seed butter for a different flavor or dietary needs.
Store the bars in an airtight container in the refrigerator for up to 1 week. They’ll maintain their texture and taste best when chilled.
To make it gluten-free, use gluten-free graham cracker crumbs or substitute with ground gluten-free cookies or oats.
Absolutely! Wrap the bars individually in plastic wrap and store in a freezer-safe container for up to 3 months. Thaw in the refrigerator before serving.
Print
Quick and Delectable No-Bake Chocolate Peanut Butter Bars Recipe
- Total Time: 15 minutes
- Yield: 12 1x
Description
Classic no-bake chocolate peanut butter bars merge creamy peanut butter with rich chocolate in a simple, irresistible dessert. Chilled layers create a cool, sweet treat that satisfies chocolate and peanut butter cravings with minimal effort.
Ingredients
Main Ingredients:
- 1 cup creamy peanut butter
- 1 1/2 cups semi-sweet chocolate chips
- 1 cup unsalted butter, melted
Base Ingredients:
- 2 cups graham cracker crumbs
- 1 3/4 cups powdered sugar
Topping Ingredients:
- 1/4 cup peanut butter (for chocolate topping)
Instructions
- Combine melted butter, graham cracker crumbs, powdered sugar, and peanut butter in a medium mixing bowl, stirring until a uniform, cohesive mixture forms.
- Transfer the blended mixture into a greased 9×13-inch baking pan, carefully pressing and distributing it to create a smooth, compact base layer.
- Utilize a microwave-safe container to melt chocolate chips and additional peanut butter, heating in short 30-second increments and stirring between intervals until the chocolate achieves a glossy, completely melted consistency.
- Gently cascade the molten chocolate mixture over the prepared peanut butter foundation, using a spatula to ensure an even, consistent coating across the entire surface.
- Place the pan in the refrigerator for approximately 2 hours, allowing the bars to solidify and develop a firm, crisp texture.
- Once thoroughly chilled and set, remove from refrigerator and slice into individual rectangular servings, ready to be enjoyed as a decadent no-bake dessert.
Notes
- Use room temperature ingredients for smoother mixing and better texture.
- Opt for natural peanut butter without added sugars for a healthier version.
- Line the baking pan with parchment paper for easy removal and clean cutting of bars.
- Experiment with dark chocolate or milk chocolate chips to customize flavor profile.
- Prep Time: 15 minutes
- Cook Time: 0 minutes
- Category: Snacks, Desserts
- Method: Refrigerating
- Cuisine: American
Nutrition
- Serving Size: 12
- Calories: 320 kcal
- Sugar: 18 g
- Sodium: 120 mg
- Fat: 24 g
- Saturated Fat: 7 g
- Unsaturated Fat: 15 g
- Trans Fat: 0.2 g
- Carbohydrates: 28 g
- Fiber: 2 g
- Protein: 6 g
- Cholesterol: 20 mg
John Conley
Founder & Culinary Storyteller
Expertise
Recipe Development, Culinary Writing, Home Cooking Techniques, Seasonal Ingredient Utilization
Education
Lane Community College, Eugene, OR
Certificate in Culinary Arts
Focused on foundational cooking techniques, kitchen safety, and menu planning.
Gotham Writers Workshop, New York, NY
Course in Food Writing
Explored the art of crafting engaging culinary narratives and recipe development.
John grew up where food meant connection: big bowls, warm kitchens, and meals that told a story. After earning his Certificate in Culinary Arts from Lane Community College and diving deep into food writing at Gotham Writers Workshop, he found his calling: turning everyday recipes into something worth savoring.
At The Liffey, John’s focus is all about crafting dishes that feel easy, honest, and full of heart.