The Fluffiest Pink Velvet Cookie Recipe Ever Made
Sweet dreams bloom when you mix this delightful pink velvet cookie recipe into your baking adventure.
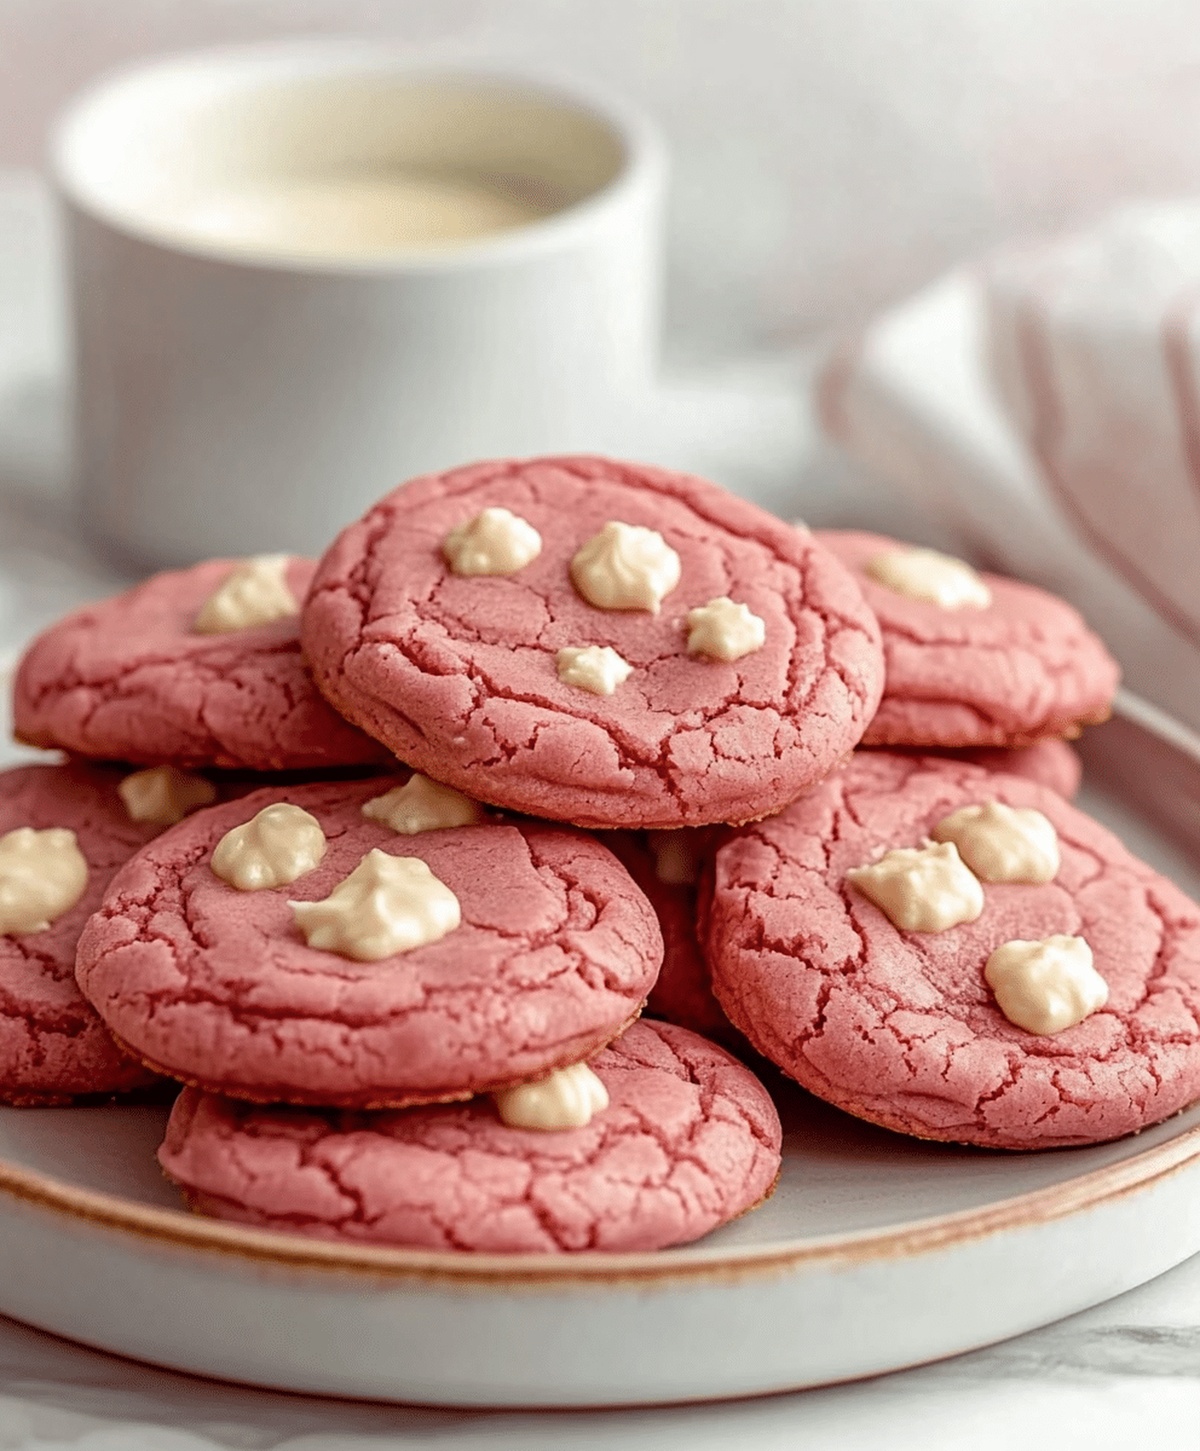
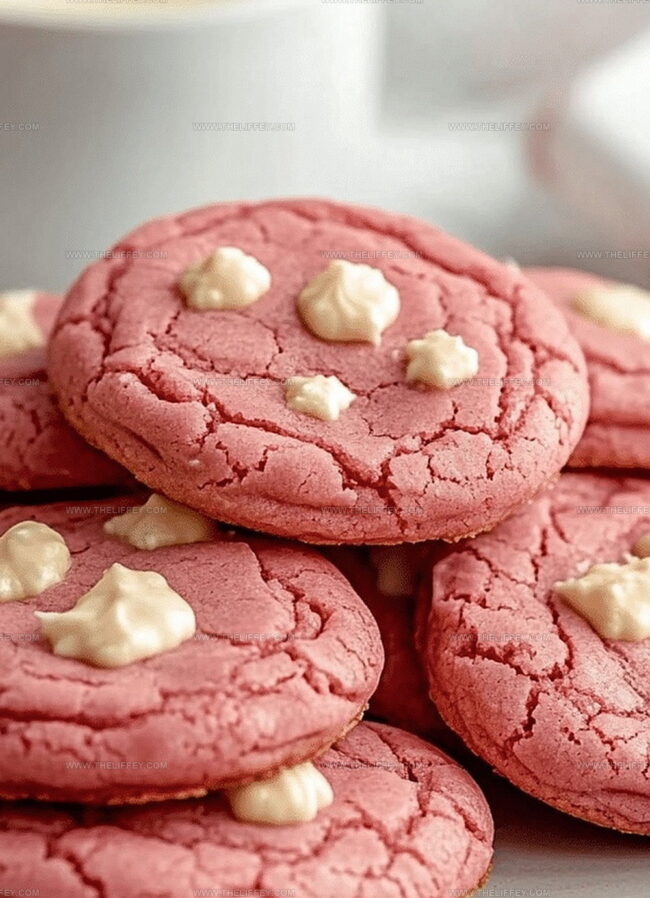
Soft, cloud-like textures promise pure delight with every bite.
Blush-colored cookies carry a magical charm that melts hearts instantly.
Delicate hints of vanilla dance through each perfectly crafted morsel.
Rich cream cheese brings unexpected smoothness to these stunning treats.
Kitchen magic happens when simple ingredients transform into something extraordinary.
You’ll want to share these beauties with everyone around you.
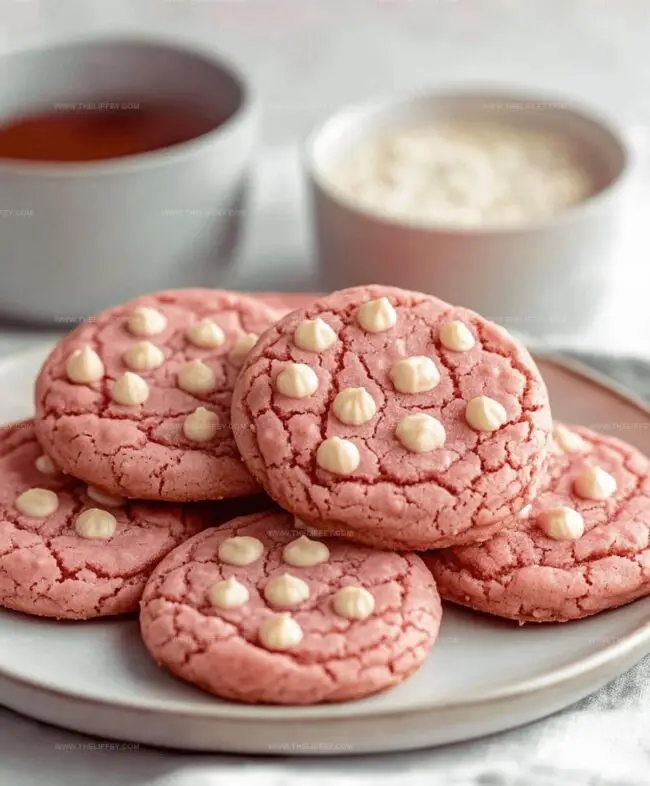
Pink Velvet Cookie: Sweet and Soft Treats
Ingredients for Pink Velvet Cookies
Dry Ingredients:Wet Ingredients:Optional Add-Ins:How to Bake Pink Velvet Cookies
Step 1: Prepare Baking Station
Grab your baking sheet and line it with parchment paper.
Set your oven to warm up at 350°F (175°C) so it’s perfectly ready for your cookie adventure.
Step 2: Create Dry Ingredient Blend
Whisk together your flour, baking powder, baking soda, and salt in a mixing bowl.
Make sure everything is evenly distributed for smooth cookie perfection.
Step 3: Cream Butter and Sugar
In another bowl, beat butter and sugar until they transform into a fluffy, creamy mixture that looks light and airy.
This is where the magic begins!
Step 4: Add Color and Flavor
Introduce the egg, vanilla extract, and pink food coloring to your butter mixture.
Stir until everything blends into a beautiful rosy-hued batter that looks absolutely dreamy.
Step 5: Combine Wet and Dry Ingredients
Slowly add your dry ingredient blend into the wet mixture.
Gently mix until everything comes together into a soft, cohesive dough.
Don’t overmix – keep it tender!
Step 6: Enhance with Chocolate
If you’re feeling extra indulgent, fold in white chocolate chips.
These little bursts of sweetness will make your cookies irresistible.
Step 7: Shape and Arrange Cookies
Scoop out dollops of dough onto your prepared baking sheet.
Space them evenly to ensure each cookie has room to spread and become perfectly golden.
Step 8: Bake to Perfection
Slide the baking sheet into the oven and bake for 8-10 minutes.
Watch for slightly set edges that signal your cookies are ready to emerge.
Step 9: Cool and Enjoy
Transfer cookies to a wire rack and let them cool.
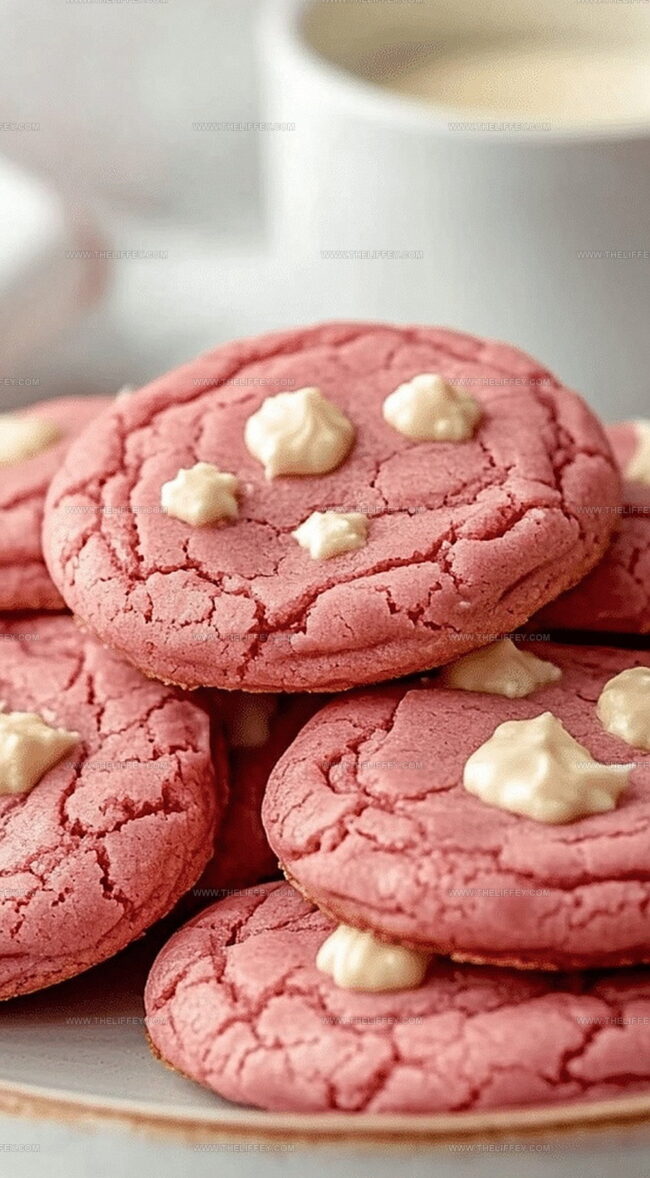
Once they’ve reached a comfortable temperature, dive in and savor your pink velvet cookie creation!
Pro Tips for Perfect Pink Velvet Cookies
Variations to Try with Pink Velvet Cookies
Serving Ideas for Pink Velvet Cookies
Storage Advice for Pink Velvet Cookies
FAQs
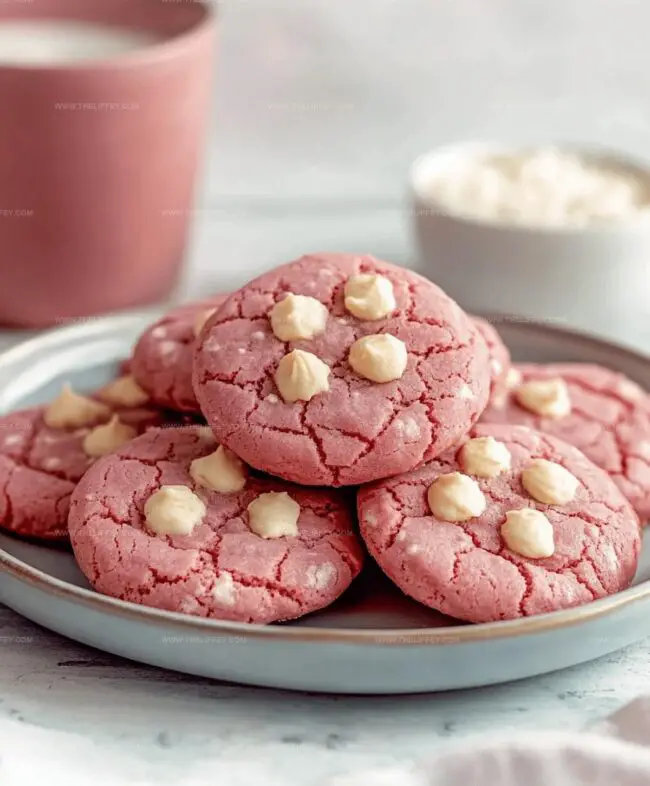
Pink food coloring is added to the cookie dough, creating the beautiful pink velvet hue that makes these cookies visually appealing and unique.
Absolutely! The white chocolate chips are optional, so you can easily omit them if you prefer or don’t have them on hand without affecting the overall recipe.
Yes, they follow a similar concept but use pink food coloring instead of red, offering a lighter, more playful twist on the classic red velvet flavor profile.
Be careful not to overbake the cookies. Remove them from the oven when the edges are set but the centers still look slightly soft, as they will continue to firm up while cooling.
Print
Pink Velvet Cookie Recipe
- Total Time: 30 minutes
- Yield: 24 1x
Description
Delightful pink velvet cookies offer a whimsical twist on classic red velvet treats. Crimson-hued cookie lovers will adore this simple yet elegant dessert that brings Southern charm to your kitchen.
Ingredients
Main Ingredients:
- 1 1/2 cups all-purpose flour
- 1/2 cup unsalted butter, softened
- 3/4 cup granulated sugar
- 1 large egg
Leavening Agents:
- 1/2 teaspoon baking powder
- 1/4 teaspoon baking soda
- 1/4 teaspoon salt
Additional Ingredients:
- 1 teaspoon vanilla extract
- 2–3 drops pink food coloring
- 1/2 cup white chocolate chips (optional)
Instructions
- Prepare a baking sheet by lining with parchment paper and heating the oven to 350F (175C).
- Combine dry ingredients in a mixing bowl, thoroughly whisking flour, baking powder, baking soda, and salt until evenly distributed.
- Create a creamy base by vigorously beating butter and sugar until light and fluffy.
- Incorporate egg, vanilla extract, and vibrant pink food coloring into the butter mixture, blending until smooth and uniform.
- Gradually introduce dry ingredients to the wet mixture, stirring gently until a cohesive dough forms without overmixing.
- Enhance the cookie texture by delicately folding in white chocolate chips, ensuring even distribution throughout the dough.
- Use a cookie scoop to portion dough onto the prepared baking sheet, maintaining consistent spacing to allow proper spreading.
- Bake in the preheated oven for 8-10 minutes, watching for set edges and a slightly soft center.
- Transfer cookies to a wire cooling rack, allowing them to rest and firm up before serving, which helps develop their final texture and flavor.
Notes
- Adjust food coloring intensity by adding drops gradually to achieve desired pink hue without affecting cookie texture.
- Chill dough for 30 minutes before baking to prevent excessive spreading and maintain cookie shape.
- Swap white chocolate chips with dark or milk chocolate for varied flavor profiles and personalized twist.
- Use gel food coloring for more vibrant pink color and better color concentration compared to liquid versions.
- Prep Time: 20 minutes
- Cook Time: 10 minutes
- Category: Snacks, Desserts
- Method: Baking
- Cuisine: American
Nutrition
- Serving Size: 24
- Calories: 140
- Sugar: 9 g
- Sodium: 80 mg
- Fat: 7 g
- Saturated Fat: 4 g
- Unsaturated Fat: 3 g
- Trans Fat: 0 g
- Carbohydrates: 19 g
- Fiber: 0.5 g
- Protein: 1.5 g
- Cholesterol: 25 mg
Amanda Bennett
Recipe Curator & Culinary Educator
Expertise
Baking and Pastry Arts, Recipe Testing and Development, Culinary Instruction, Food Styling and Photography
Education
Asheville-Buncombe Technical Community College, Asheville, NC
Diploma in Culinary Arts
Emphasized practical cooking skills, nutrition, and kitchen management.
Cambridge School of Culinary Arts, Cambridge, MA
Certificate in Professional Pastry Arts
Specialized in baking techniques, dessert presentation, and flavor profiling
Amanda’s roots run deep in the Southern hills, where every meal started fresh from the garden and every dessert came with a story. She trained at Asheville-Buncombe Technical Community College and sharpened her pastry skills at the Cambridge School of Culinary Arts, blending classic technique with everyday charm.
At The Liffey, Amanda’s passion is making baking and home cooking feel natural and joyful. She’s all about single recipes that are simple enough for a busy afternoon, but special enough to make someone’s day a little sweeter.