Quick and Cozy Pumpkin Crisp Recipe for Warm Fall Nights
Autumn whispers secrets of comfort through this delectable pumpkin crisp recipe that promises warmth in every single bite.
Seasonal ingredients dance together, creating a symphony of sweet and crunchy textures.
Fragrant spices weave magic into a dessert that feels like a cozy embrace.
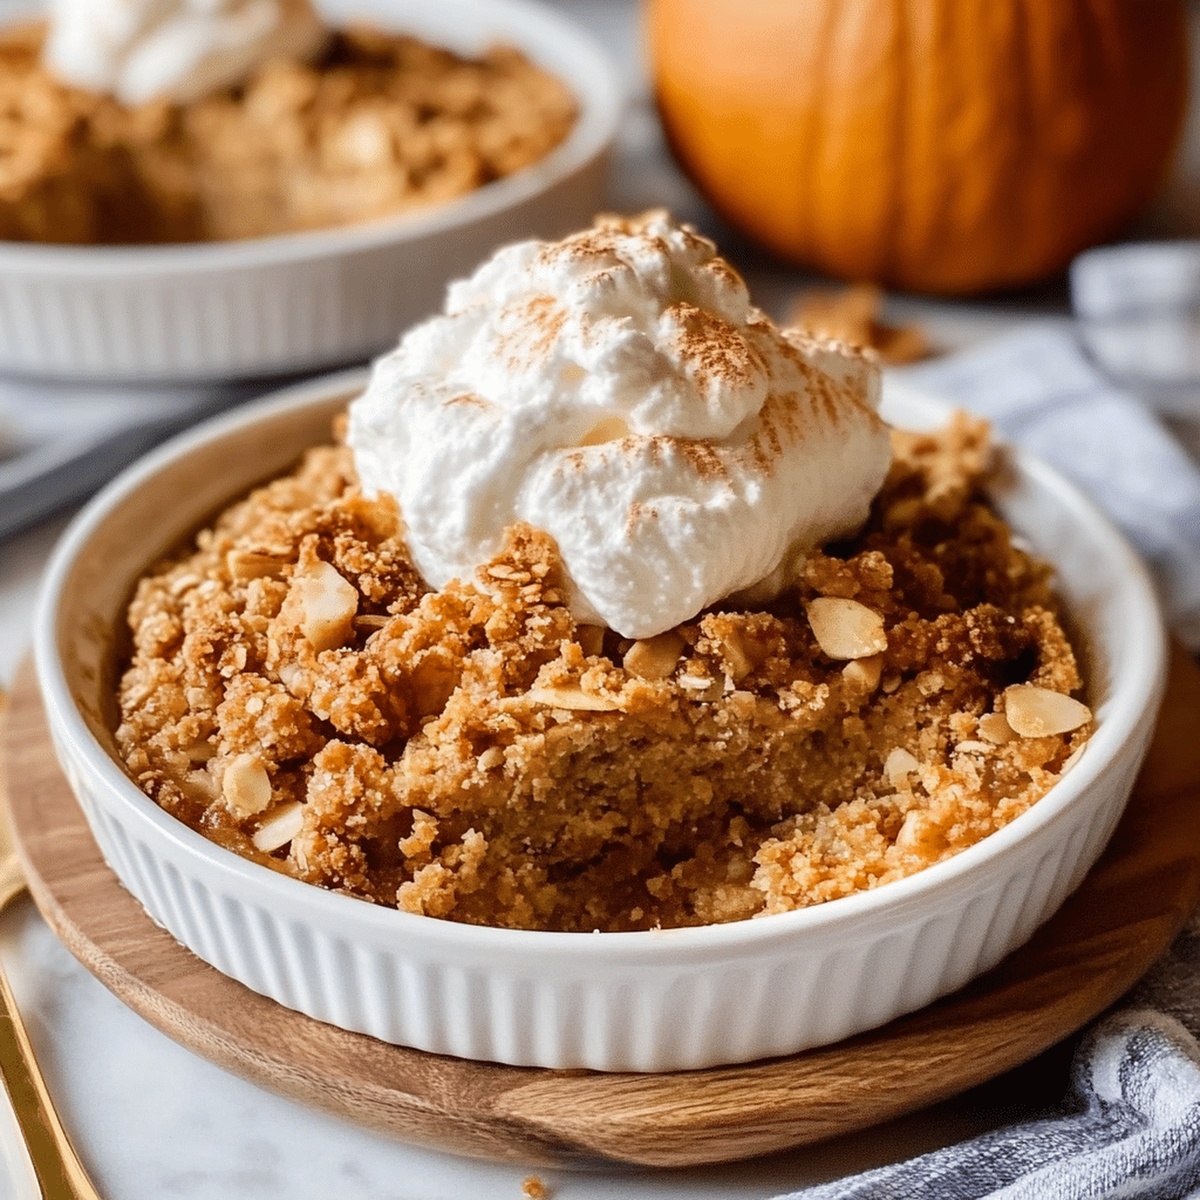
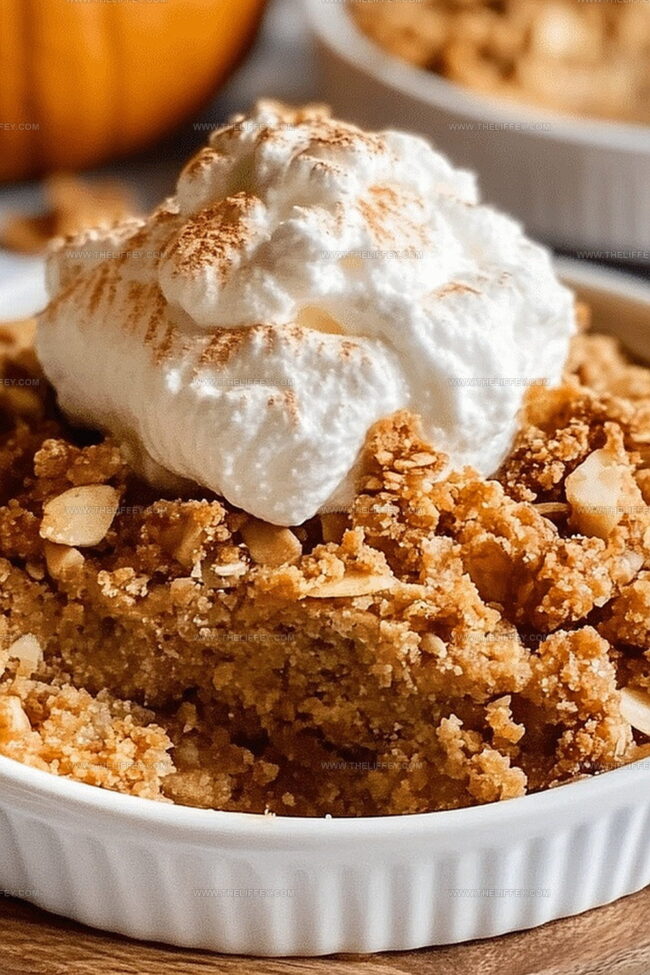
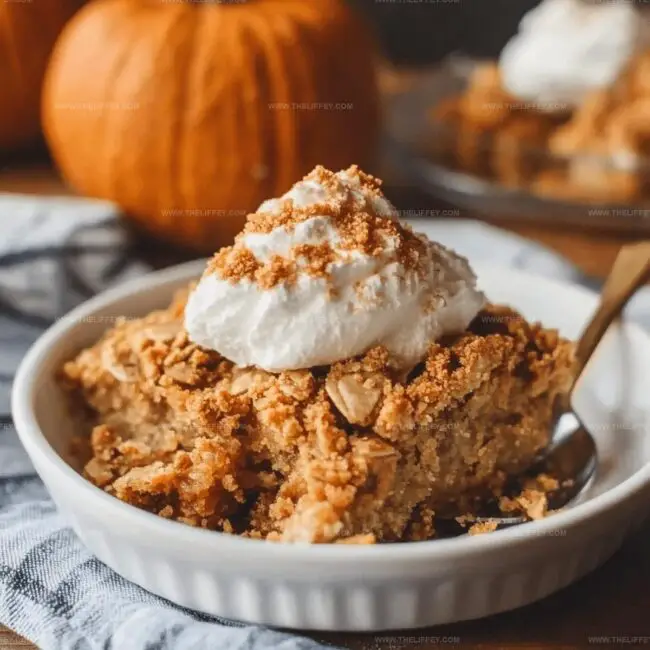
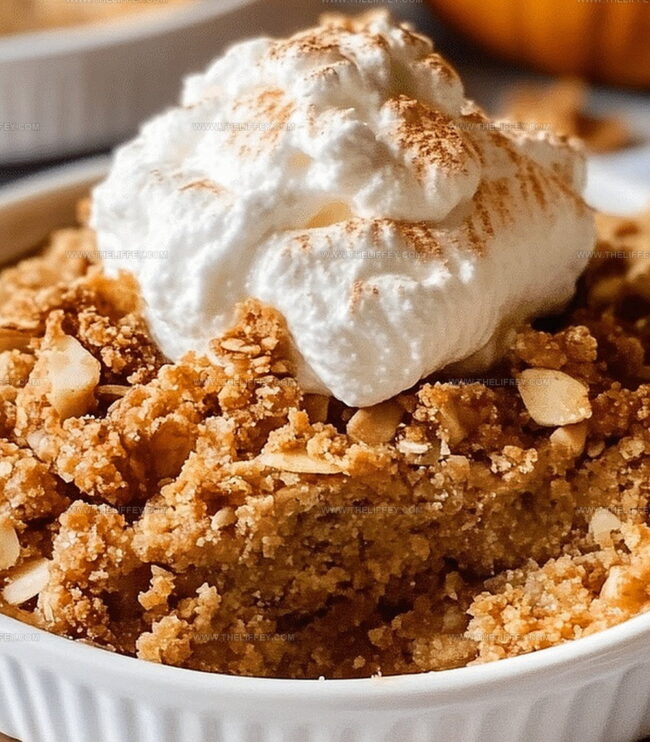
Crumbling layers of buttery topping melt seamlessly over soft pumpkin filling, inviting you to savor each heavenly spoonful.
Rustic and elegant, this dessert becomes an instant crowd-pleaser at any gathering.
Baking this treat fills your kitchen with irresistible aromas that beckon everyone closer.
You’ll want to dive right in and experience pure seasonal bliss with this unforgettable pumpkin crisp.
What Makes Pumpkin Crisp a Fall Favorite
Ingredients for Pumpkin Crisp
Pumpkin Base:Liquid Ingredients:Crisp Topping:Binding Ingredient:How to Bake a Perfect Pumpkin Crisp
Step 1: Warm Up The Oven
Crank your oven to a toasty 350F (175C) so it’s ready for baking.
Step 2: Create Silky Pumpkin Base
In a large mixing bowl, whisk together:Blend until everything looks smooth and creamy.
Step 3: Prepare Baking Dish
Pour the luscious pumpkin mixture into a greased baking dish, spreading it evenly.
Step 4: Mix Crunchy Topping Ingredients
In a separate bowl, combine:Step 5: Create Crumbly Texture
Use a pastry cutter or your fingers to work butter into the dry ingredients until the mixture looks like coarse, bumpy crumbs.
Step 6: Add Crispy Topping
Sprinkle the oat mixture generously and evenly over the pumpkin base.
Step 7: Bake To Golden Perfection
Slide the dish into the preheated oven and bake for 40-45 minutes.
You’ll know it’s done when the topping turns a beautiful golden brown and the filling sets.
Step 8: Cool And Serve
Let the pumpkin crisp rest for a few minutes before serving to allow it to set and cool slightly.
Tips for Crispy Topping and Filling
Flavor Variations for Pumpkin Crisp
Serving Ideas for Pumpkin Crisp
How to Store Pumpkin Crisp Properly
FAQs
No, pumpkin crisp has a crunchy oat topping instead of a traditional pie crust, making it more textured and less dense than a classic pumpkin pie.
Yes, you can use fresh roasted and pureed pumpkin, but canned pumpkin puree provides consistent texture and flavor with less preparation work.
The crisp is done when the topping turns golden brown and the pumpkin filling looks set, with minimal jiggling when you gently shake the baking dish.
Print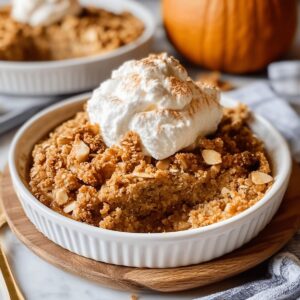
Perfect Pumpkin Crisp Recipe
- Total Time: 1 hour 5 minutes
- Yield: 8 1x
Description
Delightful pumpkin crisp brings autumn’s warmth to classic dessert lovers. Crunchy topping and silky pumpkin filling create perfect balance, while simple ingredients ensure you can easily craft this seasonal favorite.
Ingredients
Main Ingredients:
- 15 ounces (425 grams) pumpkin puree
- 2 eggs
- 12 ounces (354 milliliters) evaporated milk
Dry Ingredients:
- 1 cup (200 grams) sugar
- 1 cup (120 grams) all-purpose flour
- 1 cup (90 grams) oats
- 1 cup (220 grams) brown sugar
- 1 teaspoon baking powder
- 1/2 teaspoon salt
Seasonings and Flavor Enhancers:
- 2 teaspoons pumpkin pie spice
- 1 teaspoon vanilla extract
- 1/2 cup (113 grams) butter
Instructions
- Grease a baking dish to prevent sticking and prepare for the pumpkin base.
- Whisk pumpkin puree, sugar, pumpkin pie spice, vanilla, eggs, and evaporated milk until completely smooth and well-blended.
- Transfer the creamy pumpkin mixture into the prepared baking dish, spreading it evenly across the bottom.
- Create the crisp topping by combining flour, oats, brown sugar, baking powder, and salt in a separate mixing bowl.
- Using a pastry cutter or fork, incorporate cold butter into the dry ingredients until the mixture forms rough, uneven crumbs with a sandy texture.
- Generously distribute the crumbly oat topping across the entire surface of the pumpkin base, ensuring complete coverage.
- Place the dish in a preheated oven at 350F (175C) and bake for 40-45 minutes, watching for a golden-brown topping and a firm, set pumpkin filling.
- Remove from oven and allow the crisp to cool for 10-15 minutes, which helps it set and makes serving easier.
- Slice and serve warm, optionally garnishing with whipped cream or vanilla ice cream.
Notes
- Use fresh pumpkin puree for an enhanced, rich flavor that elevates the entire dessert.
- Swap butter with coconut oil to make this recipe dairy-free and add a subtle tropical hint.
- Control sweetness by reducing sugar or using alternative sweeteners like maple syrup or stevia for a healthier version.
- Toast the oats before mixing to develop a deeper, nuttier crunch that adds complexity to the crisp’s texture.
- Prep Time: 20 minutes
- Cook Time: 45 minutes
- Category: Desserts, Snacks
- Method: Baking
- Cuisine: American
Nutrition
- Serving Size: 8
- Calories: 250 kcal
- Sugar: 18 g
- Sodium: 150 mg
- Fat: 10 g
- Saturated Fat: 6 g
- Unsaturated Fat: 4 g
- Trans Fat: 0.2 g
- Carbohydrates: 35 g
- Fiber: 3 g
- Protein: 4 g
- Cholesterol: 45 mg
John Conley
Founder & Culinary Storyteller
Expertise
Recipe Development, Culinary Writing, Home Cooking Techniques, Seasonal Ingredient Utilization
Education
Lane Community College, Eugene, OR
Certificate in Culinary Arts
Focused on foundational cooking techniques, kitchen safety, and menu planning.
Gotham Writers Workshop, New York, NY
Course in Food Writing
Explored the art of crafting engaging culinary narratives and recipe development.
John grew up where food meant connection: big bowls, warm kitchens, and meals that told a story. After earning his Certificate in Culinary Arts from Lane Community College and diving deep into food writing at Gotham Writers Workshop, he found his calling: turning everyday recipes into something worth savoring.
At The Liffey, John’s focus is all about crafting dishes that feel easy, honest, and full of heart.