
Dreamy No Bake Oreo Cheesecake Recipe for Sweet Bliss
Whipping up a delectable no bake Oreo cheesecake promises pure dessert magic without turning on the oven.
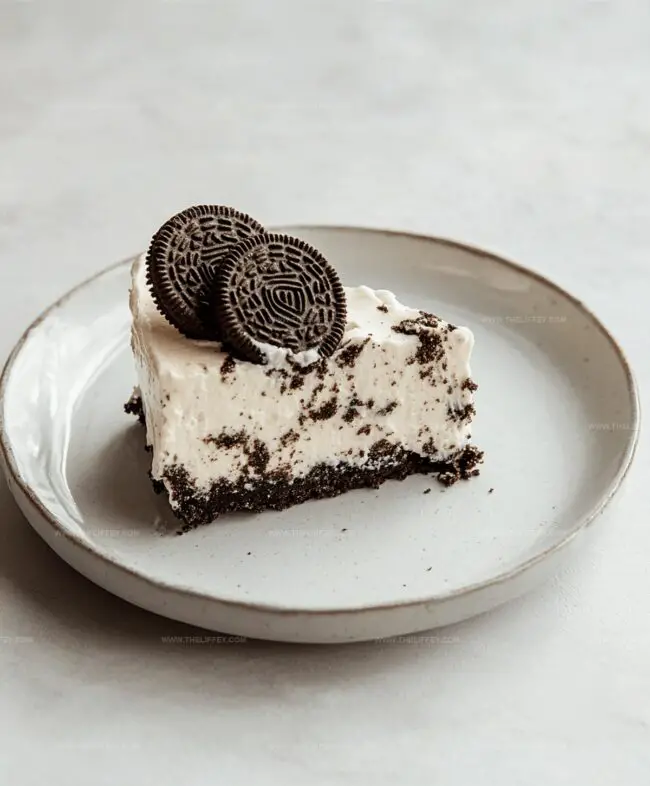
Creamy layers of crushed cookies and smooth cream cheese create an irresistible treat that melts in your mouth.
Sweet textures combine effortlessly, making this dessert a crowd-pleaser for any gathering.
Minimal ingredients and simple preparation mean you can craft this indulgent masterpiece in minutes.
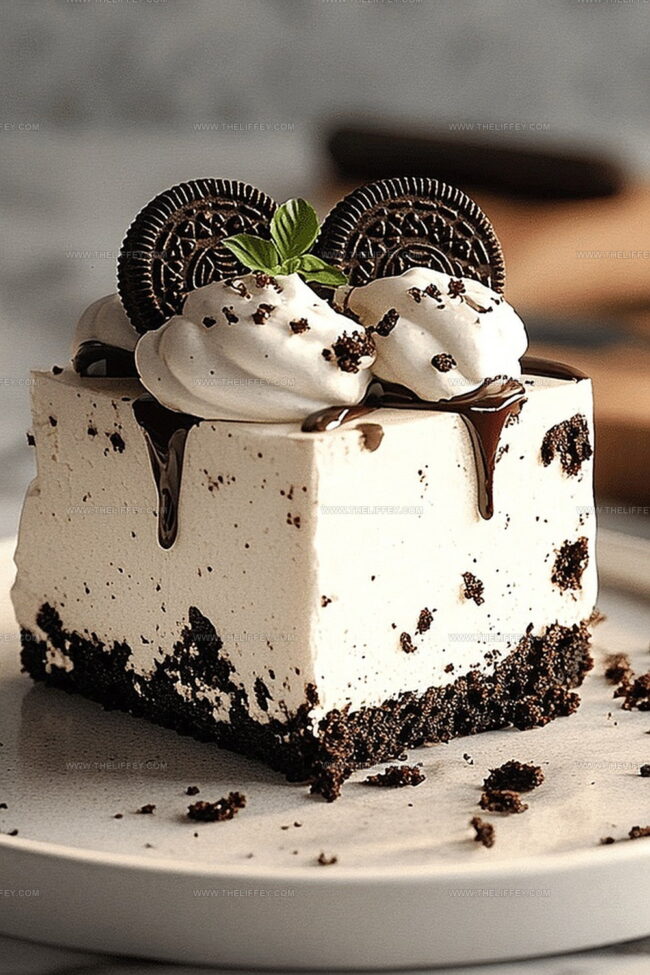
Cool and rich, each slice delivers a perfect balance of chocolate crunch and silky filling.
Chilled perfection awaits with this foolproof recipe that looks like you spent hours in the kitchen.
One bite, and you’ll understand why this no bake sensation will become your new favorite dessert.
Why No Bake Oreo Cheesecake Is So Good
Ingredients For No Bake Oreo Cheesecake
Crust Ingredients:Filling Ingredients:Garnish (Optional):How To Assemble No Bake Oreo Cheesecake
Step 1: Crush Oreo Cookies
Place Oreo cookies in a food processor or sealed plastic bag. Crush the cookies into fine crumbs using a rolling pin or pulse in the food processor until completely broken down.
Step 2: Create Crust Base
Mix the crushed Oreo crumbs with melted butter until the mixture becomes slightly wet and holds together. Press the mixture firmly into the bottom of a 9-inch springform pan, creating an even layer.
Use the back of a spoon or flat-bottomed glass to compact the crust. Place the pan in the refrigerator to set while preparing the filling.
Step 3: Whip Cream Cheese Mixture
In a large mixing bowl, beat the cream cheese until smooth and creamy. Add powdered sugar and vanilla extract, continuing to mix until the ingredients are fully incorporated and the mixture is light and fluffy.
Step 4: Prepare Whipped Cream
In a separate bowl, whip the heavy cream until stiff peaks form. This means the cream stands up straight when the whisk is lifted and maintains its shape.
Step 5: Combine Filling
Gently fold the whipped cream into the cream cheese mixture, creating a light and airy filling. Be careful not to deflate the whipped cream while mixing.
Step 6: Add Oreo Pieces
Roughly chop additional Oreo cookies. Fold the chopped cookies into the cheesecake filling, distributing them evenly throughout the mixture.
Step 7: Assemble Cheesecake
Pour the Oreo-studded filling over the chilled crust, smoothing the top with a spatula to create an even surface.
Step 8: Chill and Set
Refrigerate the cheesecake for at least 4 hours, or preferably overnight, to allow it to firm up completely.
Step 9: Serve and Garnish
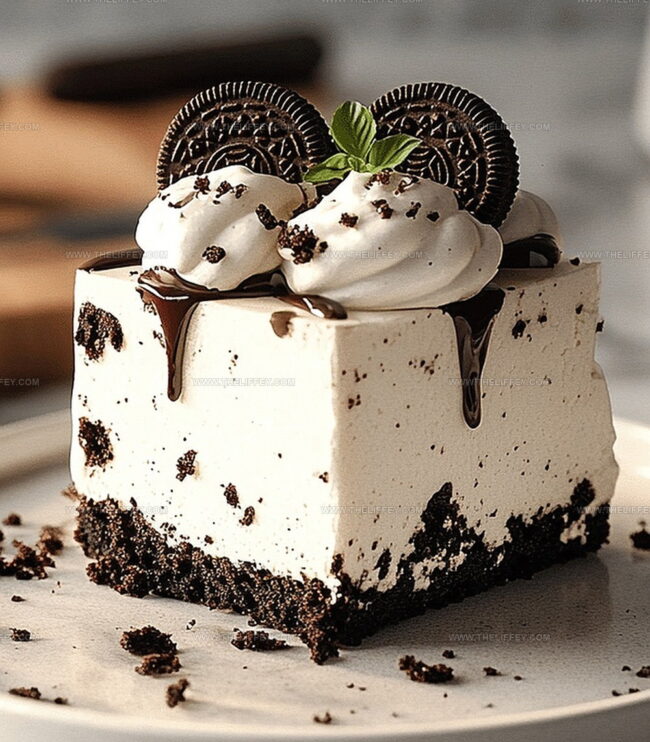
Remove the cheesecake from the springform pan. Optional: Garnish with additional crushed Oreo cookies or whole cookies around the edges.
Slice and serve chilled.
Tips For Perfect No Bake Oreo Cheesecake
Delicious Twists For Oreo Cheesecake
What To Serve With Oreo Cheesecake
Storing No Bake Oreo Cheesecake Safely
FAQs
While you can use low-fat cream cheese, the texture and richness might be slightly different. Full-fat cream cheese provides the best creamy consistency and flavor for a classic no-bake cheesecake.
A springform pan is ideal for easy removal, but you can use a regular cake pan lined with parchment paper. Just be extra careful when removing the cheesecake to prevent cracking.
The cheesecake will stay fresh in the refrigerator for up to 5 days when stored in an airtight container. Make sure to cover it properly to maintain its texture and prevent absorbing other flavors.
Print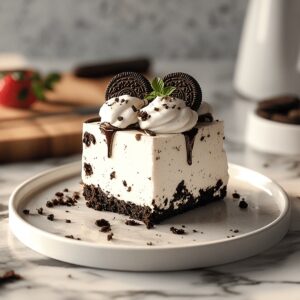
Perfect No Bake Oreo Cheesecake Recipe
- Total Time: 4 hours 25 minutes
- Yield: 8 1x
Description
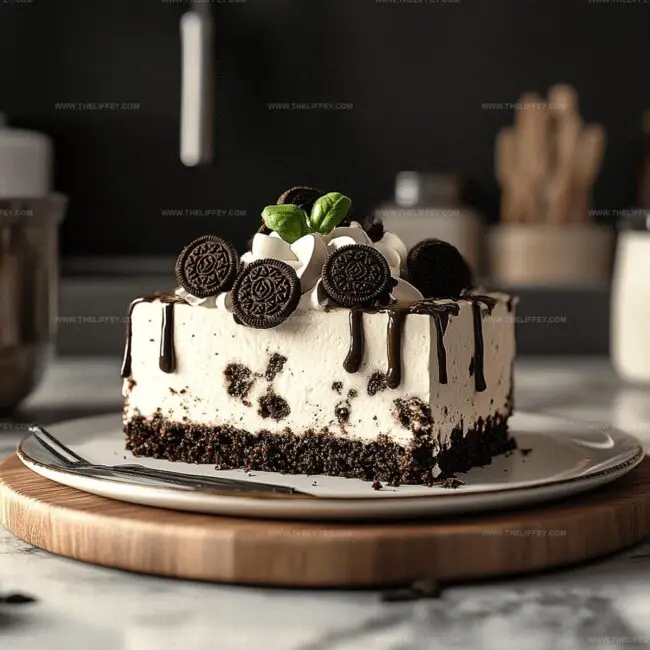
Creamy no bake oreo cheesecake promises pure indulgence with its silky texture and chocolate cookie crust. Dessert enthusiasts will savor each rich, chocolatey bite of this simple yet irresistible treat.
Ingredients
Oreo Cookies:
- 24 Oreo cookies (crushed for crust)
- 12 Oreo cookies (roughly chopped for filling)
Dairy:
- 16 ounces (454 grams) cream cheese (softened)
- 1 1/2 cups (360 milliliters) heavy whipping cream
- 4 tablespoons (57 grams) unsalted butter (melted, for crust)
Sweeteners and Flavoring:
- 1 cup (120 grams) powdered sugar
- 1 teaspoon (5 milliliters) vanilla extract
Instructions
- Crush Oreo cookies into fine crumbs, then blend thoroughly with melted butter to create a cohesive base mixture.
- Press the moistened cookie crumb mixture firmly into the bottom of a springform pan, creating an even, compact layer.
- Chill the prepared crust in the refrigerator for 15 minutes to help it set and solidify.
- Using an electric mixer, whip cream cheese until completely smooth and free of lumps.
- Incorporate powdered sugar and vanilla extract into the cream cheese, mixing until the texture becomes light and fluffy.
- In a separate chilled bowl, whip heavy cream until it develops stiff, billowy peaks that hold their shape.
- Gently fold the whipped cream into the cream cheese mixture, maintaining the airy consistency.
- Roughly chop additional Oreo cookies and fold them delicately into the creamy filling, ensuring even distribution.
- Transfer the filling onto the chilled crust, smoothing the surface with a spatula to create an even layer.
- Refrigerate the cheesecake for 4-6 hours, or preferably overnight, to allow it to set completely and develop robust flavors.
- Before serving, garnish with additional crushed Oreo cookies for extra crunch and visual appeal.
Notes
- Crush Oreos finely to create a smooth, uniform crust that holds together perfectly when sliced.
- Use room temperature cream cheese to ensure a silky, lump-free filling that blends seamlessly.
- Fold whipped cream gently to maintain its light, airy texture and prevent deflating the mixture.
- Refrigerate cheesecake overnight for the most intense flavor and firmest consistency.
- Prep Time: 25 minutes
- Cook Time: 4 hours
- Category: Desserts
- Method: Refrigerating
- Cuisine: American
Nutrition
- Serving Size: 8
- Calories: 430 kcal
- Sugar: 35 g
- Sodium: 210 mg
- Fat: 29 g
- Saturated Fat: 17 g
- Unsaturated Fat: 10 g
- Trans Fat: 0.5 g
- Carbohydrates: 38 g
- Fiber: 1.5 g
- Protein: 6 g
- Cholesterol: 95 mg
John Conley
Founder & Culinary Storyteller
Expertise
Recipe Development, Culinary Writing, Home Cooking Techniques, Seasonal Ingredient Utilization
Education
Lane Community College, Eugene, OR
Certificate in Culinary Arts
Focused on foundational cooking techniques, kitchen safety, and menu planning.
Gotham Writers Workshop, New York, NY
Course in Food Writing
Explored the art of crafting engaging culinary narratives and recipe development.
John grew up where food meant connection: big bowls, warm kitchens, and meals that told a story. After earning his Certificate in Culinary Arts from Lane Community College and diving deep into food writing at Gotham Writers Workshop, he found his calling: turning everyday recipes into something worth savoring.
At The Liffey, John’s focus is all about crafting dishes that feel easy, honest, and full of heart.