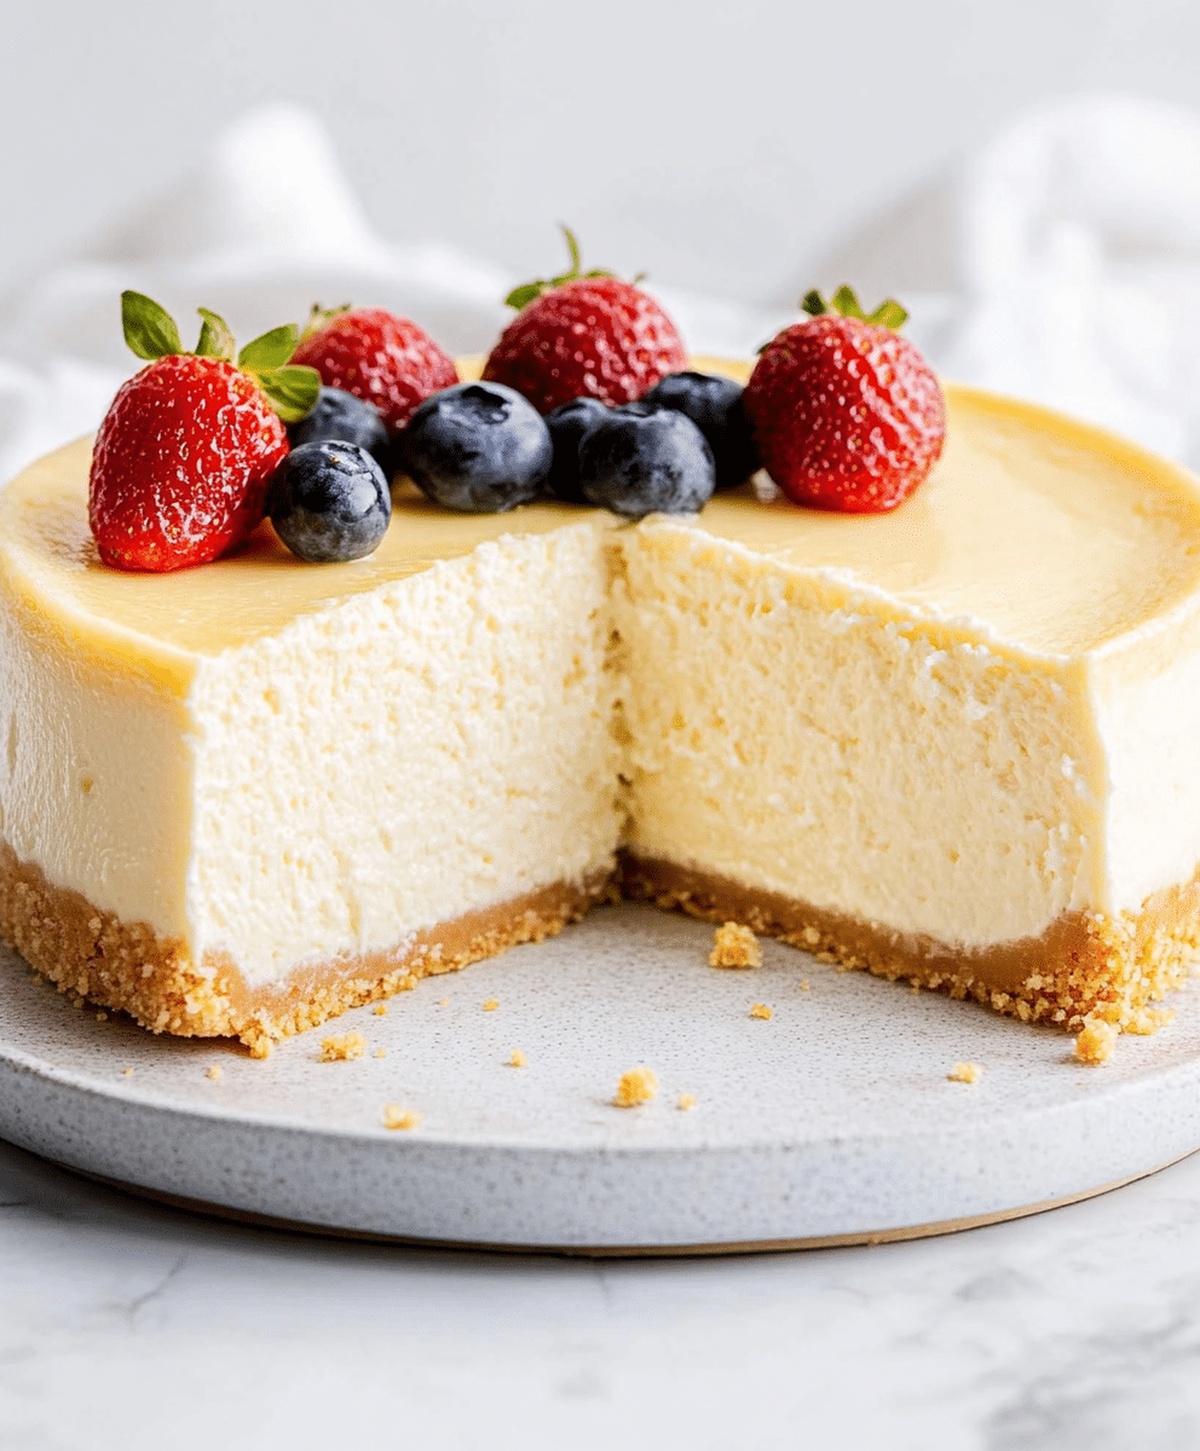
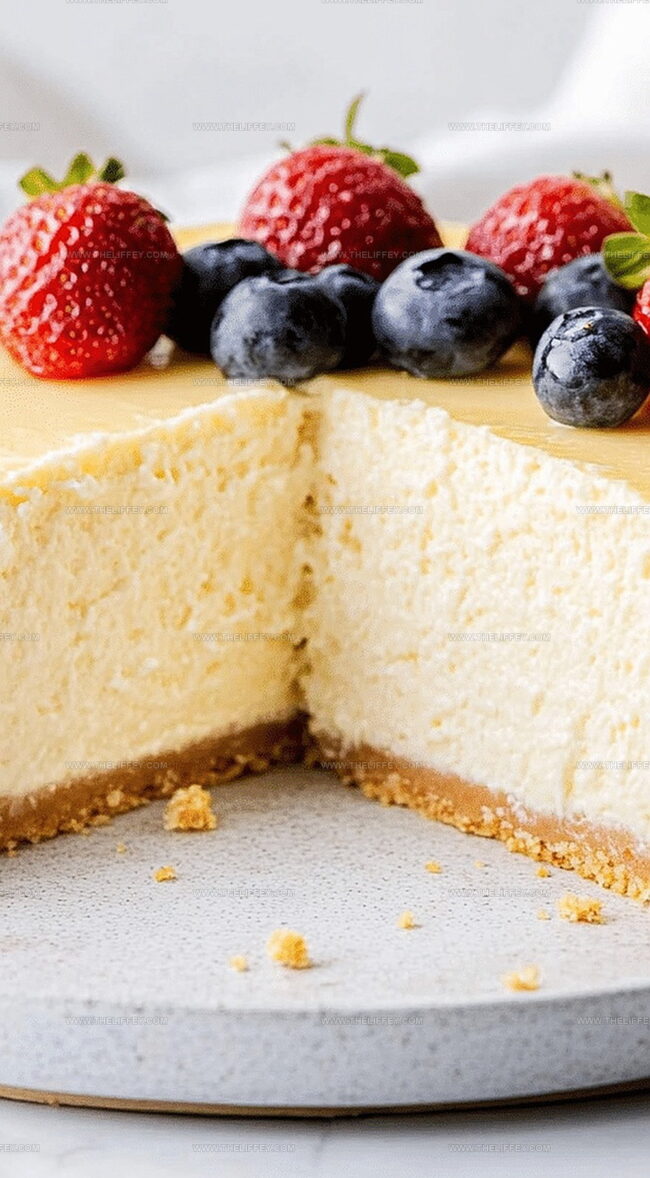
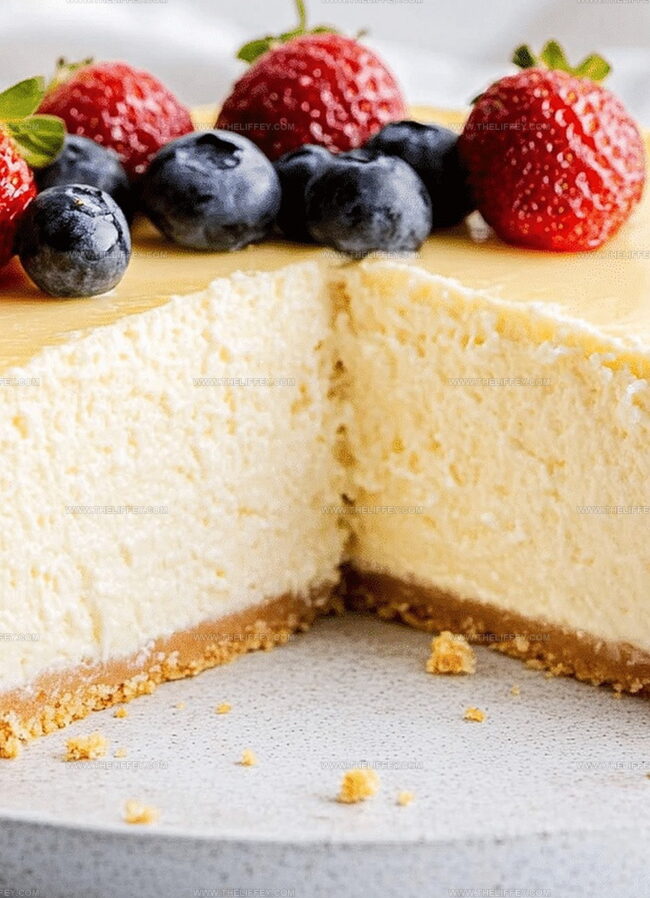
Silky Dream: The Perfect Cheesecake Water Bath Recipe
Mastering a creamy cheesecake water bath demands precision and gentle technique.
Baking delicate desserts requires special care to prevent cracking or uneven surfaces.
Professional pastry chefs swear by this method for achieving silky smooth textures.
Ceramic dishes protect your cheesecake from direct heat, creating an even cooking environment.
Moisture plays a critical role in preventing those dreaded surface fissures.
Careful temperature control helps you craft a dessert that looks as stunning as it tastes.
Let’s dive into a foolproof approach that transforms an ordinary cheesecake into a culinary masterpiece.
Mastering the Cheesecake Water Bath Method
Detailed Ingredients for Water Bath Cheesecake
Crust:Cheesecake Filling:Water Bath Components:How to Achieve a Flawless Water Bath Cheesecake
Step 1: Prep the Oven and Pan
Set your oven to 325°F. Grab a springform pan and prepare it for the delicious journey ahead.
Step 2: Create the Crunchy Crust
Combine graham cracker crumbs and melted butter. Press the mixture firmly into the bottom of the springform pan, creating a solid, delectable base for your cheesecake.
Step 3: Whip Up the Creamy Filling
In a large mixing bowl, beat cream cheese and sugar until the mixture becomes silky smooth and free of lumps. Take your time to ensure a perfectly creamy texture.
Step 4: Incorporate the Eggs
Gently add eggs one at a time, mixing slowly. This careful approach prevents unwanted air bubbles and keeps the filling ultra-smooth and luxurious.
Step 5: Add Flavor Boosters
Stir in vanilla extract and heavy cream, blending until the mixture is completely uniform and irresistibly fragrant.
Step 6: Prepare for the Water Bath
Carefully wrap the outside of the springform pan with aluminum foil to prevent water from seeping in.
Place the wrapped pan inside a larger roasting pan.
Step 7: Create the Magical Water Bath
Slowly pour hot water into the roasting pan, surrounding the cheesecake pan with a warm water embrace.
The water should reach about halfway up the sides of the springform pan.
Step 8: Bake to Perfection
Slide the entire setup into the preheated oven.
Bake for 60-70 minutes, watching for a set yet slightly jiggly center – this is the secret to a creamy cheesecake.
Step 9: Gentle Cooling Process
Turn off the oven and crack the door open.
Let the cheesecake rest in the warm water bath for one hour. This slow cooling prevents cracking and ensures a smooth texture.
Step 10: Chill and Serve
Transfer the cheesecake to the refrigerator. Allow it to chill for at least 4 hours or preferably overnight.
This final step helps the cheesecake set completely and develop its rich, creamy flavor.
Tips for Baking Perfect Water Bath Cheesecake
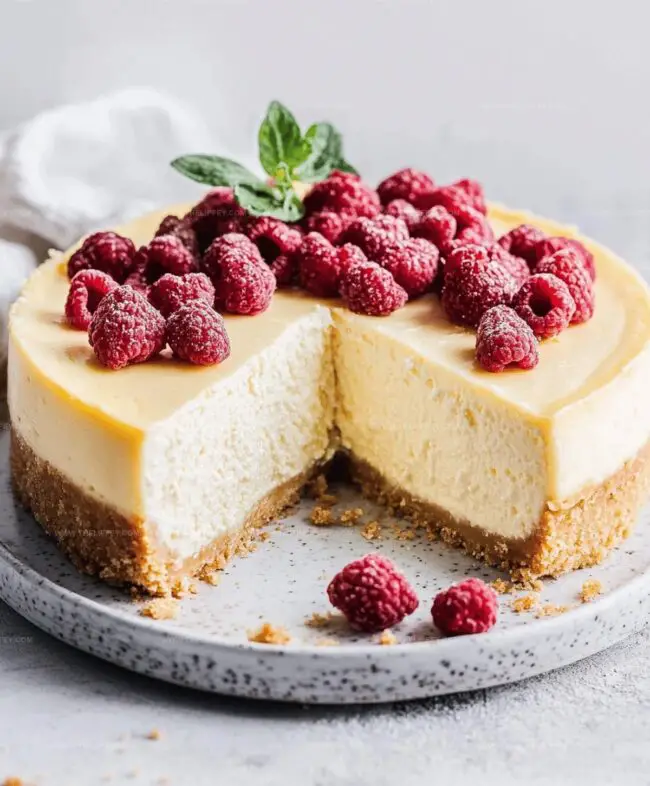
Interesting Twists on Water Bath Cheesecake
Stylish Serving Ideas for Water Bath Cheesecake
Keeping Water Bath Cheesecake Fresh and Creamy
FAQs
A water bath helps distribute heat evenly, prevents cracking, and creates a smooth, creamy texture by keeping the cheesecake moist during baking.
Wrap the outside of the pan with multiple layers of heavy-duty aluminum foil, ensuring it covers the bottom and sides completely to create a watertight seal.
Small cracks are normal. If they bother you, top the cheesecake with whipped cream, fruit, or a ganache to cover any imperfections.
Print
Perfect Cheesecake Water Bath Recipe
- Total Time: 1 hour 25 minutes
- Yield: 8 1x
Description
Classic New York Cheesecake prepared with a water bath method ensures silky, crack-free perfection. Creamy texture and rich flavor make this dessert a luxurious treat you’ll savor with each delightful bite.
Ingredients
Main Ingredients:
- 24 ounces (680 grams) cream cheese
- 1 cup (200 grams) sugar
- 4 large eggs
- 1 tablespoon vanilla extract
Crust Ingredients:
- 1 1/2 cups (180 grams) graham cracker crumbs
- 1/3 cup (75 grams) butter, melted
Additional Ingredients:
- 1/2 cup (120 milliliters) heavy cream
Instructions
- Prepare the oven at 325F (163C) with a rack positioned in the center.
- Combine graham cracker crumbs with melted butter, pressing the mixture firmly into the bottom of a springform pan to create a compact, even crust.
- Using an electric mixer, blend cream cheese and sugar until achieving a silky, lump-free consistency.
- Incorporate eggs individually, gently folding them into the mixture to prevent air pocket formation.
- Delicately blend vanilla extract and heavy cream into the cream cheese base.
- Carefully transfer the cheesecake mixture over the prepared graham cracker crust, ensuring an even distribution.
- Encase the exterior of the springform pan completely with aluminum foil, creating a waterproof barrier.
- Position the foil-wrapped pan inside a larger roasting pan and surround with hot water, reaching approximately halfway up the sides of the springform pan.
- Bake for 60-70 minutes, monitoring until the edges appear set but the center maintains a subtle wobble.
- Switch off the oven, slightly open the door, and allow the cheesecake to gradually cool within the water bath for one hour.
- Refrigerate the cheesecake for a minimum of 4 hours or ideally overnight to achieve optimal texture and flavor development before serving.
Notes
- Gently fold eggs into the cream cheese mixture to minimize air bubbles and reduce the chance of surface cracks.
- Ensure the foil is tightly wrapped to prevent water from seeping into the pan, which can make the crust soggy.
- Allow cream cheese and eggs to reach room temperature before mixing to create a smoother, more consistent texture.
- Swap graham crackers with gluten-free alternatives or use crushed nuts for a low-carb crust option.
- Prep Time: 25 minutes
- Cook Time: 1 hour
- Category: Desserts
- Method: Baking
- Cuisine: American
Nutrition
- Serving Size: 8
- Calories: 420
- Sugar: 24 g
- Sodium: 220 mg
- Fat: 35 g
- Saturated Fat: 20 g
- Unsaturated Fat: 10 g
- Trans Fat: 1 g
- Carbohydrates: 28 g
- Fiber: 1 g
- Protein: 7 g
- Cholesterol: 110 mg
John Conley
Founder & Culinary Storyteller
Expertise
Recipe Development, Culinary Writing, Home Cooking Techniques, Seasonal Ingredient Utilization
Education
Lane Community College, Eugene, OR
Certificate in Culinary Arts
Focused on foundational cooking techniques, kitchen safety, and menu planning.
Gotham Writers Workshop, New York, NY
Course in Food Writing
Explored the art of crafting engaging culinary narratives and recipe development.
John grew up where food meant connection: big bowls, warm kitchens, and meals that told a story. After earning his Certificate in Culinary Arts from Lane Community College and diving deep into food writing at Gotham Writers Workshop, he found his calling: turning everyday recipes into something worth savoring.
At The Liffey, John’s focus is all about crafting dishes that feel easy, honest, and full of heart.