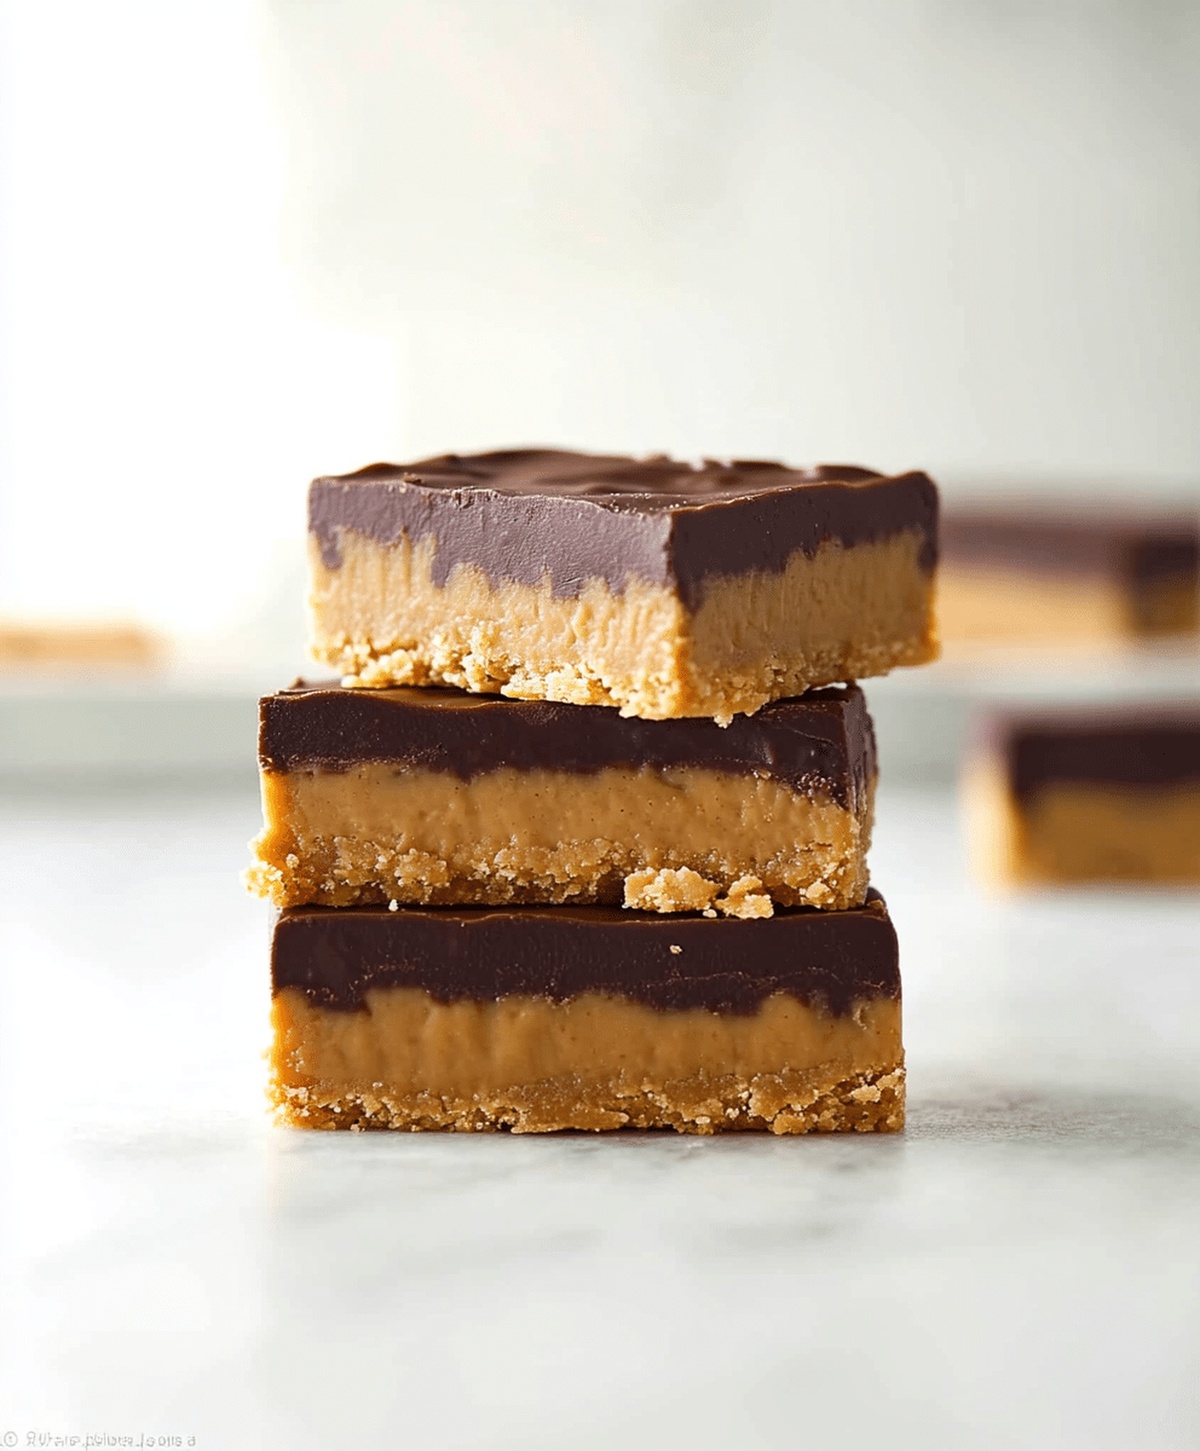
The Tastiest No-Bake Chocolate Peanut Butter Bars Recipe Ever
Whipping up delectable no-bake chocolate peanut butter bars requires minimal effort and maximum flavor excitement.
Sweet tooths will adore this simple dessert that comes together in minutes.
Creamy peanut butter blends seamlessly with rich chocolate, creating an irresistible treat.
Nothing beats the combination of smooth textures and decadent taste in these no-fuss bars.
Cool refrigeration transforms basic ingredients into a mouthwatering sensation that satisfies intense cravings.
Minimal kitchen skills and just a few pantry staples are all you need to craft this delightful indulgence.
Chilled and ready in under an hour, these bars promise to become your new favorite quick dessert.
No-Bake Chocolate Peanut Butter Bars: The Ultimate Treat
Ingredients Needed for No-Bake Chocolate Peanut Butter Bars
Base Ingredients:Chocolate Topping:Optional Garnish:How to Prepare No-Bake Chocolate Peanut Butter Bars
Step 1: Whip Up Creamy Peanut Butter Base
In a large mixing bowl, combine graham cracker crumbs, melted butter, powdered sugar, and peanut butter.
Stir the ingredients thoroughly until you create a smooth, consistent mixture that holds together nicely.
Step 2: Create Solid Foundation
Transfer the prepared mixture into a greased 9×13-inch pan.
Use your hands or a spatula to press the mixture firmly and evenly across the bottom, creating a compact and level base for your bars.
Step 3: Melt Chocolate Topping
Select your preferred method to melt chocolate chips:Add vegetable oil to the chocolate chips and heat gradually, stirring frequently until the chocolate transforms into a silky, glossy mixture.
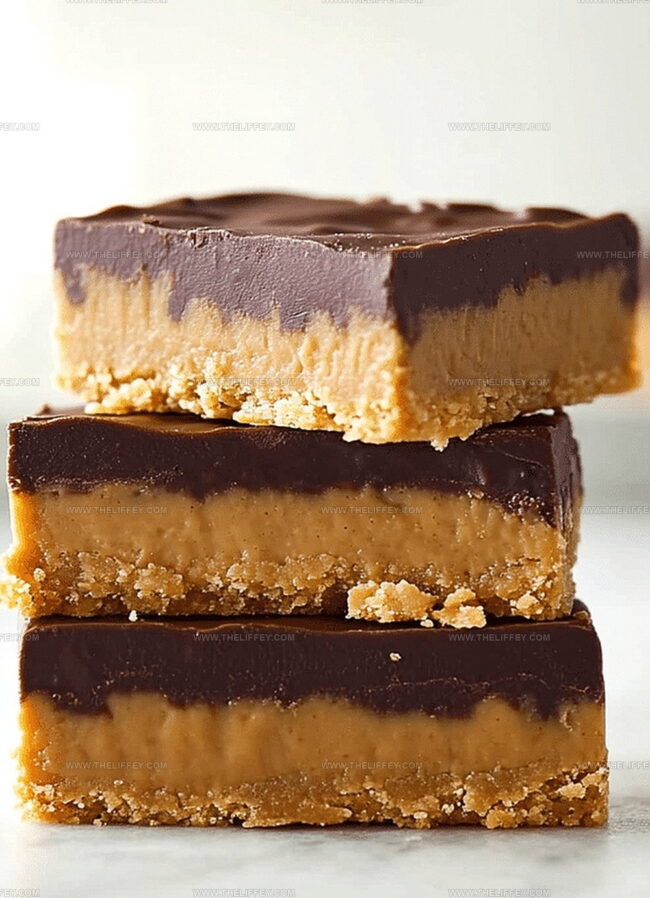
Step 4: Pour Chocolate Layer
Carefully pour the melted chocolate over the peanut butter base.
Use a spatula to spread the chocolate evenly, ensuring complete coverage of the initial layer.
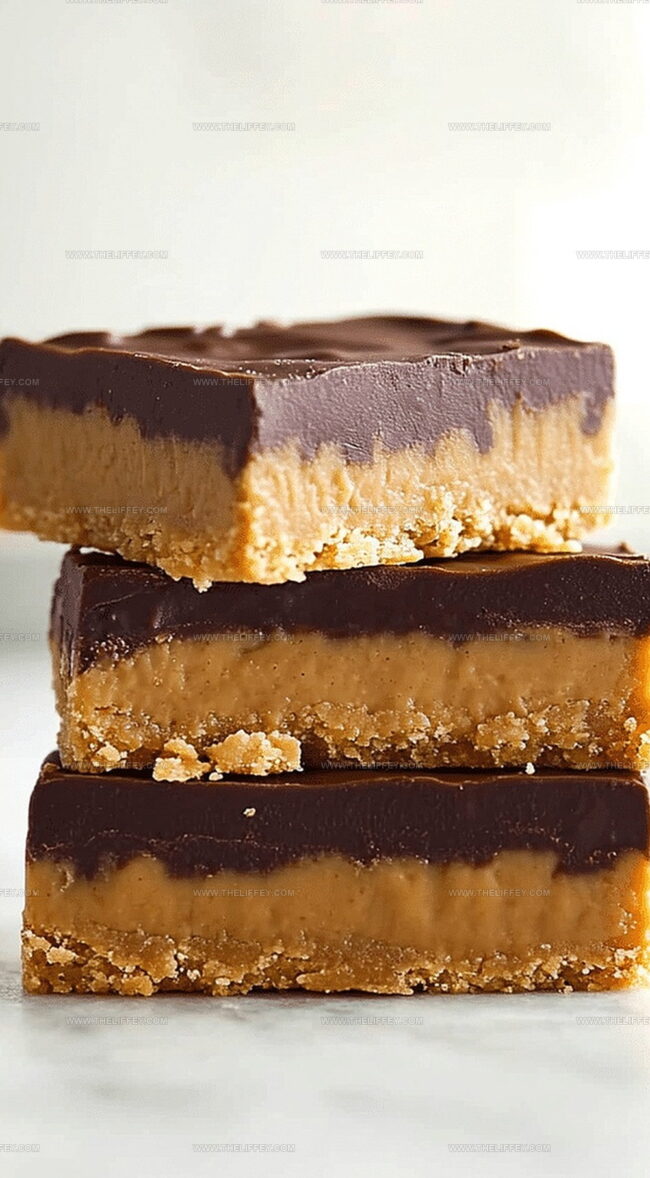
Step 5: Chill and Set
Place the pan in the refrigerator for 2-3 hours.
The bars will become firm and develop a perfect, sliceable texture during this cooling period.
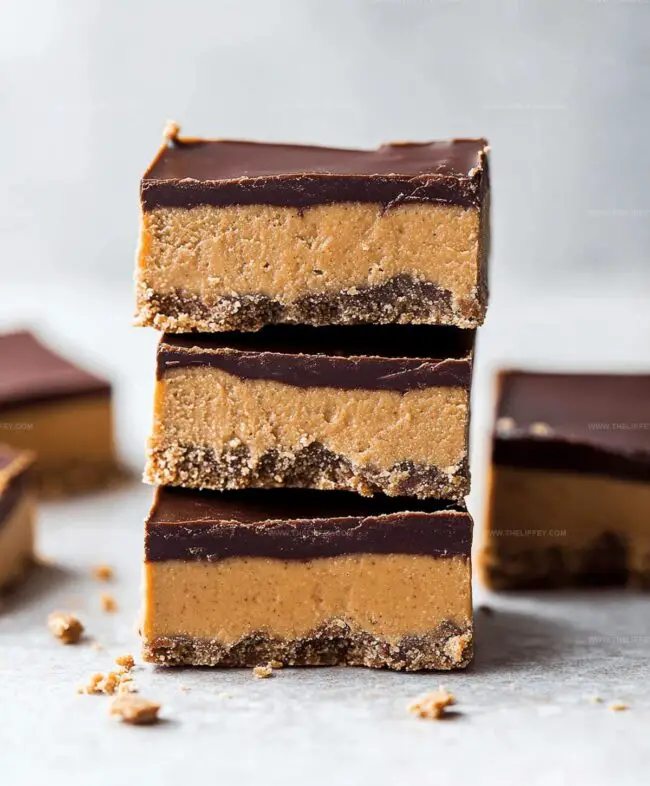
Step 6: Slice and Serve
Remove the pan from the refrigerator.
Cut the chilled dessert into rectangular bars using a sharp knife.
Serve and enjoy your delectable no-bake chocolate peanut butter bars!
Pro Tips for Smooth No-Bake Chocolate Peanut Butter Bars
Delicious Twists on No-Bake Chocolate Peanut Butter Bars
Serving Suggestions for No-Bake Chocolate Peanut Butter Bars
How to Keep No-Bake Chocolate Peanut Butter Bars Fresh
FAQs
Not automatically. Traditional graham crackers contain wheat, so you’ll need to use gluten-free graham crackers or graham cracker substitutes to make this recipe celiac-friendly.
Absolutely! Crunchy peanut butter will add extra texture to the bars and provide a nice nutty bite. Just ensure it’s well-mixed with other ingredients.
These bars should be kept refrigerated and will last about 5-7 days when stored in an airtight container. They’ll become softer if left out for too long.
Print
No-bake Chocolate Peanut Butter Bars Recipe
- Total Time: 20 minutes
- Yield: 12 1x
Description
Irresistible no-bake chocolate peanut butter bars combine creamy peanut butter with rich chocolate for a quick dessert. Chilled bars offer sweet, nutty satisfaction with minimal effort and maximum flavor.
Ingredients
Main Ingredients:
- 1.5 cups creamy peanut butter
- 1.5 cups semisweet chocolate chips
- 1 cup unsalted butter, melted
Base Ingredients:
- 2 cups graham cracker crumbs
Finishing Ingredients:
- 1.5 cups powdered sugar
- 1 tablespoon vegetable oil
Instructions
- Combine graham cracker crumbs, melted butter, powdered sugar, and peanut butter in a mixing bowl, stirring until the mixture becomes uniformly smooth and well-integrated.
- Transfer the blended mixture into a lightly greased 9×13-inch pan, using clean hands or a spatula to firmly press and create an even, compact base layer.
- Carefully melt chocolate chips with vegetable oil using either a microwave in 30-second intervals or a double boiler, gently stirring until the chocolate reaches a completely smooth, glossy consistency.
- Gently pour the molten chocolate over the prepared peanut butter foundation, using a spatula to spread the chocolate in a uniform, edge-to-edge layer.
- Place the pan in the refrigerator and allow the bars to chill and solidify for approximately 2-3 hours, ensuring the chocolate top and peanut butter base become completely firm and set.
- Once thoroughly chilled, remove from refrigerator and slice into rectangular bars using a sharp knife, creating clean, precise cuts for serving.
Notes
- Elevate texture by using high-quality graham crackers for a more robust, crumbly base that enhances overall flavor profile.
- Experiment with different nut butters like almond or cashew for unique taste variations while maintaining creamy consistency.
- Opt for dark chocolate chips to reduce sweetness and add depth, making the bars more sophisticated for adult palates.
- Create gluten-free version by substituting graham cracker crumbs with gluten-free cookie crumbs or ground nuts for a dietary-friendly treat.
- Prep Time: 20 minutes
- Cook Time: 0 minutes
- Category: Snacks, Desserts
- Method: None
- Cuisine: American
Nutrition
- Serving Size: 12
- Calories: 312 kcal
- Sugar: 21 g
- Sodium: 105 mg
- Fat: 23 g
- Saturated Fat: 7 g
- Unsaturated Fat: 15 g
- Trans Fat: 0.1 g
- Carbohydrates: 26 g
- Fiber: 2 g
- Protein: 5 g
- Cholesterol: 22 mg
Amanda Bennett
Recipe Curator & Culinary Educator
Expertise
Baking and Pastry Arts, Recipe Testing and Development, Culinary Instruction, Food Styling and Photography
Education
Asheville-Buncombe Technical Community College, Asheville, NC
Diploma in Culinary Arts
Emphasized practical cooking skills, nutrition, and kitchen management.
Cambridge School of Culinary Arts, Cambridge, MA
Certificate in Professional Pastry Arts
Specialized in baking techniques, dessert presentation, and flavor profiling
Amanda’s roots run deep in the Southern hills, where every meal started fresh from the garden and every dessert came with a story. She trained at Asheville-Buncombe Technical Community College and sharpened her pastry skills at the Cambridge School of Culinary Arts, blending classic technique with everyday charm.
At The Liffey, Amanda’s passion is making baking and home cooking feel natural and joyful. She’s all about single recipes that are simple enough for a busy afternoon, but special enough to make someone’s day a little sweeter.