
The Best No Bake Oreo Cheesecake Recipe for Sweet Cravings
Whipping up a delectable no bake Oreo cheesecake promises pure dessert magic without turning on your oven.
Crushing those classic cookies creates an irresistible foundation for a creamy dreamy treat.
Cool kitchen skills merge with decadent ingredients to craft something spectacular.
Smooth cream cheese blends perfectly with sweet crushed oreos, creating a luxurious texture that melts in your mouth.
Rich chocolate cookie crumbs provide a delightful crunch against silky filling layers.
Simple steps guarantee a showstopping dessert that looks professional but feels wonderfully homemade.
Let’s transform those iconic cookies into a chilled masterpiece that will have everyone asking for seconds.
What Makes Oreo Cheesecake So Special
What’s Inside No Bake Oreo Cheesecake
Crust Ingredients:Filling Ingredients:Topping Ingredients:Simple Steps to Make Oreo Cheesecake
Step 1: Create Delicious Cookie Base
Grab your package of Oreo cookies and crush them into fine crumbs using a food processor or rolling pin.
Melt butter until smooth and liquid.
Mix crushed cookies with melted butter until the mixture feels like wet sand.
Press this mixture firmly into the bottom of a springform pan, creating an even layer.
Use the back of a spoon or flat surface to compact the crust tightly.
Place the pan in the refrigerator to set while preparing the filling.
Step 2: Whip Up Creamy Filling
Grab your cream cheese and let it sit at room temperature for easier mixing.
Using an electric mixer, beat cream cheese until it becomes silky and smooth.
Add sugar and vanilla extract, continuing to mix until the mixture is completely blended and fluffy.
In a separate bowl, whip heavy cream until it forms stiff peaks.
Gently fold the whipped cream into the cream cheese mixture.
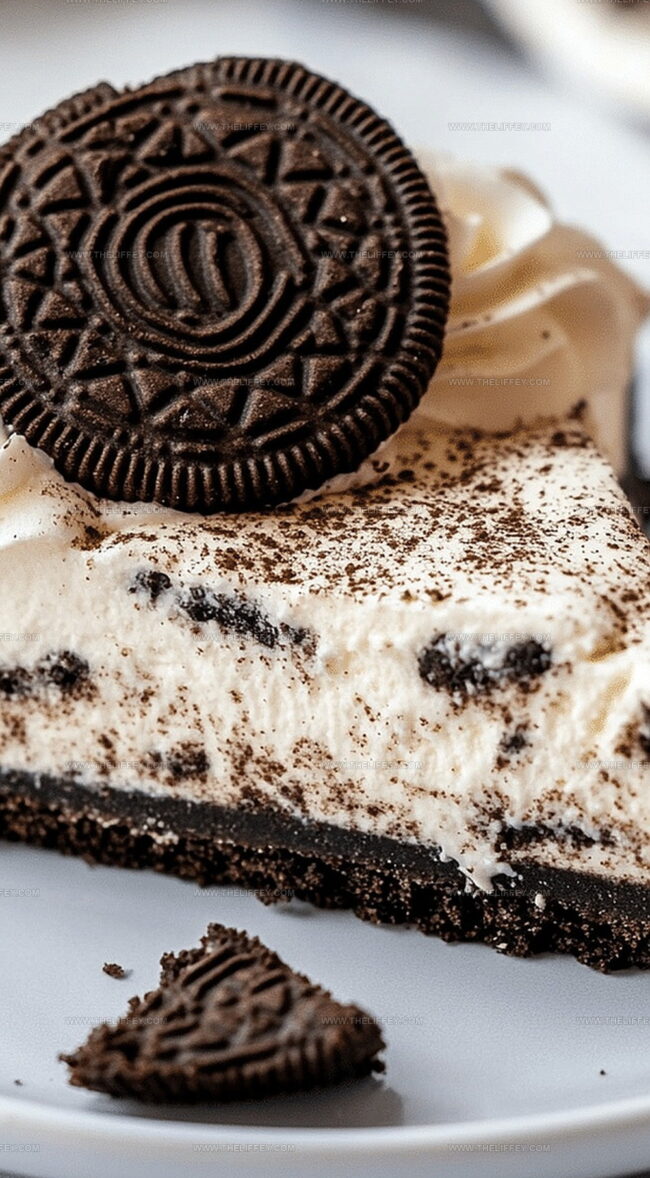
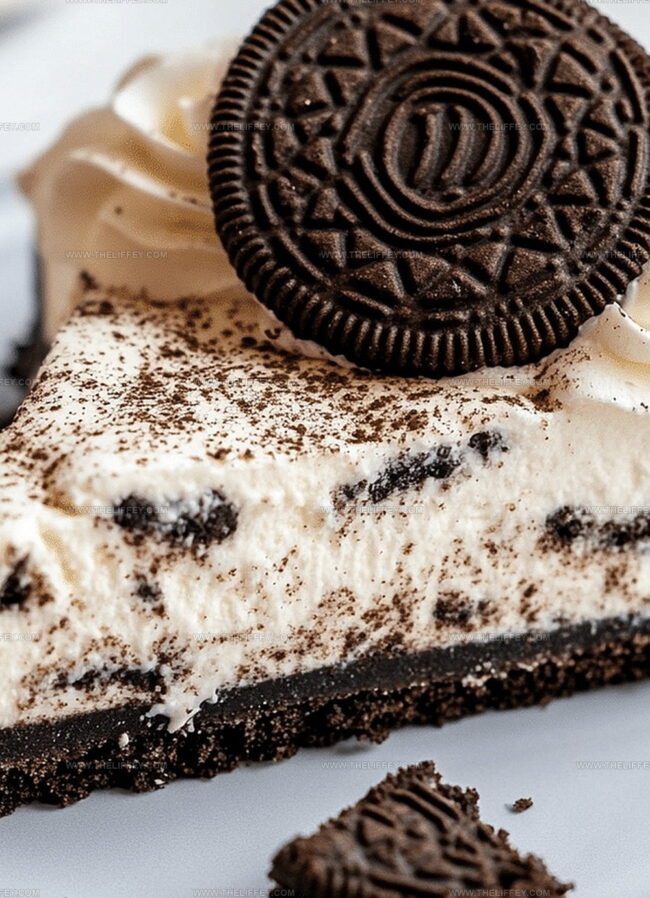
Chop additional Oreo cookies and fold them into the filling, creating delightful cookie chunks throughout.
Step 3: Assemble Heavenly Dessert
Remove the chilled crust from the refrigerator.
Pour the creamy Oreo filling over the cookie base, spreading it evenly with a spatula.
Smooth the top to create a beautiful, flat surface.
Place the cheesecake back in the refrigerator for at least 4-6 hours, preferably overnight, to allow it to set completely.
Step 4: Garnish And Serve
Once the cheesecake is fully chilled and firm, carefully remove it from the springform pan.
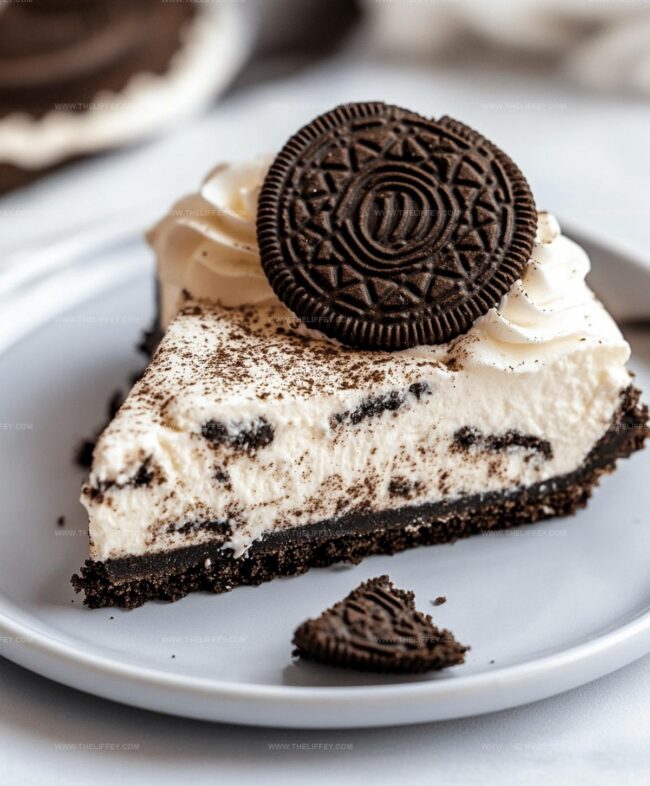
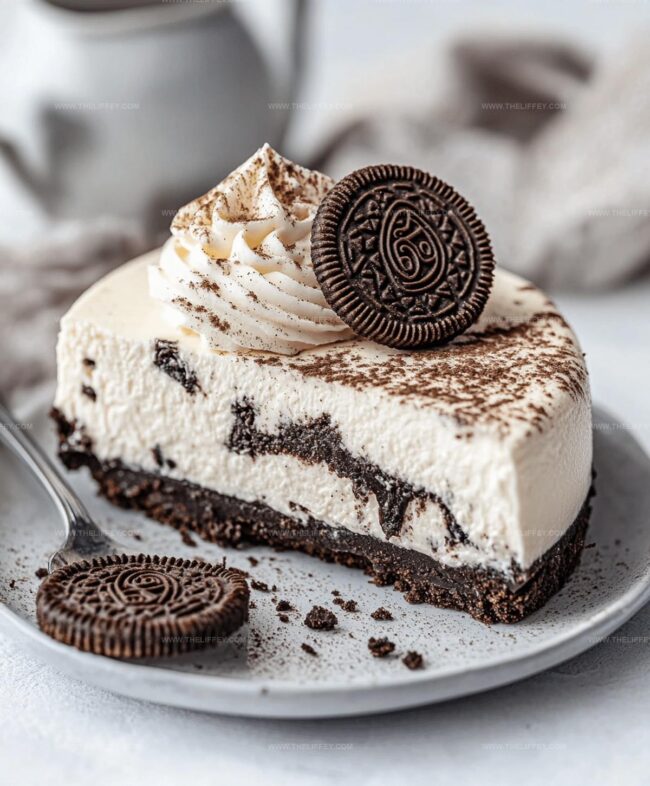
Sprinkle additional crushed Oreo cookies on top for extra crunch and visual appeal.
Optional: Add dollops of whipped cream around the edges.
Slice with a clean, sharp knife and serve chilled.
Enjoy your magnificent no-bake Oreo cheesecake!
Handy Tips for Oreo Cheesecake Recipe
Oreo Cheesecake Styles You Can Try
What Goes Best with Oreo Cheesecake
Best Way to Store Oreo Cheesecake
FAQs
Yes, you can substitute Oreos with graham crackers, digestive biscuits, or any similar cookie to create a delicious base for your cheesecake.
Ensure all ingredients are at room temperature and avoid overmixing the filling. Gently fold ingredients to incorporate air without creating too many bubbles.
Use gluten-free Oreo-style cookies or gluten-free graham crackers for the crust, and check that all other ingredients are certified gluten-free.
Print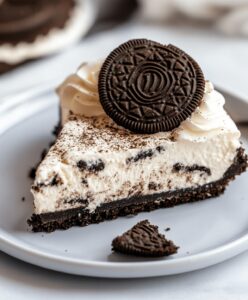
No Bake Oreo Cheesecake Recipe
- Total Time: 30 minutes
- Yield: 8 1x
Description
No-bake Oreo cheesecake combines creamy richness with classic cookie crunch. Sweet layers of cream cheese and crushed Oreos create a delightful dessert you’ll savor with each delectable bite.
Ingredients
Main Ingredients:
- 16 ounces (454 grams) cream cheese, softened
- 24 Oreo cookies, crushed (for crust)
- 10 Oreo cookies, chopped (for filling)
- 1 1/2 cups (360 milliliters) heavy whipping cream, whipped
Sweeteners and Enhancers:
- 1/2 cup (100 grams) sugar
- 1 teaspoon vanilla extract
Binding Ingredients:
- 1/4 cup (57 grams) melted butter
- Additional Oreo crumbs for topping (optional)
Instructions
- Crush Oreo cookies into fine crumbs and blend thoroughly with melted butter, creating a compact base mixture.
- Press the crumb mixture firmly into the bottom of a 9-inch springform pan, ensuring an even, dense layer.
- Chill the crust in the refrigerator while preparing the filling to help it set and maintain structure.
- Using an electric mixer, whip cream cheese until silky and smooth, gradually incorporating sugar and vanilla extract.
- Gently fold whipped cream into the cream cheese mixture, maintaining a light, airy texture.
- Carefully fold chopped Oreo pieces into the creamy filling, distributing them evenly throughout.
- Transfer the entire filling onto the chilled crust, using a spatula to spread it uniformly and eliminate air pockets.
- Refrigerate the cheesecake for 4-6 hours, allowing it to completely set and develop a firm, creamy consistency.
- Before serving, garnish with additional crushed Oreo crumbs or a dollop of whipped cream for extra visual appeal and flavor.
- Slice with a clean, chilled knife and serve immediately for the best taste and texture.
Notes
- Prevent Crust Crumbling by pressing the Oreo crumb mixture firmly and evenly into the pan, using the back of a spoon or measuring cup to create a compact base.
- Create Gluten-Free Version by substituting regular Oreos with gluten-free chocolate sandwich cookies and ensuring all ingredients are certified gluten-free.
- Enhance Texture by allowing cream cheese to reach room temperature before mixing, which helps create a smoother, lump-free filling and ensures perfect consistency.
- Customize Flavor Variations by experimenting with different Oreo flavors like mint, peanut butter, or birthday cake to add unique twists to the classic cheesecake recipe.
- Prep Time: 30 minutes
- Cook Time: 0 minutes
- Category: Desserts
- Method: Refrigerating
- Cuisine: American
Nutrition
- Serving Size: 8
- Calories: 485 kcal
- Sugar: 39 g
- Sodium: 210 mg
- Fat: 34 g
- Saturated Fat: 19 g
- Unsaturated Fat: 13 g
- Trans Fat: 0.5 g
- Carbohydrates: 42 g
- Fiber: 1.5 g
- Protein: 6 g
- Cholesterol: 100 mg
Amanda Bennett
Recipe Curator & Culinary Educator
Expertise
Baking and Pastry Arts, Recipe Testing and Development, Culinary Instruction, Food Styling and Photography
Education
Asheville-Buncombe Technical Community College, Asheville, NC
Diploma in Culinary Arts
Emphasized practical cooking skills, nutrition, and kitchen management.
Cambridge School of Culinary Arts, Cambridge, MA
Certificate in Professional Pastry Arts
Specialized in baking techniques, dessert presentation, and flavor profiling
Amanda’s roots run deep in the Southern hills, where every meal started fresh from the garden and every dessert came with a story. She trained at Asheville-Buncombe Technical Community College and sharpened her pastry skills at the Cambridge School of Culinary Arts, blending classic technique with everyday charm.
At The Liffey, Amanda’s passion is making baking and home cooking feel natural and joyful. She’s all about single recipes that are simple enough for a busy afternoon, but special enough to make someone’s day a little sweeter.