
Easy No Bake Nanaimo Bar Cheesecake Recipe: Dreamy Layers of Joy
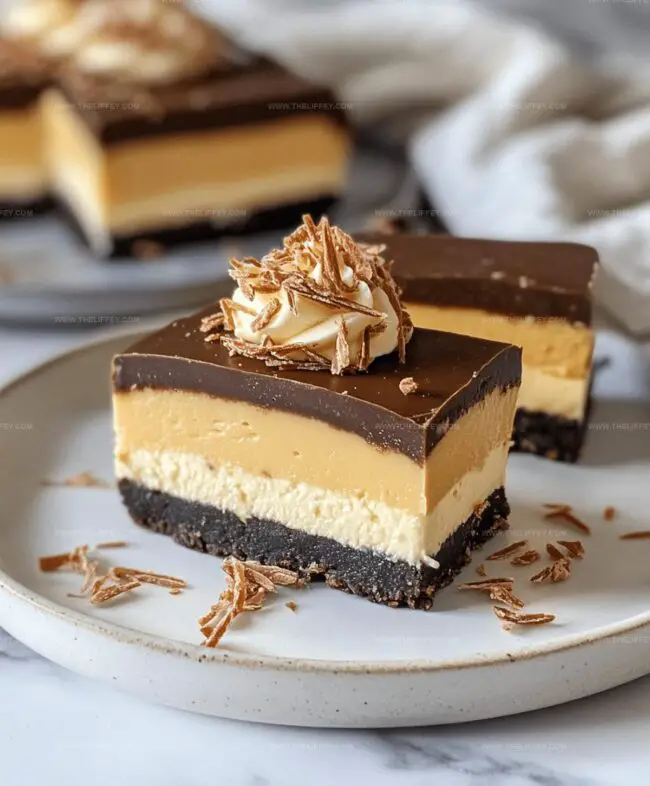
Creamy Nanaimo bar cheesecake brings together two Canadian dessert legends in one irresistible treat.
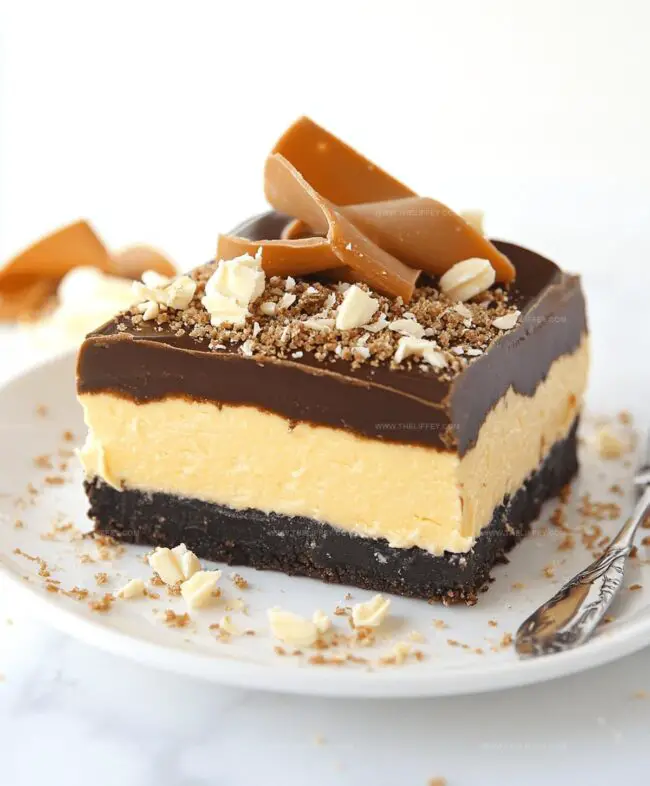
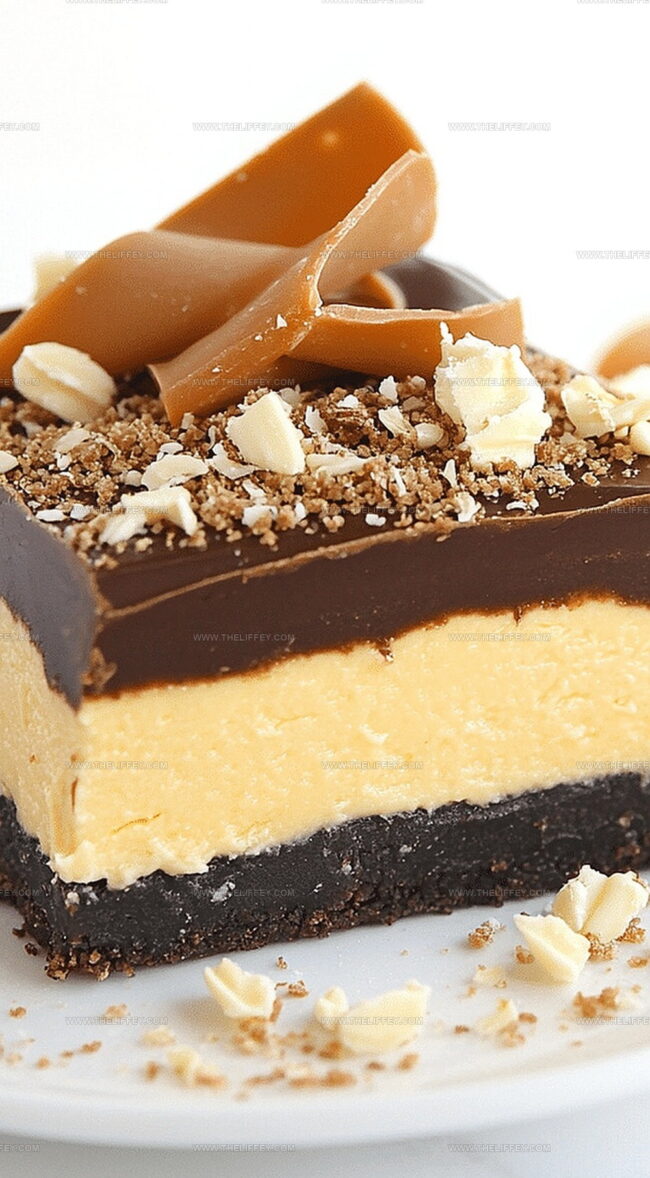
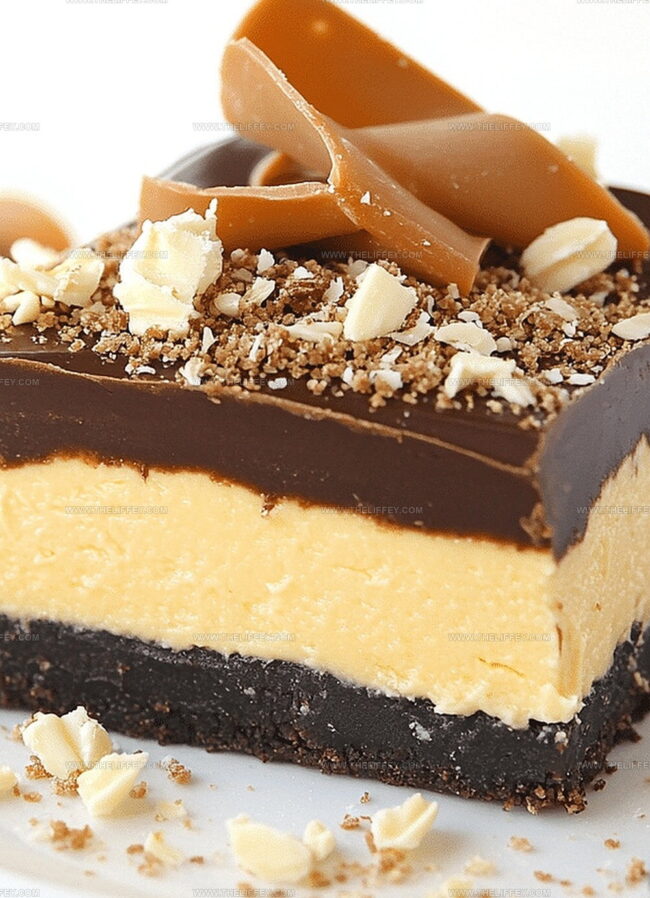
Layers of smooth chocolate, custard, and graham cracker crumbs create a dreamy no-bake sensation.
Chocolate lovers will swoon over this decadent fusion of classic flavors.
Rich and indulgent, each bite promises a perfect balance of textures.
Our recipe cuts through complicated baking techniques with simple, straightforward steps.
Chilled to perfection, this dessert guarantees smiles around the table.
You cannot resist diving into this extraordinary sweet creation that celebrates pure culinary magic.
No Bake Nanaimo Bar Cheesecake Overview
Ingredients for No Bake Nanaimo Bar Cheesecake
Base Layer:Filling Layer:Topping Layer:How to Make No Bake Nanaimo Bar Cheesecake
Step 1: Craft The Chocolatey Crumbly Base
Grab your graham crackers and crush them into fine, delicate crumbs.
Mix the cracker crumbs with:Press this rich mixture firmly into the bottom of a springform pan, creating a compact and sturdy foundation.
Pop the pan into the refrigerator to let the base set and become wonderfully firm.
Step 2: Whip Up The Creamy Filling
Grab your electric mixer and beat together:Blend until the mixture becomes silky smooth and completely lump-free.
Gently fold in freshly whipped cream, creating a light and airy texture.
Spread this luxurious filling evenly over the chilled crust, ensuring a perfectly smooth surface.
Step 3: Drizzle The Decadent Chocolate Topping
Melt chocolate chips with heavy cream in a double boiler or microwave, stirring until the mixture becomes glossy and completely combined.
Pour the warm chocolate ganache over the cheesecake, allowing it to cascade smoothly across the surface and create an elegant finish.
Step 4: Chill And Set The Masterpiece
Place the assembled cheesecake in the refrigerator.
Let it rest and firm up for a minimum of 4-6 hours, or ideally overnight.
This waiting period allows all the flavors to meld and the texture to become perfectly set.
Helpful Tips for Nanaimo Bar Cheesecake
Flavor Variations for Nanaimo Bar Cheesecake
Serving Suggestions for Nanaimo Bar Cheesecake
Storage Advice for Nanaimo Bar Cheesecake
FAQs
Nanaimo bars are a no-bake dessert originating from Nanaimo, British Columbia, Canada. They traditionally consist of a chocolate crumb base, custard-flavored middle layer, and chocolate ganache topping.
Custard powder is a key ingredient that gives the classic Nanaimo bar flavor. If unavailable, you can substitute with vanilla pudding mix or make a homemade custard powder blend.
Yes, this cheesecake is perfect for making in advance. It needs 4-6 hours of chilling, so you can prepare it a day before serving, which allows flavors to meld and set properly.
Print
No Bake Nanaimo Bar Cheesecake Recipe
- Total Time: 30 minutes
- Yield: 12 1x
Description
Creamy nanaimo bar cheesecake blends Canadian dessert magic with classic cheesecake elegance. Layers of chocolate, custard, and rich cream create a dreamy no-bake treat that delights palates with each indulgent bite.
Ingredients
Main Ingredients:
- 2 cups graham cracker crumbs
- 1/2 cup unsalted butter
- 1/4 cup granulated sugar
Flavor Enhancers:
- 1/4 cup cocoa powder
- 1/2 cup unsweetened shredded coconut
Instructions
- Crush graham crackers and blend with cocoa, coconut, melted butter, and sugar to create a rich, textured base. Press firmly into the bottom of a springform pan, ensuring an even layer. Refrigerate for 15 minutes to set the foundation.
- In a mixing bowl, whip cream cheese until velvety, incorporating custard powder, softened butter, and powdered sugar. Gently fold in whipped cream to maintain a light, airy consistency. Spread this creamy mixture evenly over the chilled crust, creating a smooth surface.
- For the decadent chocolate topping, melt chocolate chips with heavy cream in a double boiler, stirring until glossy and fully combined. Allow the ganache to cool slightly, then carefully pour over the cheesecake layer, tilting the pan to ensure complete coverage.
- Refrigerate the assembled dessert for a minimum of 4-6 hours, preferably overnight. This chilling time allows the layers to set and flavors to meld, resulting in a luxurious, slice-worthy treat.
- Before serving, release the springform pan’s sides and transfer to a serving plate. Slice with a warm knife for clean, precise cuts that showcase the distinct layers of this indulgent no-bake cheesecake.
Notes
- Use room temperature cream cheese to ensure a smooth, lump-free filling that blends perfectly.
- Crush graham crackers finely for a more compact and even crust that holds together beautifully.
- Substitute coconut with crushed nuts like almonds or pecans for a different texture and flavor profile.
- Experiment with different chocolate types for the ganache topping, such as dark chocolate for a richer taste or white chocolate for a sweeter finish.
- Prep Time: 30 minutes
- Cook Time: 0 minutes
- Category: Desserts
- Method: Chilling
- Cuisine: Canadian
Nutrition
- Serving Size: 12
- Calories: 220 kcal
- Sugar: 15 g
- Sodium: 50 mg
- Fat: 12 g
- Saturated Fat: 7 g
- Unsaturated Fat: 4 g
- Trans Fat: 0.1 g
- Carbohydrates: 25 g
- Fiber: 2 g
- Protein: 3 g
- Cholesterol: 30 mg
Amanda Bennett
Recipe Curator & Culinary Educator
Expertise
Baking and Pastry Arts, Recipe Testing and Development, Culinary Instruction, Food Styling and Photography
Education
Asheville-Buncombe Technical Community College, Asheville, NC
Diploma in Culinary Arts
Emphasized practical cooking skills, nutrition, and kitchen management.
Cambridge School of Culinary Arts, Cambridge, MA
Certificate in Professional Pastry Arts
Specialized in baking techniques, dessert presentation, and flavor profiling
Amanda’s roots run deep in the Southern hills, where every meal started fresh from the garden and every dessert came with a story. She trained at Asheville-Buncombe Technical Community College and sharpened her pastry skills at the Cambridge School of Culinary Arts, blending classic technique with everyday charm.
At The Liffey, Amanda’s passion is making baking and home cooking feel natural and joyful. She’s all about single recipes that are simple enough for a busy afternoon, but special enough to make someone’s day a little sweeter.