
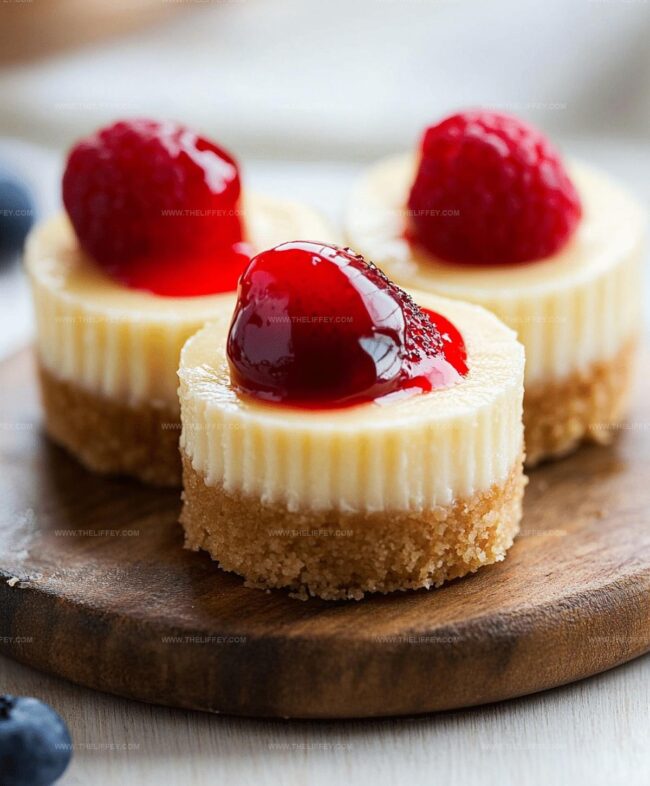
Dreamy Mini Cheesecakes Recipe: Bite-Sized Bliss in Every Taste
Sweet and creamy mini cheesecakes offer a delightful twist on classic dessert favorites.
Compact portions mean you can easily indulge without overwhelming guilt.
Cream cheese becomes the star ingredient in these adorable bite-sized treats.
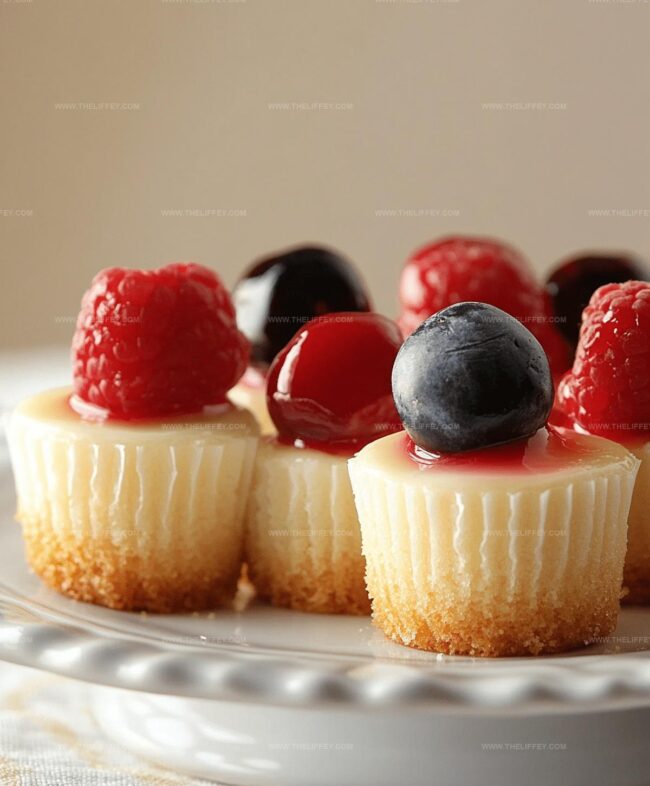
Perfectly portioned individual servings make entertaining a breeze for any gathering.
Each miniature dessert promises rich, smooth textures that melt beautifully in your mouth.
Silky and decadent, these little delights will impress everyone at your next celebration.
Whip up these irresistible mini cheesecakes and watch guests ask for seconds.
Mini Cheesecakes Perfect for Any Occasion
Ingredients for Mini Cheesecakes
Crust Ingredients:Filling Ingredients:Optional Toppings:How to Make Mini Cheesecakes
Step 1: Create Crunchy Crusts
Grab your favorite graham crackers and crush them into fine crumbs.
In a mixing bowl, combine the cracker crumbs with melted butter and a sprinkle of sugar.
Gently press this mixture into cupcake liners nestled in a muffin tin, forming a solid, delicious base for your mini cheesecakes.
Step 2: Whip Up Creamy Filling
Grab a large mixing bowl and beat cream cheese until it becomes silky smooth.
Gradually add sugar, whisking until the mixture is light and fluffy.
Crack eggs one by one, incorporating each fully before adding the next.
Stir in a splash of vanilla extract to enhance the rich flavor.
Step 3: Fill and Prepare for Baking
Carefully pour the luscious cream cheese mixture over the prepared crusts, filling each cup about three-quarters full.
Make sure to distribute the filling evenly for perfect mini cheesecakes.
Step 4: Bake to Perfection
Slide the muffin tin into a preheated oven at 325°F (163°C).
Bake for 18-20 minutes, watching for the centers to set and become slightly firm.
The edges should look just slightly golden.
Step 5: Cool and Chill
Allow the mini cheesecakes to cool completely at room temperature.
Once cooled, transfer them to the refrigerator and let them chill for at least 2 hours.
This helps them set and develop a rich, creamy texture.
Step 6: Dress and Serve
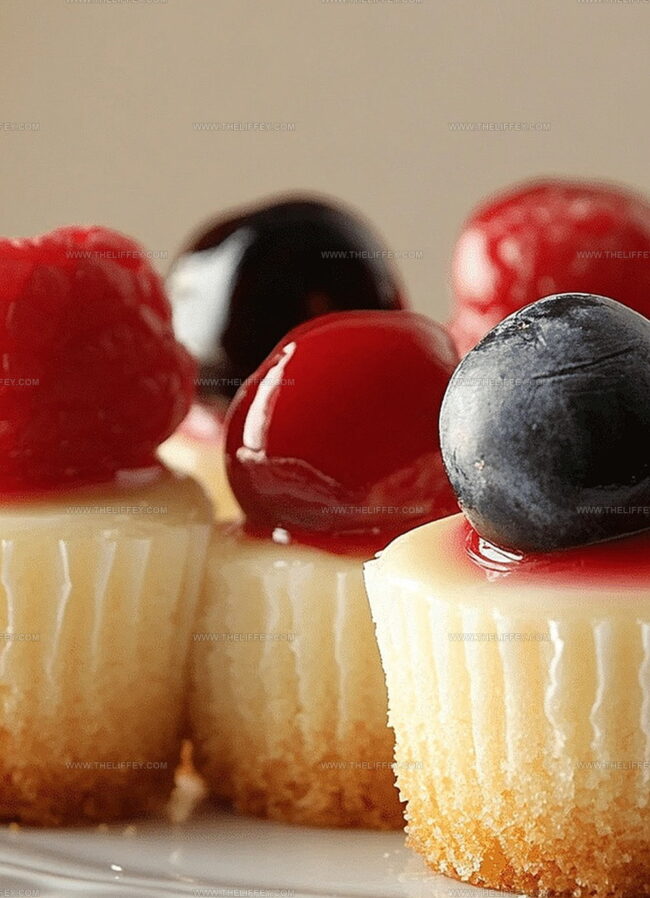
Just before serving, get creative with toppings.
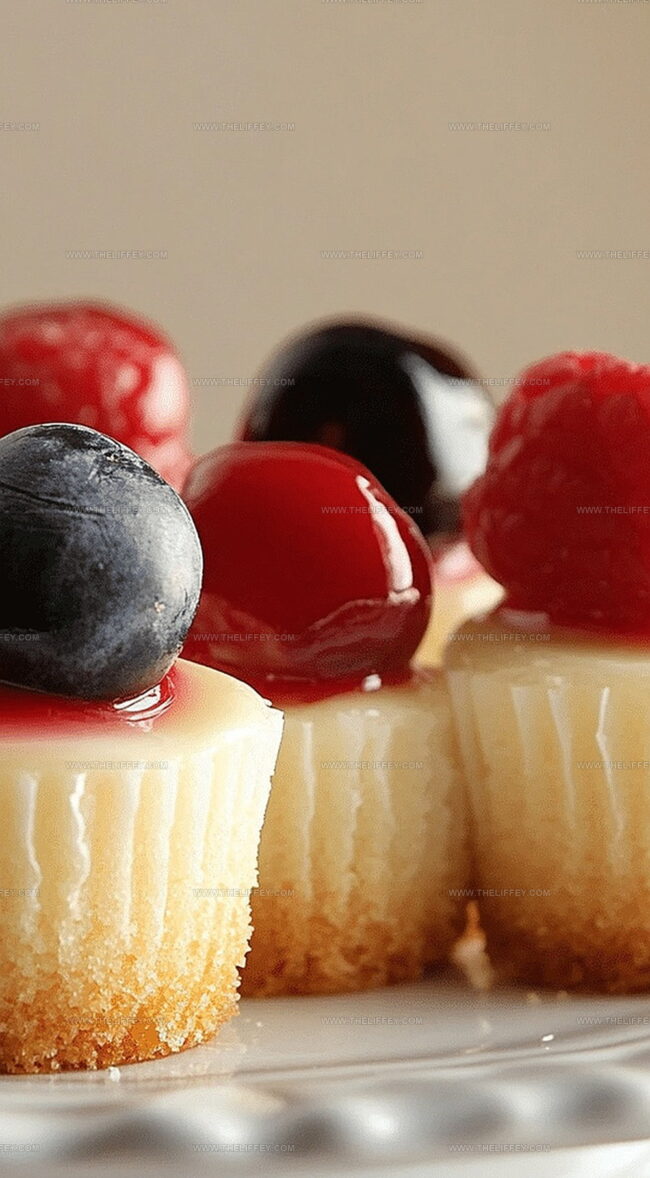
Drizzle with chocolate sauce, sprinkle with fresh berries, add a dollop of whipped cream, or dust with powdered sugar.
Enjoy these bite-sized delights that are sure to impress!
Tips for Mini Cheesecakes
Variations to Explore with Mini Cheesecakes
Serving Suggestions for Mini Cheesecakes
Storage Advice for Mini Cheesecakes
FAQs
Yes, you can substitute graham crackers with digestive biscuits, Oreos, or shortbread cookies for a unique base flavor.
Avoid overmixing the batter, bake at a low temperature, and let them cool gradually in the oven with the door slightly open to prevent sudden temperature changes.
Absolutely! You can prepare these mini cheesecakes up to 3 days in advance and store them covered in the refrigerator until ready to serve.
Try using reduced-fat cream cheese and Greek yogurt as a partial replacement to create a lighter, less dense version of the dessert.
Print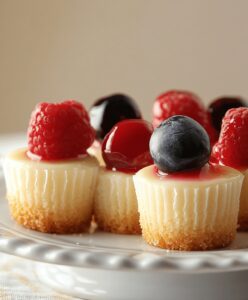
Mini Cheesecakes Recipe
- Total Time: 40 minutes
- Yield: 12 1x
Description
Creamy mini cheesecakes deliver delightful individual desserts perfect for parties. Rich cream cheese and graham cracker crust combine for a classic treat you’ll savor with each delectable bite.
Ingredients
Cheesecake Base:
- 16 ounces (454 grams) cream cheese, softened
- 1/2 cup (100 grams) sugar
- 2 large eggs
- 1 teaspoon vanilla extract
Crust:
- 1 cup (120 grams) graham cracker crumbs
- 3 tablespoons (45 grams) melted butter
- 1 tablespoon (12 grams) sugar
Toppings:
- Fresh berries
- Chocolate drizzle
- Caramel
Instructions
- Warm the oven to 325F (163C) and arrange cupcake liners inside a muffin tin, preparing for delicate mini cheesecake creation.
- Combine graham cracker crumbs with melted butter and sugar, blending until thoroughly mixed. Distribute the mixture evenly across liners, pressing firmly to create a compact crust foundation.
- In a spacious mixing bowl, whip cream cheese and sugar together until achieving a silky, uniform consistency. Gently incorporate eggs individually, ensuring smooth integration after each addition. Introduce vanilla extract, stirring to harmonize flavors.
- Carefully transfer the creamy filling over prepared crusts, filling each cavity approximately three-quarters full to allow room for potential rising during baking.
- Place the muffin tin in the preheated oven and bake for 18-20 minutes, monitoring until centers appear set and slightly firm to the touch. Remove and allow natural cooling at room temperature.
- Once completely cooled, transfer mini cheesecakes to refrigerator and chill for a minimum of 2 hours to enhance texture and flavor development.
- Prior to serving, garnish with preferred toppings such as fresh berries, chocolate shavings, caramel drizzle, or whipped cream to elevate the dessert’s visual appeal and taste profile.
Notes
- Ensure cream cheese is at room temperature to avoid lumps and create a smooth, creamy filling.
- Use a food processor or rolling pin to crush graham crackers into fine, uniform crumbs for a perfect crust texture.
- Press crust mixture gently but firmly into liners to create a compact base that won’t crumble when eating.
- Check cheesecakes by gently shaking the pan – centers should be slightly jiggly but not liquid when done.
- Prevent cracks by avoiding overmixing and overbaking, which can cause the cheesecake to dry out and split.
- Swap graham crackers with gluten-free alternatives like almond flour or gluten-free cookie crumbs for a celiac-friendly version.
- Experiment with flavor variations by adding lemon zest, chocolate chips, or fruit purees to the basic filling.
- Prep Time: 20 minutes
- Cook Time: 20 minutes
- Category: Desserts
- Method: Baking
- Cuisine: American
Nutrition
- Serving Size: 12
- Calories: 231 kcal
- Sugar: 10 g
- Sodium: 132 mg
- Fat: 18 g
- Saturated Fat: 11 g
- Unsaturated Fat: 6 g
- Trans Fat: 0.3 g
- Carbohydrates: 12 g
- Fiber: 0.5 g
- Protein: 4 g
- Cholesterol: 55 mg
Amanda Bennett
Recipe Curator & Culinary Educator
Expertise
Baking and Pastry Arts, Recipe Testing and Development, Culinary Instruction, Food Styling and Photography
Education
Asheville-Buncombe Technical Community College, Asheville, NC
Diploma in Culinary Arts
Emphasized practical cooking skills, nutrition, and kitchen management.
Cambridge School of Culinary Arts, Cambridge, MA
Certificate in Professional Pastry Arts
Specialized in baking techniques, dessert presentation, and flavor profiling
Amanda’s roots run deep in the Southern hills, where every meal started fresh from the garden and every dessert came with a story. She trained at Asheville-Buncombe Technical Community College and sharpened her pastry skills at the Cambridge School of Culinary Arts, blending classic technique with everyday charm.
At The Liffey, Amanda’s passion is making baking and home cooking feel natural and joyful. She’s all about single recipes that are simple enough for a busy afternoon, but special enough to make someone’s day a little sweeter.