
Irresistible Loaded Cheesy Pocket Tacos Recipe for Taco Night
Tangy ground beef sizzles perfectly inside these loaded cheesy pocket tacos, promising a delightful twist on traditional taco experiences.
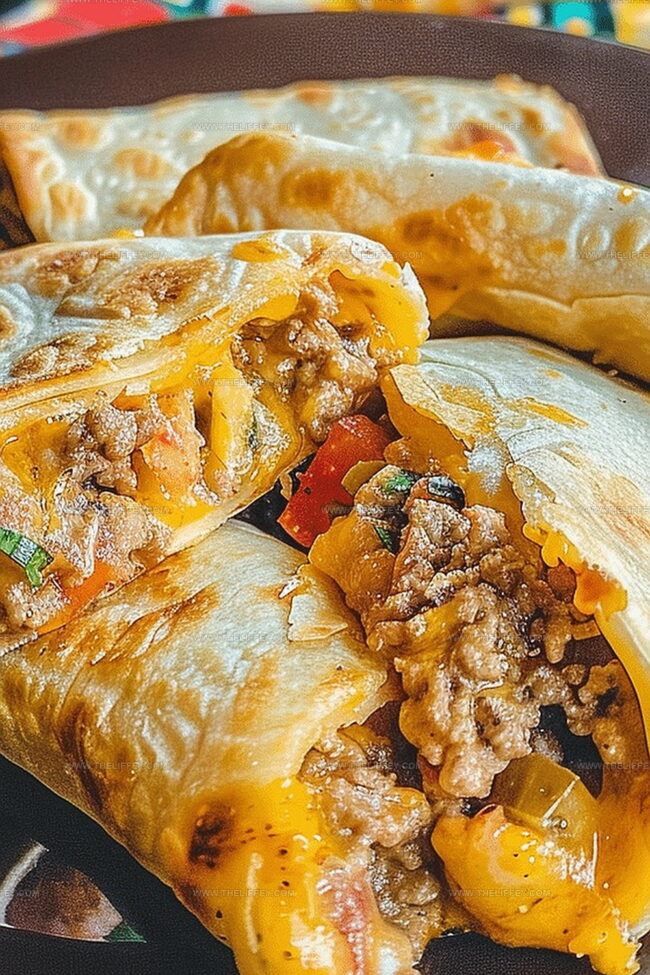
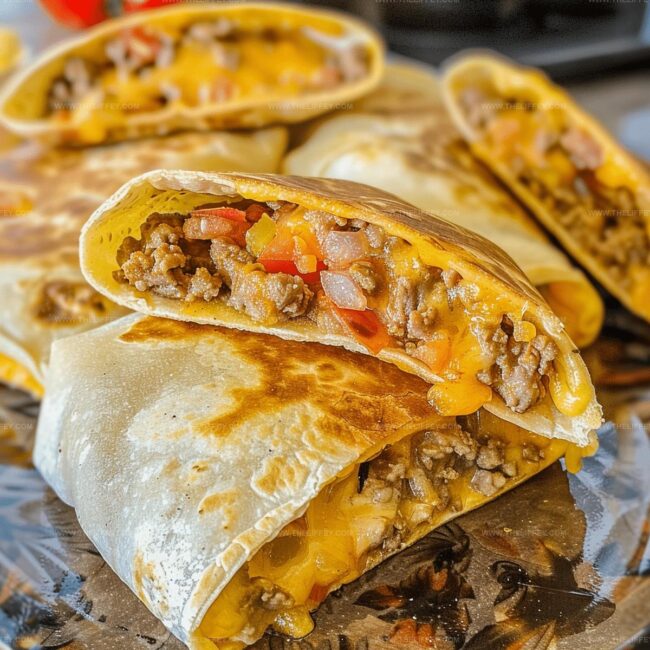
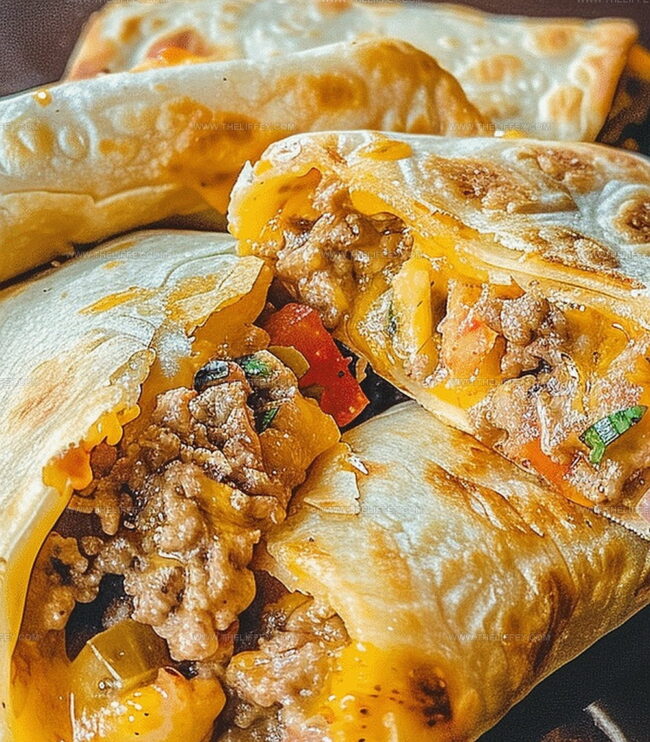
Crispy tortillas wrap around seasoned meat with melted cheese oozing from every bite.
Weeknight dinners just got way more exciting with this simple yet mouthwatering creation.
Spices blend seamlessly, creating a flavor explosion that will make you want seconds.
Quick preparation means you can satisfy those Mexican-inspired cravings in under thirty minutes.
Each pocket delivers a compact bundle of deliciousness that packs serious flavor potential.
Grab a napkin and prepare for a culinary adventure that’ll have everyone asking for the recipe.
Why Loaded Cheesy Pocket Tacos are a Hit
Ingredients for Loaded Cheesy Pocket Tacos
Main Ingredients:Seasoning and Flavor Enhancers:Toppings and Garnishes:How to Prepare Loaded Cheesy Pocket Tacos
Step 1: Brown Tasty Beef Meat
Cook ground beef in a skillet over medium heat until it turns a rich brown color.
Drain away any extra fat to keep the meat lean and delicious.
Step 2: Spice Up the Meat
Stir the seasoning into the beef and add water according to the packet’s guidance.
Let the mixture simmer for 5 minutes, allowing the flavors to meld together perfectly.
Step 3: Prepare Baking Station
Warm up the oven to 375F (190C), creating the perfect environment for transforming your tacos into crispy delights.
Step 4: Build Pocket Taco Foundations
Arrange taco shells on a baking sheet.
Carefully spoon the seasoned beef mixture onto each shell, creating a delectable base.
Step 5: Add Cheesy Goodness
Sprinkle a generous layer of shredded cheese over the beef, ensuring every bite will be melty and irresistible.
Step 6: Seal the Pocket Magic
Gently fold the taco shells in half, pressing the edges to create sealed pockets that lock in all the delicious flavors.
Step 7: Bake to Crispy Perfection
Place the taco pockets in the oven and bake for 10-12 minutes.
Watch for the cheese to melt completely and the shells to turn golden and crispy.
Step 8: Cool and Prepare Toppings
Remove the tacos from the oven and let them cool slightly.
Gather your favorite toppings for a flavor explosion.
Step 9: Dress and Serve
Generously fill each crispy pocket with fresh toppings.
Arrange on a serving plate and enjoy your mouthwatering creation immediately while everything is hot and fresh.
Pro Tips for Loaded Cheesy Pocket Tacos
Variations to Customize Pocket Tacos
Serving Suggestions for Cheesy Pocket Tacos
Storage Tips for Loaded Pocket Tacos
FAQs
The recipe uses standard taco seasoning, which has mild to moderate spice. You can control heat by choosing mild or hot seasoning packets or adjusting the amount of seasoning.
Absolutely! Ground turkey is a great lean protein substitute. Just ensure it’s fully cooked and seasoned similarly to ground beef.
Regular hard taco shells work perfectly. You can use corn or flour shells based on your preference, though corn shells typically provide better crunch.
Reduce the seasoning amount for milder flavor, let kids choose their own toppings, and cut tacos into smaller pieces for easier eating.
Print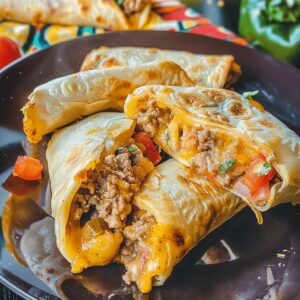
Loaded Cheesy Pocket Tacos Recipe
- Total Time: 35 minutes
- Yield: 8 1x
Description
Mexican-inspired loaded cheesy pocket tacos combine crispy shells with savory beef and melted cheese. Delicious layers of flavor create a satisfying meal that brings comfort and excitement to dinner tables.
Ingredients
Protein:
- 1 pound (454 grams) ground beef
- 1 packet taco seasoning
Cheese and Dairy:
- 1 cup (240 milliliters) shredded cheddar cheese
- 1/2 cup (120 milliliters) sour cream
Toppings and Shells:
- 8 soft taco shells
- 1 cup (240 milliliters) shredded lettuce
- 1 cup (240 milliliters) diced tomatoes
- 1/2 cup (120 milliliters) salsa
- 1/4 cup (60 milliliters) sliced black olives (optional)
- 1/4 cup (60 milliliters) chopped cilantro (optional)
Instructions
- Brown ground beef in a skillet over medium heat, thoroughly draining excess grease to prevent sogginess.
- Mix taco seasoning with beef, stirring continuously and allowing mixture to simmer for 5 minutes until flavors meld.
- Heat oven to 375F (190C), preparing a baking sheet with parchment paper for easy cleanup.
- Carefully distribute beef mixture evenly across taco shells, ensuring balanced filling.
- Generously cover beef with shredded cheese, creating a rich, melty layer.
- Gently fold taco shells, pressing edges firmly to create a sealed pocket preventing filling from escaping.
- Bake for 10-12 minutes until cheese transforms into a golden, bubbling crust and shells turn crisp and golden brown.
- Allow tacos to rest for 2-3 minutes after removing from oven to stabilize structure.
- Top each taco with fresh, crisp lettuce, diced tomatoes, dollop of tangy sour cream, and zesty salsa.
- Enhance flavor profile by garnishing with sliced black olives and chopped cilantro for added freshness and visual appeal.
Notes
- Lean meat alternatives like ground turkey or plant-based crumbles work perfectly for a healthier version of this dish.
- Adjust seasoning intensity by reducing or increasing taco mix for personalized flavor profiles.
- Corn tortillas can replace pre-made taco shells for a more authentic, gluten-free experience.
- Prep ingredients beforehand to streamline cooking process and ensure crispy, golden-brown tacos.
- Prep Time: 15 minutes
- Cook Time: 20 minutes
- Category: Lunch, Dinner, Appetizer, Snacks
- Method: Baking
- Cuisine: Mexican
Nutrition
- Serving Size: 8
- Calories: 343 kcal
- Sugar: 3 g
- Sodium: 670 mg
- Fat: 23 g
- Saturated Fat: 10 g
- Unsaturated Fat: 11 g
- Trans Fat: 1 g
- Carbohydrates: 15 g
- Fiber: 3 g
- Protein: 20 g
- Cholesterol: 60 mg
Amanda Bennett
Recipe Curator & Culinary Educator
Expertise
Baking and Pastry Arts, Recipe Testing and Development, Culinary Instruction, Food Styling and Photography
Education
Asheville-Buncombe Technical Community College, Asheville, NC
Diploma in Culinary Arts
Emphasized practical cooking skills, nutrition, and kitchen management.
Cambridge School of Culinary Arts, Cambridge, MA
Certificate in Professional Pastry Arts
Specialized in baking techniques, dessert presentation, and flavor profiling
Amanda’s roots run deep in the Southern hills, where every meal started fresh from the garden and every dessert came with a story. She trained at Asheville-Buncombe Technical Community College and sharpened her pastry skills at the Cambridge School of Culinary Arts, blending classic technique with everyday charm.
At The Liffey, Amanda’s passion is making baking and home cooking feel natural and joyful. She’s all about single recipes that are simple enough for a busy afternoon, but special enough to make someone’s day a little sweeter.