Simple 5-Ingredient Classic Peanut Butter Blossoms Recipe Loved by All
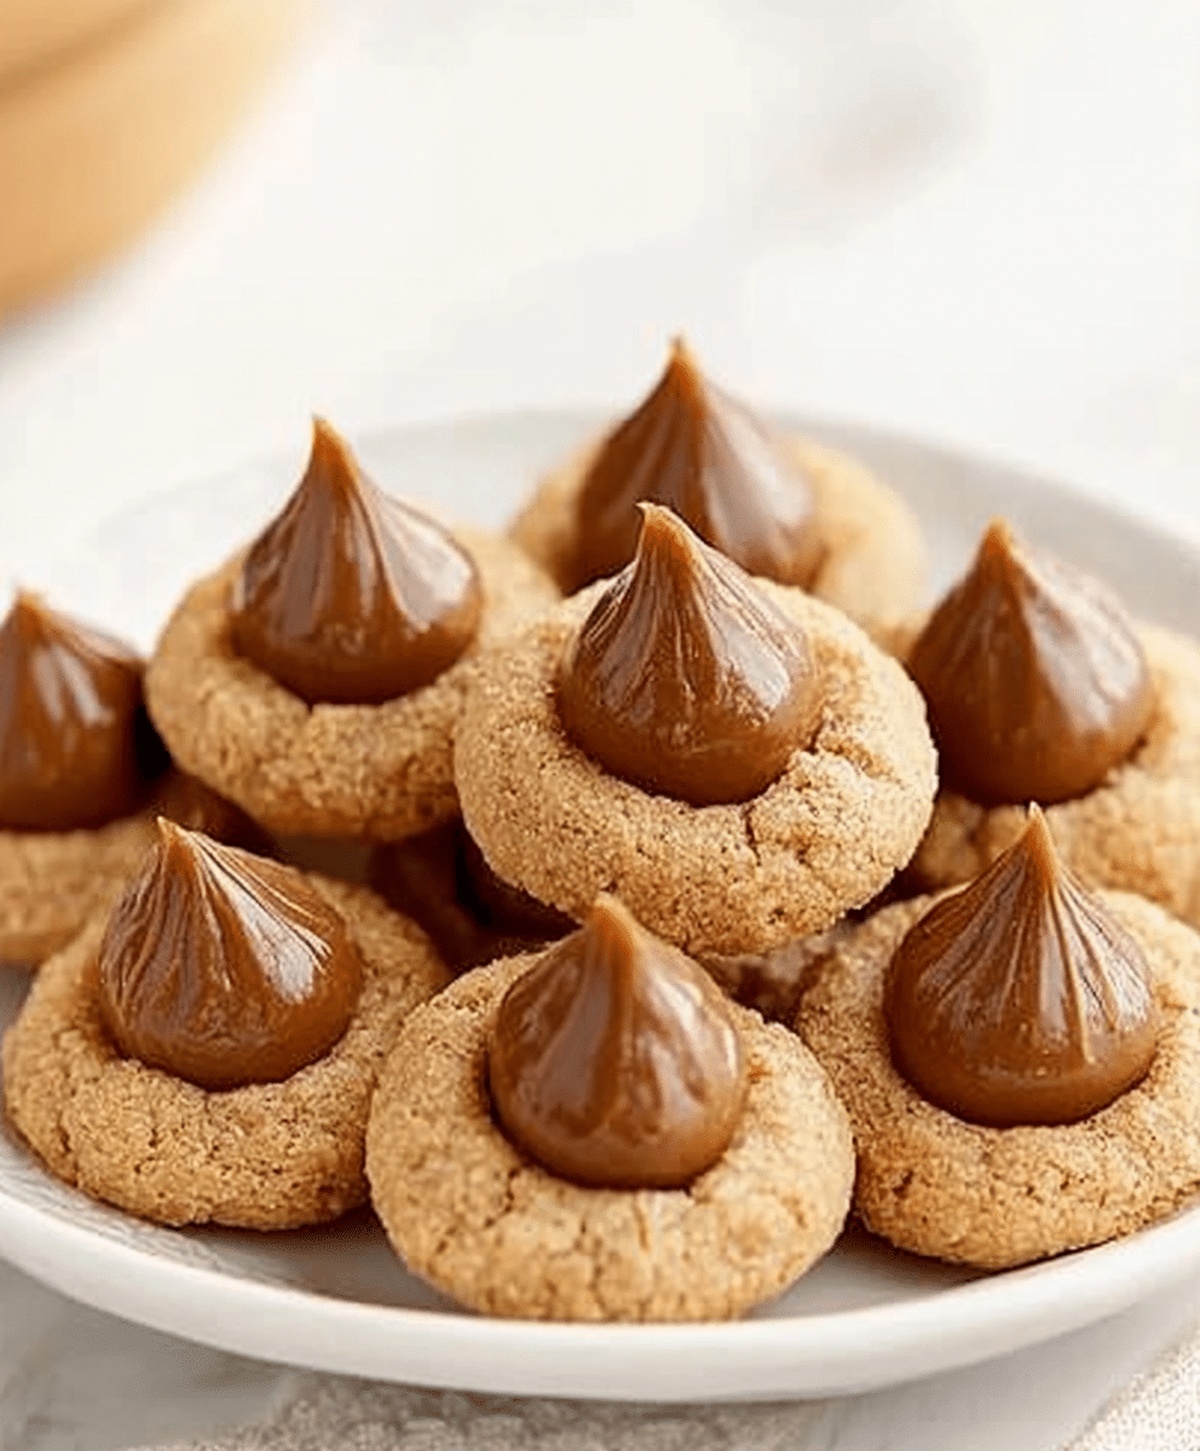
Soft, chewy peanut butter blossoms dance between sweet and nutty perfection for cookie enthusiasts.
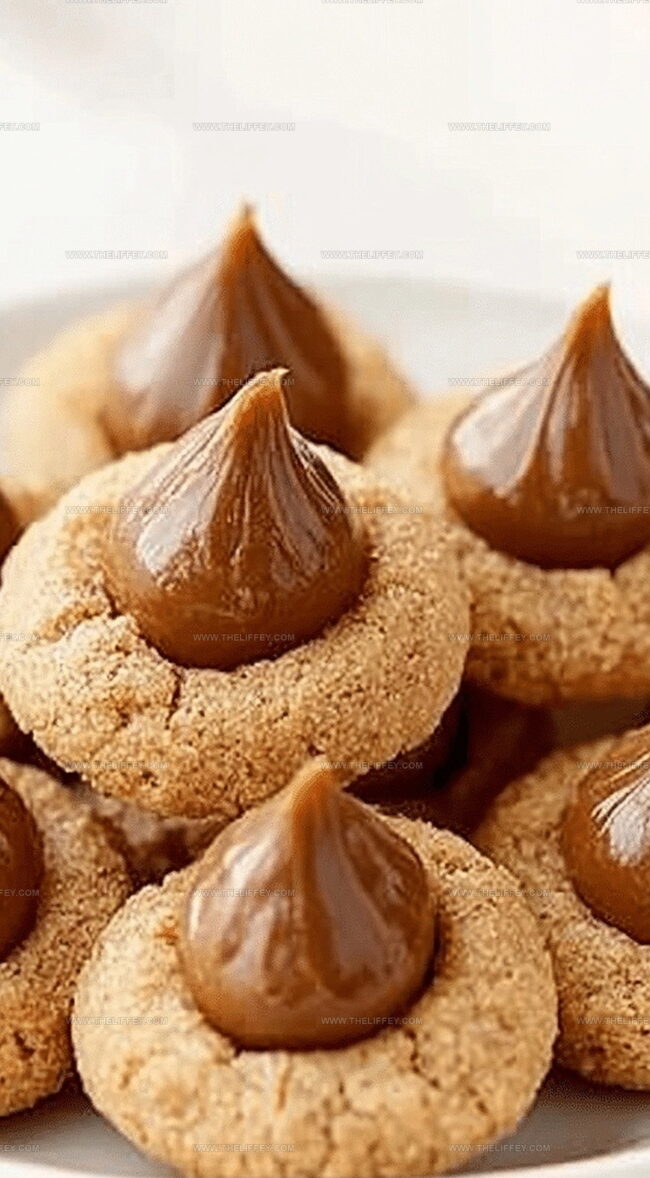
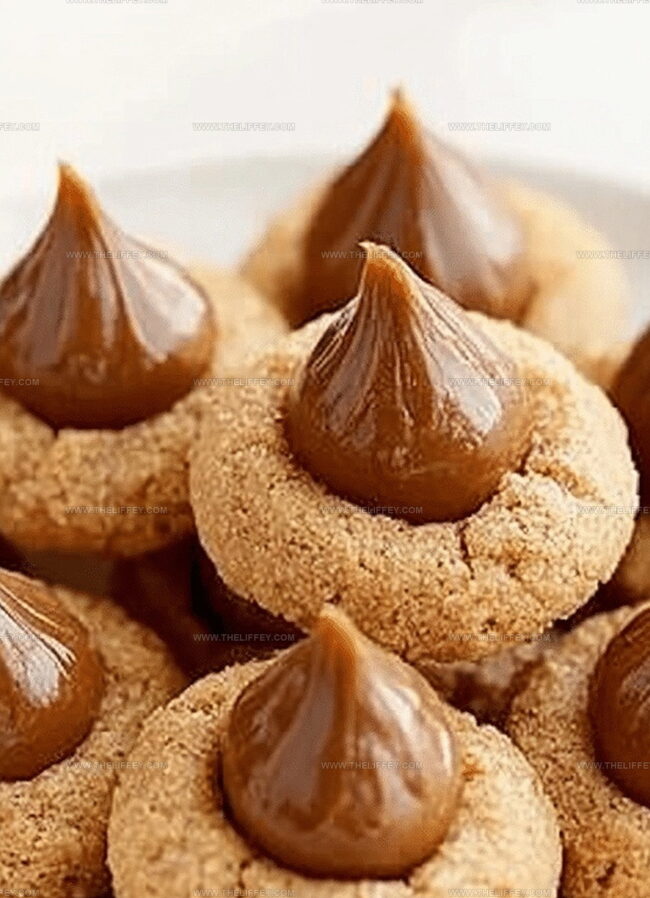
Signature chocolate kisses nestle perfectly atop golden brown bases.
Memories of childhood kitchens flood back with each delightful bite.
Baking these treats connects generations through simple, comforting ingredients.
Crisp edges and tender centers create an irresistible texture that beckons you closer.
Chocolate and peanut butter form a classic combination that never disappoints.
You’ll fall in love with this nostalgic, melt-in-your-mouth dessert that promises pure joy in every single crumb.
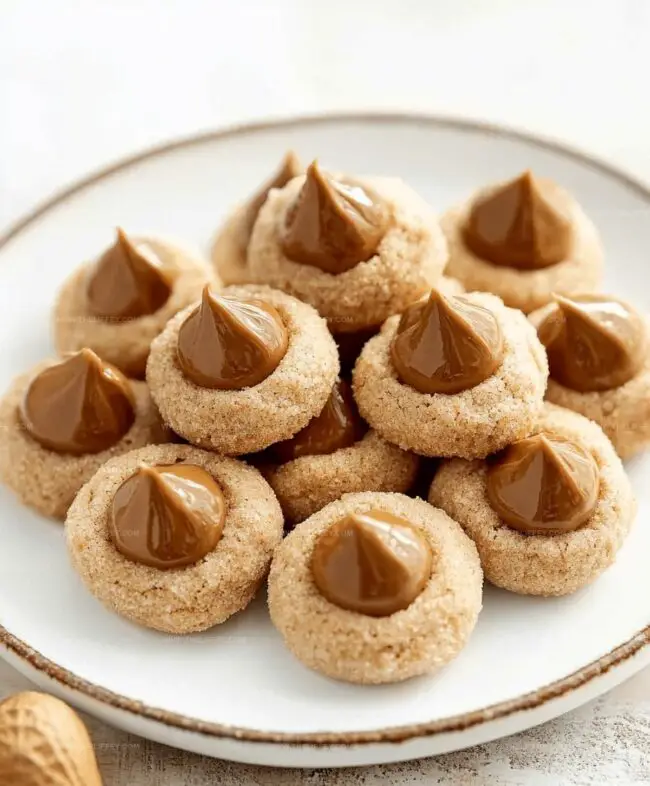
Classic Peanut Butter Blossoms Everyone Loves
Ingredients for Classic Peanut Butter Blossoms
Core Ingredients:Dry Ingredients:Finishing Ingredients:Step-by-Step Peanut Butter Blossoms Guide
Step 1: Warm Up the Oven
Crank your oven to a toasty 375°F (190°C) to get ready for some serious cookie magic.
Step 2: Create Creamy Cookie Base
In a spacious mixing bowl, blend together:Whip these ingredients until they transform into a smooth, dreamy mixture.
Step 3: Add Moisture and Flavor
Introduce egg and vanilla to the creamy base. Beat everything until it becomes silky smooth and well combined.
Step 4: Mix Dry Ingredients
In a separate bowl, combine:Gently fold the dry ingredients into the wet mixture, stirring until a soft dough forms.
Step 5: Shape Cookie Balls
Roll the dough into small, adorable balls about the size of a golf ball.
Roll each ball in a light coating of sugar for a sparkling exterior.
Step 6: Bake the Cookies
Place the sugar-coated dough balls on an ungreased baking sheet.
Slide them into the preheated oven and bake for 8-10 minutes until edges turn golden.
Step 7: Add Chocolate Kiss
Immediately after removing from the oven, gently press a chocolate kiss into the center of each warm cookie.
Step 8: Cool and Enjoy
Transfer the cookies to wire cooling racks. Allow them to cool completely so the chocolate kiss sets perfectly.
Tips for Perfectly Soft Peanut Butter Blossoms
Flavor Twists to Try on Peanut Butter Blossoms
Serving Peanut Butter Blossoms With Warmth
How to Keep Peanut Butter Blossoms Fresh
FAQs
Natural peanut butter can work, but it may make the cookie dough slightly more crumbly. Stir the natural peanut butter well before using and consider adding a bit more butter to help bind the dough.
Let the cookies cool for just 1-2 minutes after removing from the oven, then gently press the kiss into the center. The cookie should be warm but not hot enough to completely melt the chocolate.
You can substitute with chocolate chunks, chocolate chips, or even a caramel candy. The key is to add the chocolate topping when the cookie is still warm so it slightly melts and adheres to the cookie.
Print
Irresistible Peanut Butter Blossoms Recipe
- Total Time: 30 minutes
- Yield: 48 1x
Description
Peanut butter blossoms celebrate classic American cookie charm with chocolate-kissed perfection. Bakers can craft these delightful treats easily, creating sweet memories for families and friends to enjoy together.
Ingredients
Main Ingredients:
- 1/2 cup peanut butter
- 1/2 cup butter, softened
- 1 egg
- 1 3/4 cups all-purpose flour
Sugars:
- 1/2 cup granulated sugar
- 1/2 cup brown sugar
- Extra granulated sugar (for rolling)
Flavor Enhancers and Binding Agents:
- 1 teaspoon vanilla extract
- 1 teaspoon baking soda
- 1/2 teaspoon salt
- 48 chocolate kisses, unwrapped
Instructions
- Warm the oven to 375F (190C) and prepare ungreased baking sheets.
- Combine softened butter, peanut butter, granulated sugar, and brown sugar in a mixing bowl, creaming until light and fluffy.
- Incorporate egg and vanilla extract, blending thoroughly until the mixture reaches a smooth consistency.
- Separately whisk flour, baking soda, and salt, then gradually fold into the wet ingredients until a cohesive dough forms.
- Shape the dough into uniform 1-inch spheres, gently coating each ball with additional granulated sugar.
- Arrange sugar-rolled dough balls evenly on prepared baking sheets, spacing them apart.
- Bake for 8-10 minutes until edges appear slightly golden and cookies look set.
- Immediately after removing from oven, gently press a chocolate kiss into the center of each warm cookie.
- Transfer cookies to wire cooling racks, allowing them to completely set and chocolate to stabilize.
Notes
- Swap peanut butter with sunflower seed butter for nut-free version perfect for school or allergy-friendly environments.
- Use dark chocolate kisses or alternative chocolate varieties to customize flavor profile and create exciting variations.
- Chill dough for 30 minutes before rolling to prevent spreading and ensure perfectly round, uniform cookies with crisp edges.
- Store cookies in airtight container between layers of parchment paper to maintain softness and prevent chocolate kisses from smudging.
- Prep Time: 20 minutes
- Cook Time: 10 minutes
- Category: Snacks, Desserts
- Method: Baking
- Cuisine: American
Nutrition
- Serving Size: 48
- Calories: 140
- Sugar: 9 g
- Sodium: 80 mg
- Fat: 8 g
- Saturated Fat: 2.5 g
- Unsaturated Fat: 4.5 g
- Trans Fat: 0 g
- Carbohydrates: 15 g
- Fiber: 1 g
- Protein: 3 g
- Cholesterol: 15 mg
John Conley
Founder & Culinary Storyteller
Expertise
Recipe Development, Culinary Writing, Home Cooking Techniques, Seasonal Ingredient Utilization
Education
Lane Community College, Eugene, OR
Certificate in Culinary Arts
Focused on foundational cooking techniques, kitchen safety, and menu planning.
Gotham Writers Workshop, New York, NY
Course in Food Writing
Explored the art of crafting engaging culinary narratives and recipe development.
John grew up where food meant connection: big bowls, warm kitchens, and meals that told a story. After earning his Certificate in Culinary Arts from Lane Community College and diving deep into food writing at Gotham Writers Workshop, he found his calling: turning everyday recipes into something worth savoring.
At The Liffey, John’s focus is all about crafting dishes that feel easy, honest, and full of heart.