Luscious Peanut Butter Butterfinger Cheesecake Recipe for Sweet Tooths
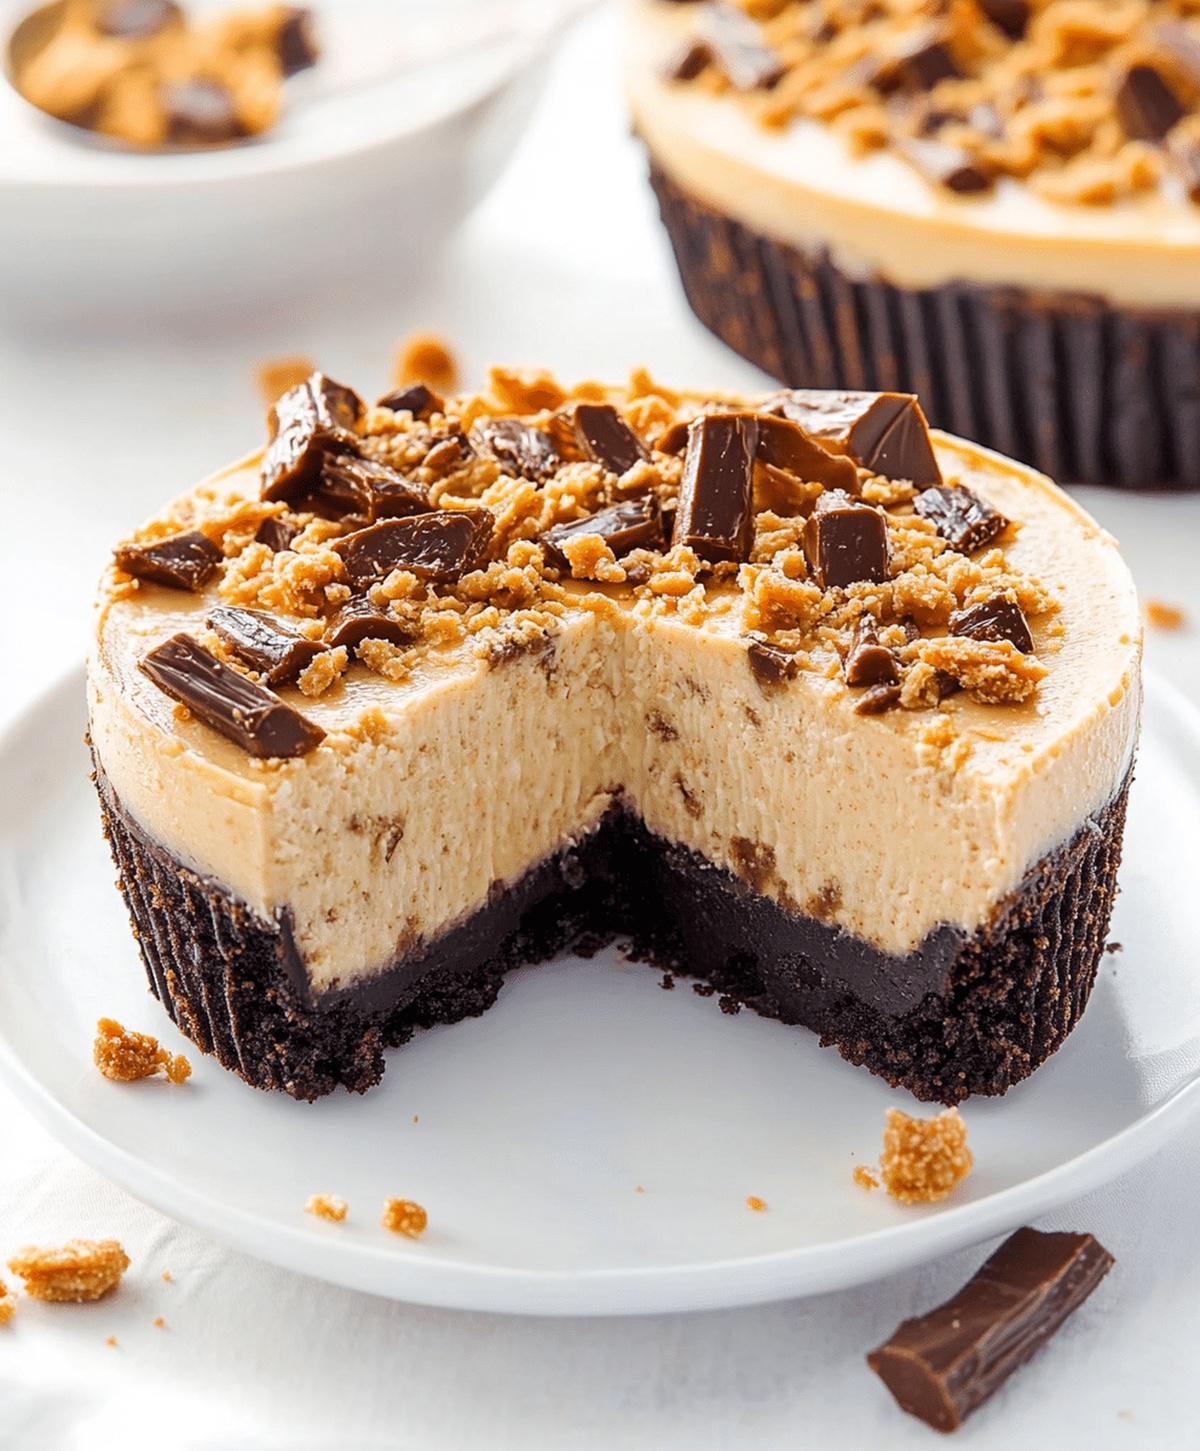
Indulging in a peanut butter Butterfinger cheesecake brings pure dessert magic right to your plate.
Sweet cravings meet pure decadence with this incredible combination.
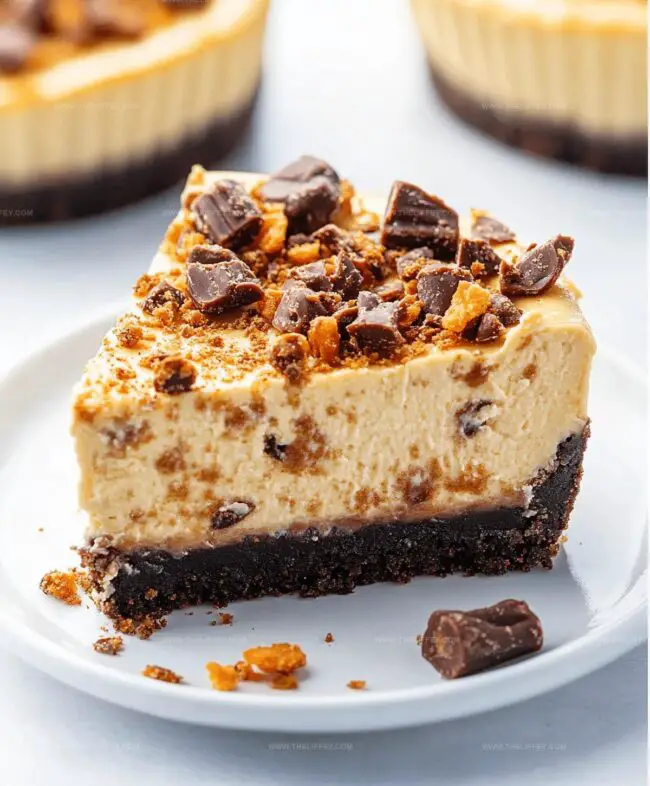
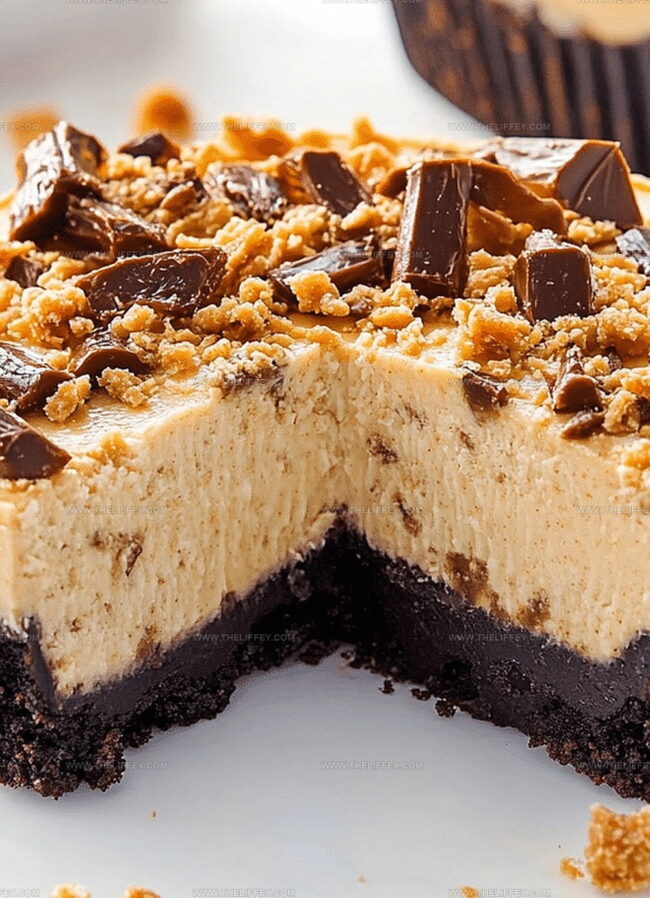
Creamy textures mingle with crunchy candy pieces for an unforgettable experience.
Layers of rich flavor promise a delightful adventure for your taste buds.
Chocolate and peanut butter create a symphony of deliciousness that will leave you wanting more.
Each bite delivers a perfect balance of smooth and crispy sensations.
You won’t be able to resist this irresistible treat that turns an ordinary moment into something extraordinary.
Peanut Butter Butterfinger Cheesecake That Excites

Ingredients for Peanut Butter Butterfinger Cheesecake
Crust:Cheesecake Filling:Topping:How to Make Peanut Butter Butterfinger Cheesecake
Step 1: Crush Graham Crackers for Delicious Crust
Grab a food processor and pulverize graham crackers into fine crumbs. Mix the crumbs with melted butter until they stick together perfectly.
Press the mixture firmly into the bottom of a springform pan, creating a solid base for your cheesecake masterpiece.
Step 2: Whip Up Creamy Peanut Butter Filling
In a large mixing bowl, beat cream cheese until smooth and fluffy.
Gradually blend in sugar and peanut butter, creating a velvety mixture that promises incredible flavor. Make sure to scrape down the sides of the bowl to incorporate every delicious bit.
Step 3: Incorporate Eggs for Silky Texture
Add eggs one at a time, mixing thoroughly after each addition. Pour in vanilla extract and continue mixing until the filling becomes wonderfully smooth and completely combined.
The key is to mix gently to avoid incorporating too much air into the batter.
Step 4: Bake to Cheesecake Perfection
Pour the luscious filling over the prepared graham cracker crust.
Place the pan in a preheated oven and bake until the center is almost set but still slightly jiggly. Once done, remove from the oven and let the cheesecake cool completely at room temperature.
Step 5: Decorate with Crunchy Butterfinger Topping
After the cheesecake has cooled completely, sprinkle chopped Butterfinger candy bars generously over the top. Drizzle with a smooth cream sauce for an extra touch of decadence.
Refrigerate for several hours to allow the cheesecake to set completely before serving.
Tips for Peanut Butter Butterfinger Cheesecake
Variations for Peanut Butter Butterfinger Cheesecake
Serving Suggestions for Peanut Butter Butterfinger Cheesecake
How to Store Peanut Butter Butterfinger Cheesecake
FAQs
Graham crackers provide a classic, sweet base, while melted butter helps bind and create a crunchy texture for the cheesecake foundation.
Use full-fat, room temperature cream cheese for the smoothest and richest cheesecake texture. Reduced-fat versions might alter the consistency and flavor.
Avoid overmixing the batter, bake in a water bath, and let the cheesecake cool gradually to prevent surface cracking and maintain a silky smooth finish.
Print
Indulgent Peanut Butter Butterfinger Cheesecake Recipe
- Total Time: 1 hour 20 minutes
- Yield: 12 1x
Description
Irresistible peanut butter butterfinger cheesecake blends creamy richness with crunchy candy bar excitement. Rich Philadelphia cream cheese and crisp butterfinger pieces create a memorable dessert for chocolate and peanut butter enthusiasts.
Ingredients
Cheesecake Base:
- 2 cups graham cracker crumbs
- 1/2 cup butter, melted
Filling:
- 24 ounces (680 grams) cream cheese, softened
- 1 cup peanut butter
- 1 cup sugar
- 3 large eggs
- 1 tablespoon vanilla extract
Topping and Garnish:
- 4 Butterfinger candy bars, chopped
- 1/2 cup heavy cream
Instructions
- Warm the oven to 325°F and create a buttery graham cracker foundation in a springform pan by pressing the crumbly mixture firmly across the bottom.
- In a large mixing bowl, whip cream cheese until smooth and creamy, then incorporate granulated sugar and rich peanut butter, blending until uniformly combined.
- Introduce eggs individually into the mixture, carefully folding after each addition to maintain a silky texture, then gently stir in fragrant vanilla extract.
- Delicately pour the luxurious cheesecake batter over the prepared crust, ensuring an even distribution and minimal air pockets.
- Place the pan in the preheated oven and bake for approximately 55-60 minutes, watching for subtle golden edges and a slight jiggle in the center.
- Remove from oven and allow the cheesecake to cool completely at room temperature, then refrigerate for at least 4 hours to set thoroughly.
- Before serving, generously sprinkle crushed Butterfinger pieces across the surface, creating a crunchy caramel-like topping.
- Finish by drizzling smooth cream in an artistic pattern, enhancing both visual appeal and flavor complexity.
Notes
- Use room temperature ingredients to ensure smooth, lump-free cheesecake batter and prevent cracking during baking.
- Crush Butterfinger bars finely for even distribution and better texture throughout the cheesecake.
- Wrap the springform pan in aluminum foil to prevent water from seeping in during the water bath baking method, ensuring a perfectly creamy texture.
- For a gluten-free version, substitute graham crackers with gluten-free cookie crumbs or almond flour crust.
- Prep Time: 20 minutes
- Cook Time: 1 hour
- Category: Desserts
- Method: Baking
- Cuisine: American
Nutrition
- Serving Size: 12
- Calories: 380 kcal
- Sugar: 28 g
- Sodium: 180 mg
- Fat: 30 g
- Saturated Fat: 10 g
- Unsaturated Fat: 15 g
- Trans Fat: 1 g
- Carbohydrates: 25 g
- Fiber: 2 g
- Protein: 7 g
- Cholesterol: 70 mg
John Conley
Founder & Culinary Storyteller
Expertise
Recipe Development, Culinary Writing, Home Cooking Techniques, Seasonal Ingredient Utilization
Education
Lane Community College, Eugene, OR
Certificate in Culinary Arts
Focused on foundational cooking techniques, kitchen safety, and menu planning.
Gotham Writers Workshop, New York, NY
Course in Food Writing
Explored the art of crafting engaging culinary narratives and recipe development.
John grew up where food meant connection: big bowls, warm kitchens, and meals that told a story. After earning his Certificate in Culinary Arts from Lane Community College and diving deep into food writing at Gotham Writers Workshop, he found his calling: turning everyday recipes into something worth savoring.
At The Liffey, John’s focus is all about crafting dishes that feel easy, honest, and full of heart.