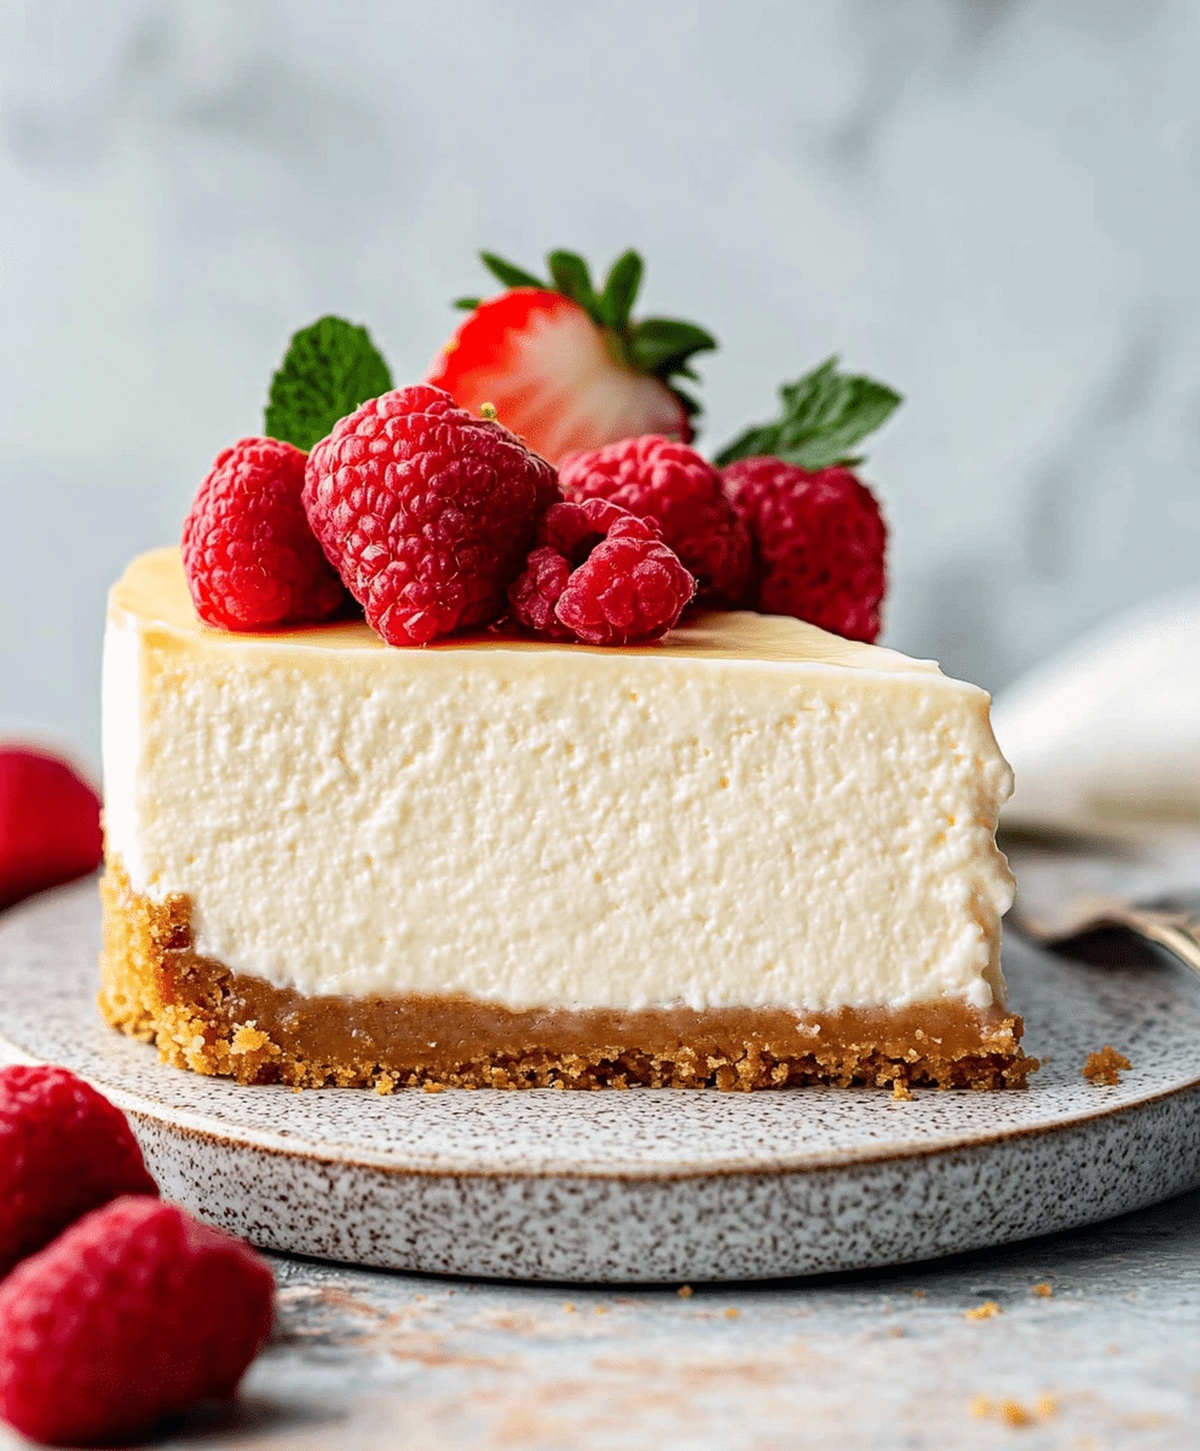
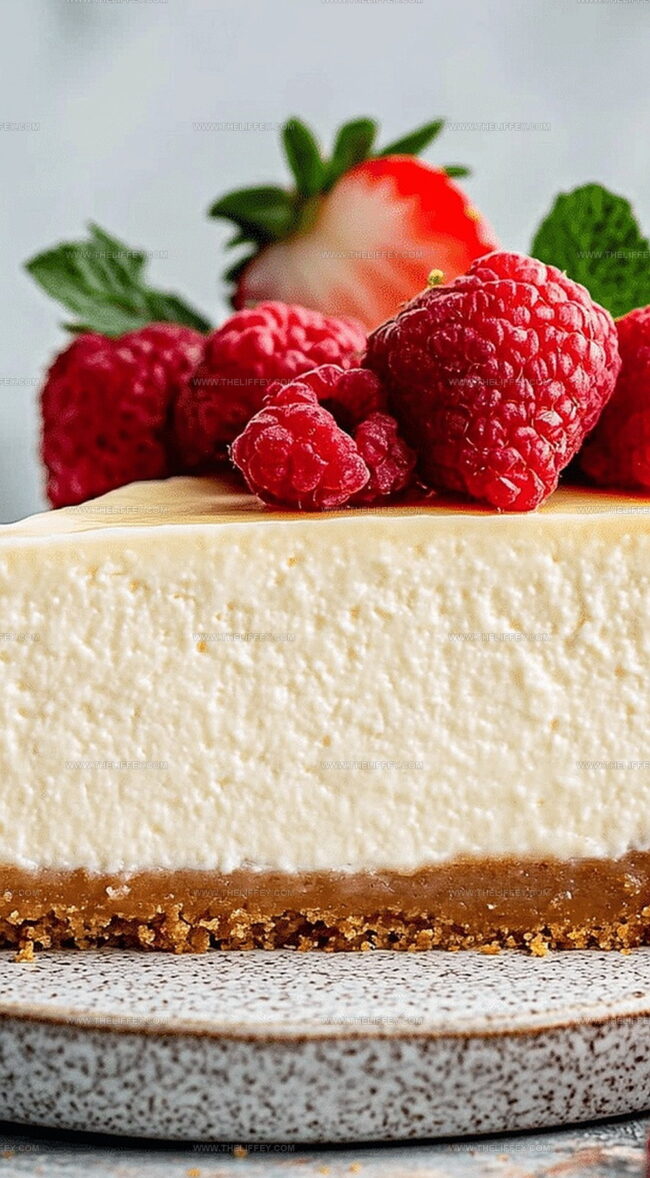
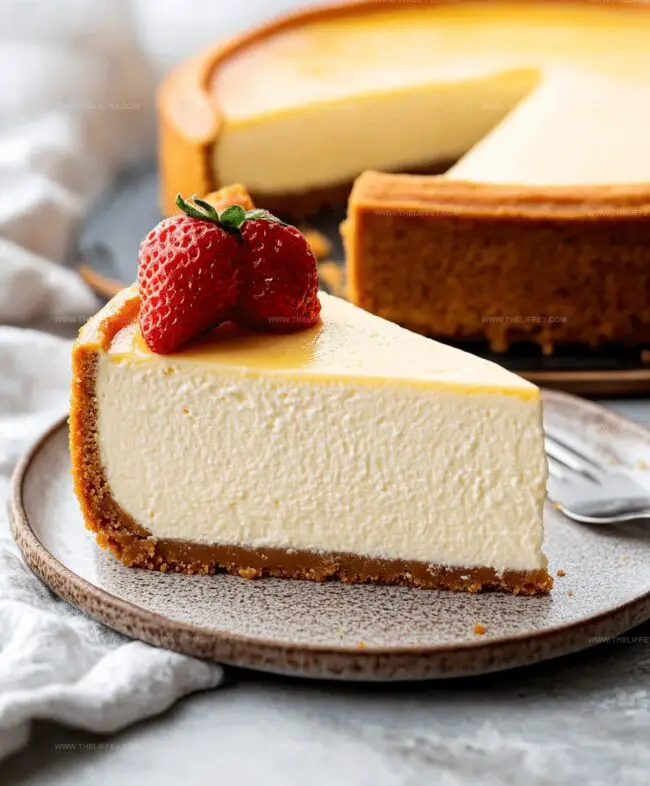
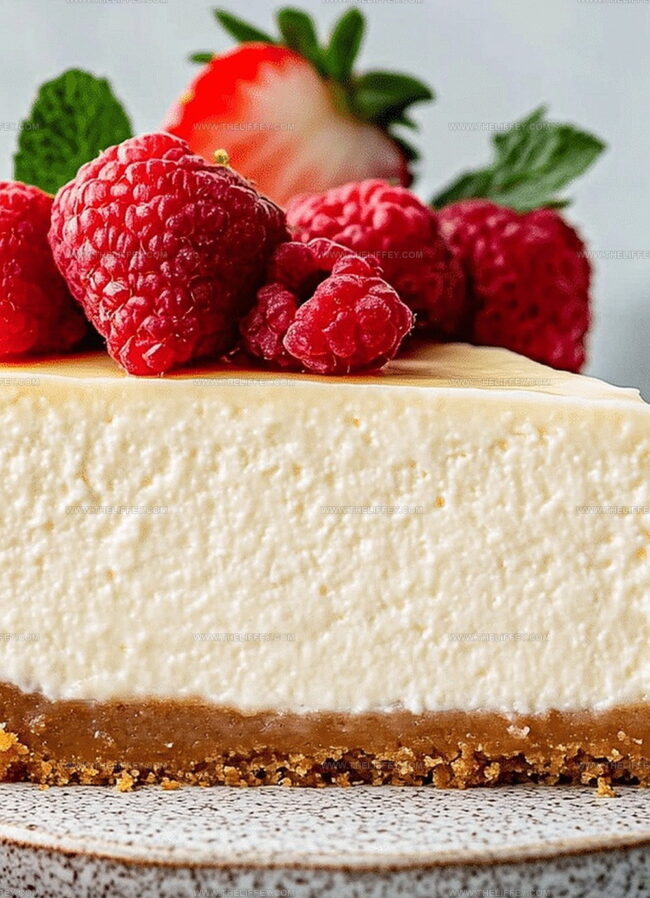
Foolproof Cheesecake Water Bath Recipe for Silky Perfection
Crafting a perfectly smooth cheesecake demands mastering the delicate water bath technique that professional bakers swear by.
Gentle heat circulation prevents unsightly cracks and ensures a silky texture.
Professional pastry chefs understand this method protects your delicate dessert from harsh oven temperatures.
Moisture creates a consistent environment that helps your cheesecake bake evenly without drying out.
Aluminum foil becomes your secret weapon when wrapping the springform pan to prevent water seepage.
Careful preparation means you can achieve bakery-quality results right in your own kitchen.
Let’s walk through this foolproof method that guarantees a creamy, luxurious cheesecake every single time.
Mastering the Cheesecake Water Bath: Why It Matters
Ingredients for a Perfect Cheesecake Water Bath Setup
Crust:Filling:Baking Accessories:Stepwise Guide to Making a Cheesecake Water Bath
Step 1: Prepare Oven And Pan
Crank the oven to 325°F.
Grab a springform pan and set it aside, ready for the delicious creation.
Step 2: Create Crumbly Crust
Mix graham cracker crumbs with sugar and melted butter.
Press the mixture firmly into the bottom of the springform pan, creating a solid foundation for your cheesecake.
Step 3: Whip Cream Cheese Base
Grab a large mixing bowl and beat the cream cheese until it becomes silky smooth.
Add sugar and vanilla, blending until everything incorporates perfectly.
Step 4: Incorporate Creamy Ingredients
Gently add eggs one at a time, mixing slowly to maintain a smooth texture.
Fold in:Ensure each ingredient blends seamlessly into the mixture.
Step 5: Prepare Water Bath
Pour the creamy filling over the prepared crust.
Carefully wrap the entire springform pan with aluminum foil.
Place the wrapped pan inside a large roasting pan.
Step 6: Create Water Bath
Fill the roasting pan with hot water, reaching halfway up the side of the cheesecake pan.
This technique helps create a gentle, even baking environment.
Step 7: Bake And Cool
Bake for 55-70 minutes until the center is almost set.
Once done, turn off the oven and crack the door open.
Let the cheesecake cool inside the oven for one hour, allowing it to set gradually.
Step 8: Chill And Serve
Transfer the cheesecake to the refrigerator and let it chill for at least 4 hours.
This helps the cheesecake firm up and develop its rich, creamy texture.
Pro Tips for Flawless Cheesecake Water Bath Results
Variations and Alternatives for Cheesecake Water Baths
Serving and Presentation Tips for Cheesecake Water Bath Recipes
Storing Tips When Using a Cheesecake Water Bath
FAQs
A water bath helps distribute heat evenly, preventing cracks and creating a smooth, creamy texture by keeping the cheesecake moist and preventing sudden temperature changes.
No, wrapping the springform pan in foil is crucial to prevent water from seeping into the cheesecake and ruining its texture during the water bath baking method.
The center should be slightly jiggly but not liquid when you gently shake the pan – it will continue to set while cooling in the oven and refrigerator.
Print
How To Make A Cheesecake Water Bath Recipe
- Total Time: 1 hour 45 minutes
- Yield: 1 1x
Description
Classic New York Cheesecake with water bath method ensures creamy, crack-free perfection. Professional bakers rely on this gentle cooking technique for silky smooth results you’ll adore.
Ingredients
Main Ingredients:
- 32 ounces (907 grams) cream cheese
- 4 large eggs
- 1 cup granulated sugar
Crust Ingredients:
- 1 1/2 cups graham cracker crumbs
- 1/4 cup granulated sugar
- 1/2 cup melted butter
Additional Ingredients:
- 1 tablespoon vanilla extract
- 1/4 cup sour cream
- 1/4 cup heavy cream
Instructions
- Craft a moisture-resistant base by blending graham cracker crumbs with sugar and melted butter, firmly pressing the mixture into the bottom of a springform pan.
- Using an electric mixer, whip cream cheese until silky smooth, gradually incorporating sugar and vanilla extract until fully integrated.
- Gently introduce eggs one at a time, mixing at low speed to prevent overbeating, then fold in sour cream, flour, and heavy cream until uniformly combined.
- Transfer the velvety filling onto the prepared graham cracker crust, creating an even layer.
- Encase the entire springform pan with aluminum foil, ensuring complete coverage to prevent water penetration.
- Position the wrapped pan inside a larger roasting pan, then carefully pour scalding hot water until it reaches approximately midway up the cheesecake pan’s exterior.
- Slide the water bath into a preheated 325°F (163°C) oven, baking for 55-70 minutes until the center exhibits a gentle, barely set wobble.
- After baking, switch off the oven, slightly crack the door, and allow the cheesecake to gradually cool within the oven environment for one hour.
- Transfer the cheesecake to the refrigerator and chill for a minimum of 4 hours, permitting it to set completely before serving.
Notes
- Wrap the springform pan tightly with multiple layers of heavy-duty aluminum foil to prevent water from seeping into the delicate crust during the water bath.
- Use room temperature ingredients to ensure a smooth, lump-free cheesecake filling that blends perfectly and bakes evenly.
- Avoid overmixing the batter after adding eggs to prevent incorporating too much air, which can cause cracking on the surface during baking.
- Allow the cheesecake to cool gradually in the oven with the door slightly open to minimize sudden temperature changes that can cause surface cracks.
- Prep Time: 30 minutes
- Cook Time: 1 hour 15 minutes
- Category: Desserts
- Method: Baking
- Cuisine: American
Nutrition
- Serving Size: 1
- Calories: 575 kcal
- Sugar: 20 g
- Sodium: 180 mg
- Fat: 34 g
- Saturated Fat: 18 g
- Unsaturated Fat: 14 g
- Trans Fat: 0.5 g
- Carbohydrates: 60 g
- Fiber: 3 g
- Protein: 6 g
- Cholesterol: 65 mg
Amanda Bennett
Recipe Curator & Culinary Educator
Expertise
Baking and Pastry Arts, Recipe Testing and Development, Culinary Instruction, Food Styling and Photography
Education
Asheville-Buncombe Technical Community College, Asheville, NC
Diploma in Culinary Arts
Emphasized practical cooking skills, nutrition, and kitchen management.
Cambridge School of Culinary Arts, Cambridge, MA
Certificate in Professional Pastry Arts
Specialized in baking techniques, dessert presentation, and flavor profiling
Amanda’s roots run deep in the Southern hills, where every meal started fresh from the garden and every dessert came with a story. She trained at Asheville-Buncombe Technical Community College and sharpened her pastry skills at the Cambridge School of Culinary Arts, blending classic technique with everyday charm.
At The Liffey, Amanda’s passion is making baking and home cooking feel natural and joyful. She’s all about single recipes that are simple enough for a busy afternoon, but special enough to make someone’s day a little sweeter.